


In this blog post, I will cover the principle of installing Windows Server 2019 Standard with a Graphical User Interface, or as Microsoft now calls its Server with Desktop Experience.
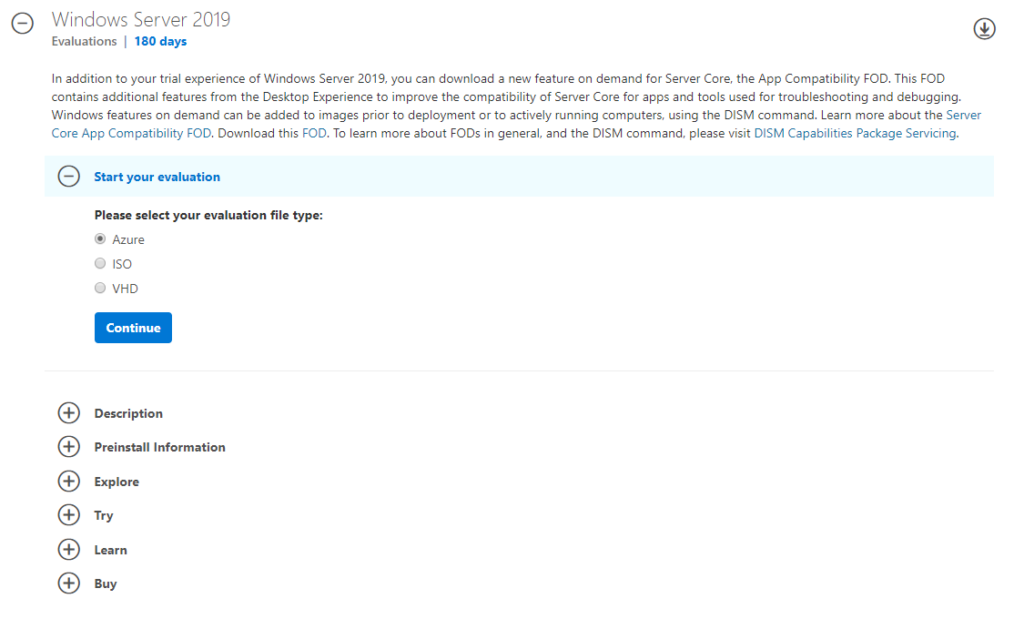
If you wish to follow the installation process of this post you can download a 180 day trial from the Microsoft TechNet Evaluation Site.
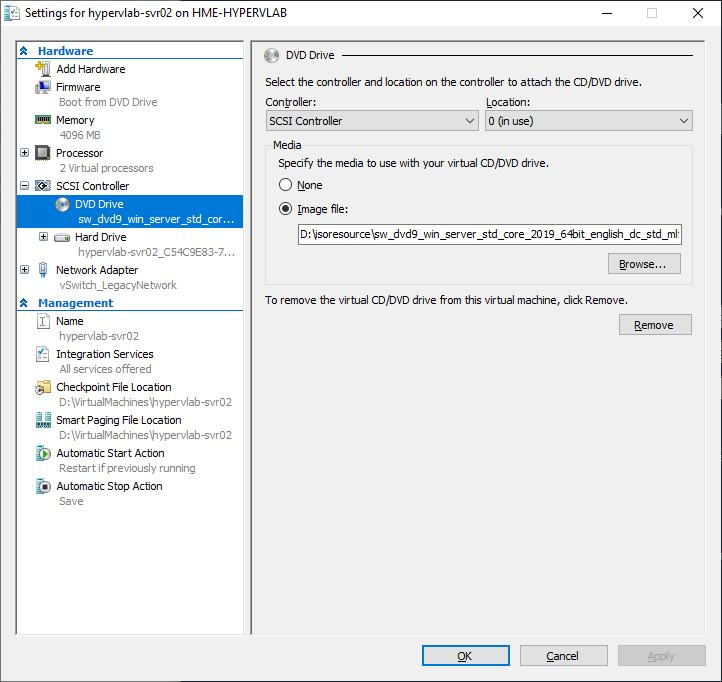
Mount the Windows Server 2019 ISO to the DVD Drive.
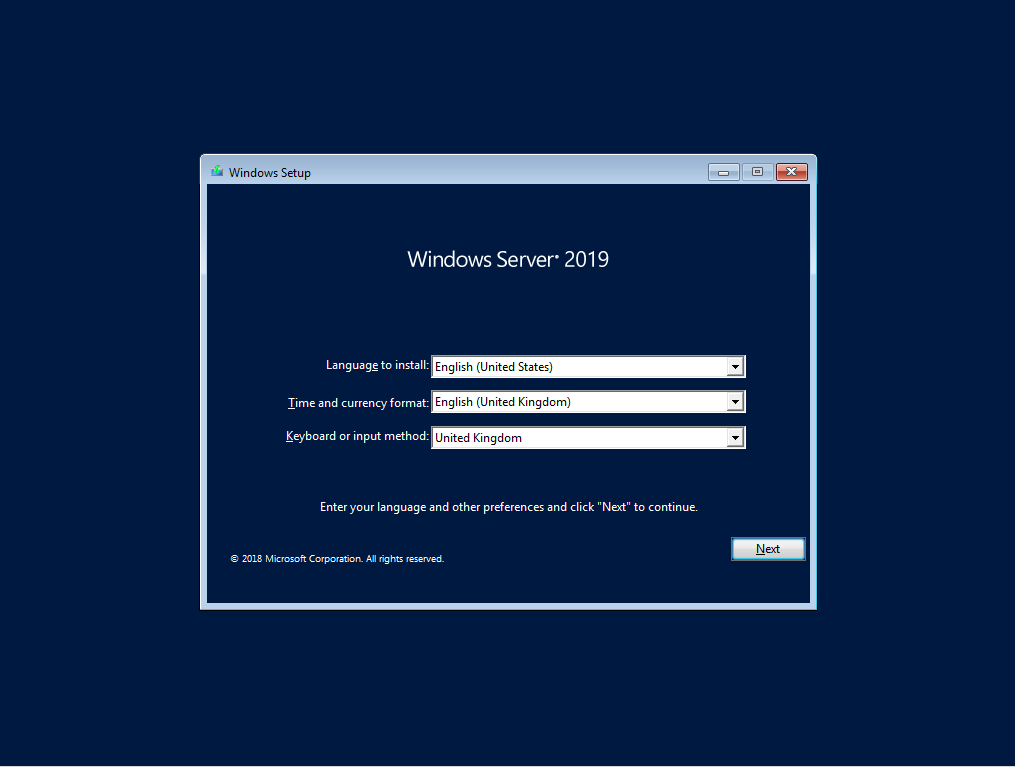
Configure the Installation Setup Language and Keyboard layout and then click ‘Next’.
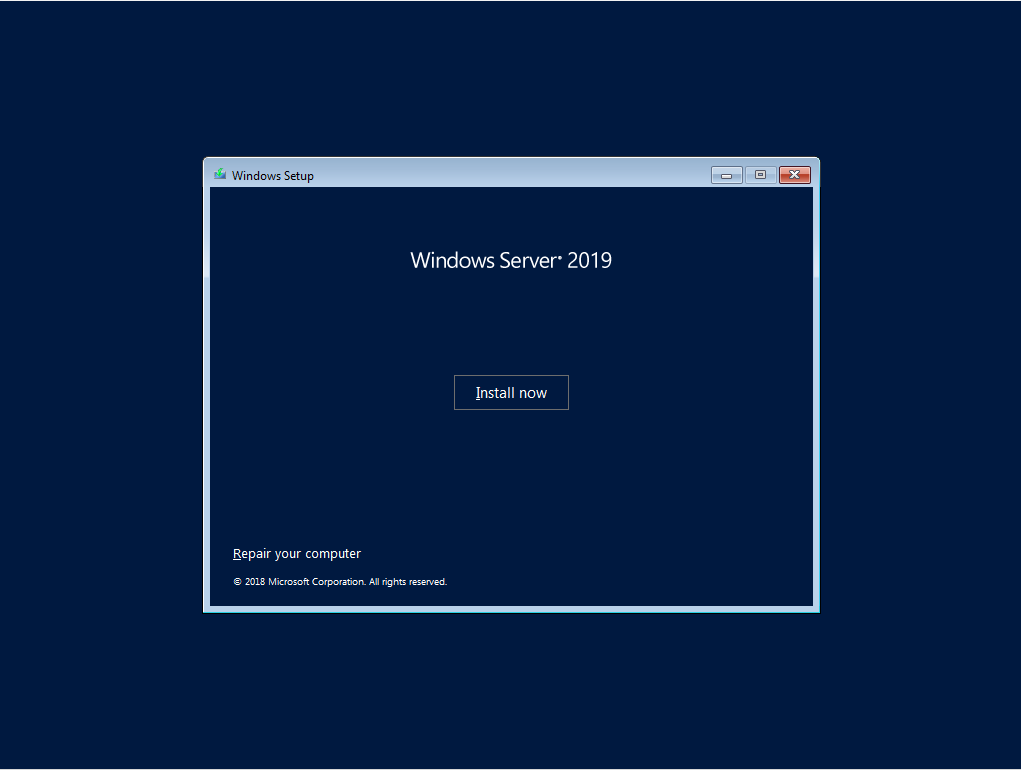
Select ‘Install now’.
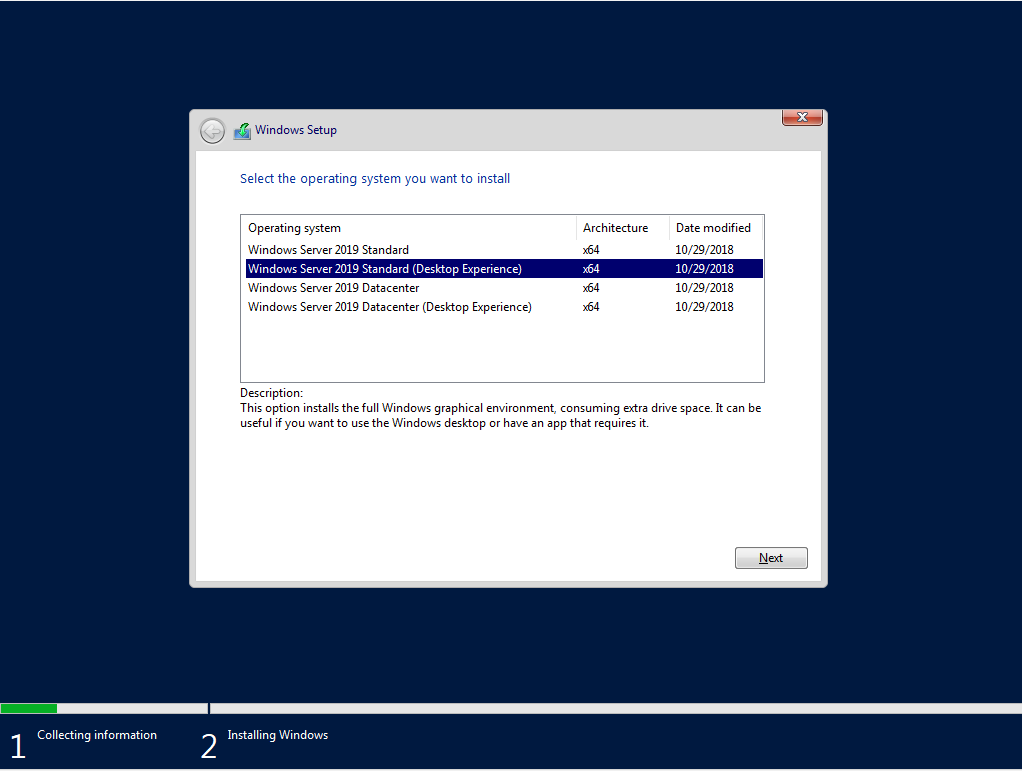
Select the operating system flavour – For this post, I’m using Windows Server 2019 Standard with Desktop Experience and then click ‘Next’.
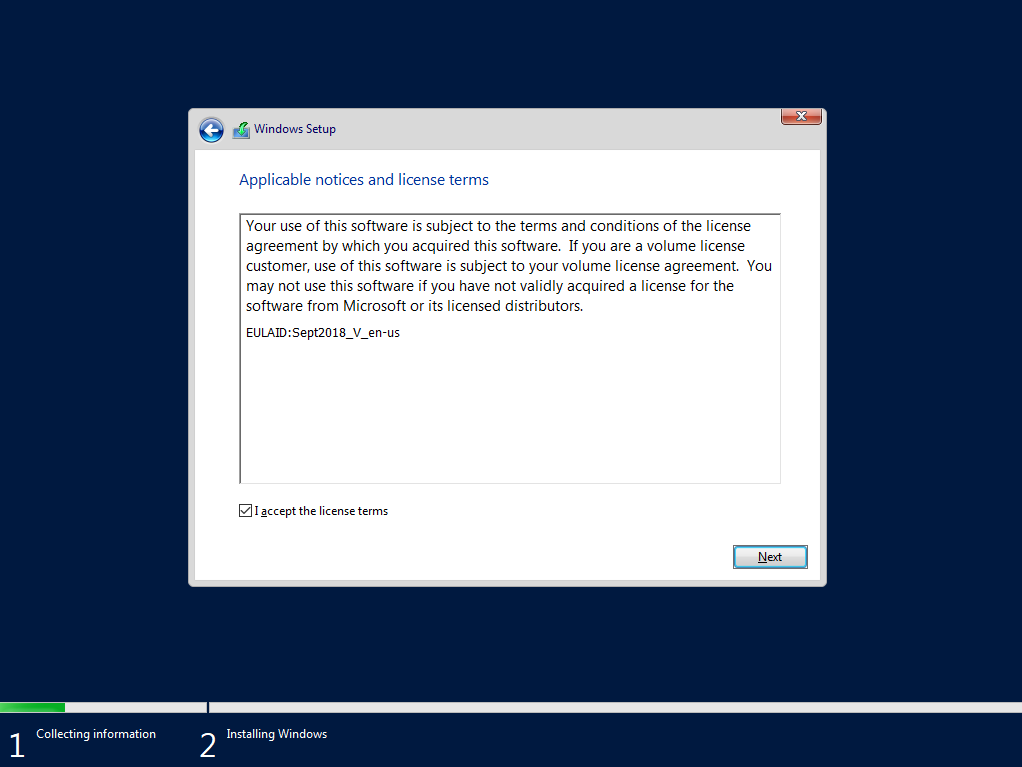
Accept the Microsoft End User License Agreement and click ‘Next’.
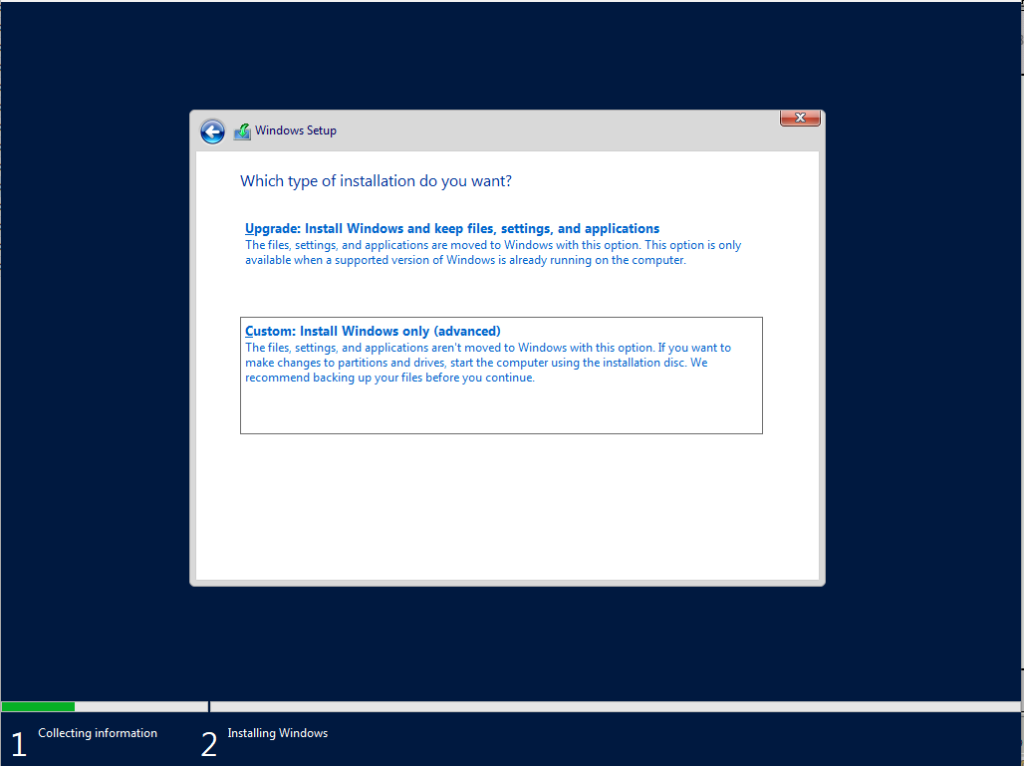
Choose ‘Custom (advanced)’.
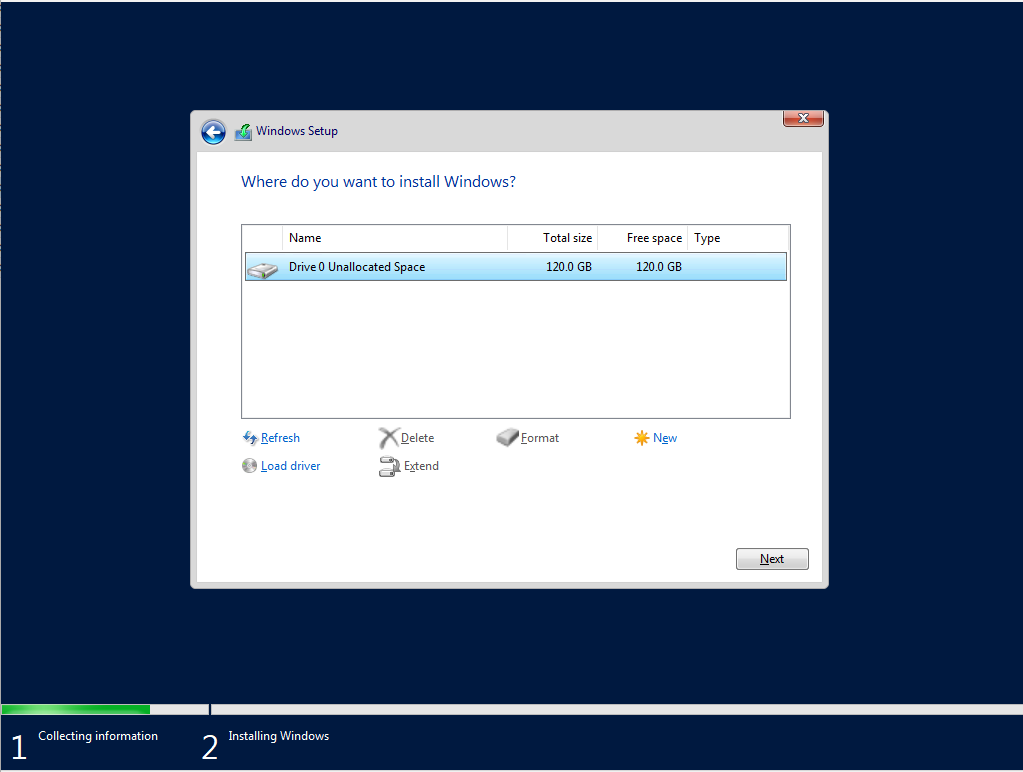
Choose the Virtual Disk you wish to install the Operating System too and click ‘Next’.
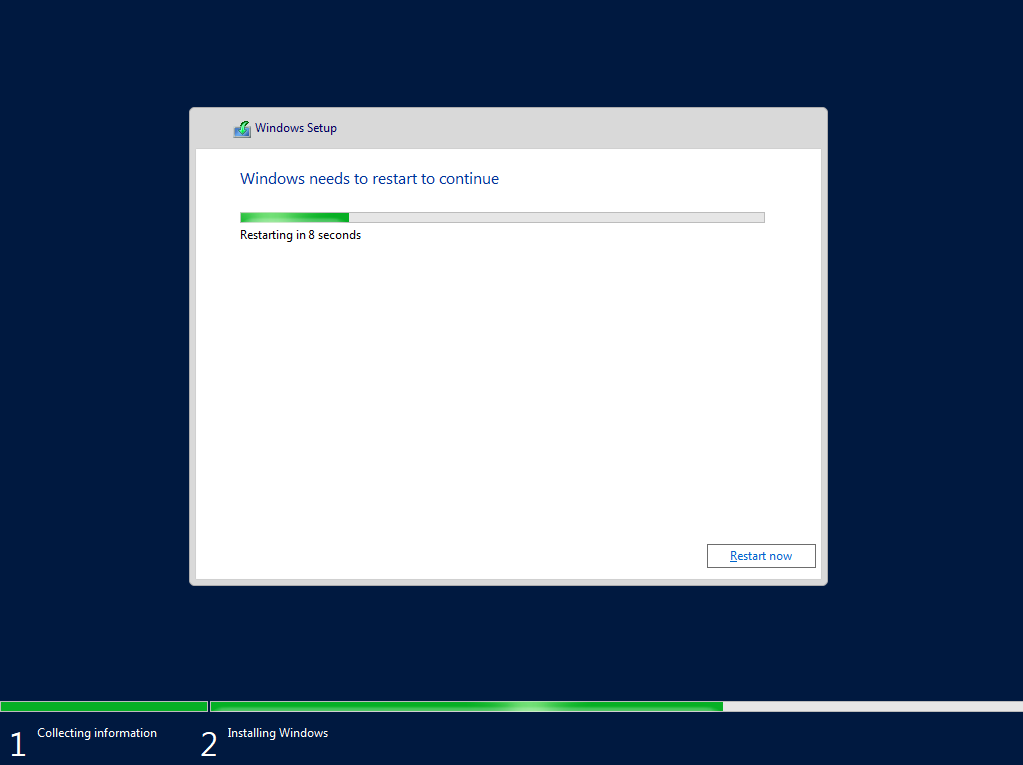
Time for a coffee, Installation does its stuff.

Operating System Install Complete, Server reboots.
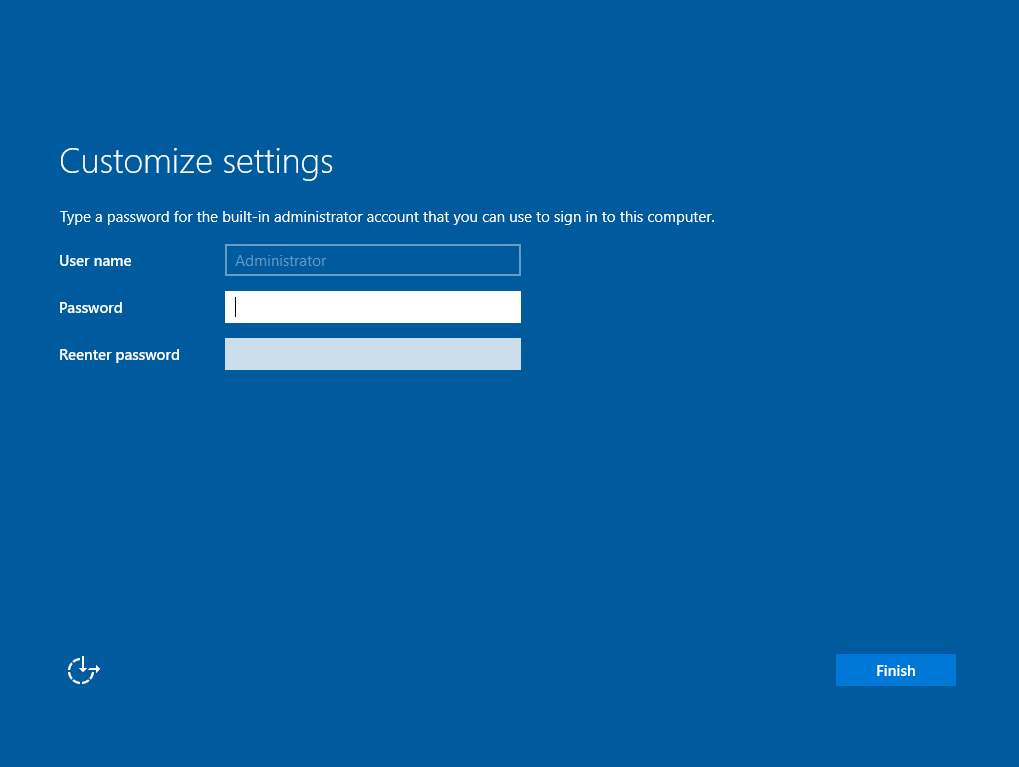
Configure the Local Server Administrator Password.
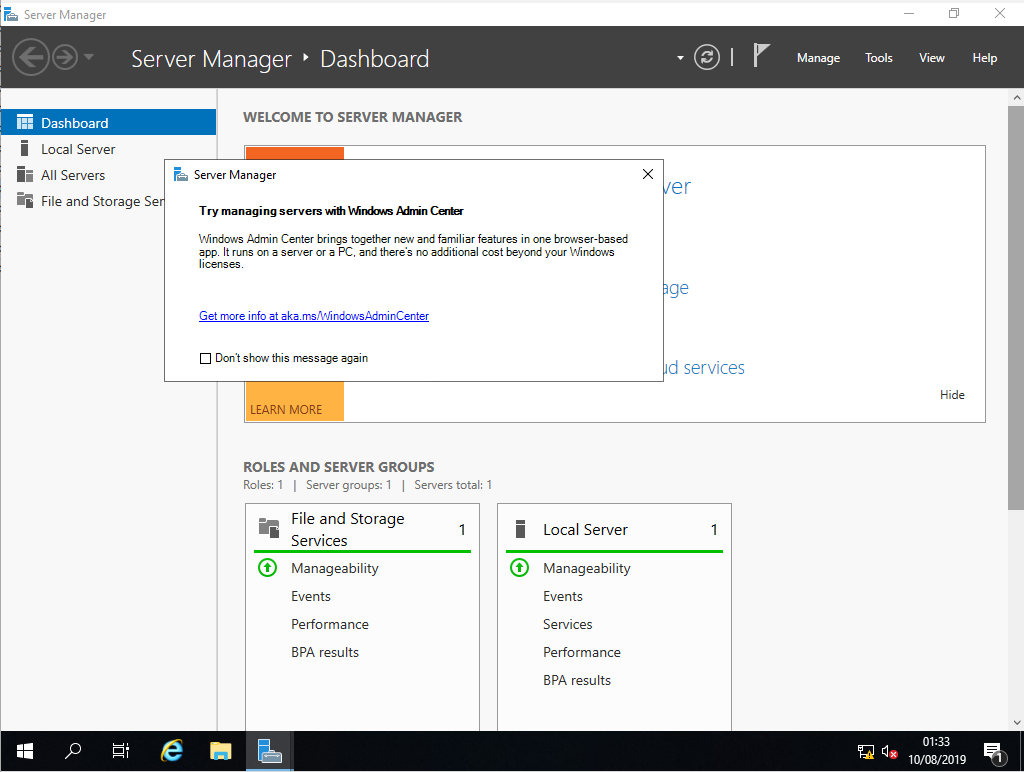
Server Installation Completed, Here is the desktop for the new server.


