In this blog post, I will cover the principles of setting up LDAP Authentication with the Zabbix Dashboard. From the Dashboard go to Administration > Authentication

Select the LDAP Settings Tab and let’s start the configuration

Now to start on the configuration
| Parameter | Description |
|---|---|
| Enable LDAP authentication | Mark the checkbox to enable LDAP authentication. |
| LDAP host | Name of LDAP server. For example: ldap://ldap.zabbix.com For secure LDAP server use ldaps protocol. ldaps://ldap.zabbix.com With OpenLDAP 2.x.x and later, a full LDAP URI of the form ldap://hostname:port or ldaps://hostname:port may be used. |
| Port | Port of LDAP server. Default is 389. For secure LDAP connection port number is normally 636. Not used when using full LDAP URIs. |
| Base DN | Base path to search accounts: ou=Users,ou=system (for OpenLDAP), DC=company,DC=com (for Microsoft Active Directory) |
| Search attribute | LDAP account attribute used for search: uid (for OpenLDAP), sAMAccountName (for Microsoft Active Directory) |
| Bind DN | LDAP account for binding and searching over the LDAP server, examples: uid=ldap_search,ou=system (for OpenLDAP), CN=ldap_search,OU=user_group,DC=company,DC=com (for Microsoft Active Directory) Required, anonymous binding is not supported. |
| Case-sensitive login | Unmark the checkbox to disable case-sensitive login (enabled by default) for usernames. E.g. disable case-sensitive login and log in with, for example, ‘ADMIN’ user even if the Zabbix user is ‘Admin’. Note that with case-sensitive login disabled the login will be denied if multiple users exist in Zabbix database with similar alias (e.g. Admin, admin). |
| Bind password | LDAP password of the account for binding and searching over the LDAP server. |
| Test authentication | Header of a section for testing |
| Login | Name of a test user (which is currently logged in the Zabbix frontend). This user name must exist in the LDAP server. Zabbix will not activate LDAP authentication if it is unable to authenticate the test user. |
| User password | LDAP password of the test user. |
Once you have completed the LDAP Configuration your screen should look something like the below graphic:

NOTE: Once you have configured the LDAP Authentication the default will change.

Now we have configurated the LDAP Authentication, Next let’s create an LDAP Security Group, So only certain IT Support Teams can access the Zabbix Dashboard.

From the Zabbix Dashboard, Administration > User Groups.

From the Top-Right click ‘Create User Group’.
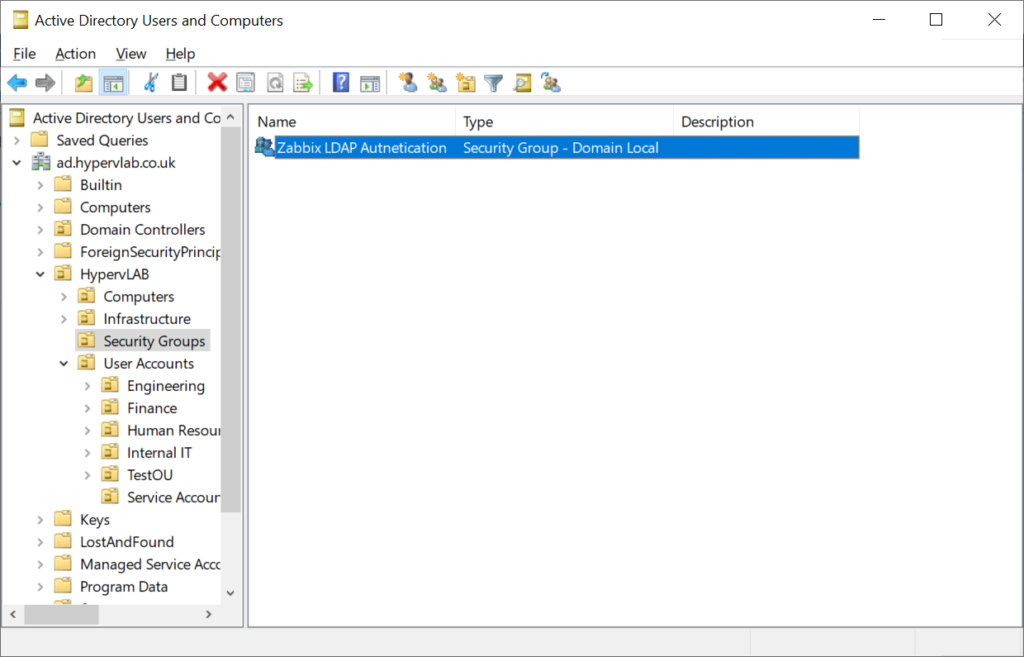
Ensure that the group name, matches the same as the Active Directory Security Group.

Next, we need to create an authentication account for Zabbix which will cross-check with LDAP, to complete this from the navigation menu, Go to Administration > Users

On the top right-click ‘New Users’.
NOTE: This Account has been pre-configured as a normal AD Service Account and has not been documented.
Ensure that the LDAP Service account is part of the ‘Zabbix LDAP Authentication’ Group.

Click ‘Add’.
Using an Incognito Window we can test the LDAP Login for the ‘netmonitor’ Account.
Open the Browser and naviagte to the IP Address of your Zabbix instance.
http://192.168.101.18/Zabbix
Authentication Completed, We’ve Logged in as the netmonitor Account.


Thanks! This post helped a lot! I was with problem with Active Directory integration in my Zabbix.