


In this 70-410 Objective we will cover the princples of installing Microsoft Server 2012R2.
Once you have downloaded the installation media you can mount either burn that to a USB and use Rufus for a Bootable USB or in this example i will be using a Hyper-V Generation Two Virtual Machine
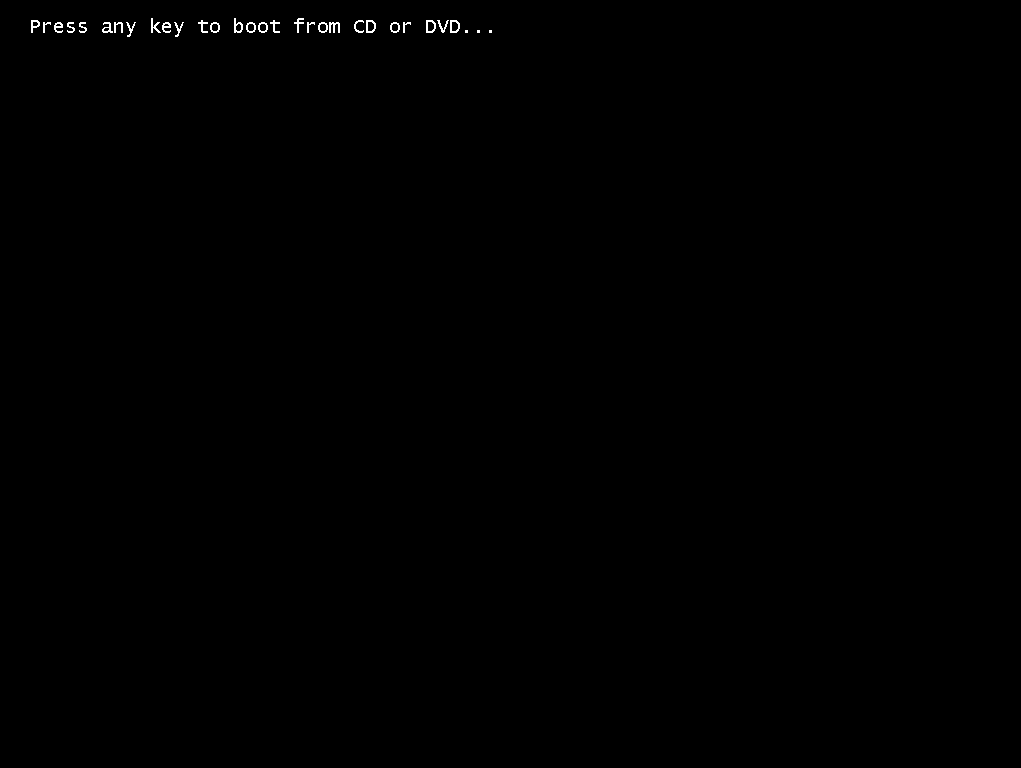
When you start the virtual machine for the first time with the installation
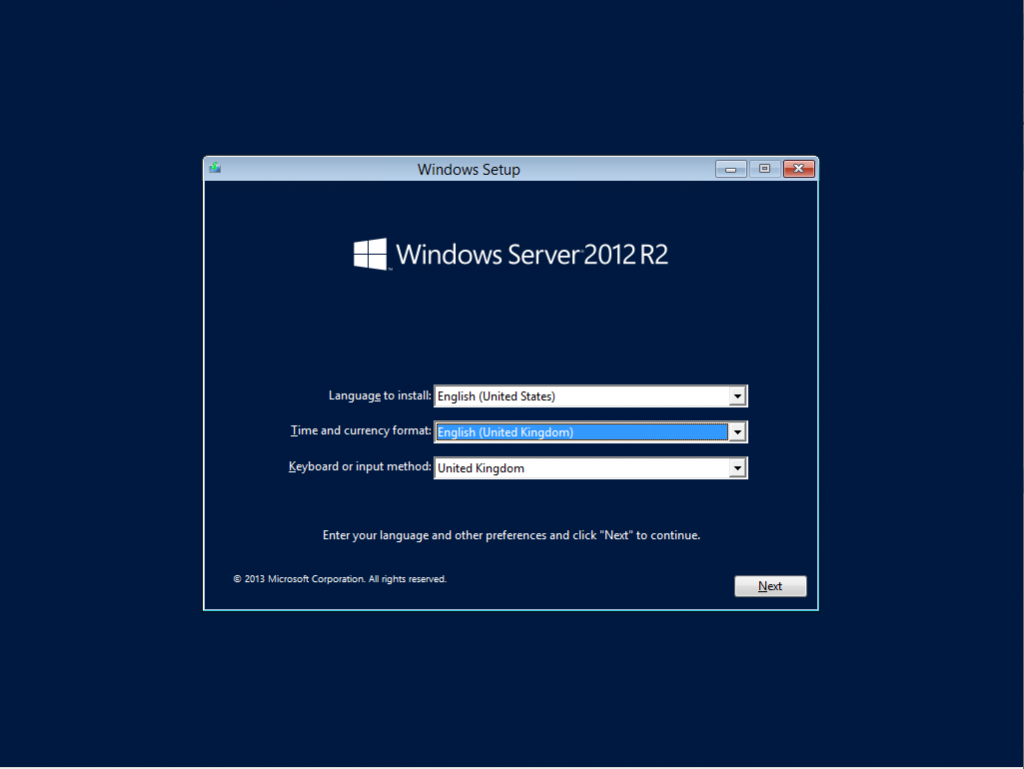
Select the Installation Language
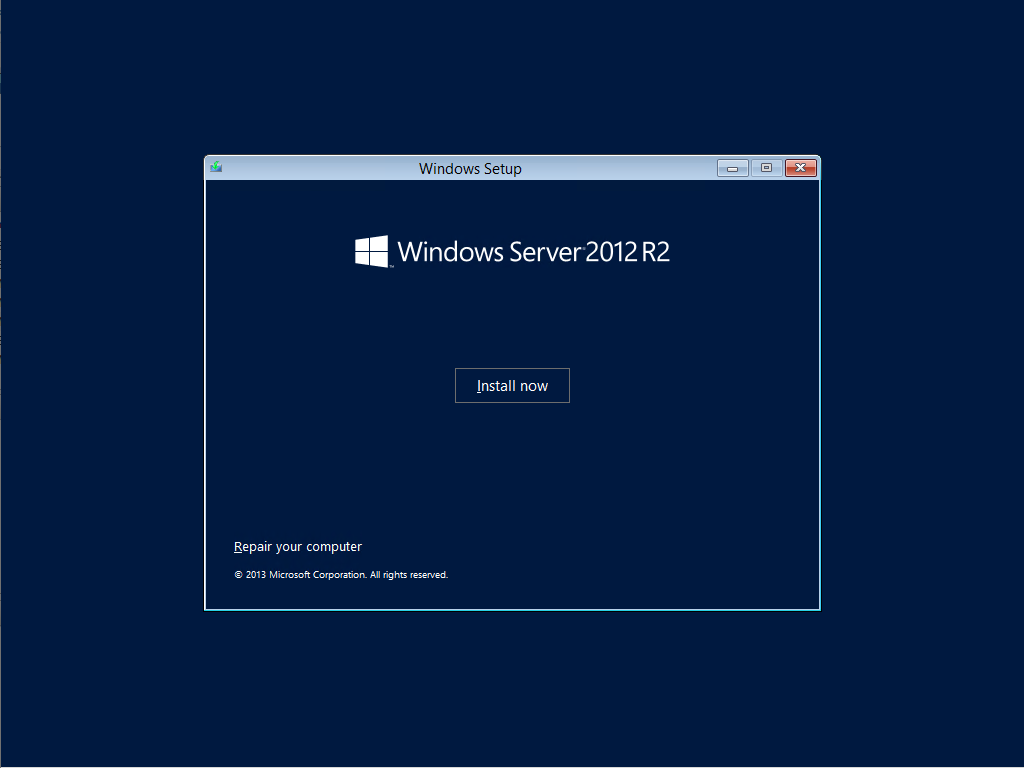
Click Install Now
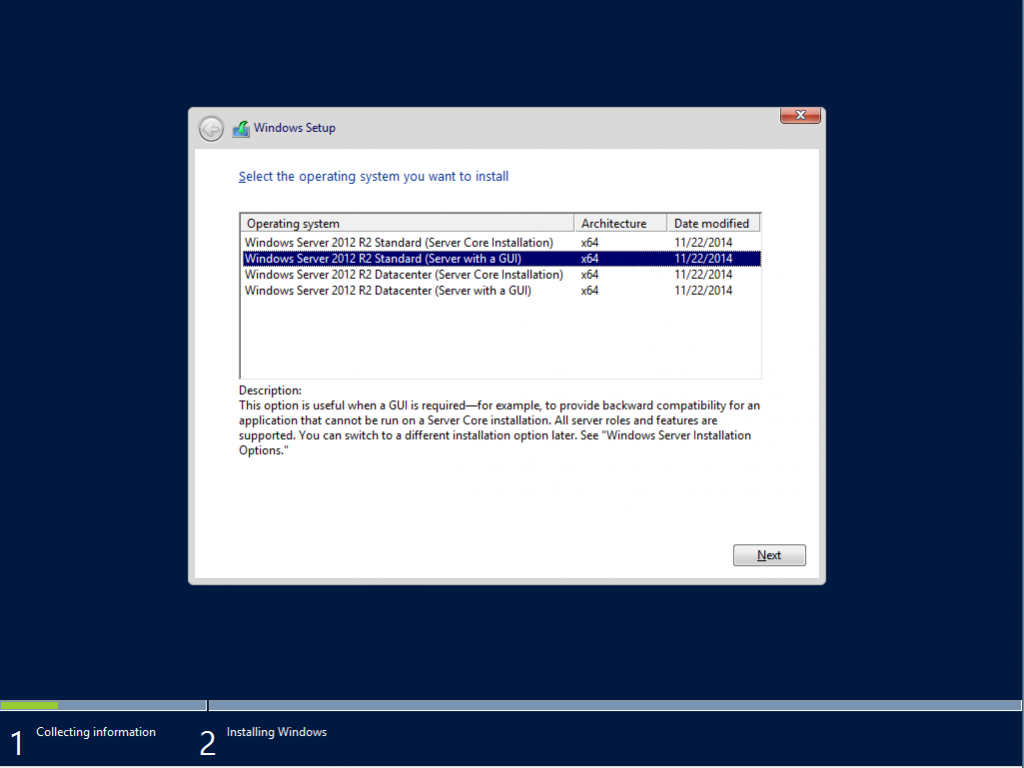
Here you can select wheather you install Windows Server 2012R2 Standard or Datacenter along the the UI Prefernece, for this blog post we will install Windows Server 2012R2 Standard GUI
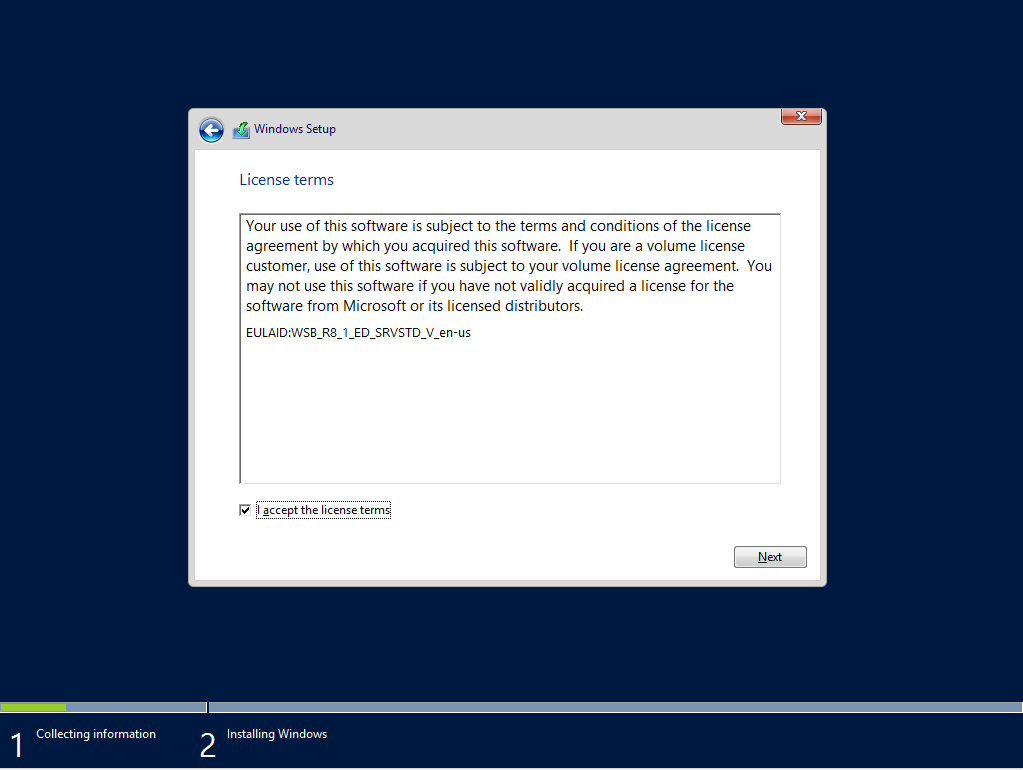
Accept the EULA Agreement
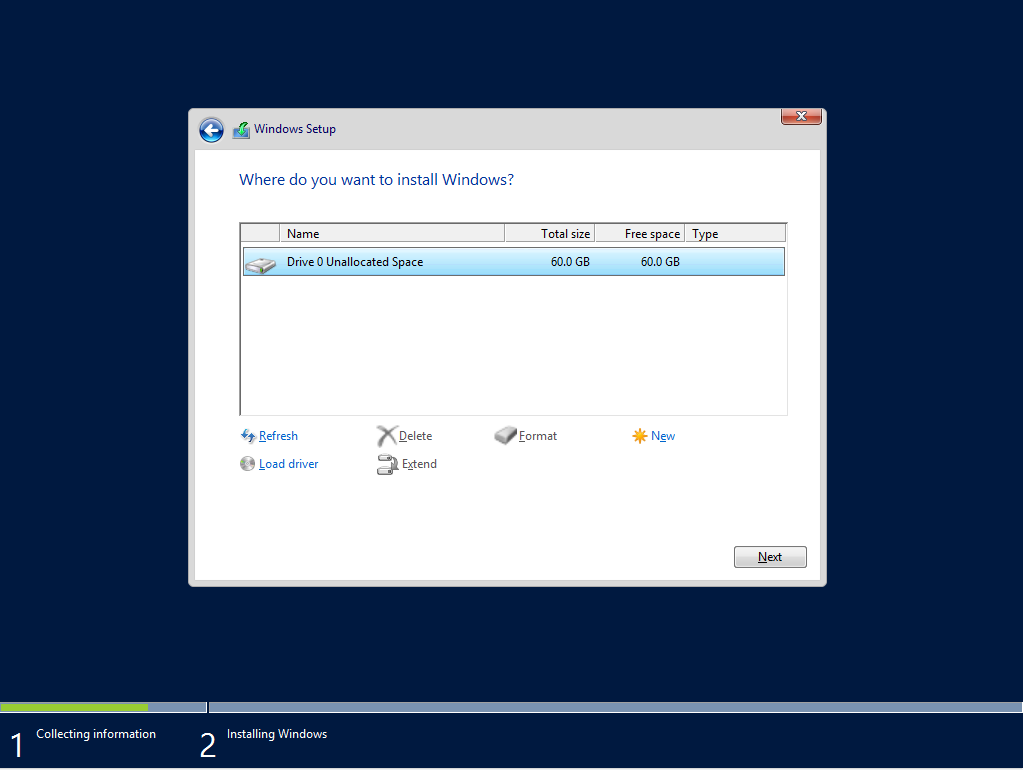
For a new installation you cannot complete an OS Upgrade as you have nothing to upgrade from so we select Custom and can prepare for disk configuration

As this server is part of my lab environment it doesnt match the recommeneded specifications for the os hard disk space, the Miniumium recommened by Microsoft is 32Gb. Personally i would recommend for prodcution use you create a VHDX File of 120Gb to allow for Application and Updates.
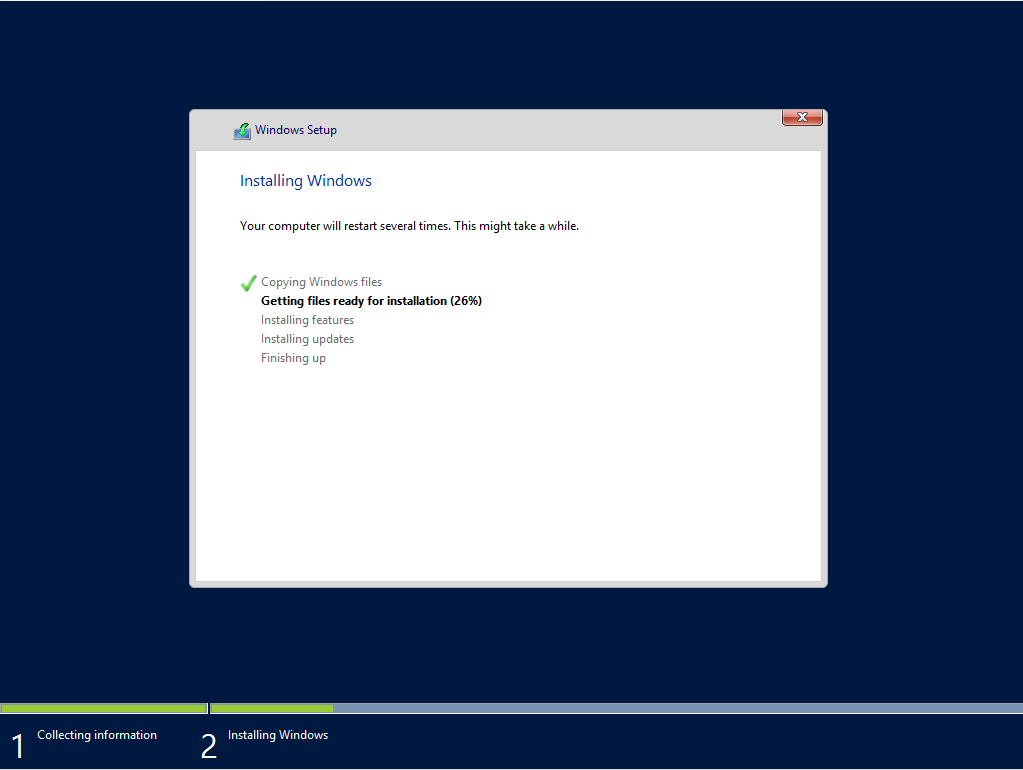
Installation Starts
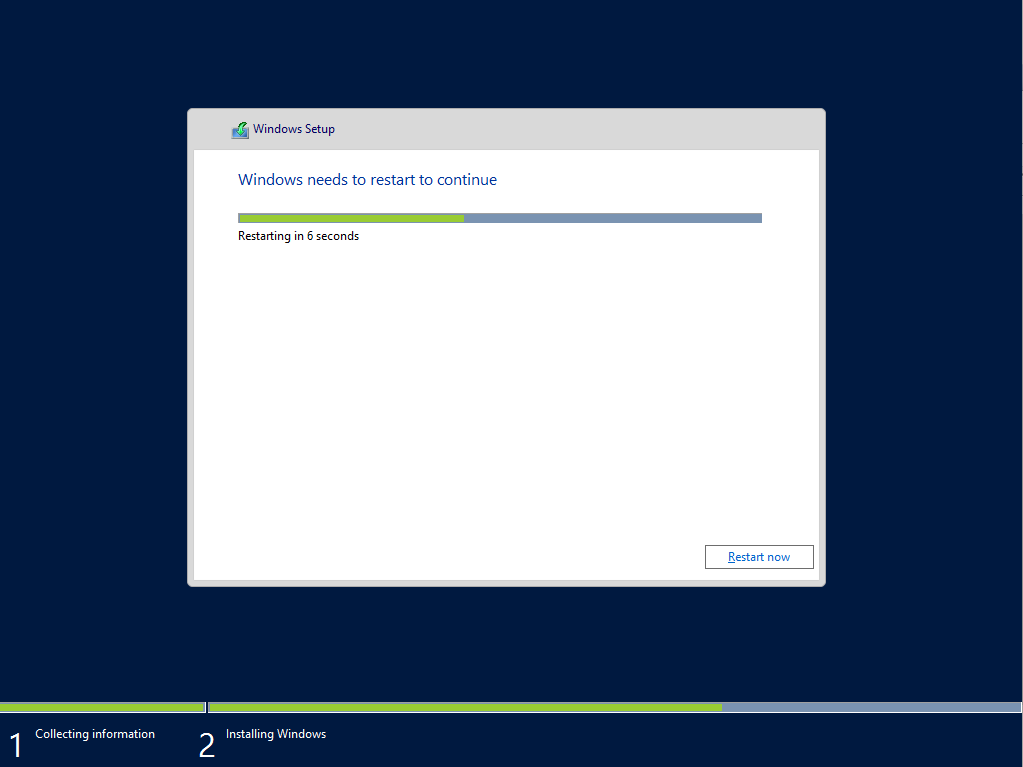
Installation Complete, Server Reboots
First Time Server Boo
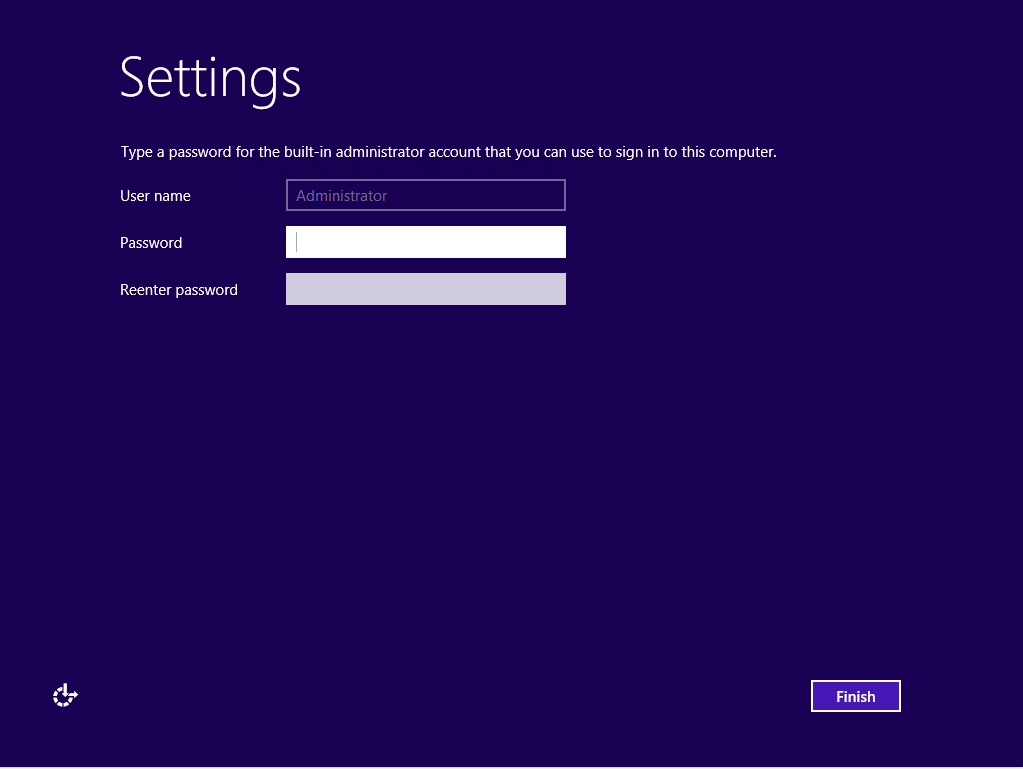
Configure the Local Administration Password
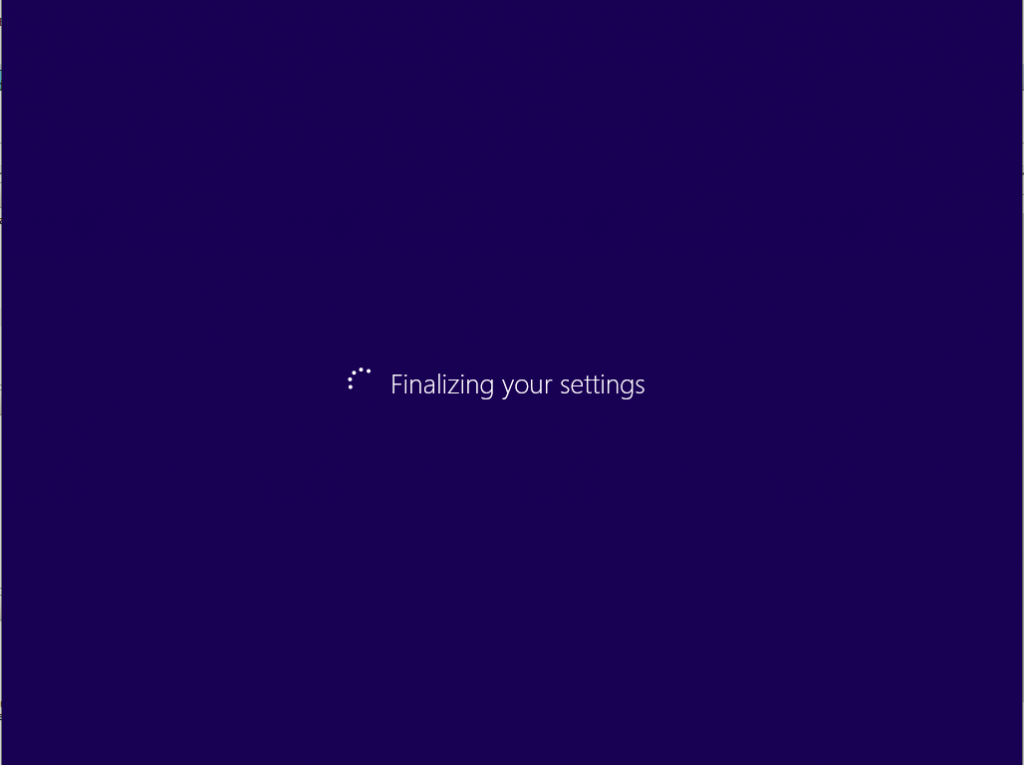
Finalizing Account Setup for the new Administrator Account
Default Windows Server Lock Screen
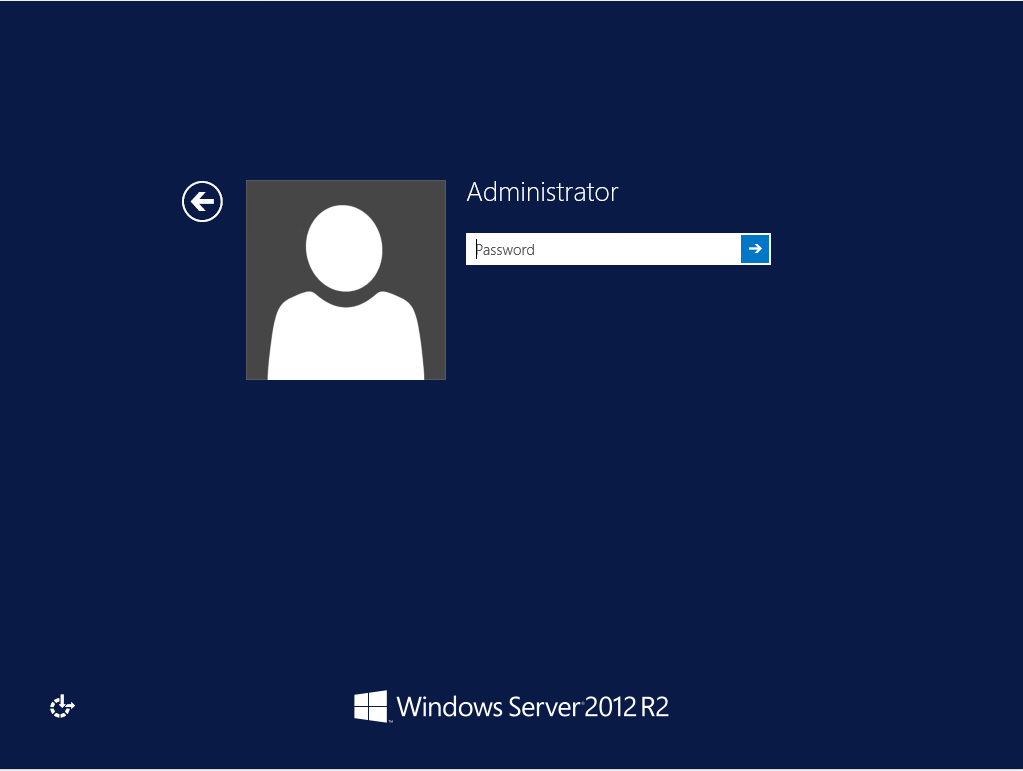
Enter the Local Administrator Password you just configured
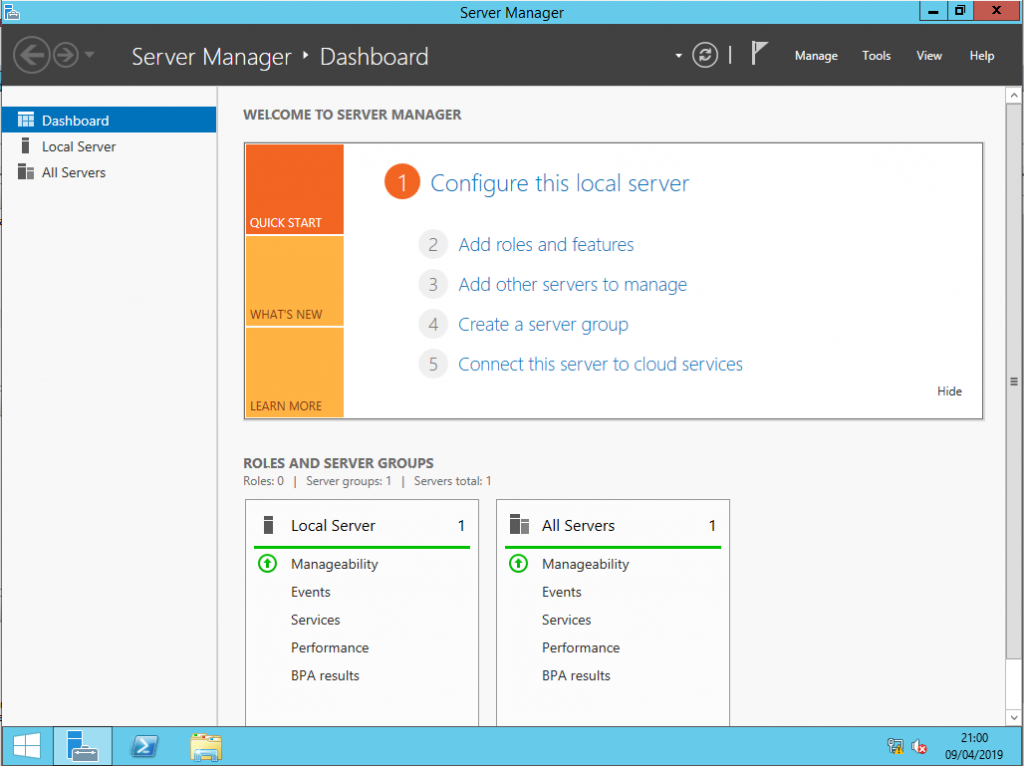
Once the login process has completed the Server Manager will auto launch ready for you to complete the initial server configuration


