


In this Mini-Series, I will cover the principles of Installing the Microsoft Deployment Toolkit, Configuring the Windows Deployment Service and then creating and managing Windows 10 Reference Media and finally creating the deployment share for day to day deployments. For this first blog post in this mini-series, I will cover how to install and configure MDT, ADK and WDS. This shall all be performed on a Windows Server 2019 GUI Standard Server running under Hyper-V.
Image Types and Deployment Overview
Over the years that I’ve worked in IT, I’ve seen various different options of Image deployment, from software packages and providers to how reference images get built, patched and configured. But with all these options it still comes down to three image types, Full Fat, Hybrid and Thin.
Fat Full Image:
This is the old school method of image deployment, where you would have a single WIM File with EVERYTHING installed, Software, Drivers, Patches. This although is costly to setup and maintain the deployment time is the quickest of the three images as everything in packed onto one WIM File.
Hybrid Image
A Hybrid Image will contain only the Operating System configuration and maybe Large Corporate software packages like Microsoft Office, Adobe CC Suites or ‘Core Business Applications’ then using a deployment tool such as MDT or SCCM the rest of the organisations applications are packaged up and then deployed as part of an OS Task Sequence.
Thin Image (My Personally Preferred Method)
A Thin Image contains only the OS Patches and Core Configuration. All other software is deployed over the Task Sequence. This WIM File or Reference Image has the smallest foot print, but takes the longest to deploy as everything has to be sent over the network and installed locally on the machine. i prefer this method as its give the IT Department more granular control of application patches and management. – I Should also add that using Thin Images once automated can save a lot of time and can be quickly patched and provision once a week using PowerShell – this is going to be covered in a later blog post!
First you will want to go to: https://aka.ms/mdtdownload and download MicrosoftDeploymentToolkit_x64.msi. Then you will need to download the ADK and ADK WinPE setup files.
NOTE: AT THE TIME OF WRITING THE ADK VERSION WAS 1903.
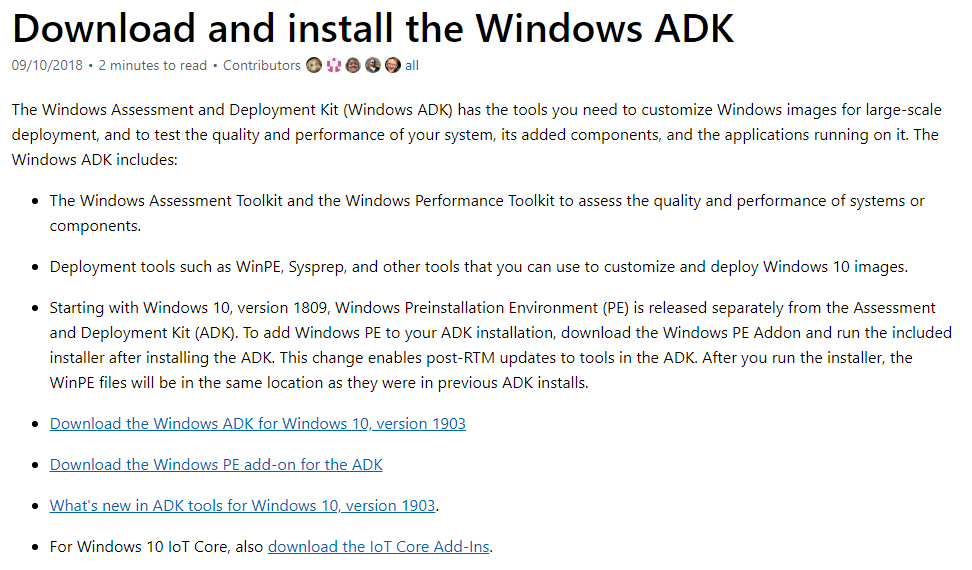
Download Link for ADK: https://go.microsoft.com/fwlink/?linkid=2086042
Download Link for ADK WinPE: https://go.microsoft.com/fwlink/?linkid=2087112
Now we can begin the setup of MDT. For this guide i have downloaded the setup media to C:\MDTSoftware.

Installing Microsoft Deployment Toolkit
Double Click MicrosoftDeploymentToolkit_x64.msi.
Click ‘Next‘.
Accept the EULA and click ‘Next‘.

Click ‘Next‘.
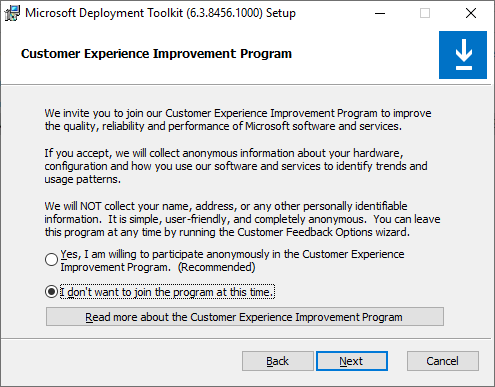
Choose the CEIP Option and click ‘Next‘.
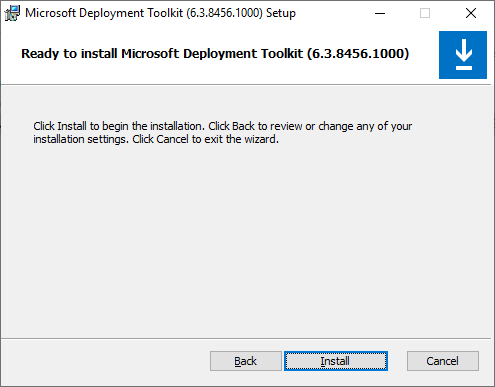
Click ‘Next‘.

Wait for installation to complete.
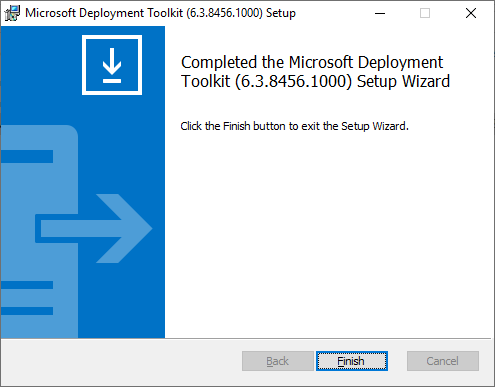
Microsoft Deployment Toolkit is now installed we can move onto the ADK and ADK WinPE Install.
Installing Assessment and Deployment Kit
Double click adksetup.exe.
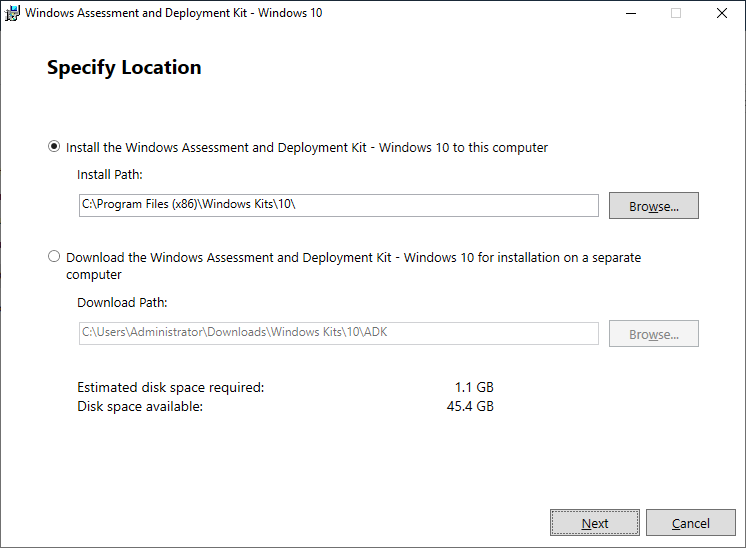
Choose the installation location and click ‘Next‘.
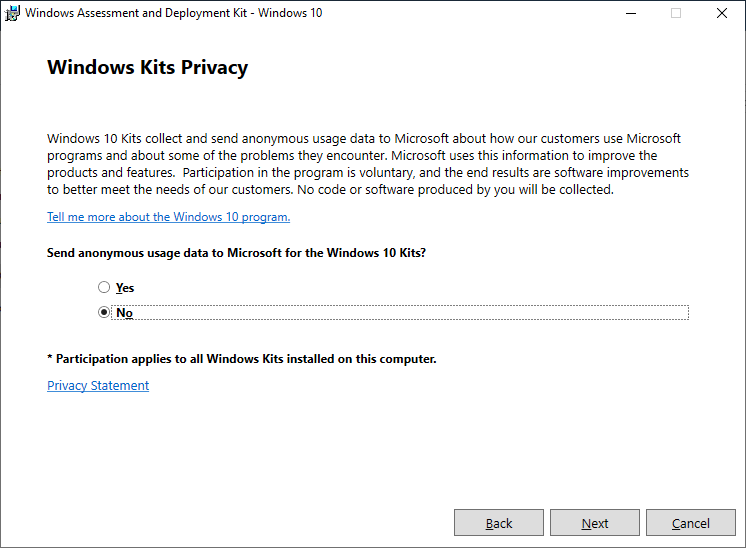
Choose CEIP Option and click ‘Next‘.
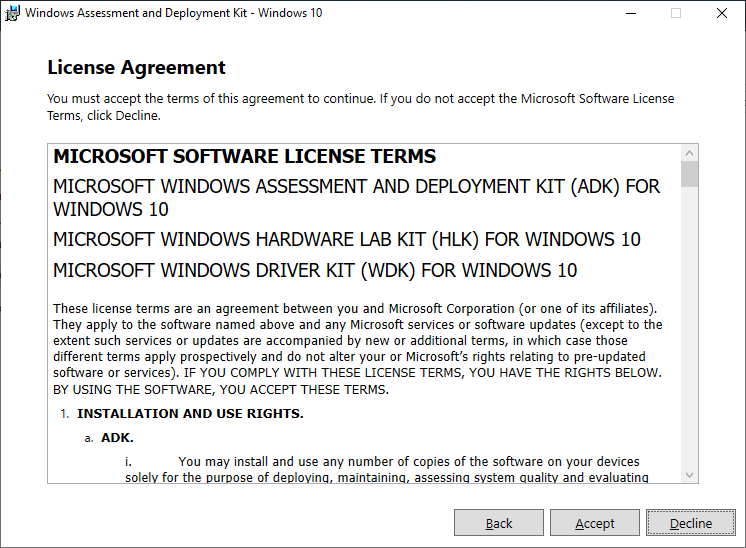
Accept the EULA and click ‘Next’.

The selected features are required for using USMT and MDT to work. If you do not require USMT you can unselect it the minimum requirement is Deployment Tools. Then click ‘Install‘.
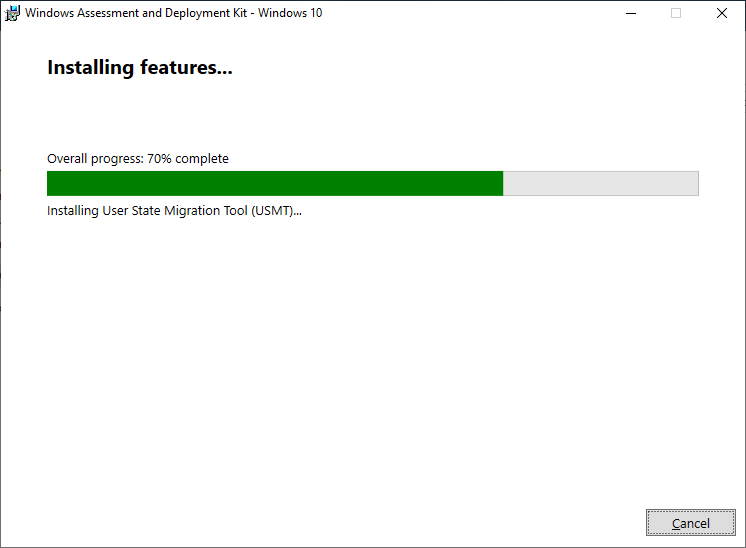
Packages download and install.

Windows 10 1903 – Assessment and Development Kit Installed!
Installing Assessment and Deployment Kit WinPE Module
Double Click adkwinpesetup.exe.
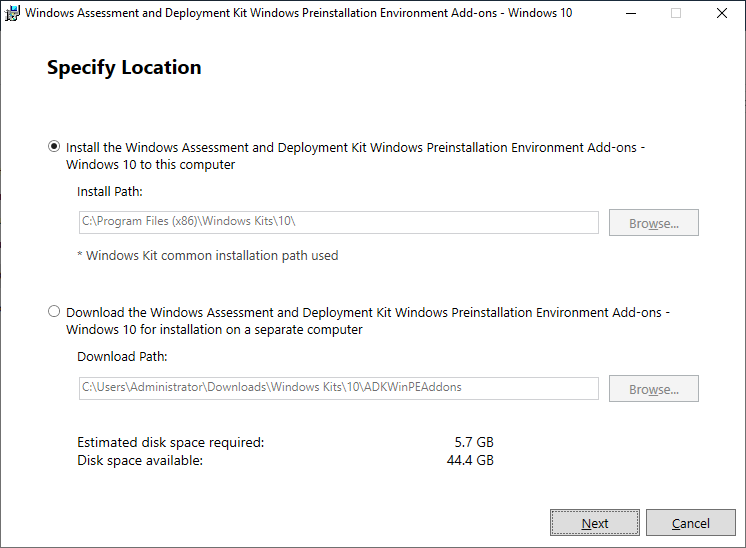
Choose the installation location and click ‘Next‘.
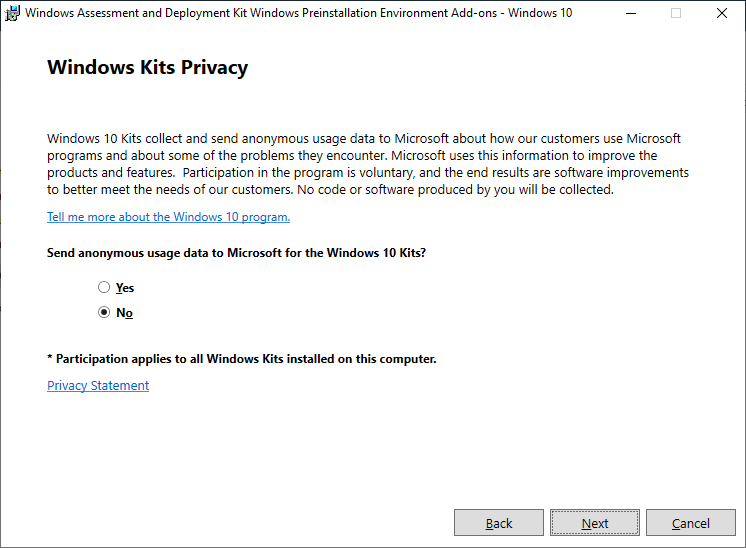
Choose CEIP Option and click ‘Next‘ .

Accept the EULA and click ‘Next’.
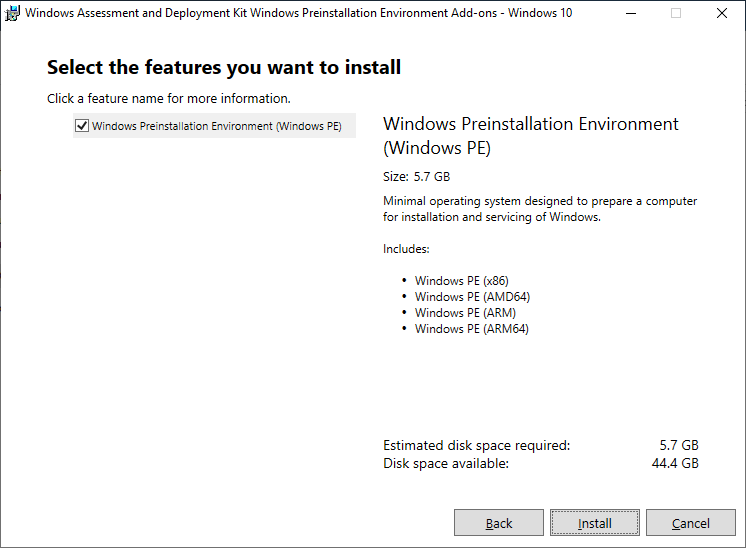
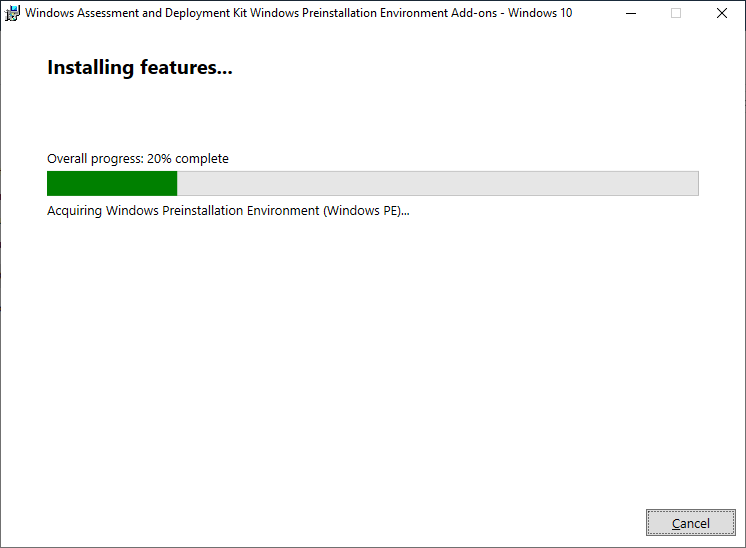
Click ‘Install’.
NOTE: Depending on your bandwidth this may take some time!
Finally we need to install and configure the Windows Deployment Service Role. This doesn’t need to be installed on the same server. however when i deploy MDT/WDS Solution in a production environment i prefer them to be on the same box as it makes management easier.
Launch Microsoft Powershell as an Administrator .
Get-WindowsFeature -Name '*WDS*'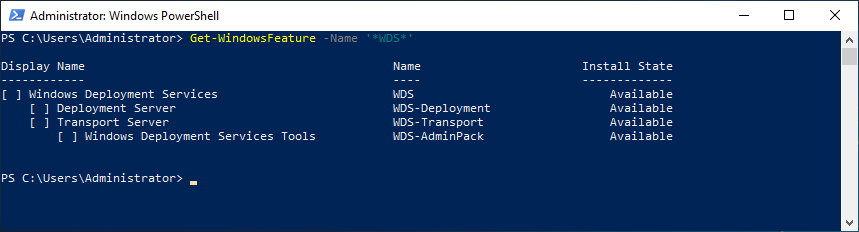
Install-WindowsFeature -Name WDS -IncludeAllSubFeature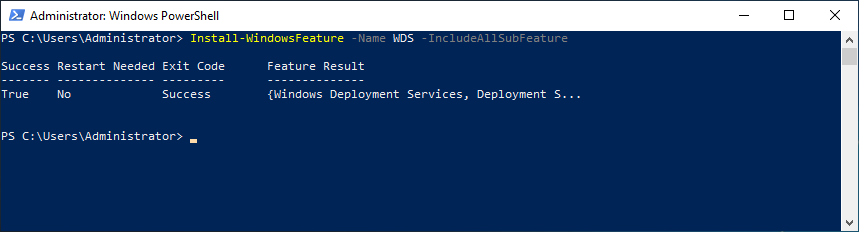
Now we can Configure the WDS Service.
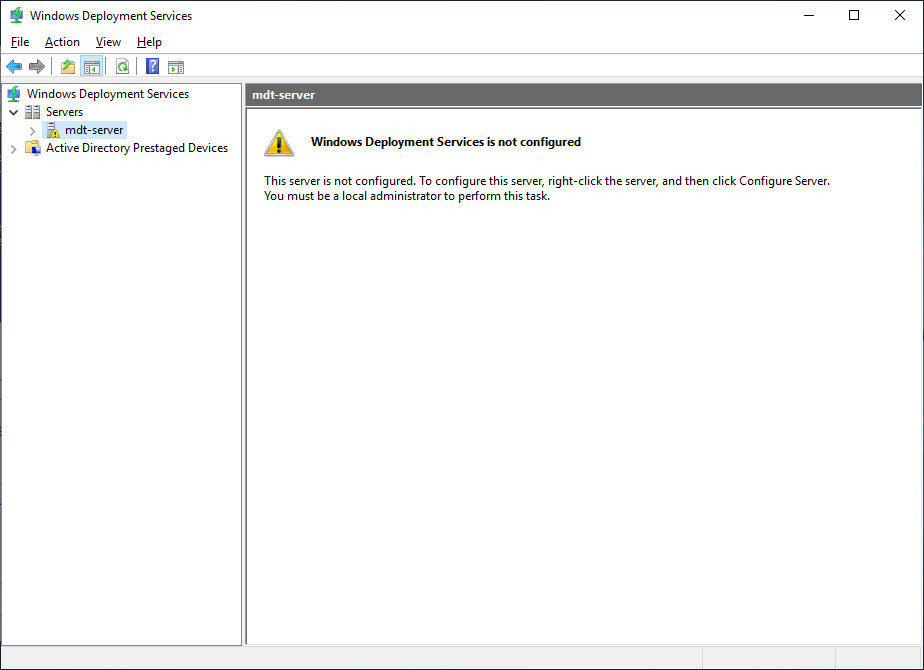
Right click on your server and select ‘Configure Server’.
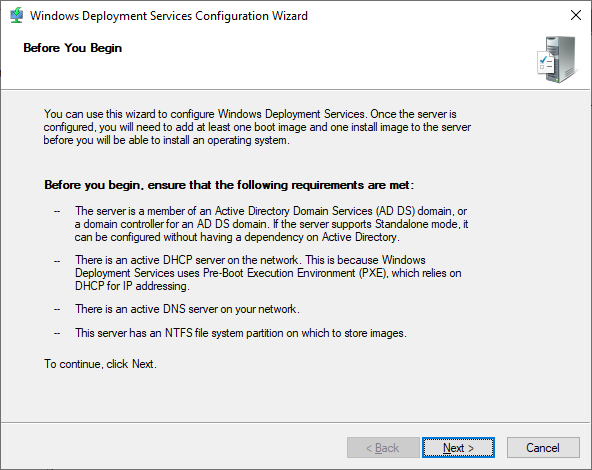
Click ‘Next’.
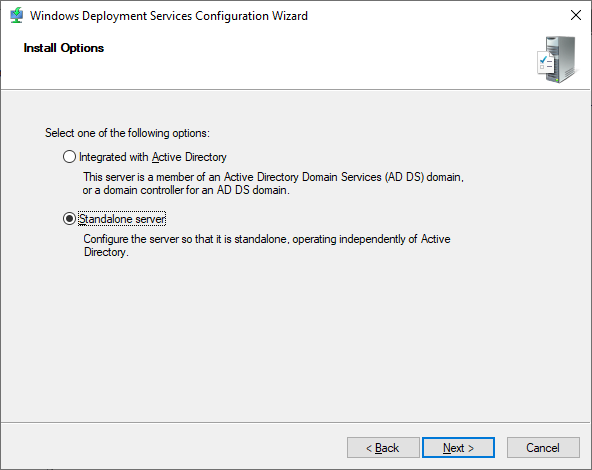
For this blog post the server will be configured as standalone. If you have an Active Directory domain i would advise you choose to ‘Integrated with Active Directory’.

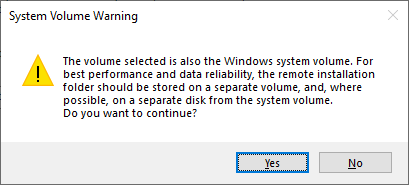
Choose the installation path for RemoteInstall. Microsoft advises that you should not create this path on the C Drive as you may experience performance issues and loss of data if the server were to fail.
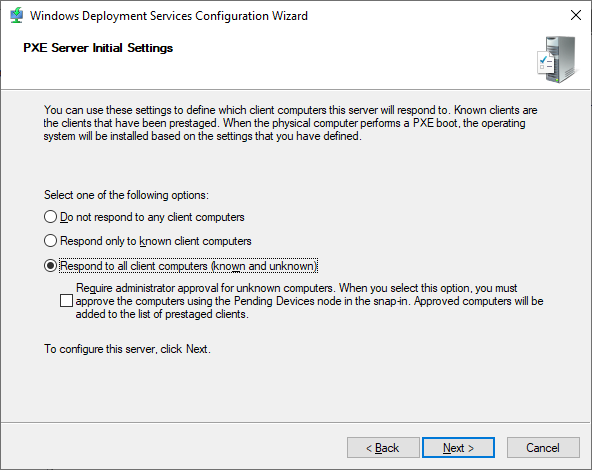
Configure the PXE Response to allow all known and unknown devices to pxe boot, then click ‘Next‘.
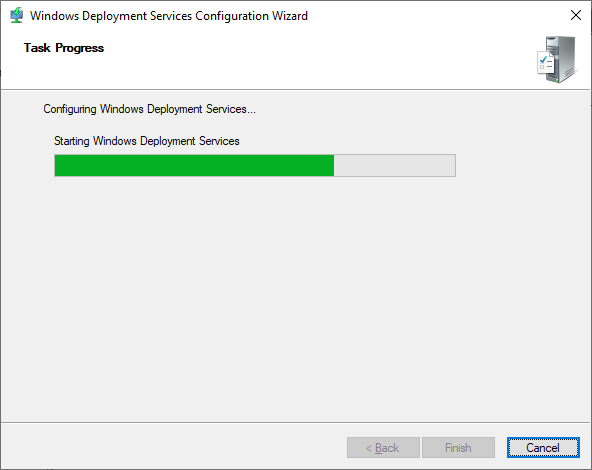
WDS Server is Configured and Files are copied to D:\RemoteInstall.
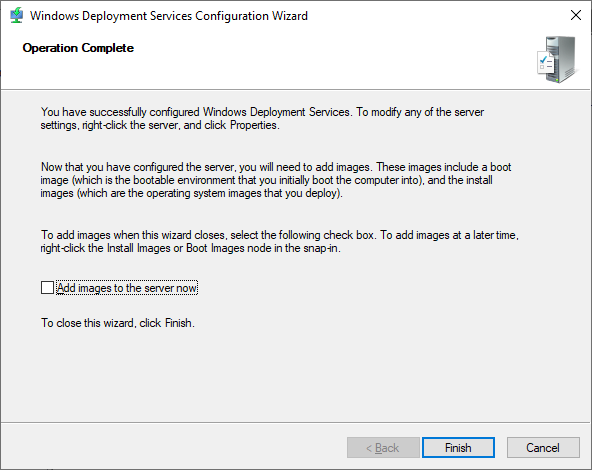
WDS Service is now configured. before we create the boot media there are some performance tweaks we can make to help with TFTP transfer.
Right click on the server (mdt-server) and select ‘Properties’.
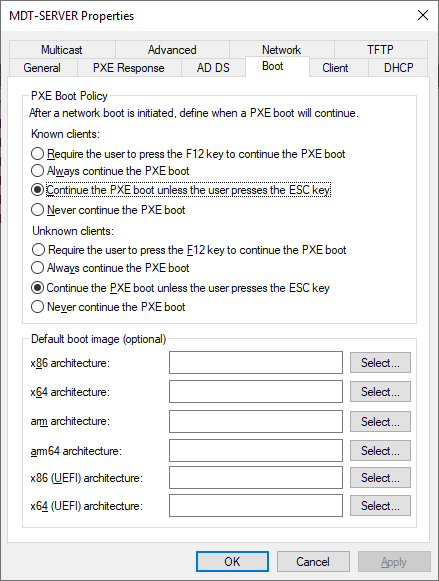
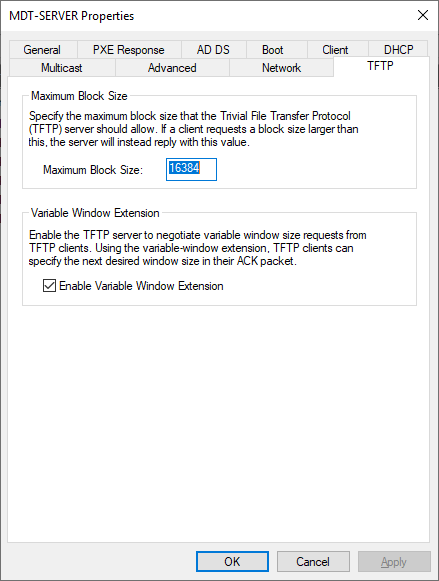
NOTE: These are my configuration settings i use when i deploy.
Navigate to the Boot tab and Choose ‘Continue the PXE boot unless the user presses the ESC Key’.
On the ‘TFTP’ Tab Configure the Max Block Size to ‘16348’.
and with that, this concludes the blog post on Installing and Configuring MDT and WDS. See you in the next post!


