


In this blog post i will cover the installation of CentOS 7.6.1810 Release in a Hyper-V Generation Two Virtual Machine.
Firstly you will want to navigate over to the centos website: https://www.centos.org/download/ and download the latest media (NOTE: At time of posting the latest iso was: CentOS-7-x86_64-Minimal-1810.iso. I Should add that this post will be using the Minimal Installation ISO Media.
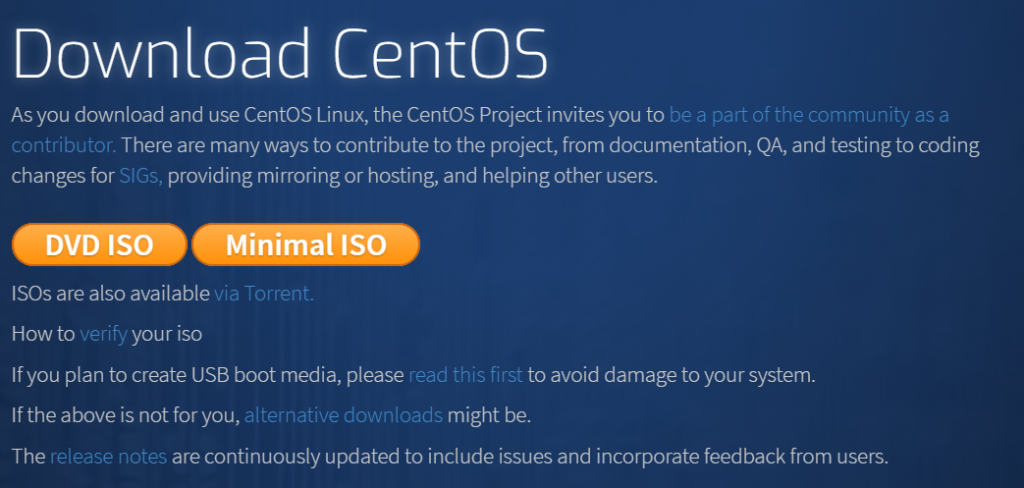
Once the ISO Media has been downloaded we will need to attach the ISO to the Virtual Machine. (This is not covered in this post.)
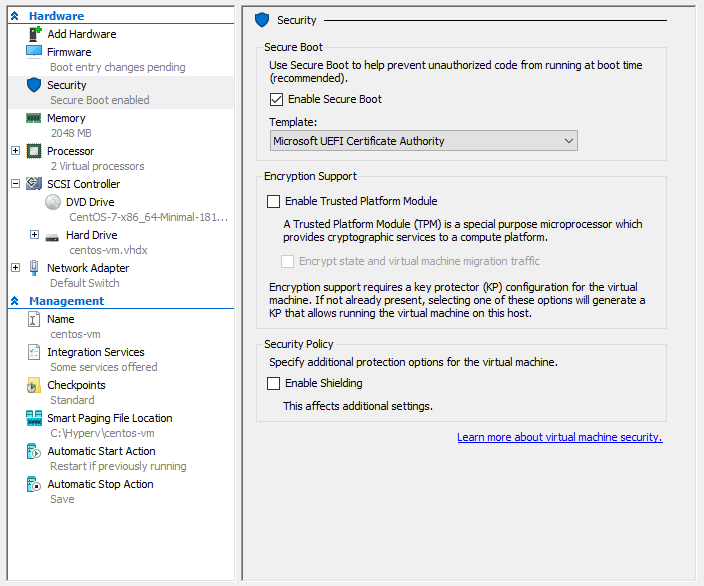
Don’t forget when using Linux Generation Two Virtual Machines to change the Secure Boot Template to “Microsoft UEFI Certificate Authority” – Otherwise you will have boot issues, alternatively you could disable Secure Boot.
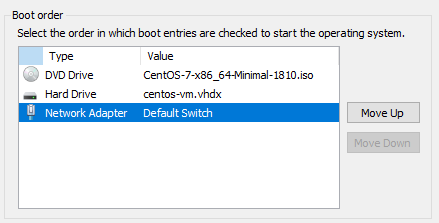
Finally change the boot order so that the DVD Drive is first.
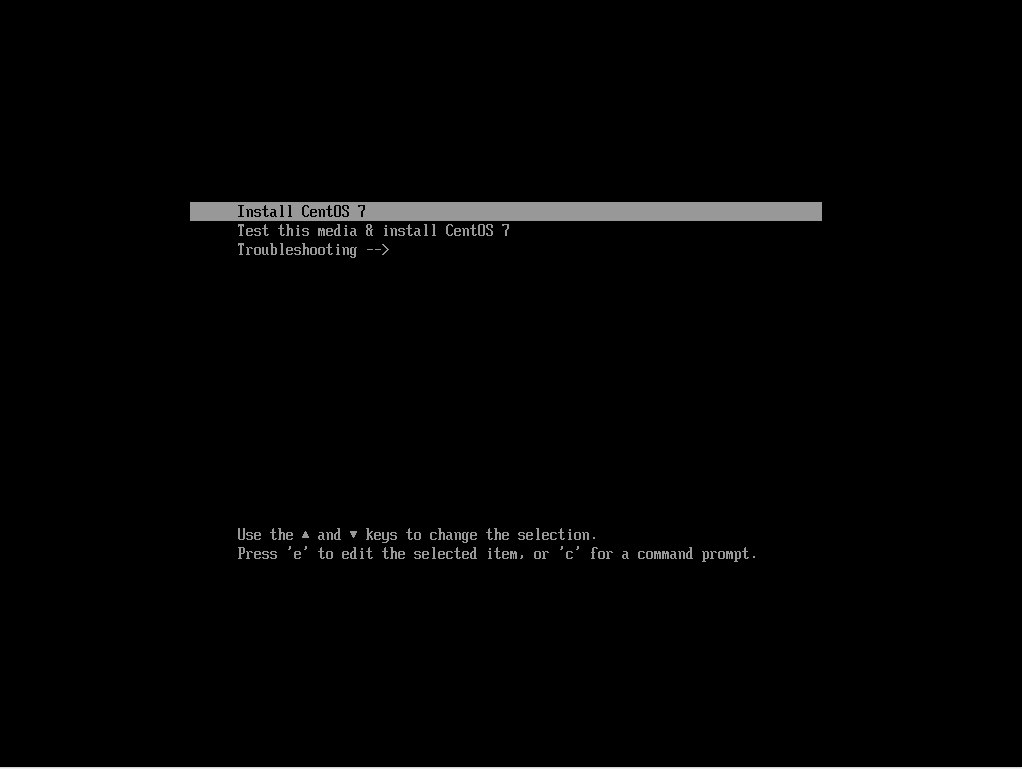
Now we can proceed with the CentOS Minimal Installation
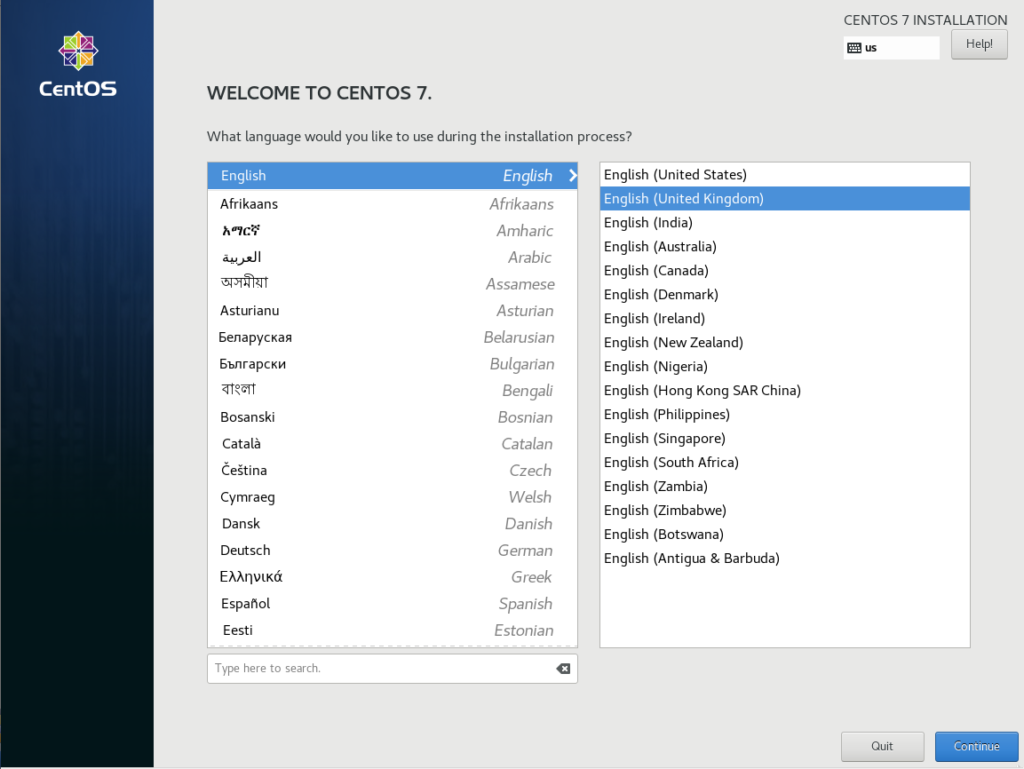
Step One: Configure Installation Lanuage
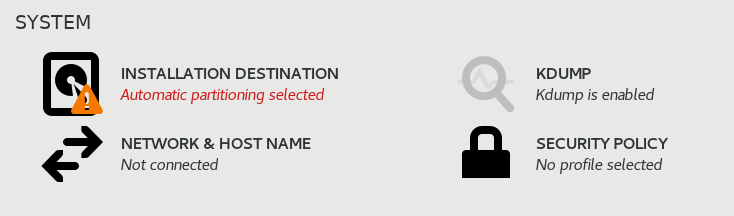
Step Two: Configure Installation Destination and Network Settings
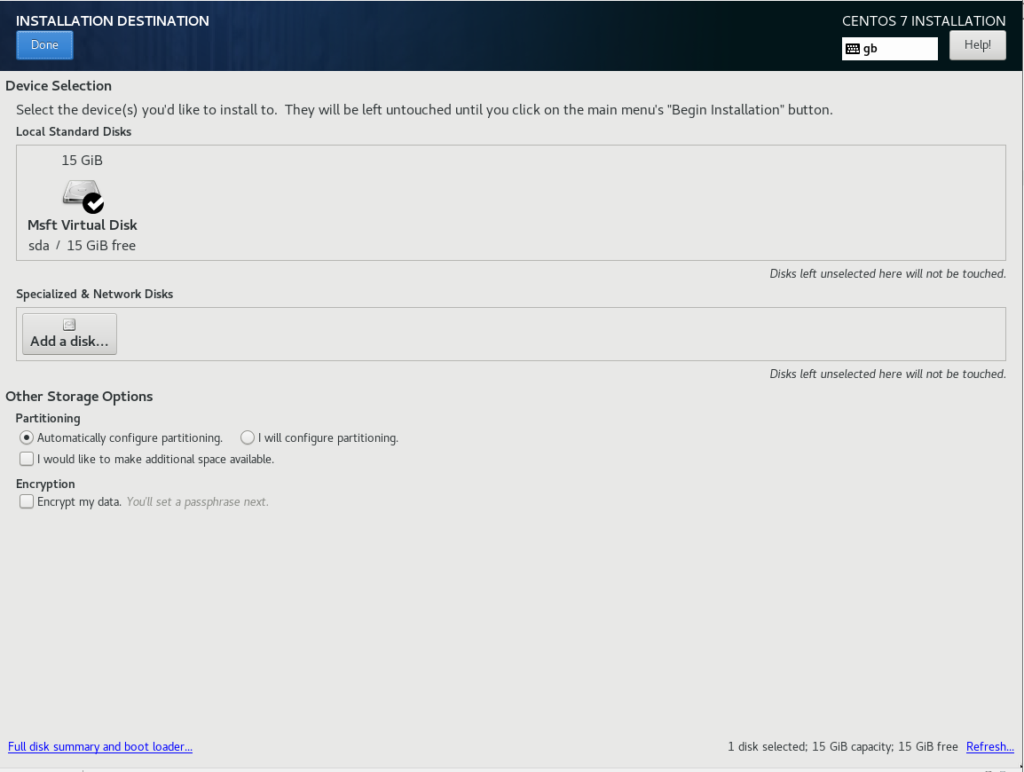
Step Two A: Select: INSTALLATION DESTINATION
If this is a fresh installation you should not need to change any settings under here apart from confirm the disk for install. You can also configure custom partition tables here, but again this wont be covered in this blog post.
Step Two B : Configure Network Interface and Server Name
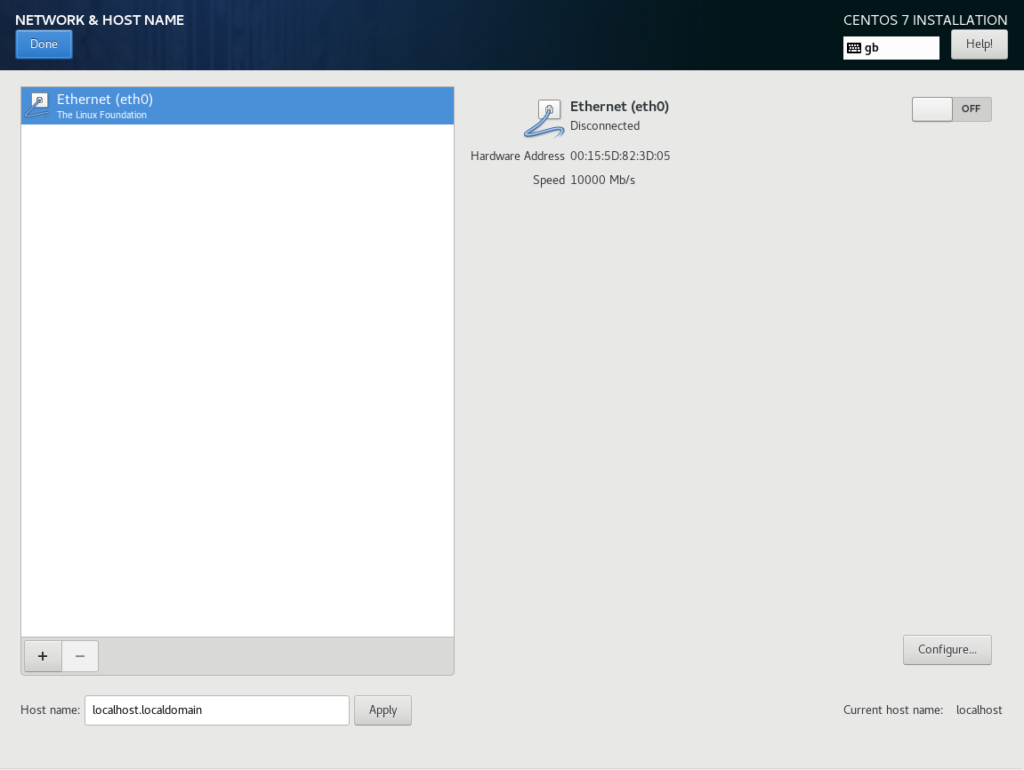
Firstly you will want to enable the network interface adapter (eth0)
If your Virtual Machine has access to a DHCP Server you will then receive a DHCP Address.
NOTE: For this post i am using the Default Hyper-V Switch.
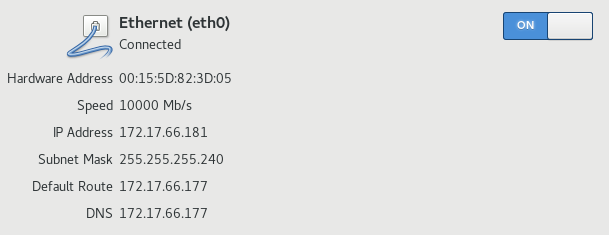
For further customisation you can click the “Configure…” Button at the bottom right of the screen to configure a Static IP Address, DNS Server and Search Domain.
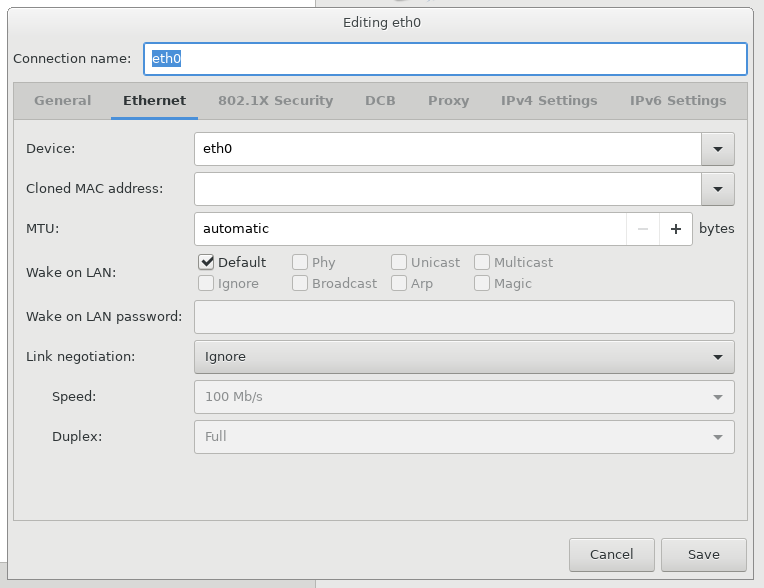
To Assign a static IPv4 Address select: “IPv4 Settings” and change the Method from “Automatic DHCP” to “Manual”.
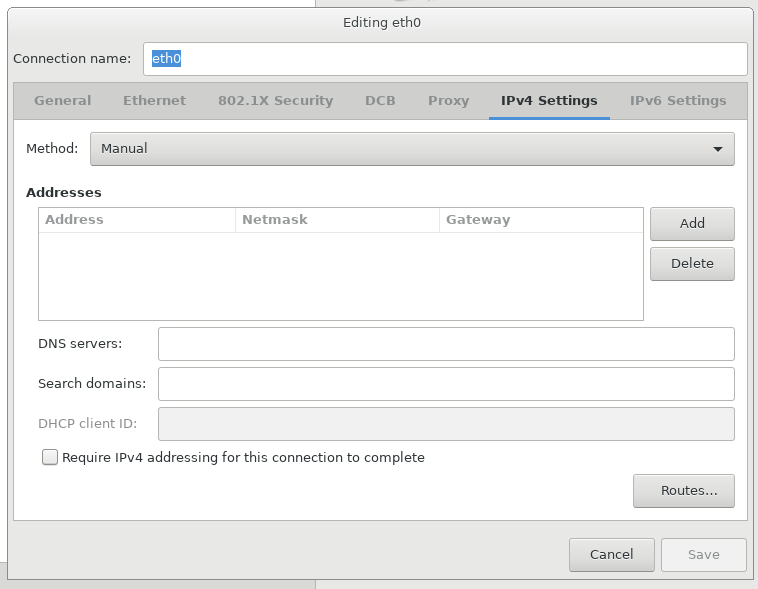
then click “Add” Button and enter the IPv4 Details as shown in the example below:
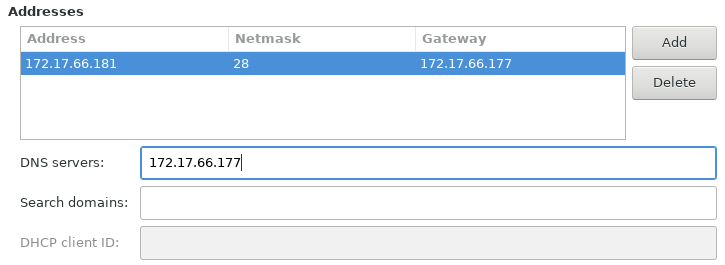
Then Click “Save” to confirm the adaptor settings.
Finally we can configure the server hostname the default value is:
localhost.localdomain

For this example i will use: “centosvm.local” and then click “Apply”

Now we can click “Done” top right and leave the Network and Host Name Configuration Menu.
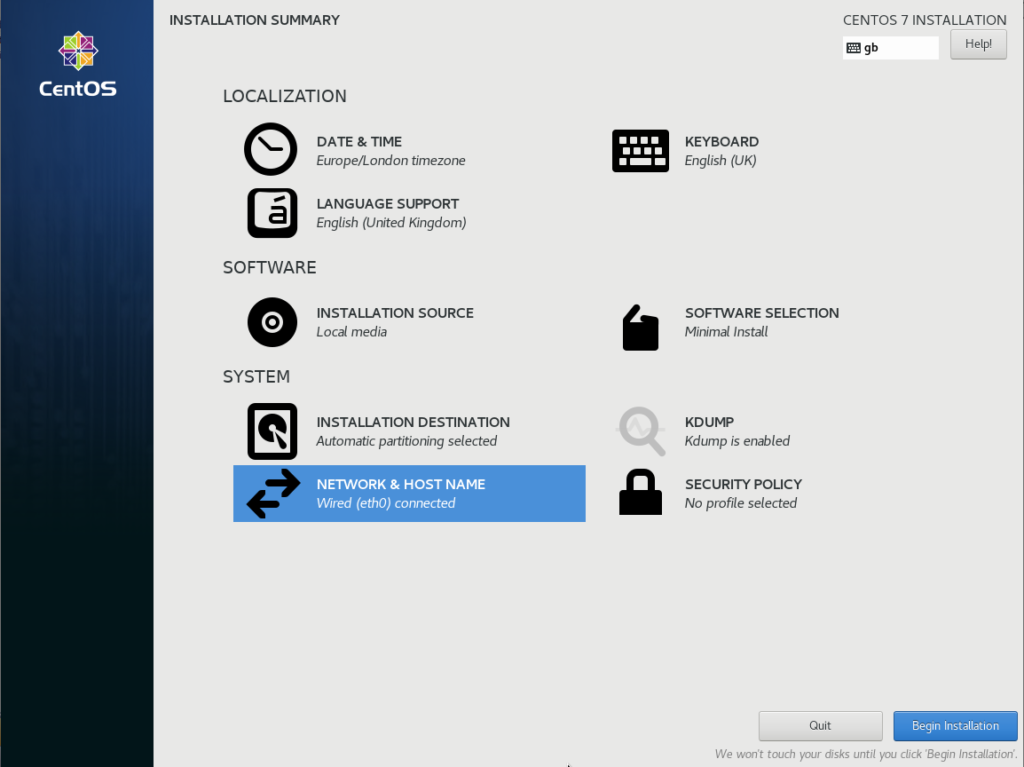
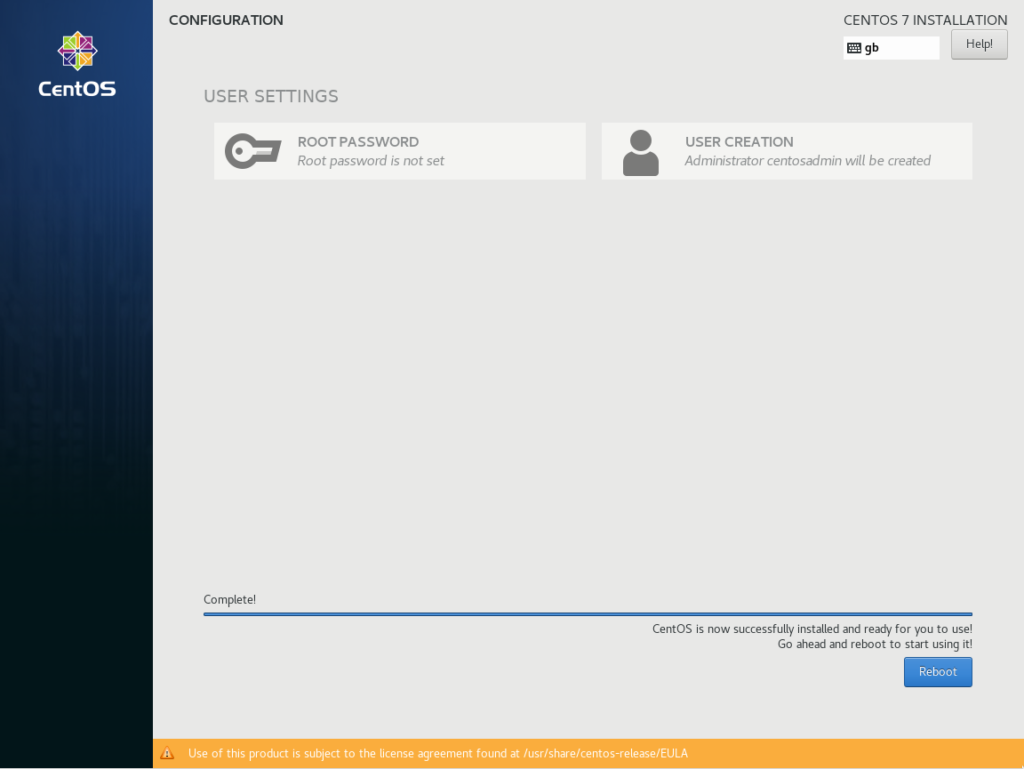
everything under the “Installation Summary” now checks out and we can proceed with the OS Installation. During the OS Installation you will be asked for a local user and if you want to configure the root password. I Personally never configure the root password at this stage as it can be a possible security weakness, unless it was within a lab environment or test env.
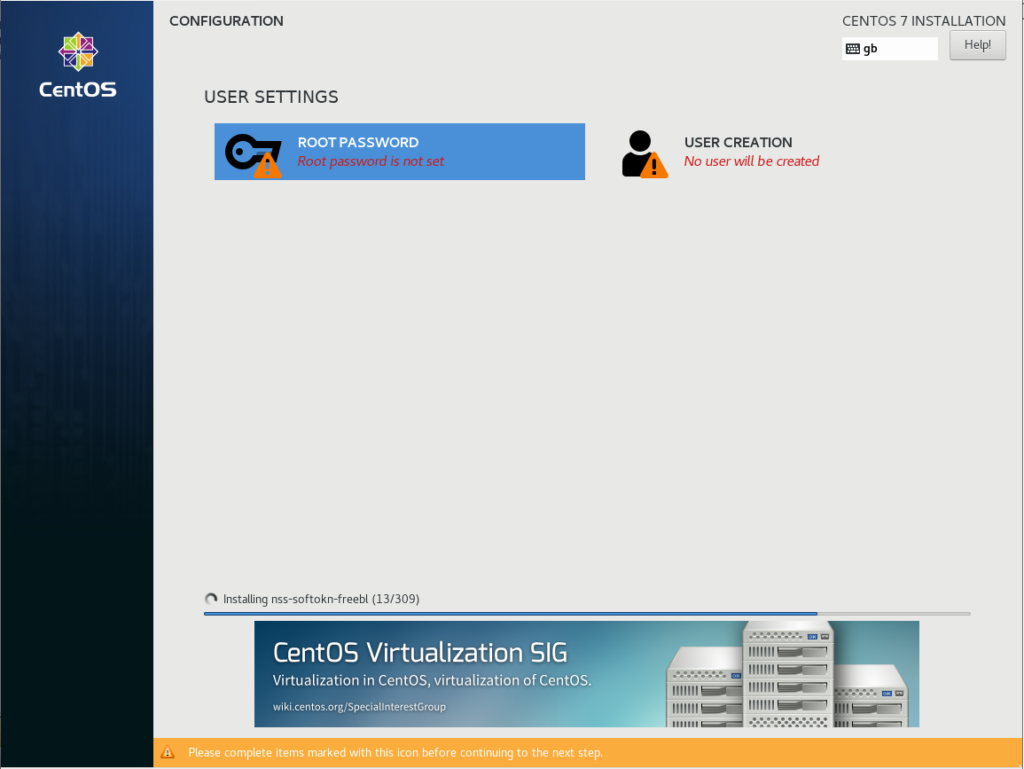
Step Three: Configure Local Server Administrator
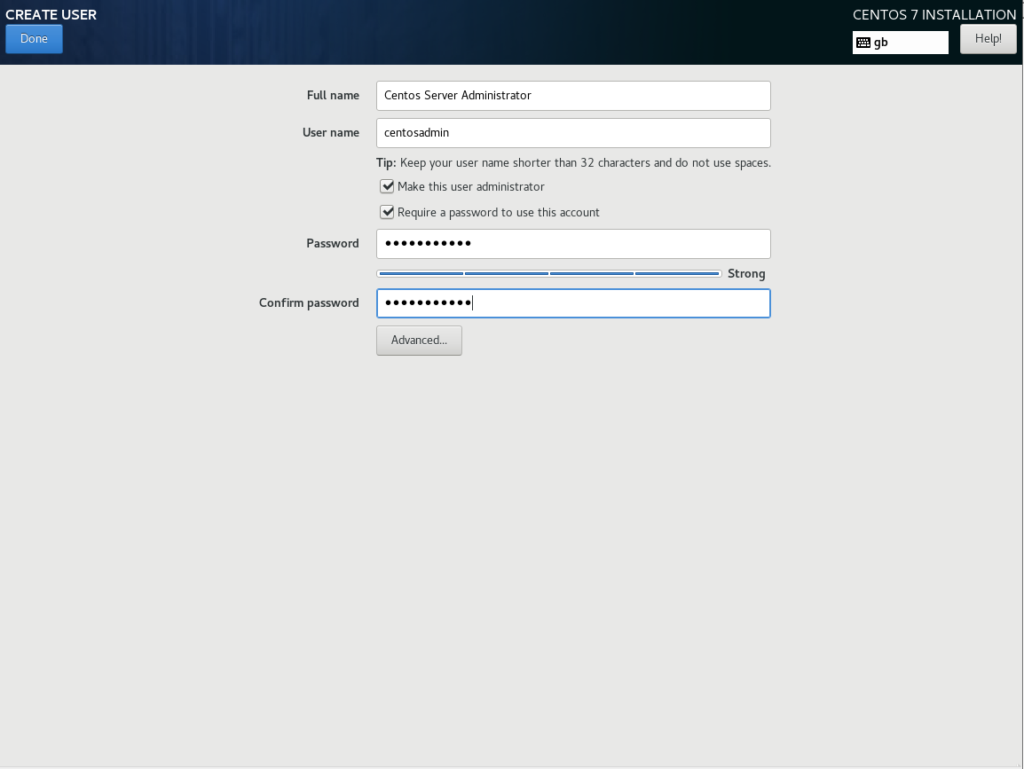
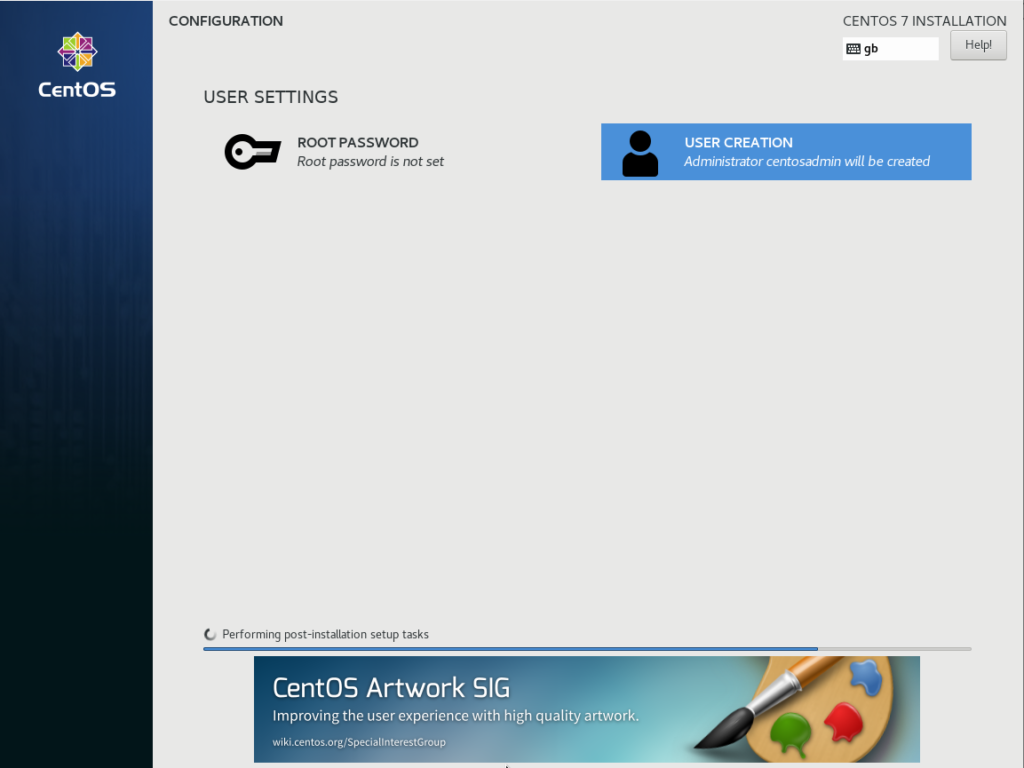
Once the local user has been configured click the “Done” Button top right.
Step Four: Grab a drink and wait for the installation process to complete.
Installation Completed! we can reboot into the OS
Login with the credentials which you assigned during the installation setup.


