


In the previous blog post, I covered the installation process of Zabbix Monitoring 4.2.5.
Now we have the ‘console’ installed we need to start deploying the network agent across our enterprise estate.
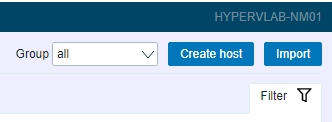
Firstly from the Zabbix Console, we need to create a host item which will then report back to Zabbix. From the Main Menu Navigation select ‘Configuration’ then ‘Hosts’.
Creating a Manual Zabbix Host

By default, there is always the Zabbix Server Host which will report on the health of our CentOS Virtual Machine.

To create a new host, on the top left select ‘Create host’.
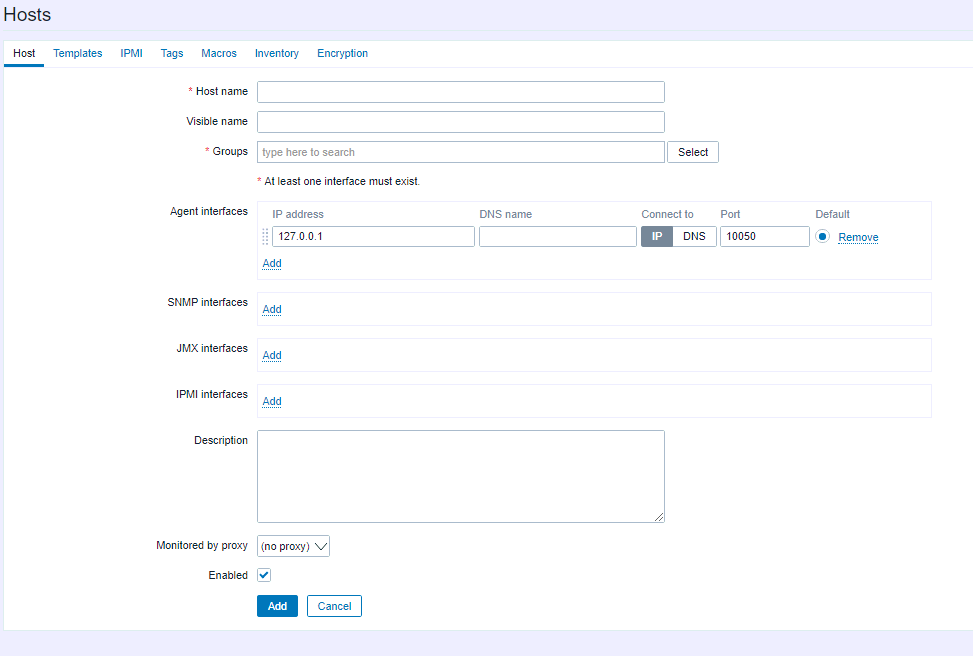
For this initial example, I’m going to add in HYPERVLAB-DC01.
the details for this server are as follows;
Host Name: HYPERVLAB-DC01
Host FQDN: HYPERVLAB-DC01.ad.hypervlab.co.uk
IP Address: 192.168.101.11
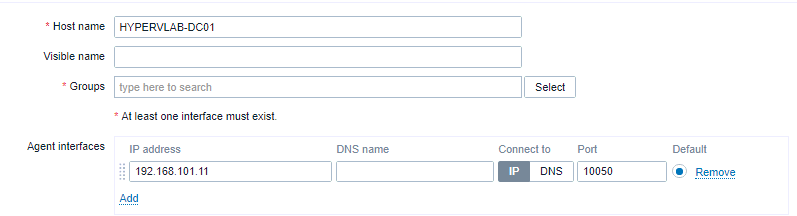
Next, we need to configure a Group for the Reporting Host.
NOTE: These are the default categories – in a later post I will cover creating custom ones.
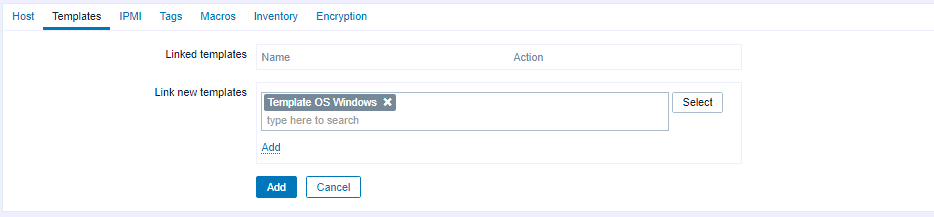
Next, We need to go to the Templates Tab and configuring the reporting options.

Click ‘Select’, then on the Group Dropdown select ‘Templates/Operating Systems’ and select: Template OS Windows, then click ‘Select’.
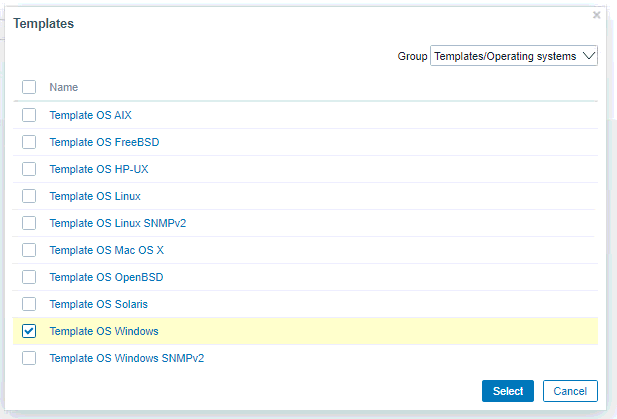
This bit is a little confusing you need to click the little ‘Add‘ NOT the big Blue Add!
From the graphic below, you can see that the new Domain Controller Monitoring has been pre-staged, we now need to push the network agent to said server.

Manually Deploying Zabbix Agent
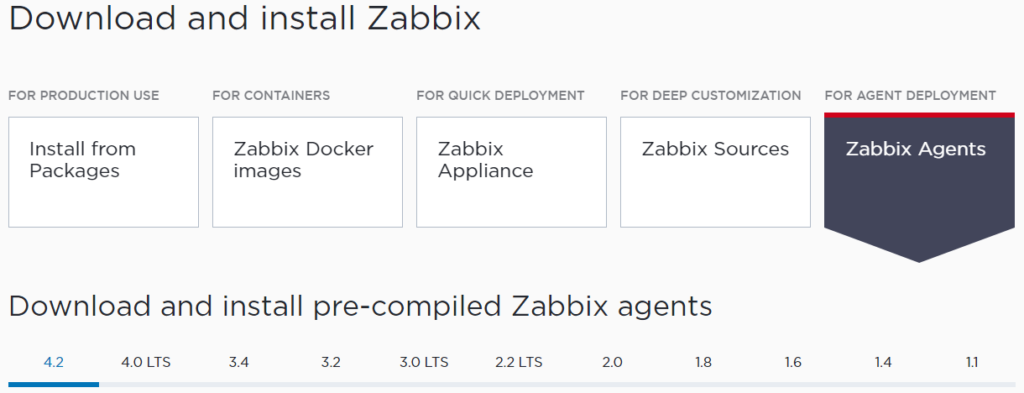
Download the Zabbix Agent Here from https://www.zabbix.com/download_agents
For this example, we will deploy the MSI Installer over a Simple Group Policy Object.
NOTE: Yes, you could also deploy this using PDQ Deploy, MDT or SCCM, Or an alternative Software Deployment Solution.
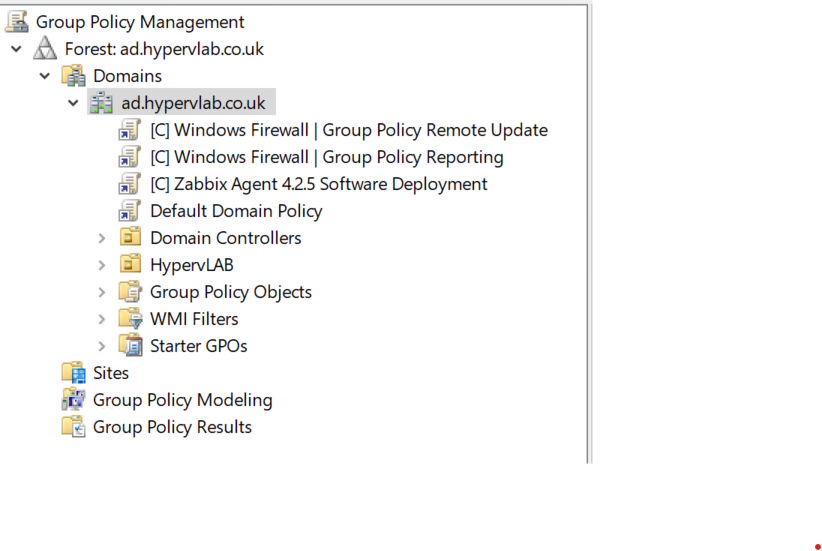
Now let’s launch the Group Policy Mangement Console.
gpmc.msc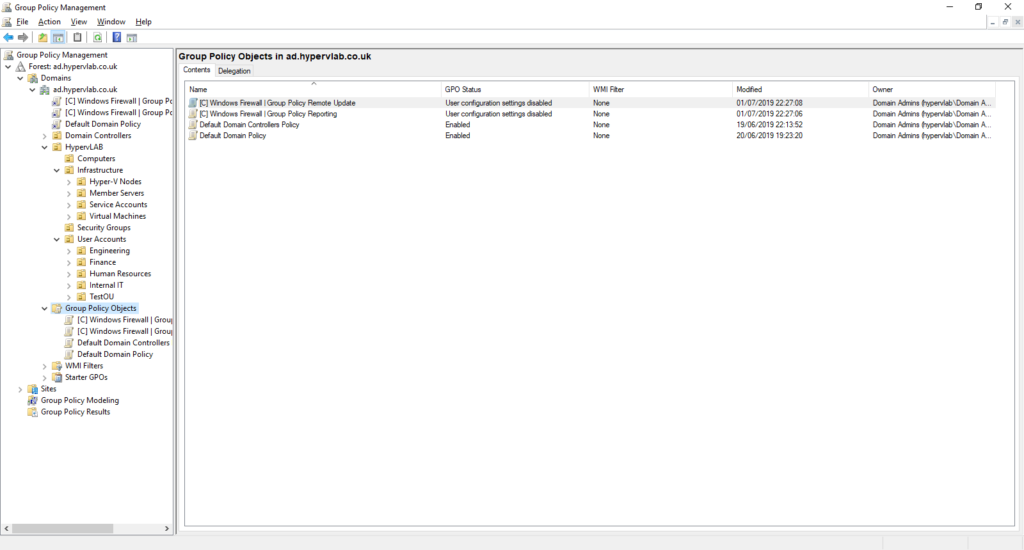
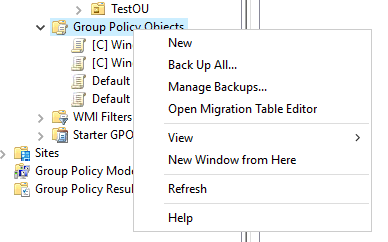
Rightclick on ‘Group Policy Objects’ from the context menu select ‘New’.
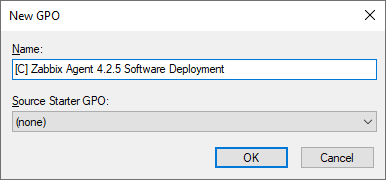
Name the new Group Policy Object.
When I create my group policy objects for ease of use I use [U] or [C] to denote quickly weather the policy is strictly a User or Computer Base. This can save time when scanning through 100s of polices.
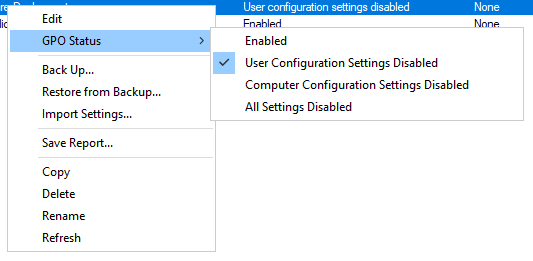
Next, we want to disable the User Configuration Settings, as this is a computer only policy, Right Click on the Group Policy Object and select ‘GPO Status’ and select ‘User Configuration Settings Disabled’.
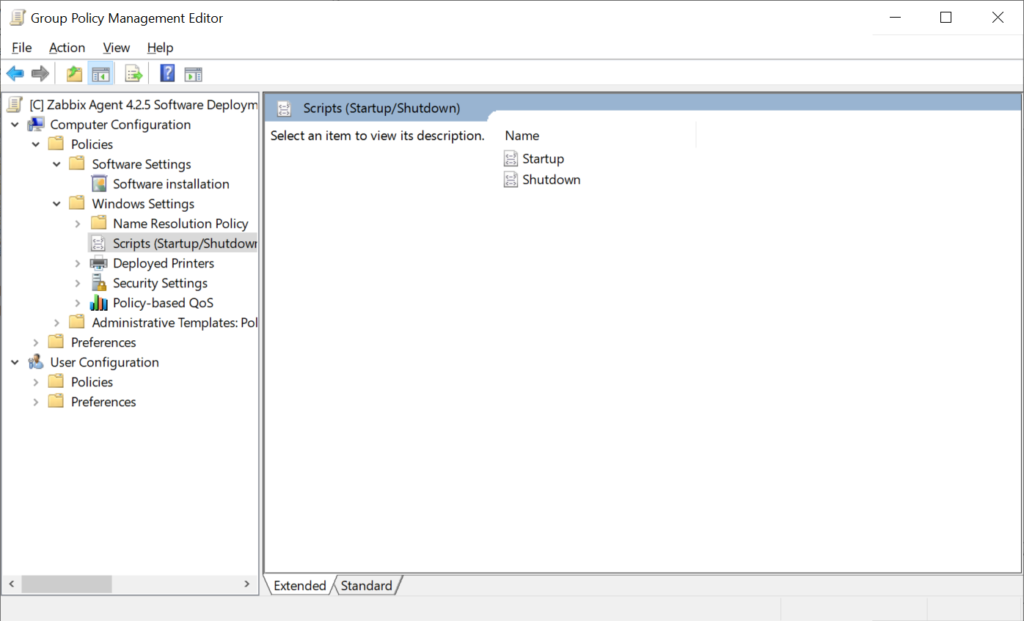
Now open the new Policy Object and navigate to
COMPUTER > WINDOWS SETTINGS > Scripts
Create a Batch File with the following command and replace the IP Address with your server address.
msiexec /i "\\ad.hypervlab.co.uk\netshare\applications\network_management\zabbix_agent\zabbix_agent-4.2.5-win-amd64-openssl.msi" /qn SERVER=192.168.101.18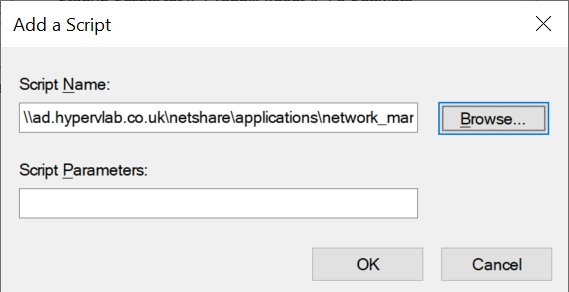
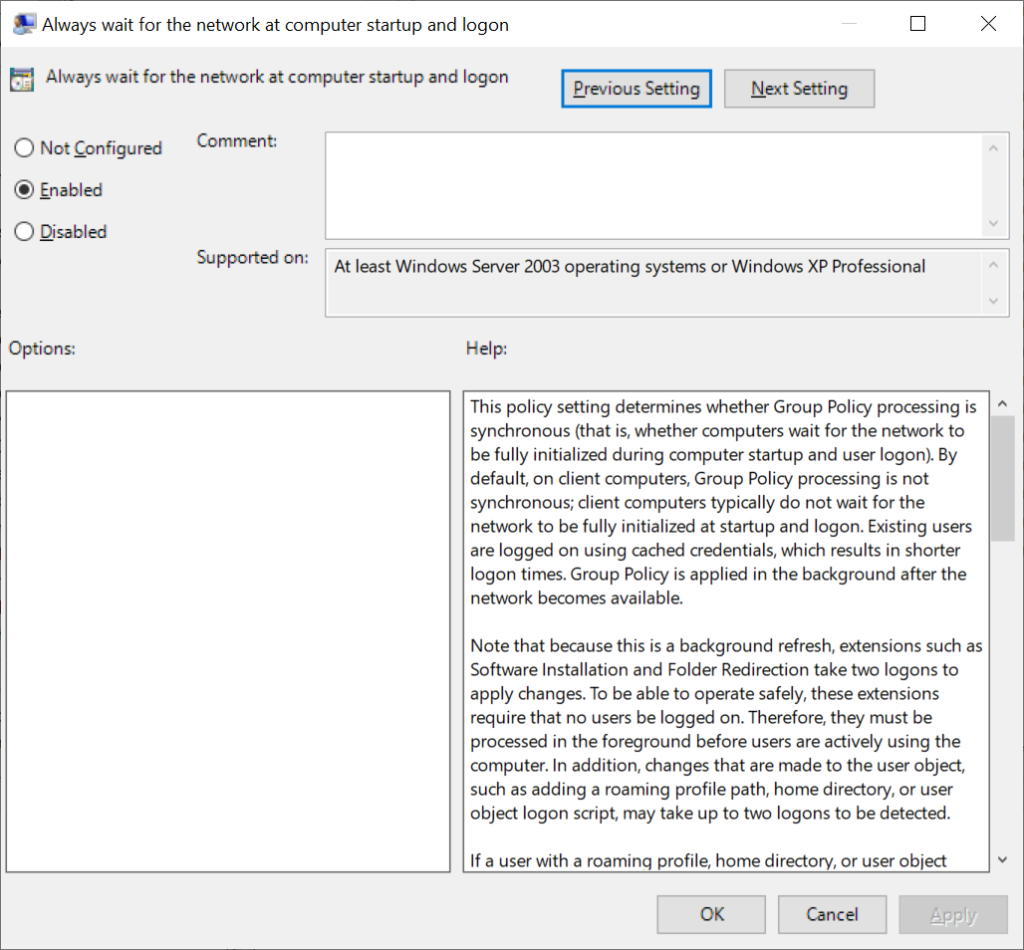
Next Navigate to COMPUTER > Administrative Settings > System > Logon and look for
‘Always wait for the network at computer startup and logon’ Ensure this is [X] Enabled.
Now we have configured the Policy Object we can apply it for now (as this is a lab environment) to the top of the Group Policy Tree.
NOTE: If this was being deployed in production I would advise you link the Group Policy Object to each Organisational Unit which needs the Agent installing on.
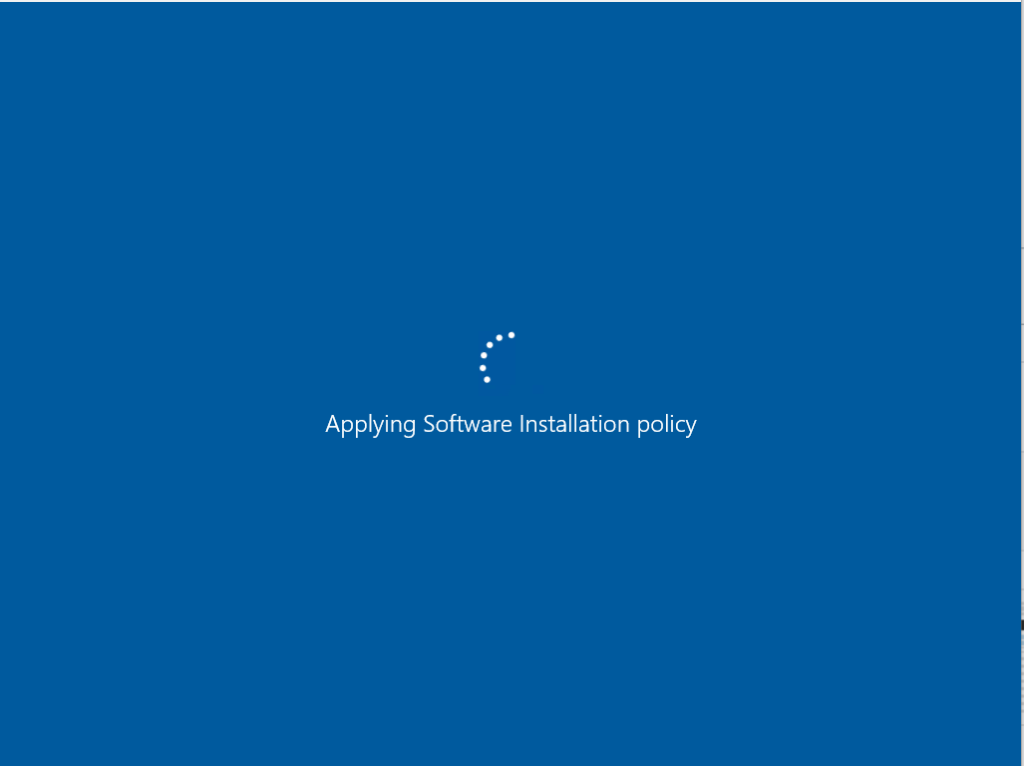
Now when convenient Restart the Server.
Logging back into the Zabbix Dashboard and under Configuration and Hosts, we can see the Agent is now online for the HYPERVLAB-DC01.


