


Helloooo People, This is the year of Azure Blogging and knowledge sharing, the best place to start is with a safe place where we can create and manage DNS Records, Which won’t break your root domain or blog space, I’ll be honest I picked this one up from Richard Hooper. But figured that for those who are new to networking or wanting to learn more about DNS Zones and records. I’d create a short post on how its done.
So the first question I guess is why do we want to create a separate DNS Zone for an Azure Playground? I guess at the end of the day it comes down to personal preference and network hygiene. For the current learning that I’m looking at for 2023, I’m wanting to split those DNS Records away from the “production” blog that I have, So I don’t accidentally bin all records or create some funky black hole from a misconfigured DNS record. Firstly we need to create a resource group which is going to house the DNS and Networking resources within Azure. to do this you first want to log into the azure portal at: https://portal.azure.com. then we want to create a new resource group.

In the example above, I created the resource group as ‘rg-network-and-dns’ As this in the future will also house the Virtual Network for resources deployed into azure. You can complete the same step using Powershell using the below code.
New-AzResourceGroup -Location 'West Europe' -Name 'rg-network-and-dns' -Verbose
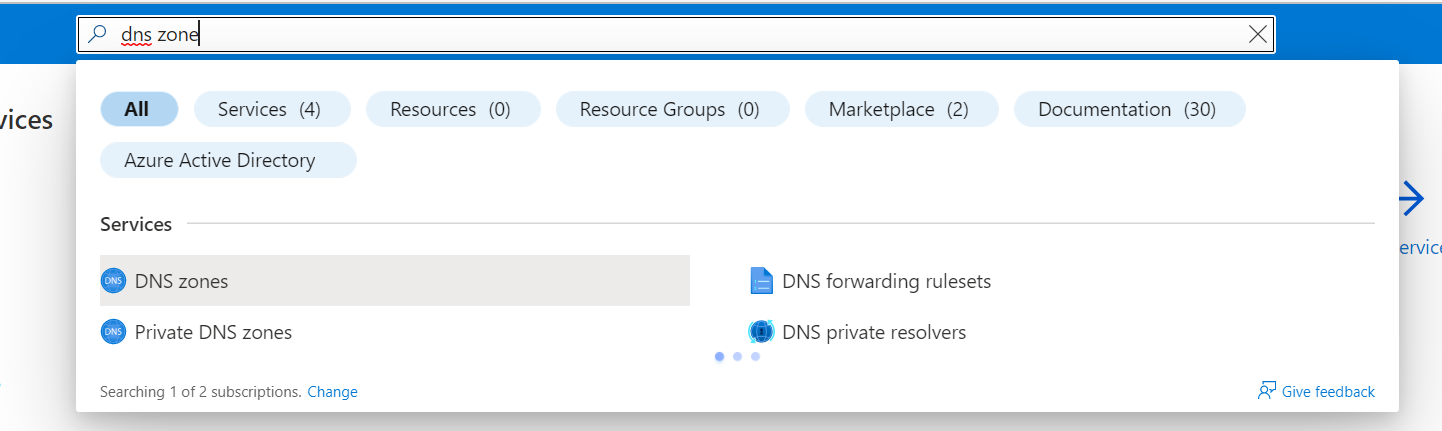
Now that we have a resource group to contain our resources, we can create the DNS Zone, From the search bar at the top of the portal page search for “DNS Zone”.
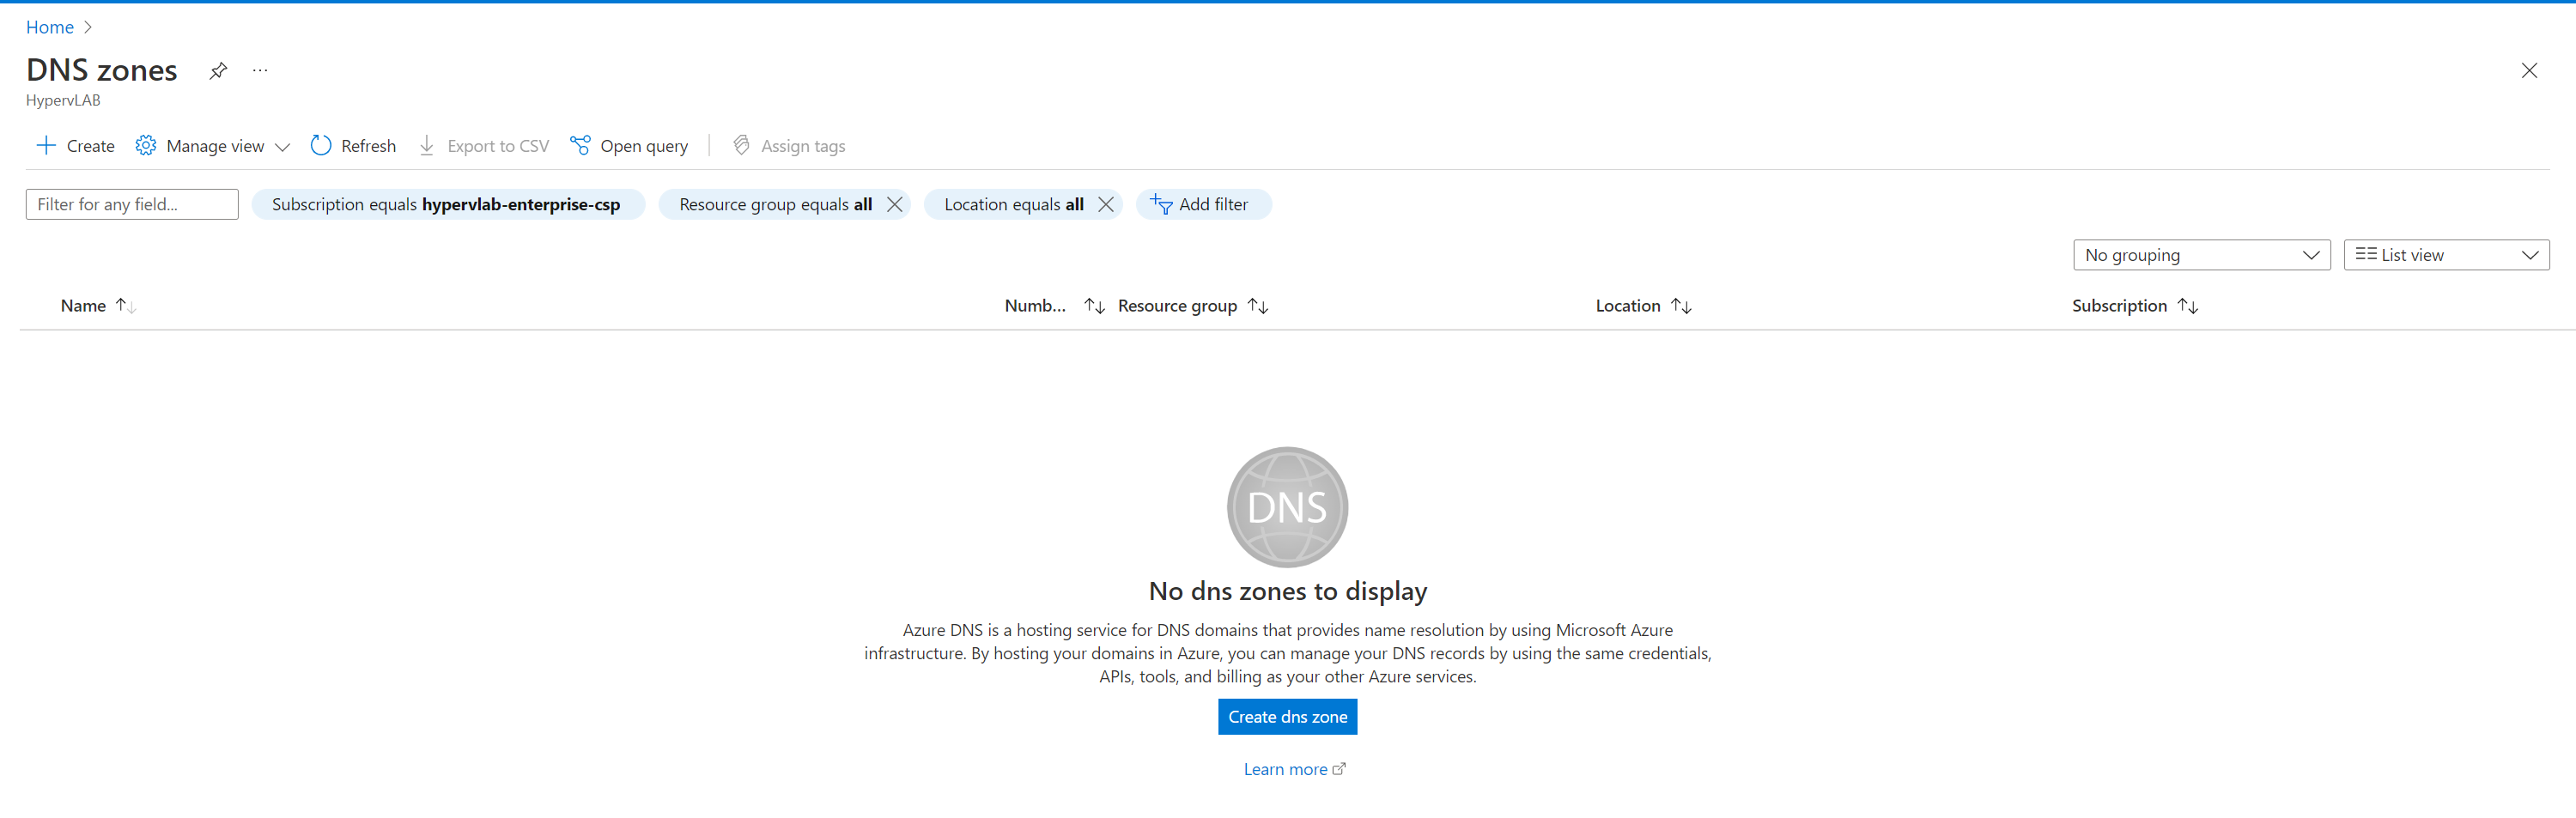
From the DNS Page, Click ‘Create DNS Zone’.
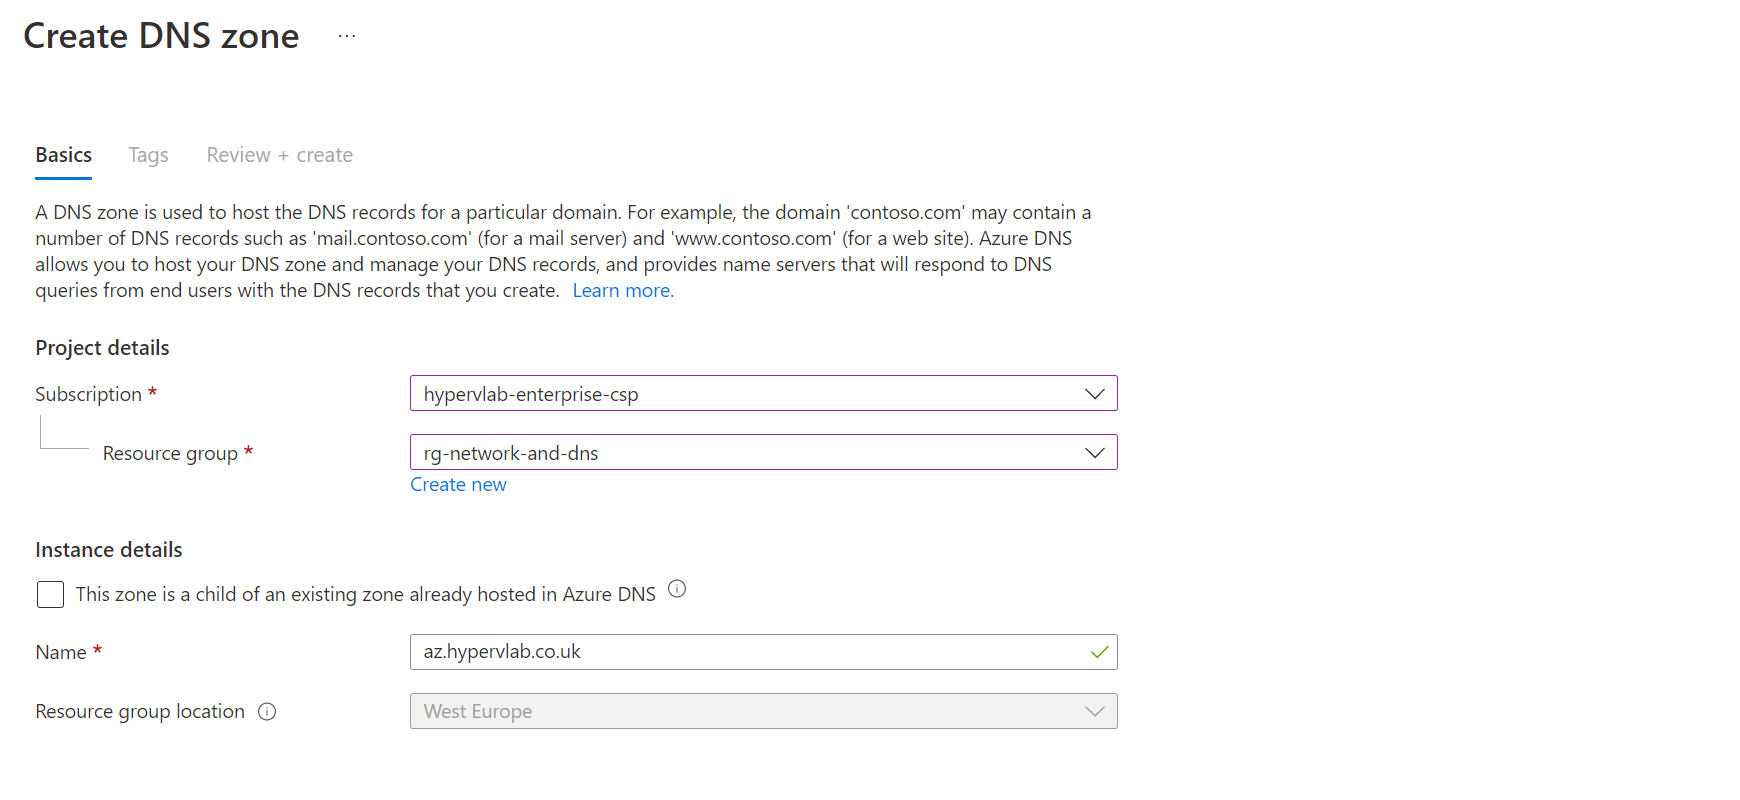
Define the DNS zone you want to create, for this example, I’ve used az.hypervlab.co.uk.
If you wanted to create this using Powershell, you can use the following command:
New-AzDnsZone -ResourceGroupName 'rg-network-and-dns' -Name 'az.hypervlab.co.uk' -Verbose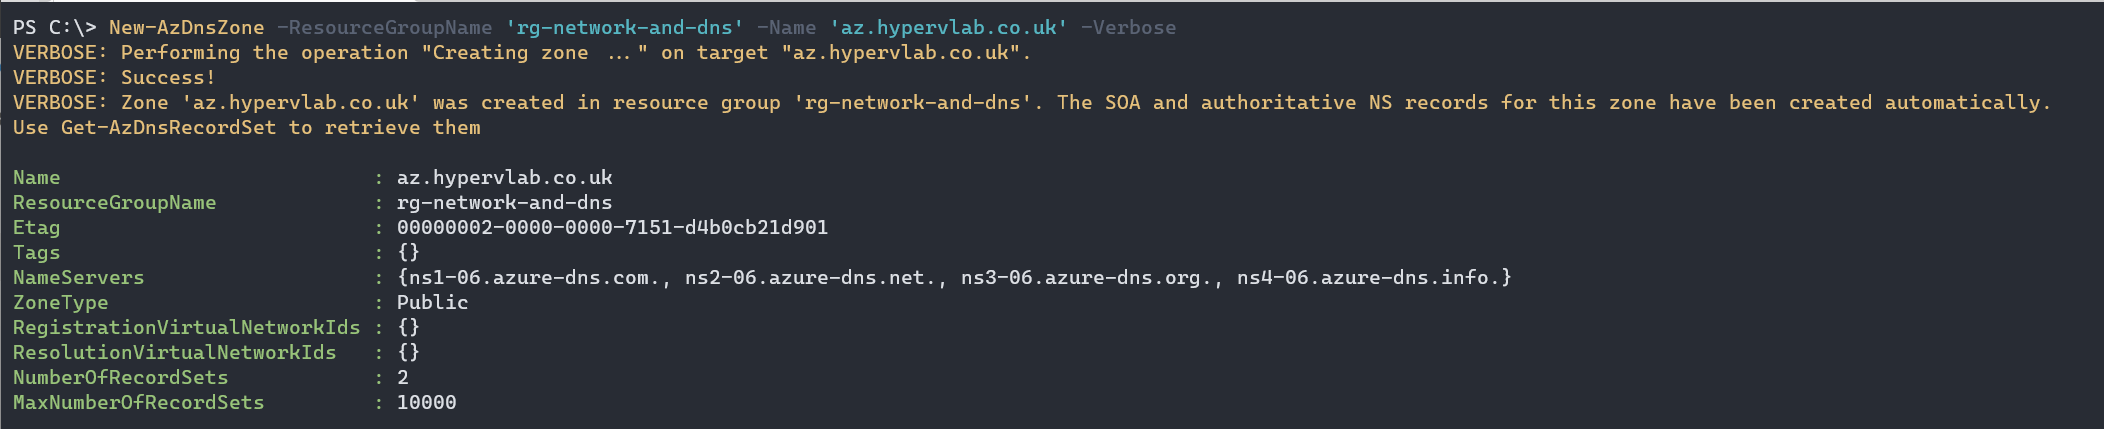
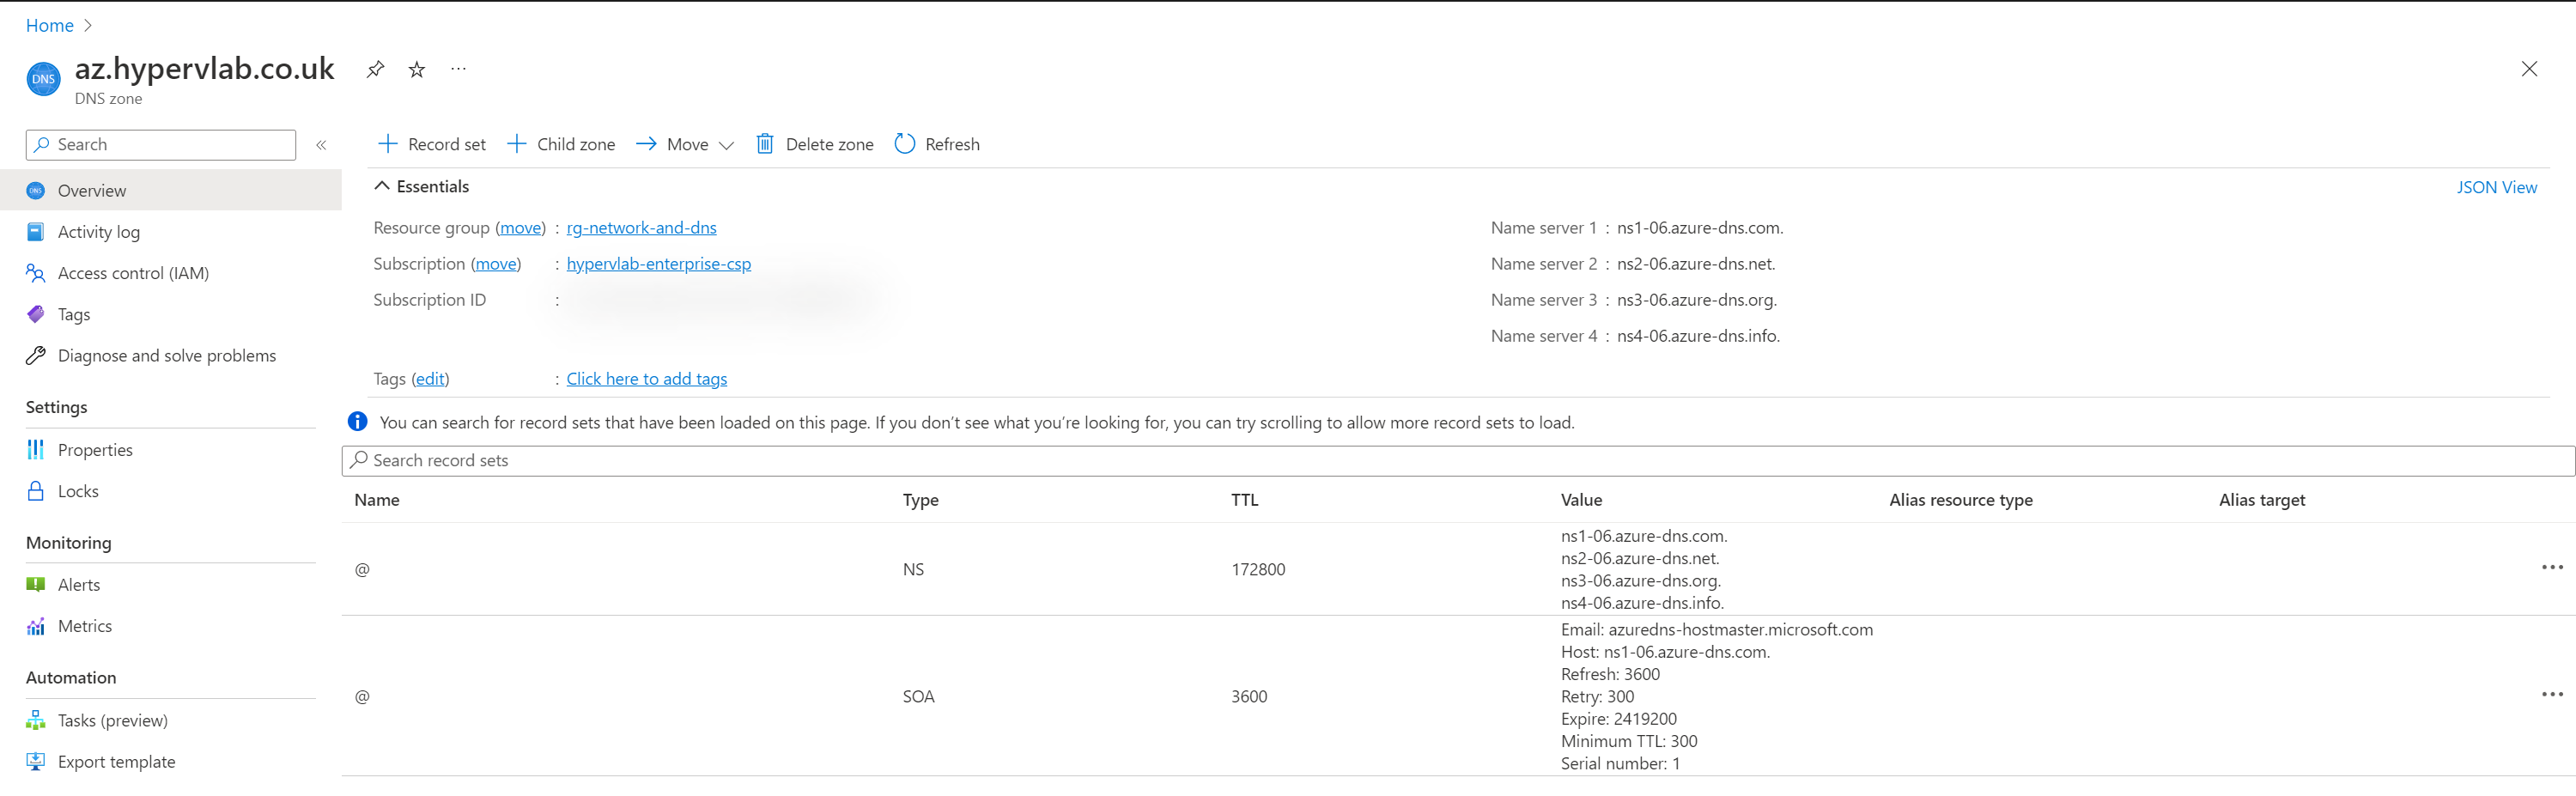
Now we want to check out the DNS zone we have just created and look at the NS Servers provided by Microsoft.
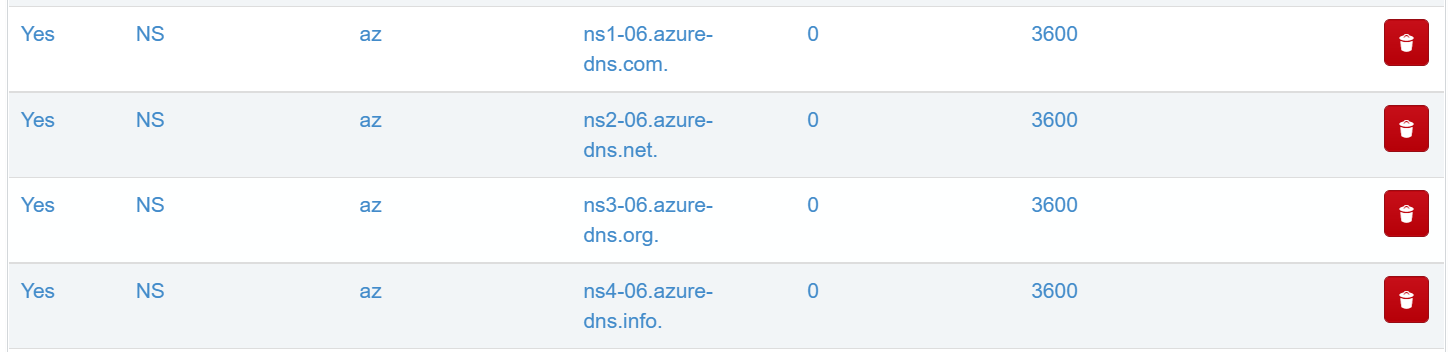
Next, we need to log into the hosting provider where the root domain is and create 4 NS Records for az to the name servers in Azure.
NOTE: It can take up to 24 hours for DNS Records to propagate around the world, If it doesn’t work straight away, Get Coffee!
Ok, Time for testing, so to recap so far, we have created a resource group to store the resources in, a child DNS zones and have pointed the NS Records to the hosting provider for our root domain. for the example used the child is: az.hypervlab.co.uk and the root is: hypervlab.co.uk.
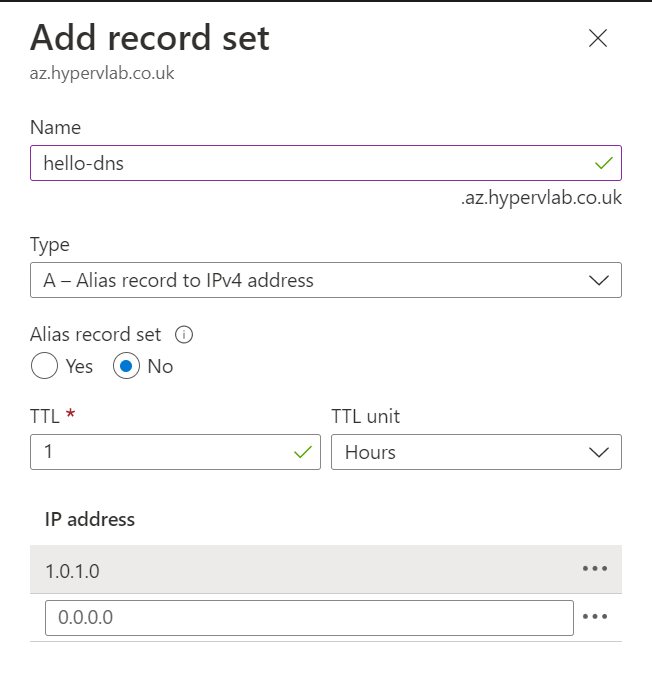
So let’s create a test A Record in the Azure DNS Zone of: az.hypervlab.co.uk.
If you wanted to create this using Powershell, you can use the following command:
New-AzDnsRecordSet -ResourceGroupName 'rg-network-and-dns' -Name 'hello-dns' -ZoneName 'az.hypervlab.co.uk' -RecordType A -Ttl 3600 -DnsRecords (New-AzDnsRecordConfig -IPv4Address "1.0.1.0") -Verbose
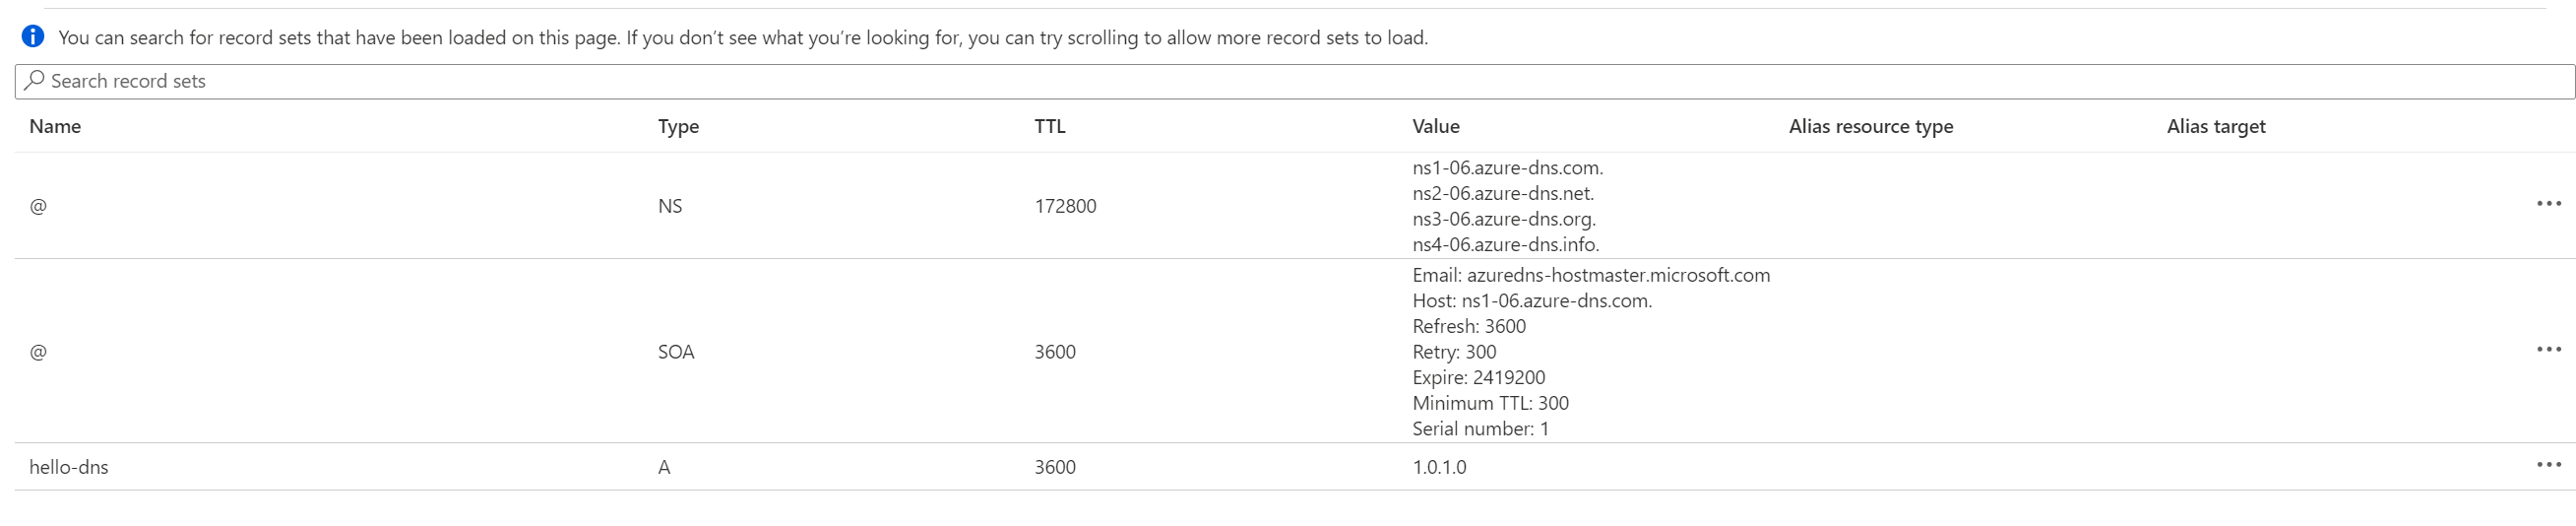
Once the A Record has been created it should show under the DNZ Zone like the below image.
Finally, we can use nslookup to confirm the DNS record works.
nslookup hello-dns.az.hypervlab.co.uk
and there you go, you have a PoC DNS zone in Azure, ready for further testing and learning. 🥳


