


Hellooo everyone, this blog post is an entry for the #AzureSpringClean community project. In this post, I cover an overview of why you should use Defender for Cloud and then how to deploy the solution with Bicep.
What is Defender for Cloud?
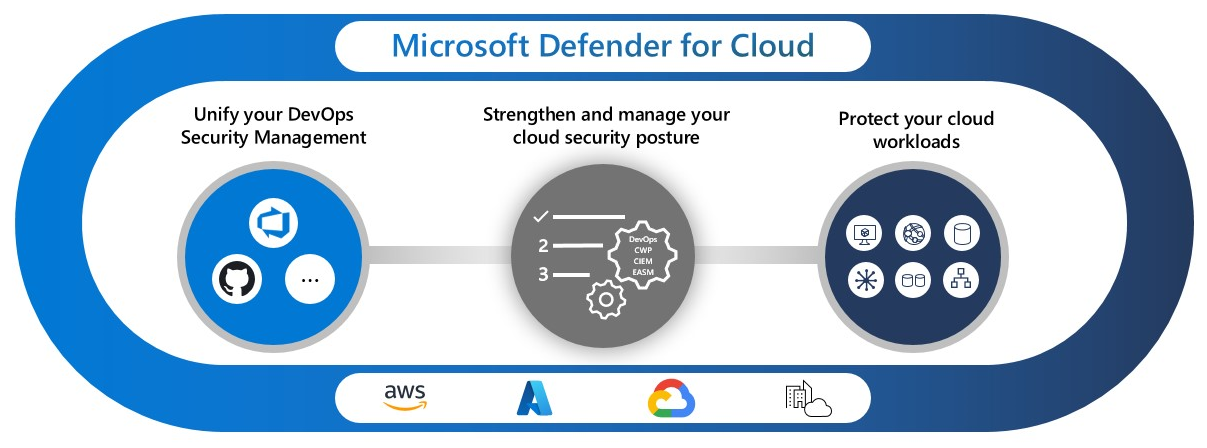
Microsoft Defender for Cloud is a cloud-native application protection platform (CNAPP) with a set of security measures and practices designed to protect cloud-based applications from various cyber threats and vulnerabilities. Defender for Cloud combines the capabilities of:
- A development security operations (DevSecOps) solution that unifies security management at the code level across multi-cloud and multiple-pipeline environments
- A cloud security posture management (CSPM) solution that surfaces actions that you can take to prevent breaches
- A cloud workload protection platform (CWPP) with specific protections for servers, containers, storage, databases, and other workloads
you can find out more information on the docs.microsoft site.
Code Deployment Pre-Flight Checks
Before we can start the bicep deployment we need to ensure that AzCLI and Bicept are already installed on your local machine. For those who are new to the cloud game, you can use the following commands to install AzCLI
> AzCLI
WinGet: docs.microsoft support
winget install Microsoft.AzureCLIPowerShell: docs.microsoft support
$ProgressPreference = 'SilentlyContinue'; Invoke-WebRequest -Uri https://aka.ms/installazurecliwindows -OutFile .\AzureCLI.msi; Start-Process msiexec.exe -Wait -ArgumentList '/I AzureCLI.msi /quiet'; Remove-Item .\AzureCLI.msiWhat is AzCLI?
Azure CLI provides a cross-platform command-line interface that runs on Windows, macOS, and Linux, and it supports a wide range of Azure services, including compute, storage, networking, security, and more. It is built on top of Python and provides a command-line experience that is consistent across all Azure services.
> Bicep
PowerShell: docs.microsoft support
# Create the install folder
$installPath = "$env:USERPROFILE\.bicep"
$installDir = New-Item -ItemType Directory -Path $installPath -Force
$installDir.Attributes += 'Hidden'
# Fetch the latest Bicep CLI binary
(New-Object Net.WebClient).DownloadFile("https://github.com/Azure/bicep/releases/latest/download/bicep-win-x64.exe", "$installPath\bicep.exe")
# Add bicep to your PATH
$currentPath = (Get-Item -path "HKCU:\Environment" ).GetValue('Path', '', 'DoNotExpandEnvironmentNames')
if (-not $currentPath.Contains("%USERPROFILE%\.bicep")) { setx PATH ($currentPath + ";%USERPROFILE%\.bicep") }
if (-not $env:path.Contains($installPath)) { $env:path += ";$installPath" }
# Verify you can now access the 'bicep' command.
bicep --help
# Done!
What is Bicep?
Azure Bicep is designed to simplify the process of defining and managing Azure resources by providing a more intuitive syntax and better tooling support than ARM templates. Bicep files are written in a high-level, human-readable syntax that compiles to ARM templates, which are then deployed to Azure.
Code Deployment Time
Step 1, Open Windows Terminal and log into Azure from AzCLI:
az loginStep 2, Configure the Subscription you want to deploy Defender for Cloud to:
az account set --subscription 00000000-0000-0000-0000-000000000000Step 3, Save the code snippet as ‘main.bicep’ into a folder.
targetScope = 'subscription'

//' ** Bicep Parameters **'
@description('Define Service Tier for Virtual Machine resource type')
@allowed([
  'Standard'
  'Free'
])

param virtualMachineTier string = 'Standard'
param appServiceTier string = 'Standard'
param paasSQLServiceTier string = 'Standard'
param sqlServerOnVmTier string = 'Standard'
param storageAccountTier string = 'Standard'
param kubernetesServiceTier string = 'Standard'
param containerRegistryTier string = 'Standard'
param containersTier string = 'Standard'
param keyvaultTier string = 'Standard'
param ArmTier string = 'Standard'
param DnsTier string = 'Standard'

//' ** Azure Resources **'
resource VirtualMachines 'Microsoft.Security/pricings@2022-03-01' = {
  name: 'VirtualMachines'
  properties: {
    pricingTier: virtualMachineTier
  }
}

resource AppServices 'Microsoft.Security/pricings@2018-06-01' = {
  name: 'AppServices'
  properties: {
    pricingTier: appServiceTier
  }
}

resource SqlServers 'Microsoft.Security/pricings@2018-06-01' = {
  name: 'SqlServers'
  properties: {
    pricingTier: paasSQLServiceTier
  }
}

resource SqlServerVirtualMachines 'Microsoft.Security/pricings@2018-06-01' = {
  name: 'SqlServerVirtualMachines'
  properties: {
    pricingTier: sqlServerOnVmTier
  }

}

resource StorageAccounts 'Microsoft.Security/pricings@2018-06-01' = {
  name: 'StorageAccounts'
  properties: {
    pricingTier: storageAccountTier
  }
}

resource KubernetesService 'Microsoft.Security/pricings@2018-06-01' = {
  name: 'KubernetesService'
  properties: {
    pricingTier: kubernetesServiceTier
  }
}

resource ContainerRegistry 'Microsoft.Security/pricings@2018-06-01' = {
  name: 'ContainerRegistry'
  properties: {
    pricingTier: containerRegistryTier
  }
}

resource Containers 'Microsoft.Security/pricings@2018-06-01' = {
  name: 'Containers'
  properties: {
    pricingTier: containersTier
  }
}

resource KeyVaults 'Microsoft.Security/pricings@2018-06-01' = {
  name: 'KeyVaults'
  properties: {
    pricingTier: keyvaultTier
  }

}

resource Arm 'Microsoft.Security/pricings@2018-06-01' = {
  name: 'Arm'
  properties: {
    pricingTier: ArmTier
  }
}

resource Dns 'Microsoft.Security/pricings@2018-06-01' = {
  name: 'Dns'
  properties: {
    pricingTier: DnsTier
  }
}
Step 4, execute your bicep file:
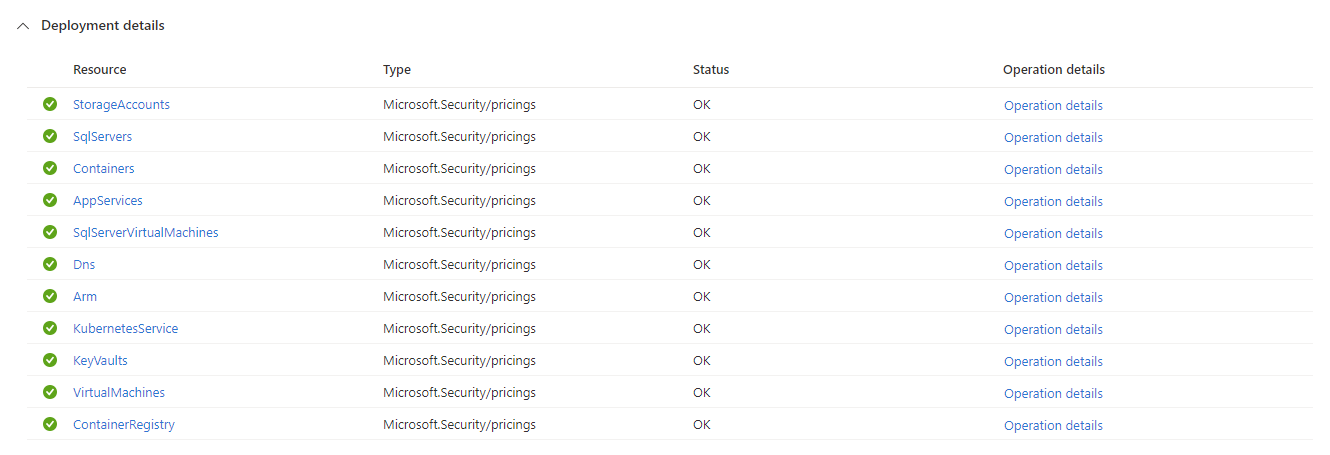
az deployment sub create --name defenderforcloud-deploy --location westeurope --template-file main.bicepStep 5, Check Defender for Cloud portal and Deploy log on Subscription.
Once the deployment has been completed you can see the activity logs from the Subscription, then Deployments you should see an entry with the name you passed through during the deployment and if all has gone well it should look something like this:
Finally, if we go to Defender for Cloud portal in Azure, under ‘Management’ > ‘Environment Settings’.

if all has worked you should see something like this.

So that’s the post, I hope you found this really useful and can use it for future deployments and projects, In terms of the #AzureSpringClean team I wanna give a huge shout-out to Thomas Thornton and Joe Carlyle for hosting the Azure Spring Clean community event, and I suppose I should also mention this guy Gregor Suttie, for his ongoing support and advise! 🥳


