


In this blog post, I will cover changing the WDS Boot Priority Order for Boot WIM Files.
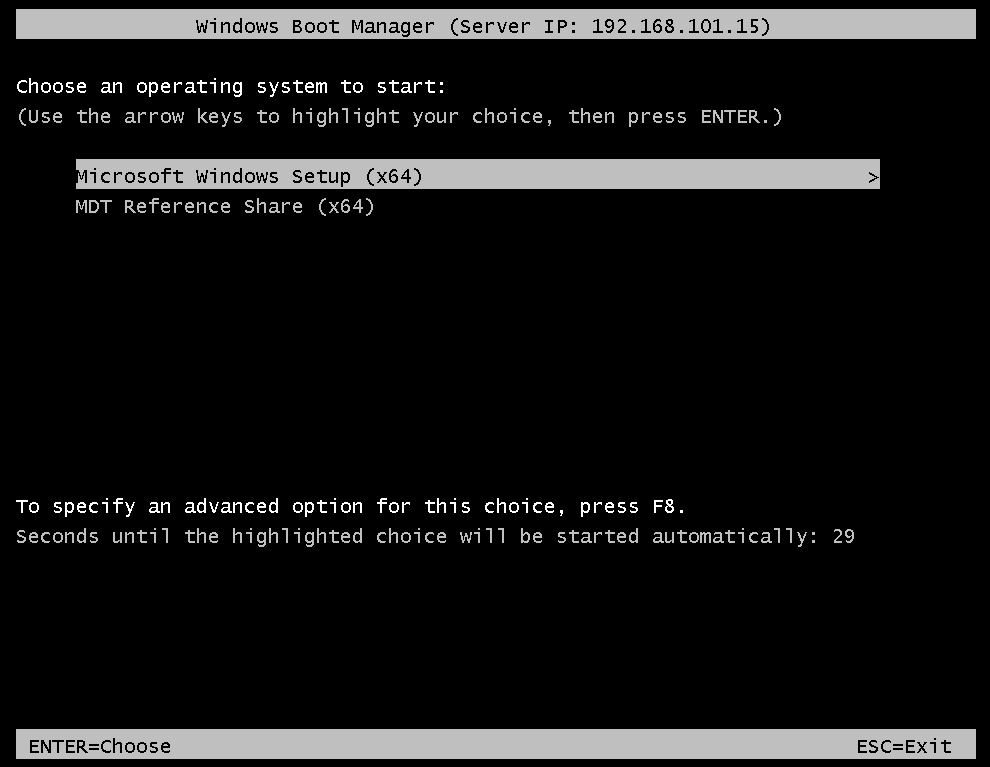
In the below graphic you can see there are two boot images on the HypervLAB WDS Server. However, for this instance, we need to change the default boot image to be the MDT Reference Share (64x) and not the Windows Setup WIM.
Changing Legacy BIOS Boot Order (Generation One Virtual Machine)
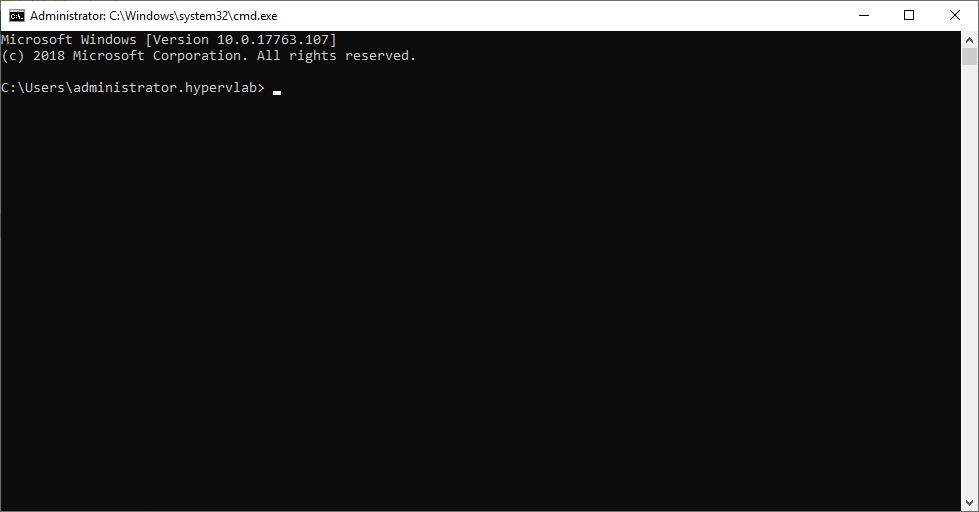
To Achieve this we need to log onto the WDS/MDT server and open an Administrative Command Prompt Shell Window.
Now open File Explorer and navigate to where you have your WDS RemoteInstall Folder located, inside the root open the TMP Folder and look for a file starting with x86x64.
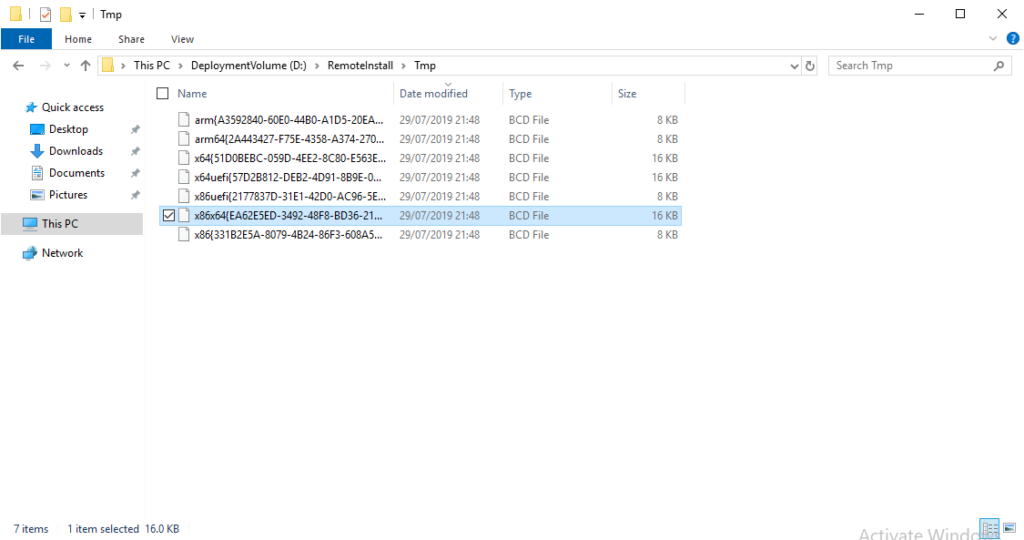
Then type the following into the Command Prompt Window, but replaced the x8664 GUID with yours as each instance is unique to your server install.
bcdedit /store "d:\RemoteInstall\Tmp\x86x64{EA62E5ED-3492-48F8-BD36-217CE943CA82}.bcd"
From the graphic above we want the identifier tags for each WIM File. So for this example
the unique identifier for MDT Reference Share (64x) is : {f17ff5d2-be88-4843-a29c-2ed96735b4b7} and for Microsoft Windows Setup (x64) its: {15954477-72dd-499f-b880-4e42b908e931}.
To resolve this issue we want to reverse the displayorder of the two images

Going back to the Command Prompt Window paste the following command but replacing the GUID ID’s
bcdedit /store "d:\RemoteInstall\Tmp\x86x64{EA62E5ED-3492-48F8-BD36-217CE943CA82}.bcd" /displayorder {f17ff5d2-be88-4843-a29c-2ed96735b4b7} {15954477-72dd-499f-b880-4e42b908e931}
To Check that the PXE Boot Order has changed we can re-run the initial command we used to get the boot media identifier IDs
bcdedit /store "d:\RemoteInstall\Tmp\x86x64{EA62E5ED-3492-48F8-BD36-217CE943CA82}.bcd"As you can now see in the graphic below the displayorder has changed to being the MDT Refernce Share (64x) and then the Microsoft Windows Setup (64x).

Changing UEFI BIOS Boot Order (Generation Two Virtual Machine)
To Achieve this we need to log onto the WDS/MDT server and open an Administrative Command Prompt Shell Window.
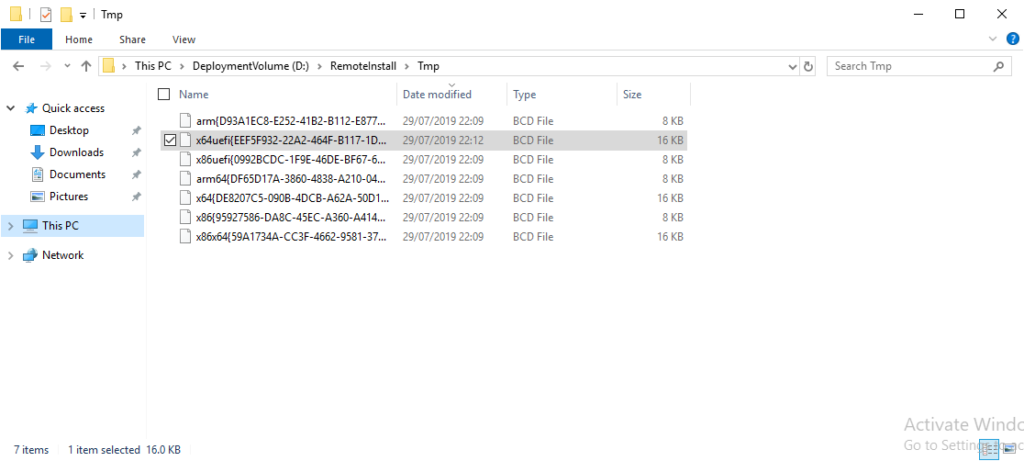
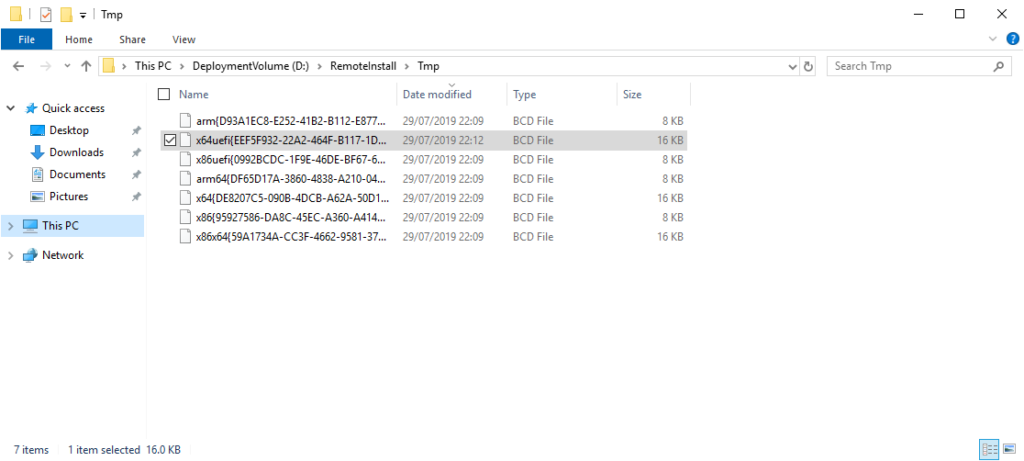
Now open File Explorer and navigate to where you have your WDS RemoteInstall Folder located, inside the root open the TMP Folder and look for a file starting with x64UEFI.
bcdedit /store "d:\RemoteInstall\Tmp\x64uefi{EEF5F932-22A2-464F-B117-1DB649CD832C}.bcd" /displayorder {f17ff5d2-be88-4843-a29c-2ed96735b4b7} {15954477-72dd-499f-b880-4e42b908e931}
bcdedit /store "d:\RemoteInstall\Tmp\x64uefi{EEF5F932-22A2-464F-B117-1DB649CD832C}.bcd"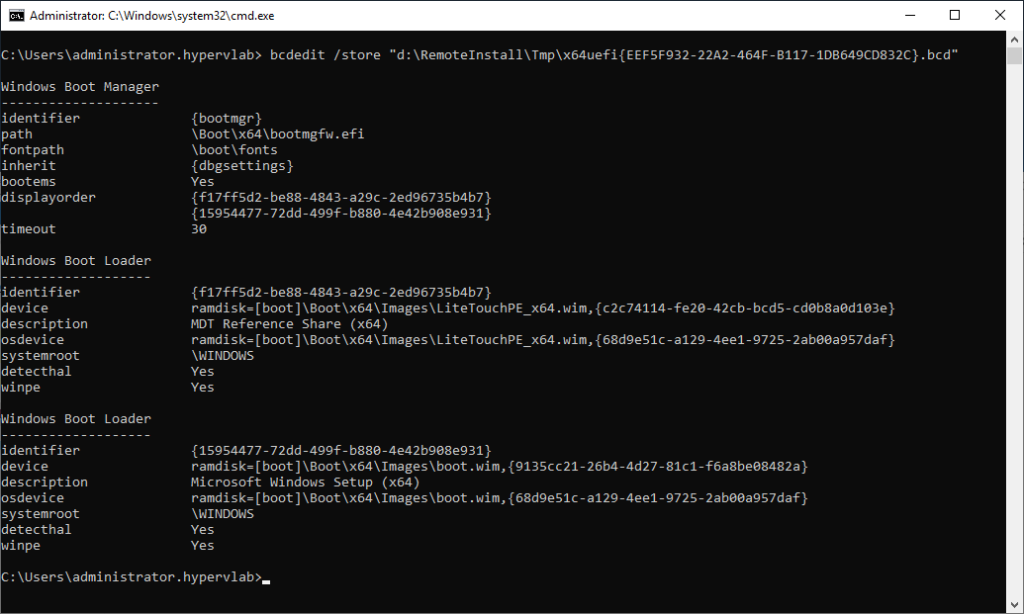
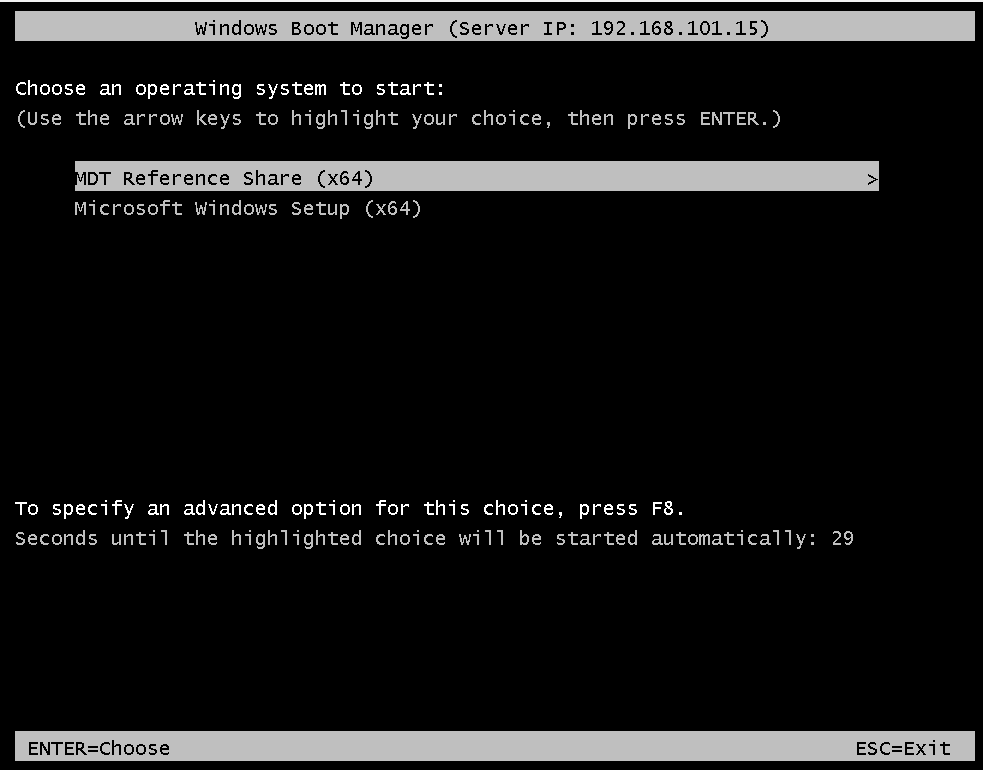
Finally, we can check the boot order on our Virtual Machine.


