


In this blog post, we will cover the steps of creating a GitHub Container Registry, building an image and then uploading it to the Container Registry
Creating a GitHub PAT (Personal Access Token)
Firstly What is a GitHub PAT Token? Well, a GitHub Personal Access Token (PAT) is a type of token provided by GitHub that allows you to authenticate and authorize access to your GitHub account and its associated resources. PATs are primarily used for programmatic access to the GitHub API or when interacting with Git repositories hosted on GitHub.
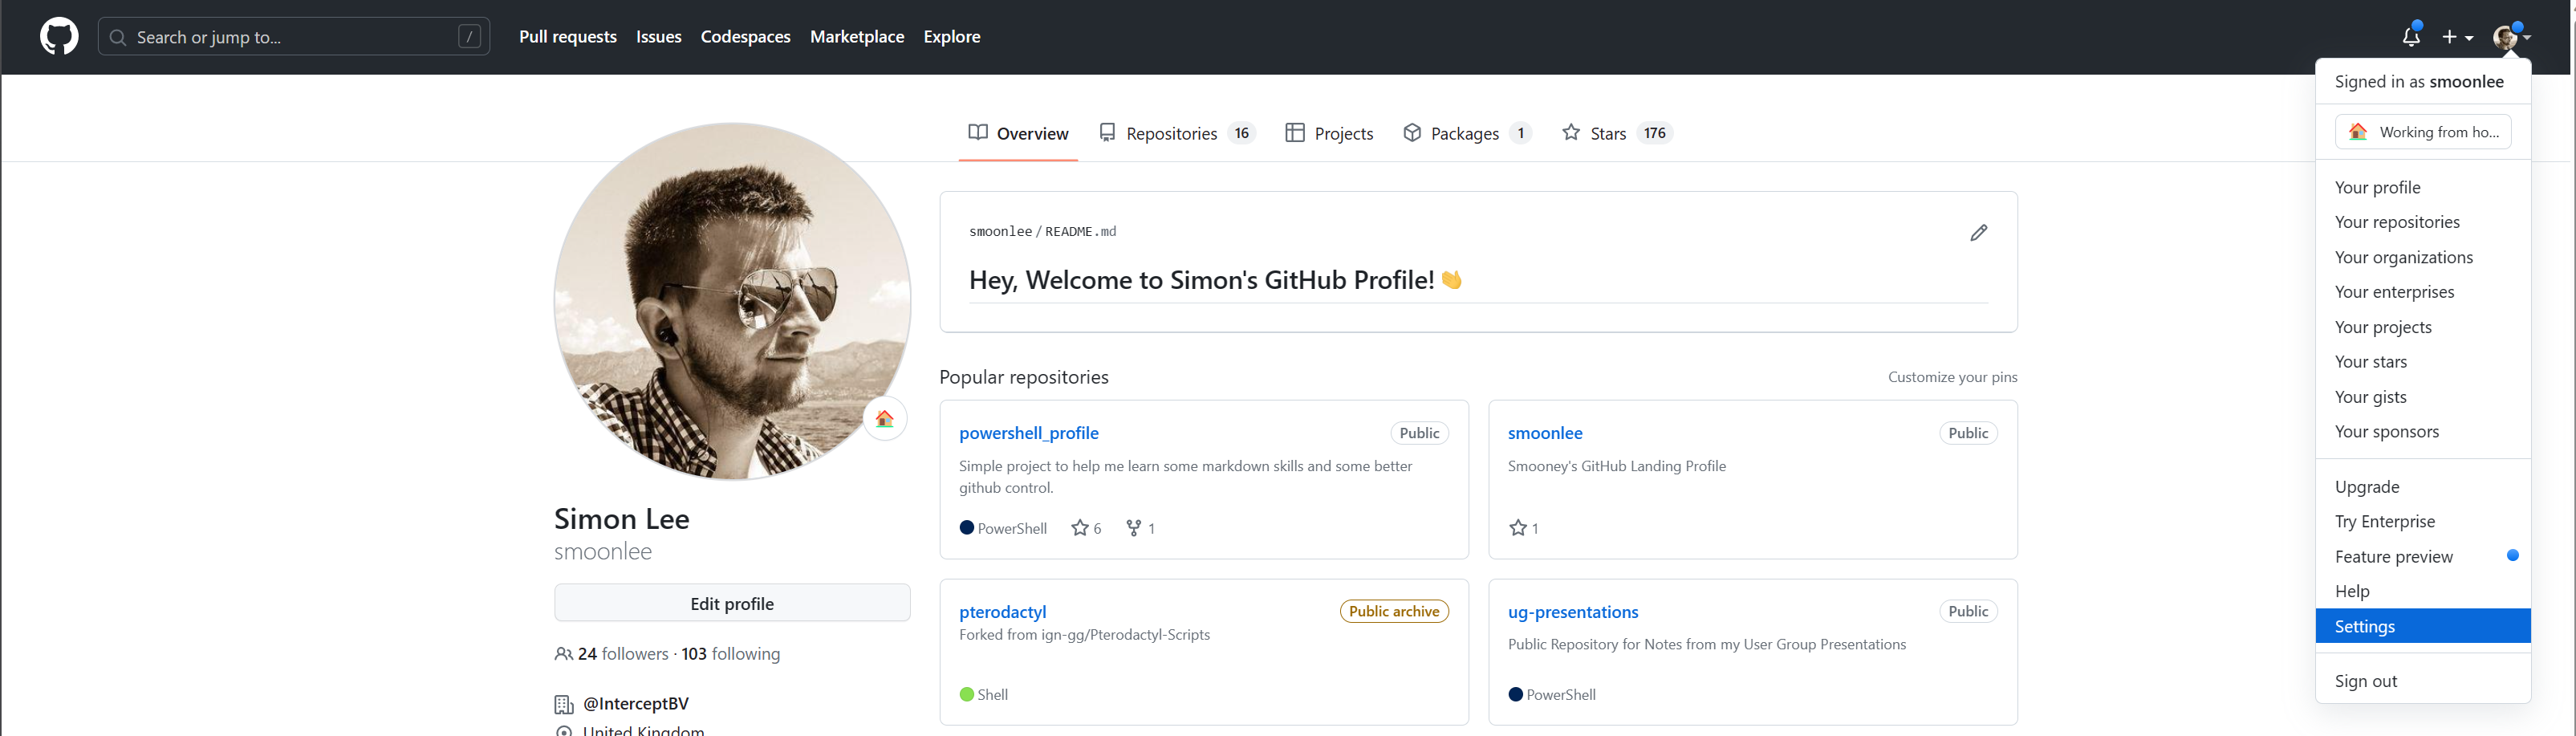
From the Github web page, Click on your Profile Picture and select “Settings”
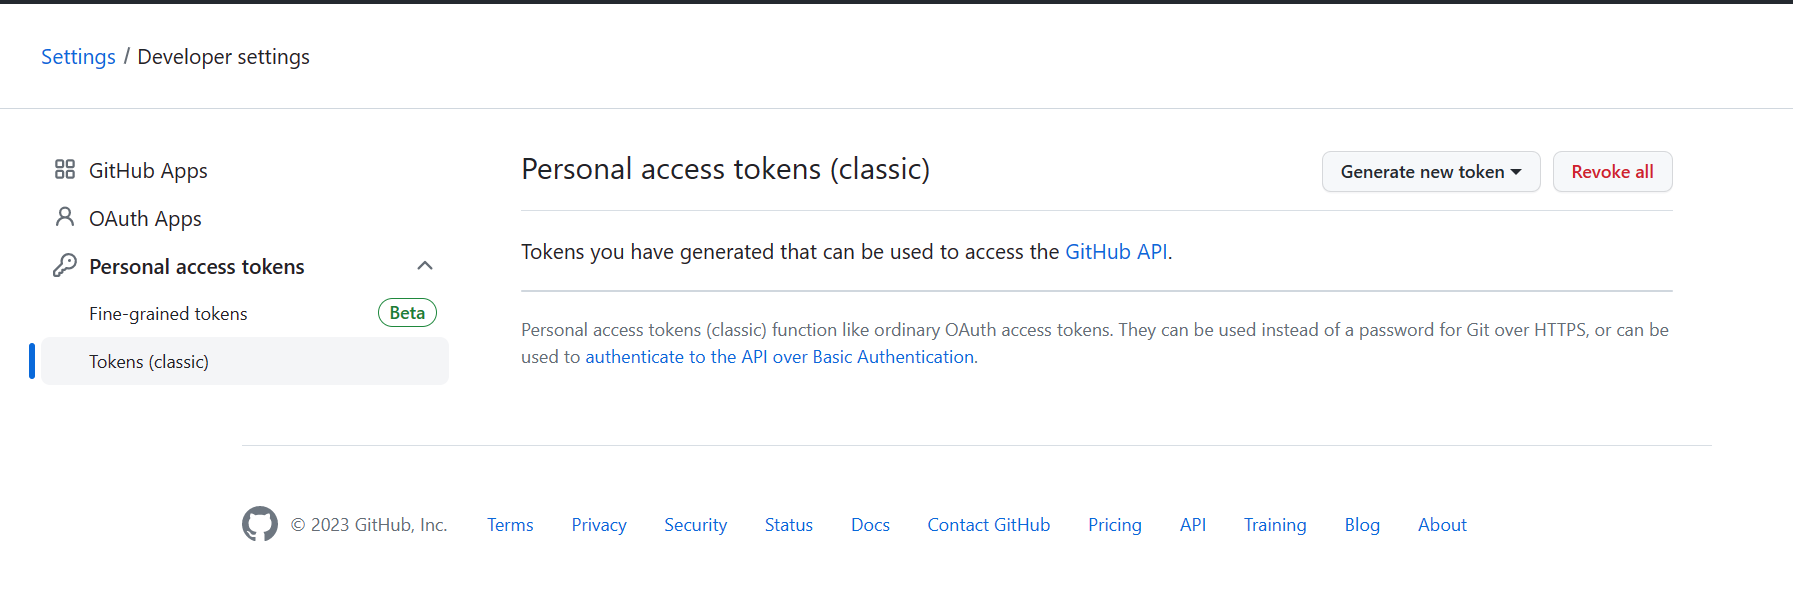
From the settings page, scroll to the bottom of the page and select on “Developer Settings” and then “Personal Access Tokens” and the “Token Classic”.
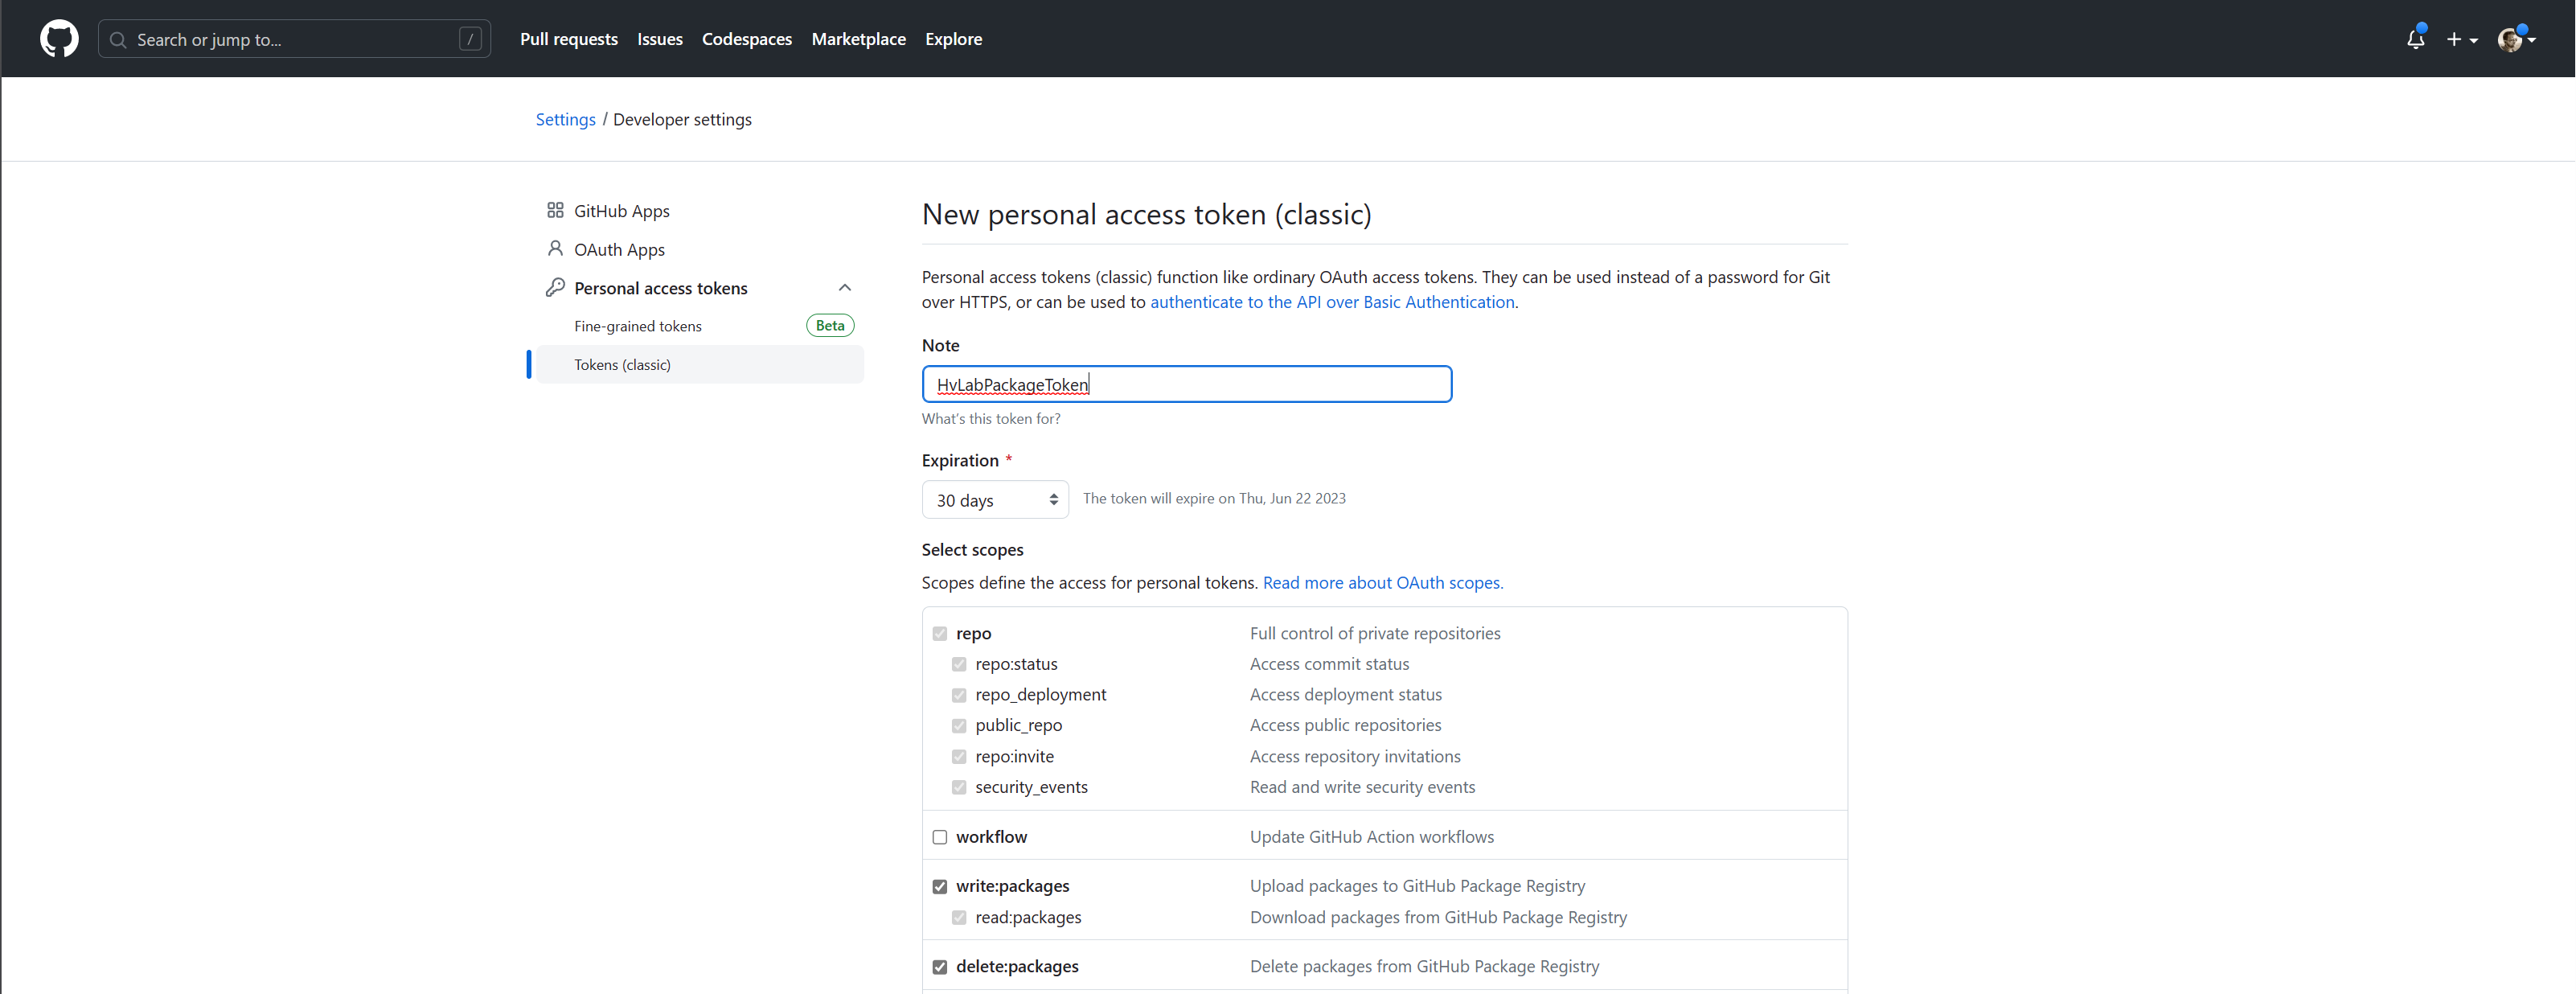
From the page, select “Generate New Token” to be able to interact with the package container registry we just need the following access rights:
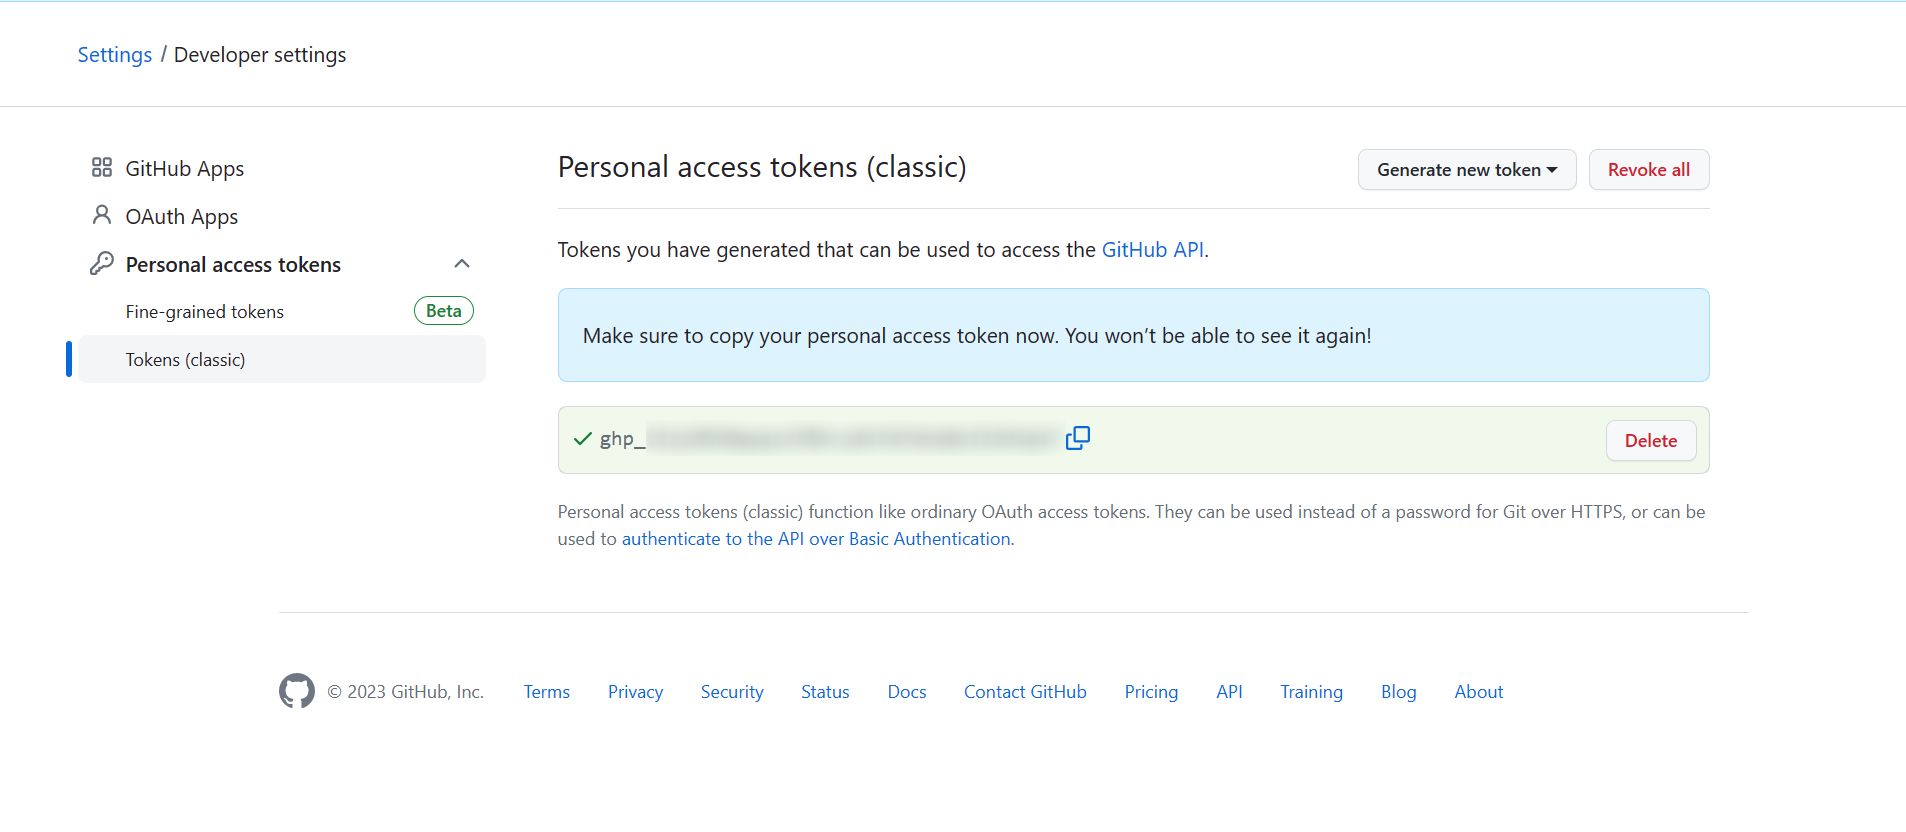
Once created save the PAT Token somewhere safe, Ideally into a Keyvault or Password Manager!
Now we have a PatToken to authenticate into GitHub we can run the following code snippet
$PatToken = "<insert-github-pat-token-here>"
$PatToken | docker login ghcr.io/<username>/<repository> -u <username> --password-stdin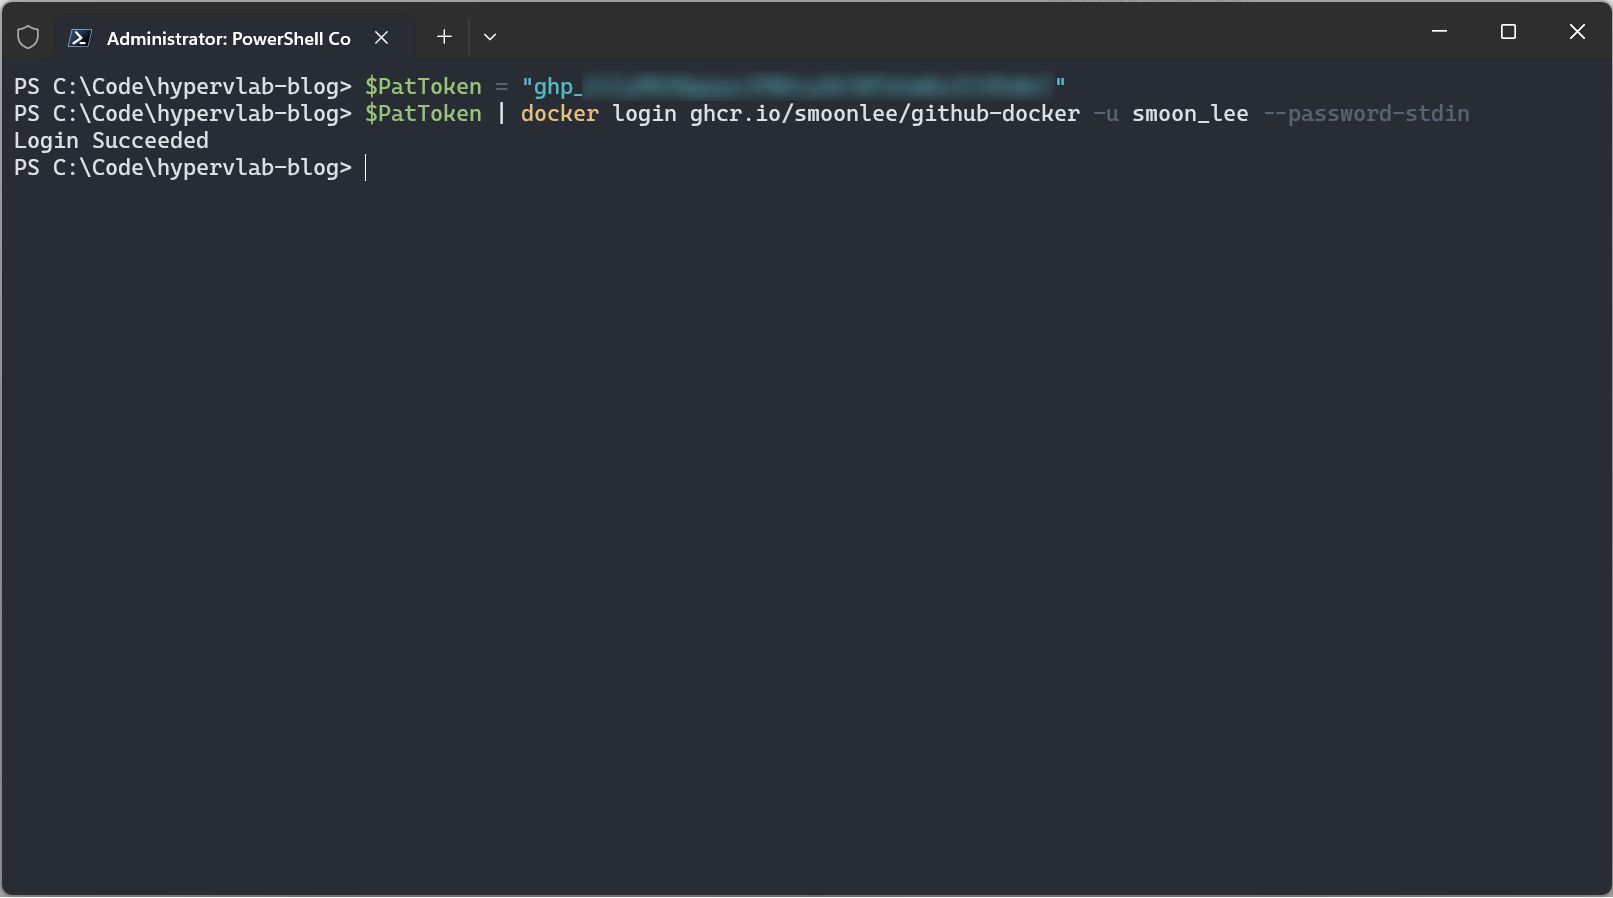
Now we have authenticated to the GitHub Container Repository Service, We first need to build an image before we can push.
You may recognise this Dockerfile 😏
# Define Operating System for Image
FROM alpine:3.14

# Execute Package Update and Upgrade
RUN apk update
RUN apk add --no-cache ca-certificates less ncurses-terminfo-base krb5-libs libgcc libintl libssl1.1 libstdc++ tzdata userspace-rcu zlib icu-libs curl
RUN apk -X https://dl-cdn.alpinelinux.org/alpine/edge/main add --no-cache lttng-ust

# Download the powershell '.tar.gz' archive
RUN curl -L https://github.com/PowerShell/PowerShell/releases/download/v7.3.4/powershell-7.3.4-linux-alpine-x64.tar.gz -o /tmp/powershell.tar.gz

# Create the target folder where powershell will be placed
RUN mkdir -p /opt/microsoft/powershell/7

# Expand powershell to the target folder
RUN tar zxf /tmp/powershell.tar.gz -C /opt/microsoft/powershell/7

# Set execute permissions and create the symbolic link that points to pwsh
RUN chmod +x /opt/microsoft/powershell/7/pwsh
RUN ln -s /opt/microsoft/powershell/7/pwsh /usr/bin/pwsh

# Start PowerShell
ENTRYPOINT pwsh
To build an image which we can then push to the GitHub Container Registry we can use the following command.
docker build -t ghcr.io/<username>/<repository>:1.0 .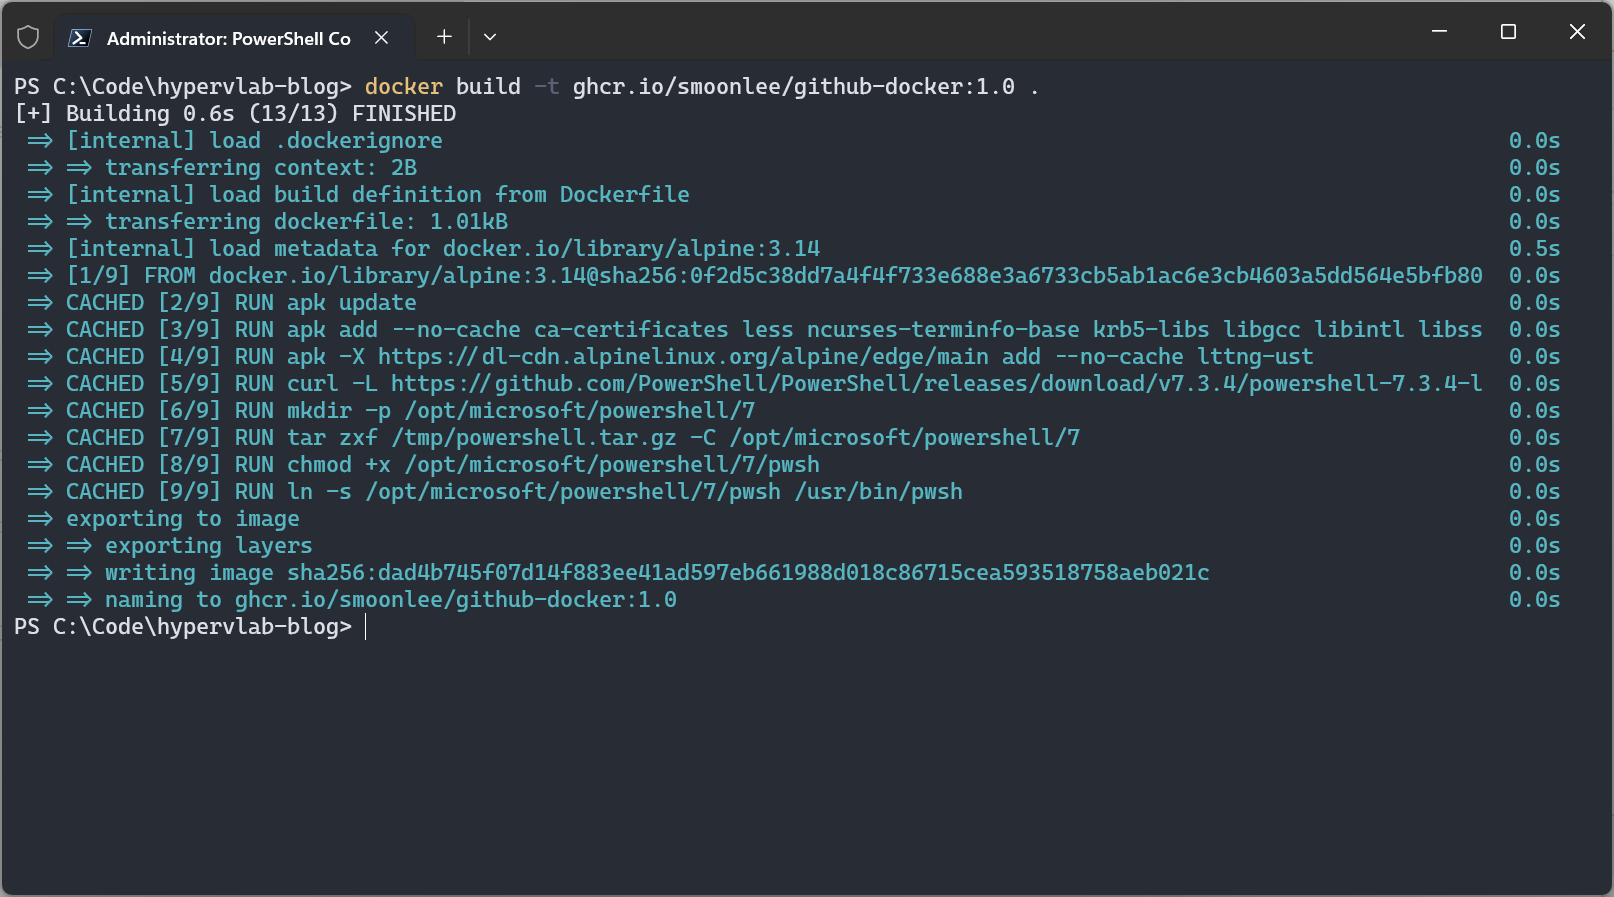
Now we have the image created, we can push this to the GitHub Container Repository
docker push ghcr.io/<repositoty>/IMAGE_NAME:latest
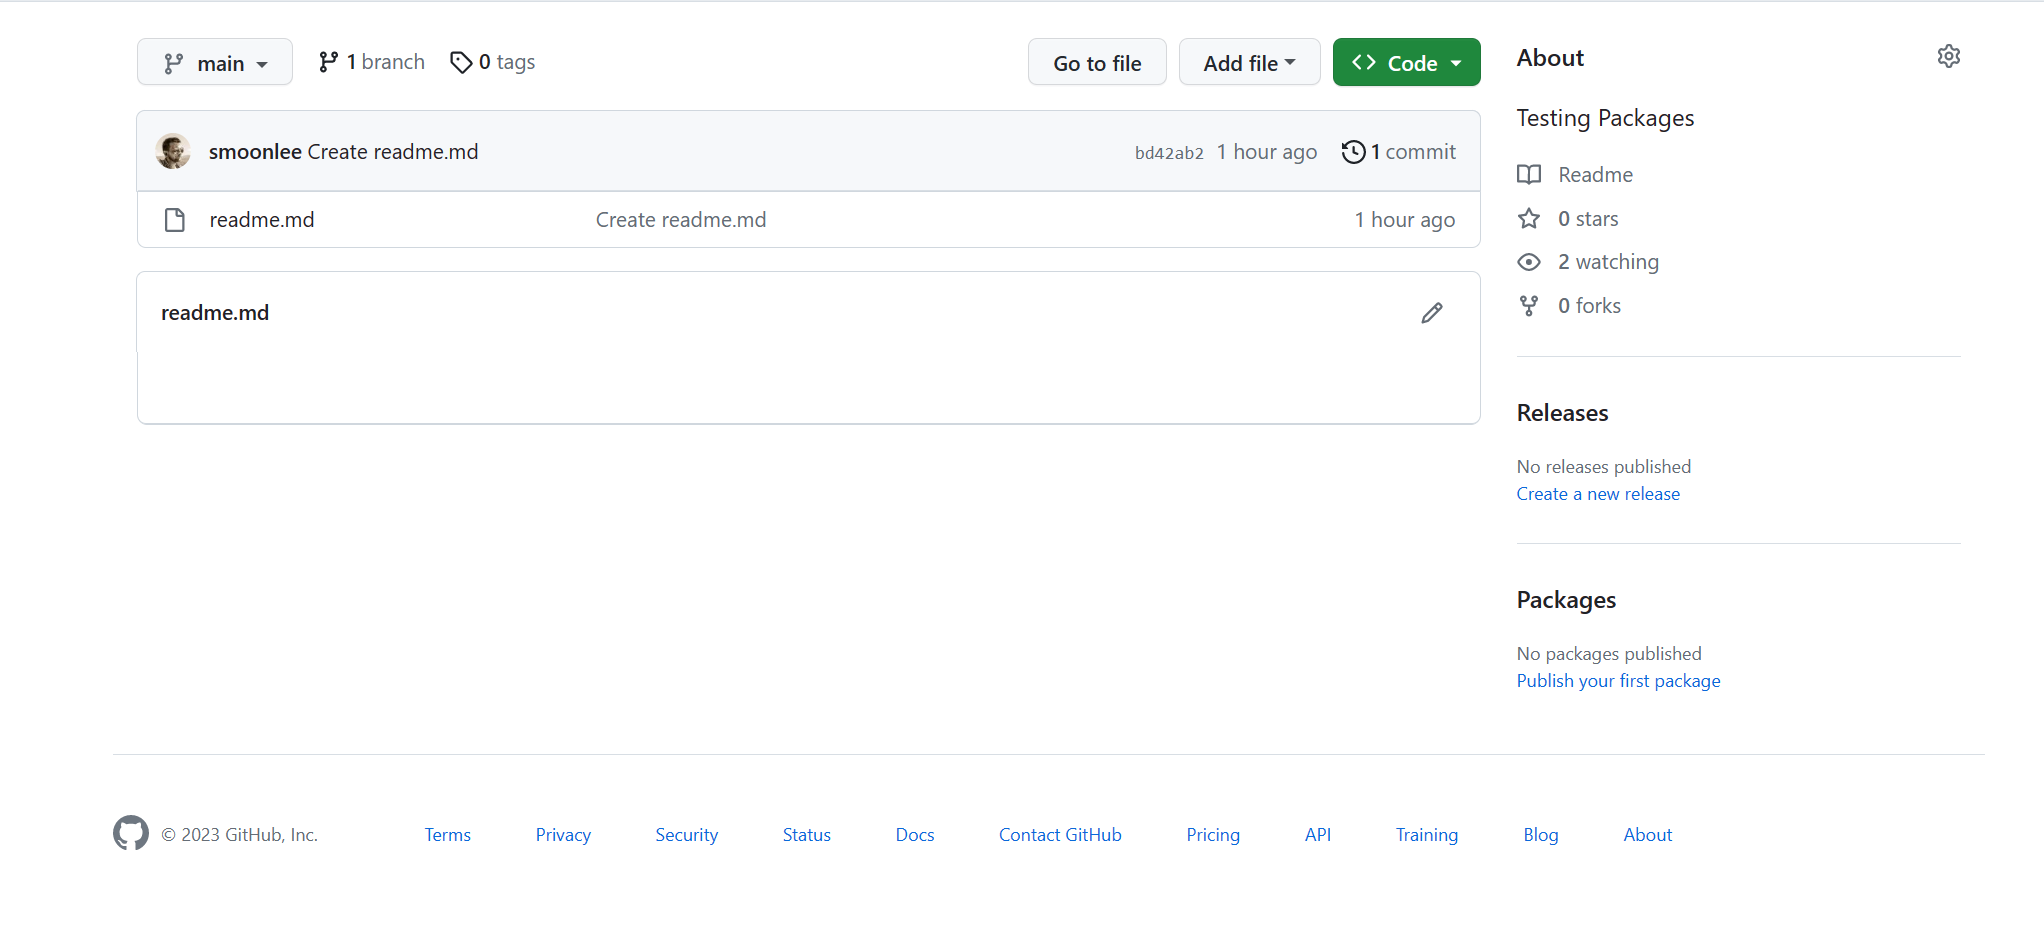
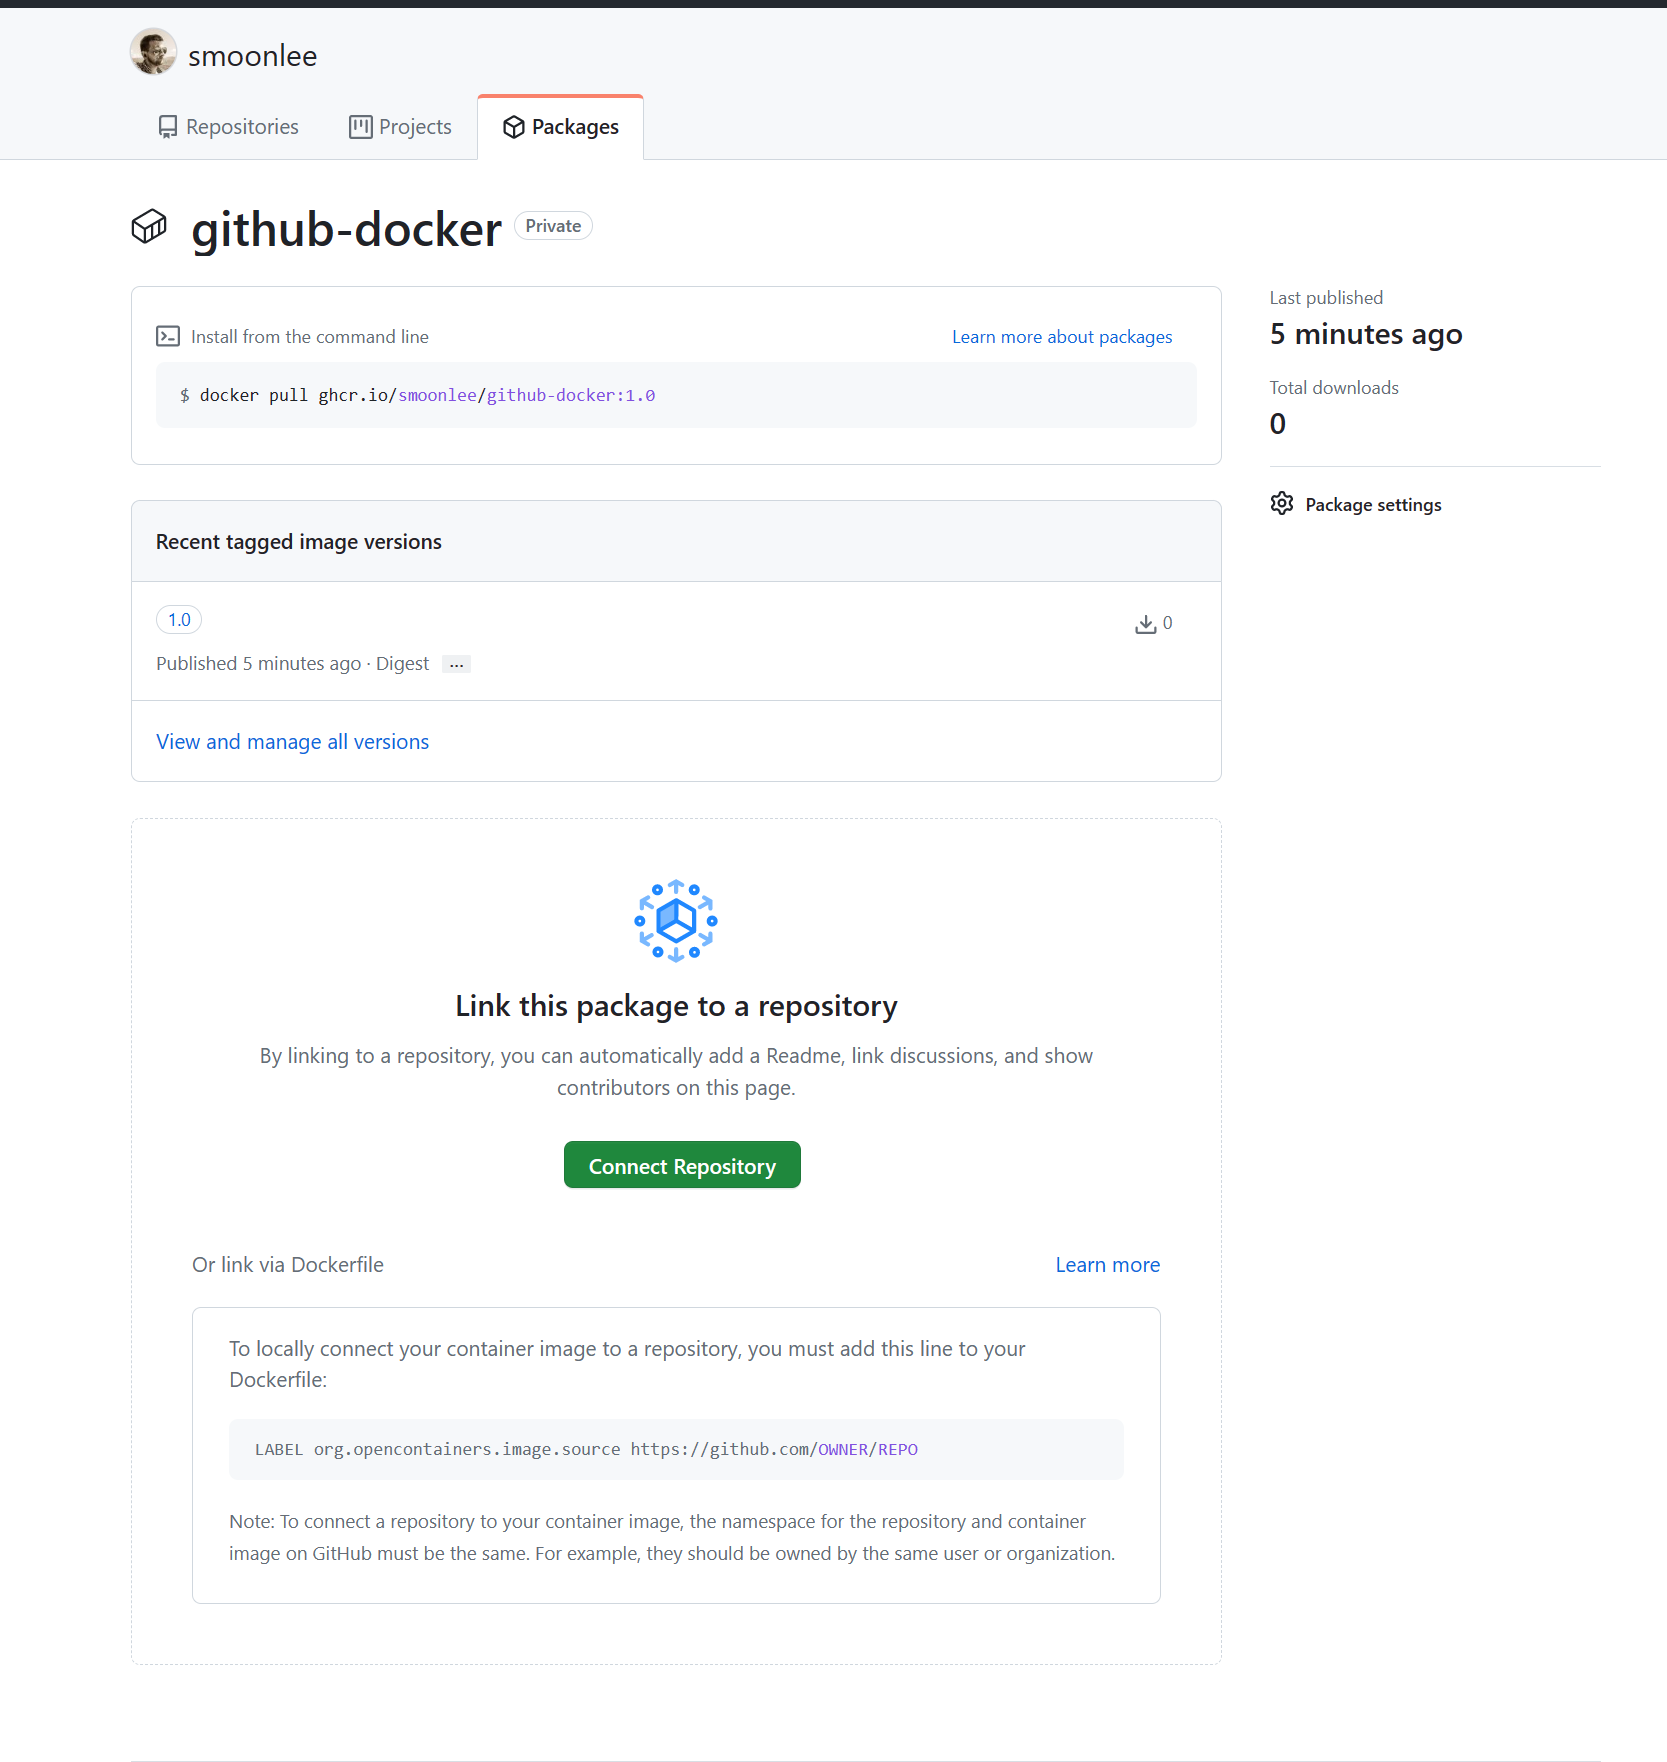
So we now have our GitHub COnatiner Package, However, if we visit the GitHub Repo we will notice that there are no packages assigned.
This initially confused me, however on investigation when you create a new Package in GitHub you need to manually assign this to the repository
So to resolve this we need to go back to your GitHub Profile and select “Packages”
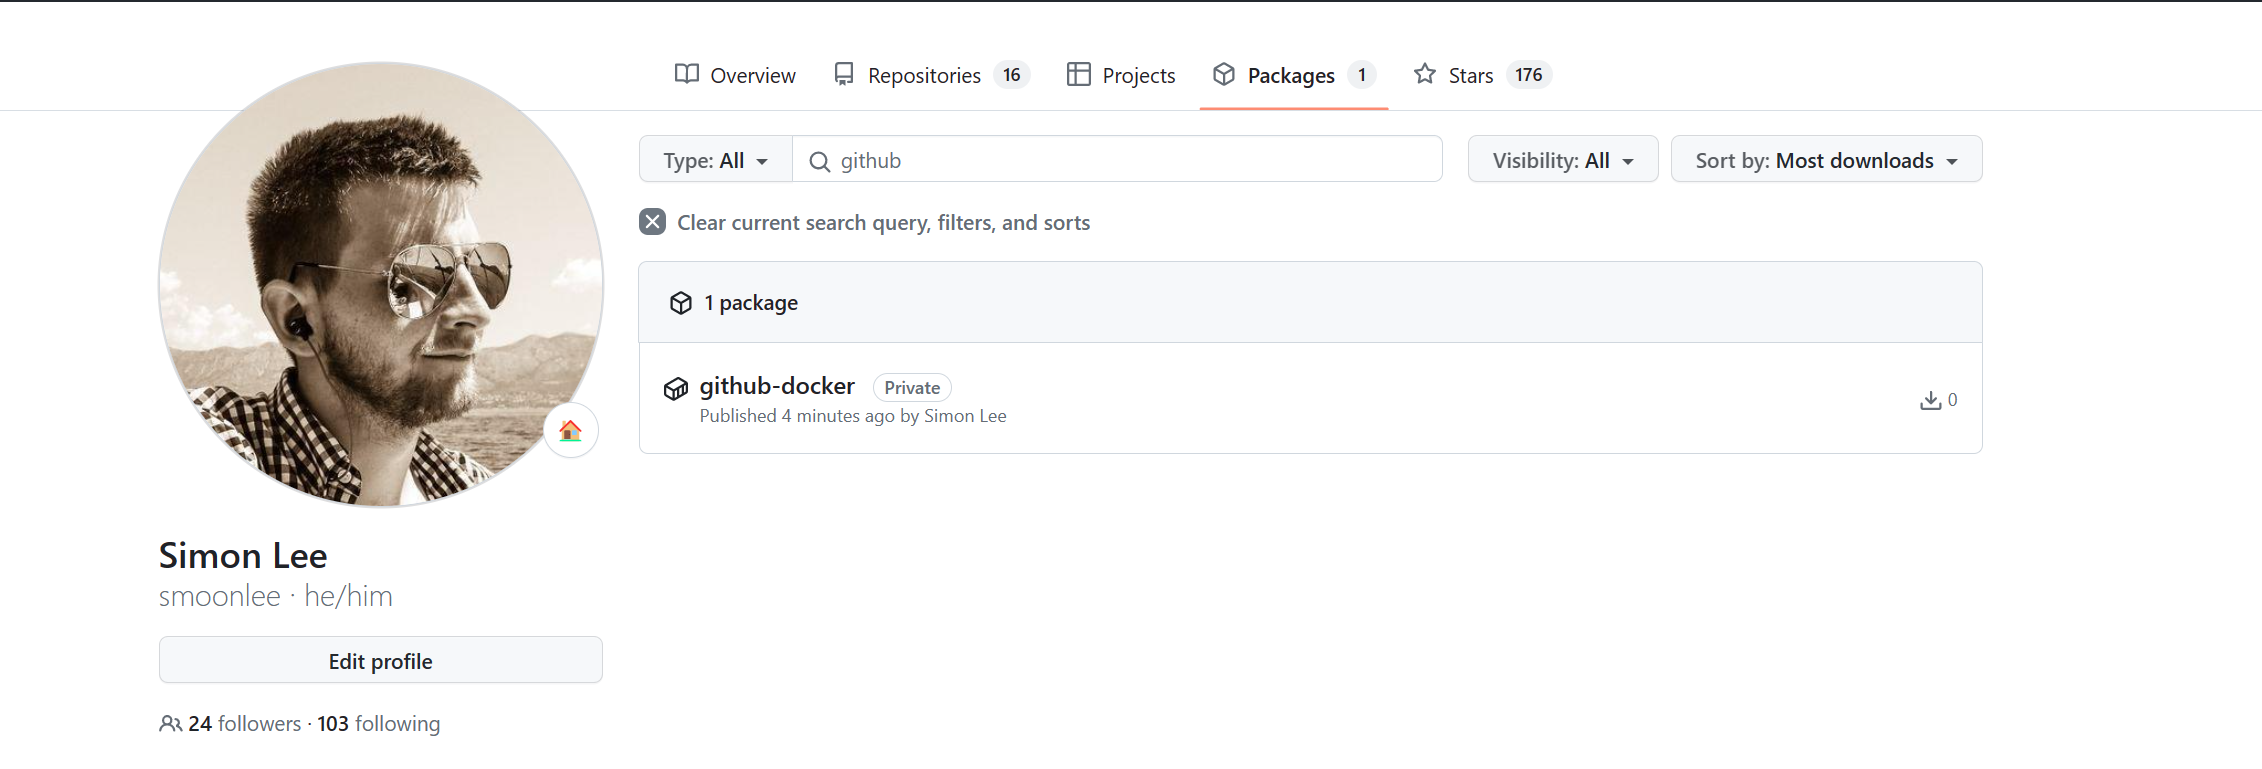
Select the newly created package
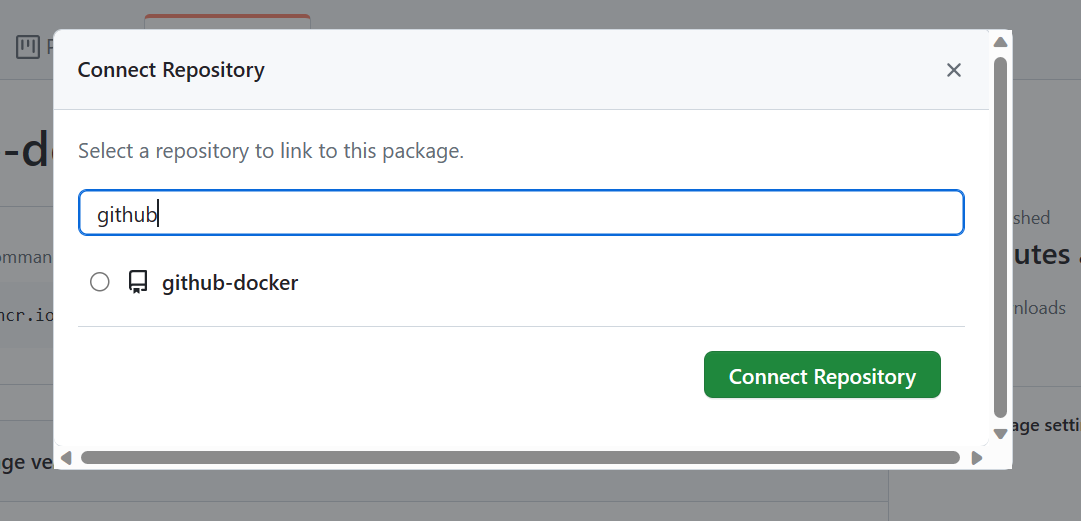
and then “Connect Repository” and choose the repository you want to connect to the container
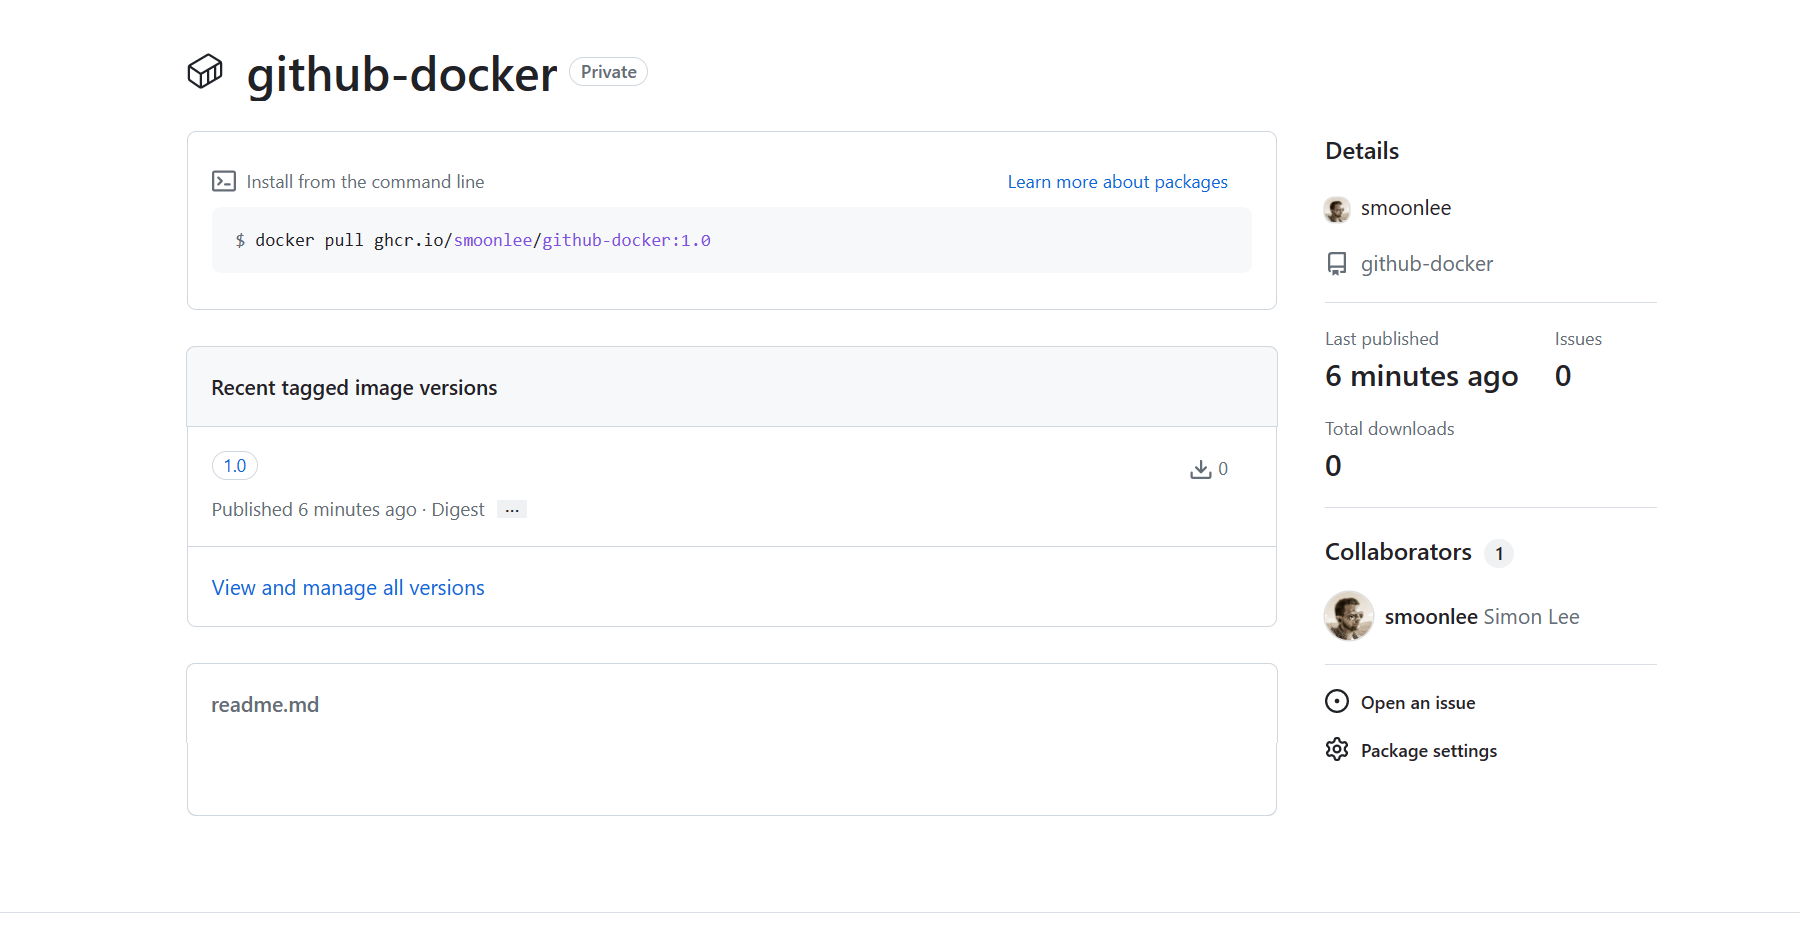
Once the package has been linked to the repository you should be greeted with this page.
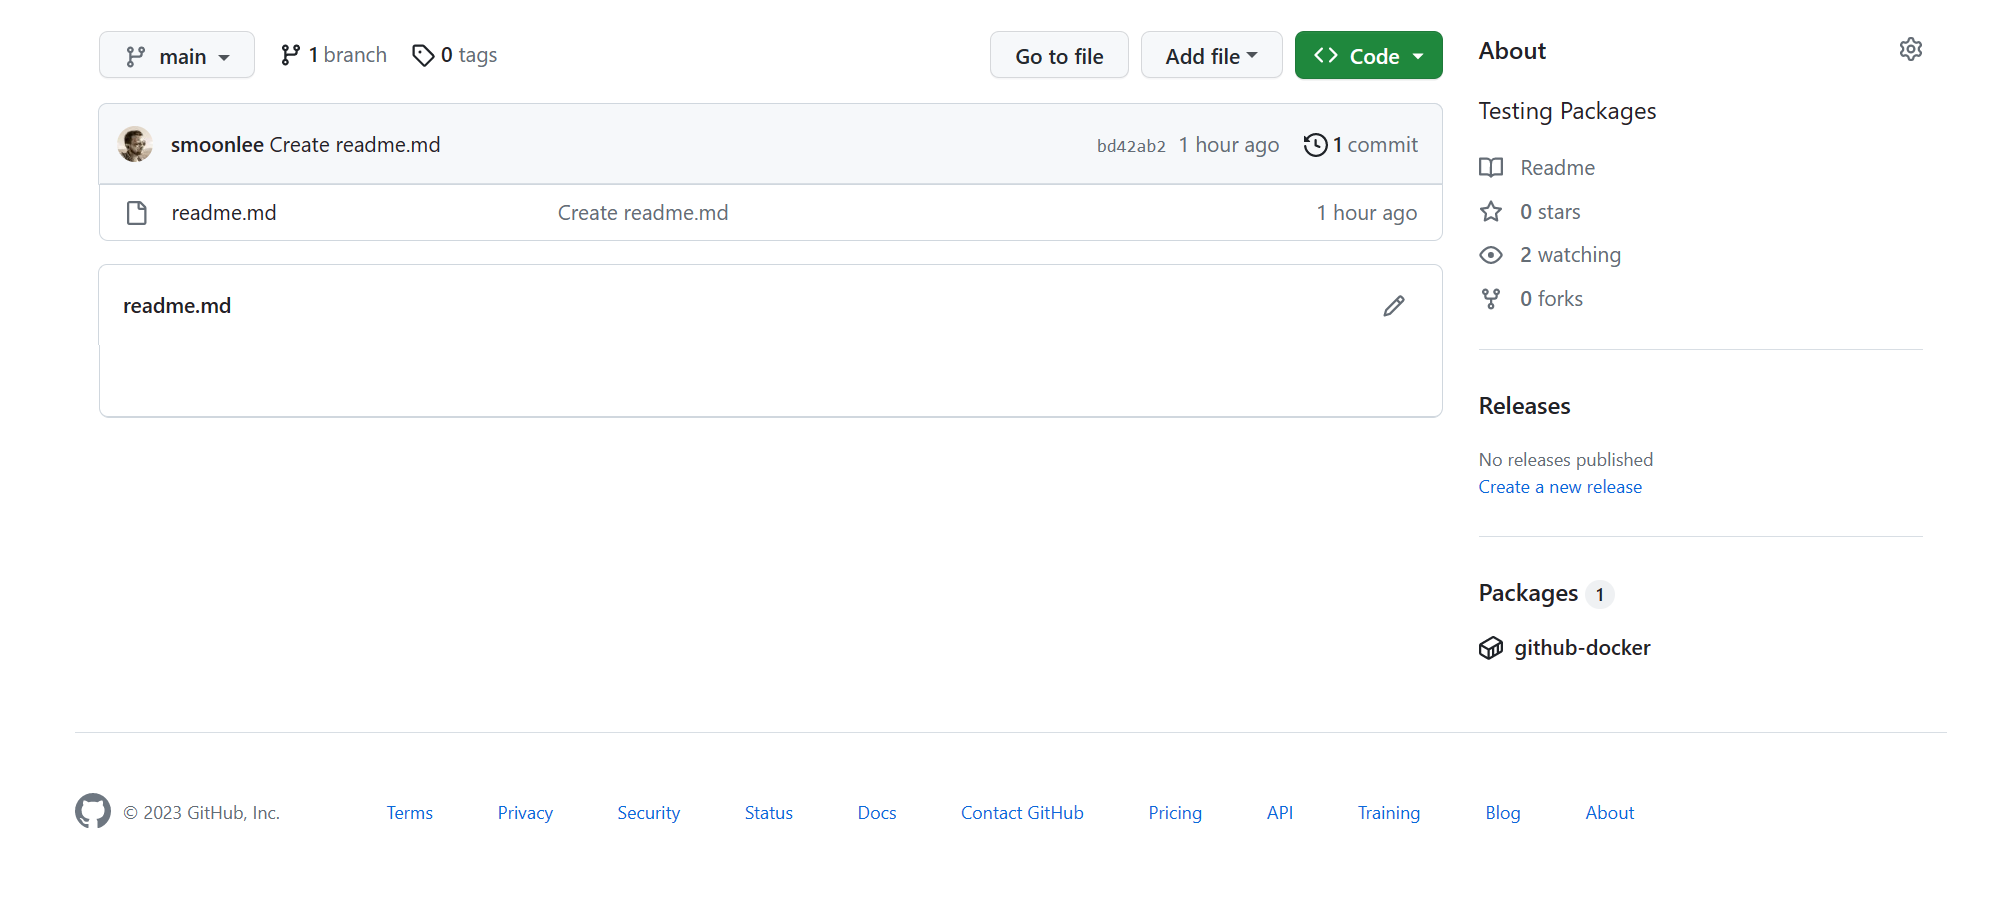
and then finally, when we check the repository page again we can see that there is now a package assigned to the repository.
and so there we have it, so to conclude and wrap up this post, We have covered creating a PAT Token, required authenticating to GitHub services, Once we have created the PAT Token, we have created a docker image with the name being the same as the repository and then finally pushed the new image to GitHub, to be used by other team members or used in a GitHub Action.


