


This guide has been updated to include the latest PHP 7.3.X and MariaDB 10.4.X.
In the blog post, I will cover the installation of Zabbix Network Monitoring.
For those who don’t know Zabbix is an open-source monitoring software tool for diverse IT components, including networks, servers, virtual machines (VMs) and cloud services. Zabbix provides monitoring metrics, among others network utilization, CPU load and disk space consumption. Zabbix monitoring configuration can be done using XML based templates which contain elements to monitor. The software monitors operations on Linux, Hewlett Packard Unix (HP-UX), Mac OS X, Solaris and other operating systems (OSes); however, Windows monitoring is only possible through agents. Zabbix can use MySQL, MariaDB, PostgreSQL, SQLite, Oracle or IBM DB2 to store data. Its backend is written in C and the web frontend is written in PHP. Source: https://en.wikipedia.org/wiki/Zabbix
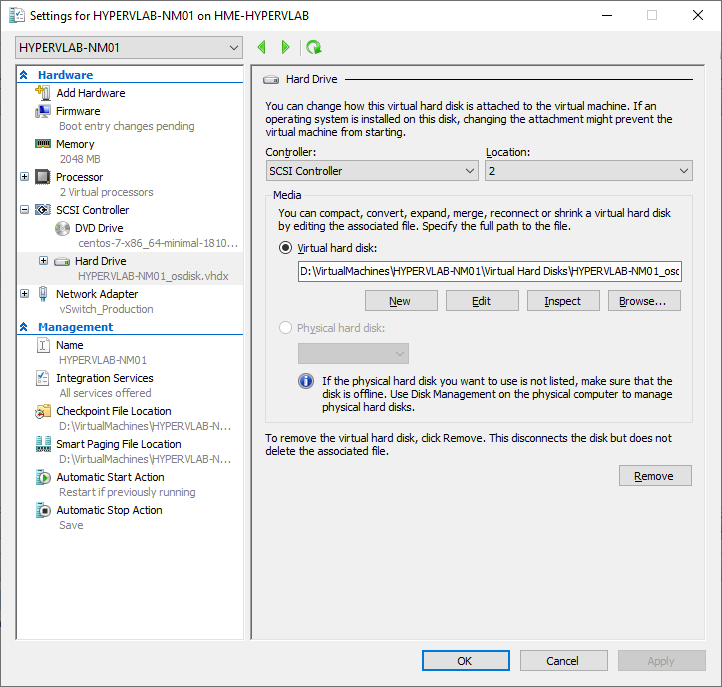
The Virtual Machine I’ve provisioned for this post is a Generation Two Hyper-V Profile.
Specs are shown below. With a 120Gb Virtual Disk.
You can follow the office installation process here: https://www.zabbix.com/download However I found bits undocumented and required some jumping around and going to the forums when I had some issues with some services not starting on reboot. So I thought I’d take the time to create a complete end to end guide on installing Zabbix on CentOS 7.6. If you’d like a guide on installing CentOS 7.6 on Hyper-V [Look Here].
NOTE: This guide will start from post CentOS Installation and Patch Updates.
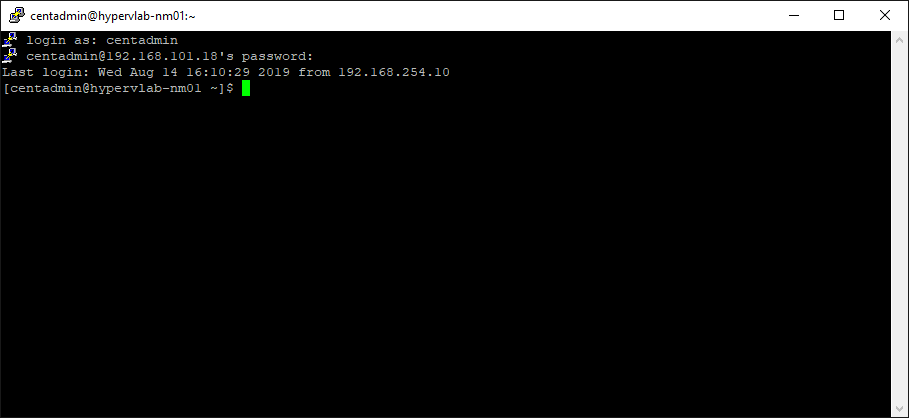
Open PuTTY and connect to the Virtual Machine:
Zabbix Monitoring Backup Installation and Configuration
Now let’s elevate to root status by using the following command:
sudo -s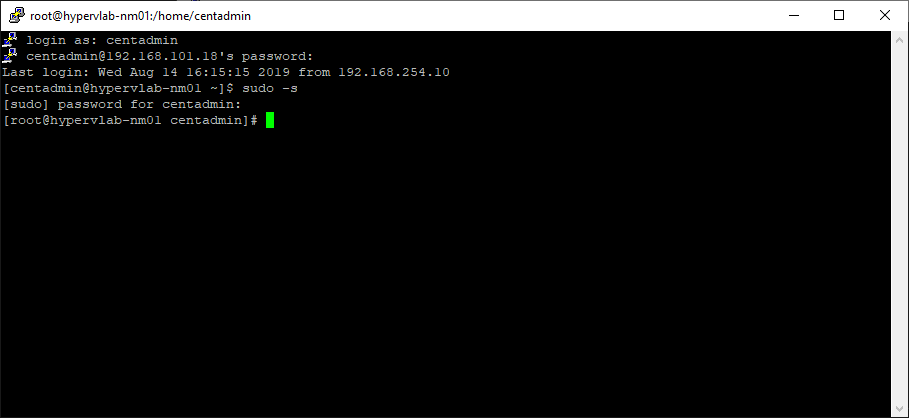
By Default the SELinux Status is configured as ENFORCING, This will cause issues later on with the Zabbix Installation, We need to change the SELinux status to: PERMISSIVE
sed -i s/^SELINUX=.*$/SELINUX=permissive/ /etc/selinux/config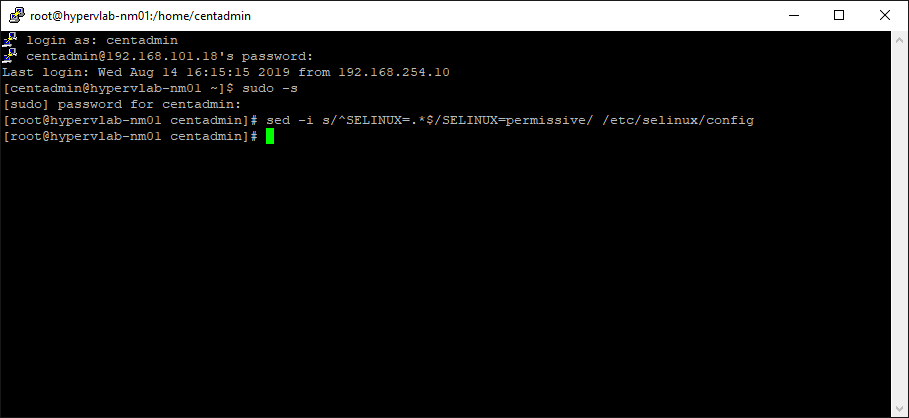
We need to restart the Virtual Server for this change to take place.
reboot nowNOTE: Remeber to elevate your session to root!
Running the following command now shows that the SELinux status as changed, and we can now begin the installation.
getenforce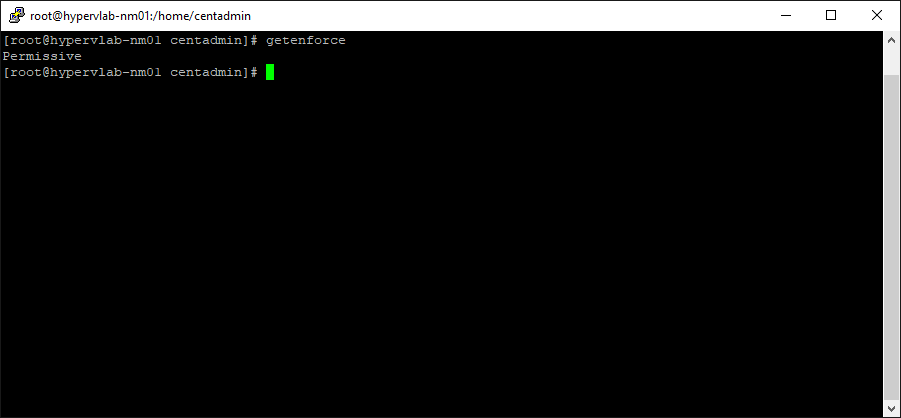
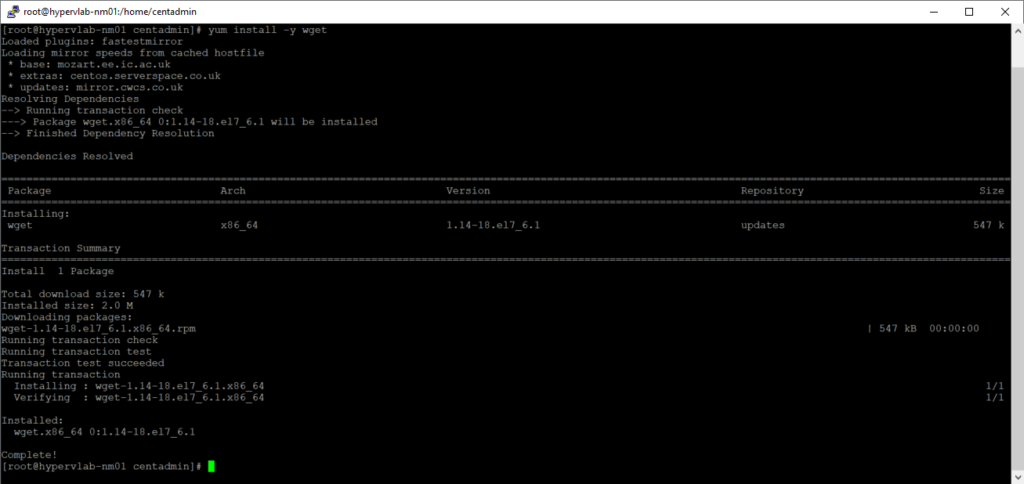
Next, Let’s add the official PHP 7.3 RPM
yum install -y wget
wget https://dl.fedoraproject.org/pub/epel/epel-release-latest-7.noarch.rpm
wget http://rpms.remirepo.net/enterprise/remi-release-7.rpm
rpm -Uvh remi-release-7.rpm epel-release-latest-7.noarch.rpm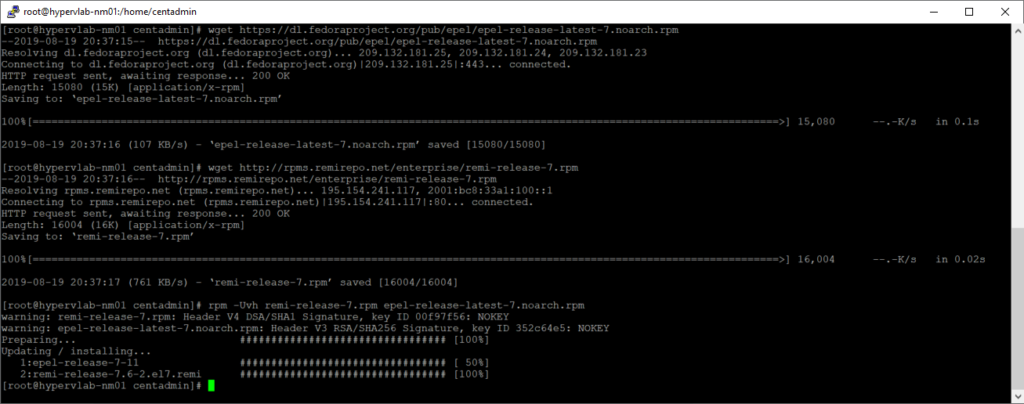
Next, we need to enable the PHP7.3 Repository.
yum-config-manager --enable remi-php73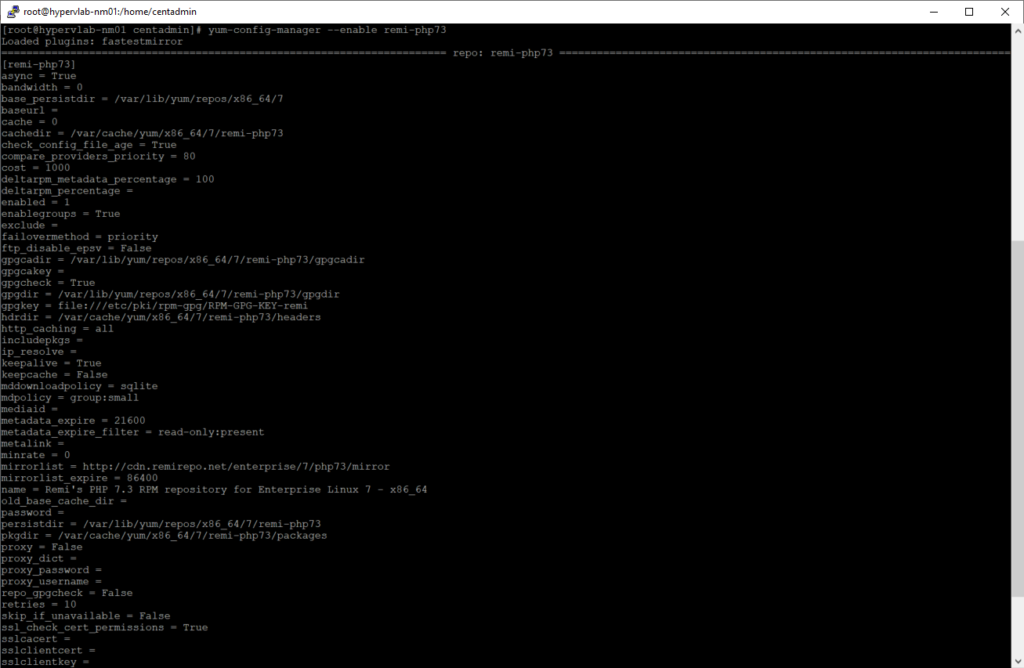
yum install -y php php-mysql php-pecl-mysql php-mysqlnd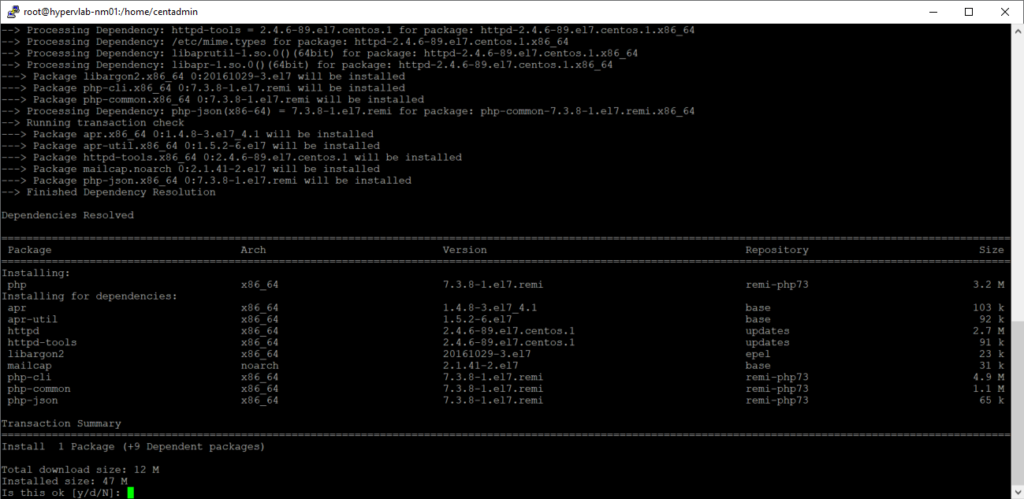
Next, we need to configure the /etc/php.ini file.
vi /etc/php.iniNext, we need to configure the PHP Time Zone, You can get the Time Zone List [Here]

Next, the ‘ post_max_size ‘ need to be set to 16M

Next, the ‘ max_execution_time ‘ need to be set to 300

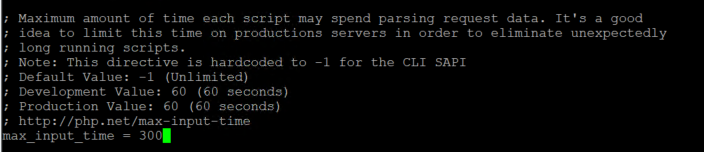
Next, the ‘ max_input_time ‘ need to be set to 300
Press Esc key to exit the VIM Input Mode then:
:w
:q
Now let’s upgrade MariaDB to the latest production release (10.4 Stable)
curl -sS https://downloads.mariadb.com/MariaDB/mariadb_repo_setup | sudo bash

yum install -y mariadb-server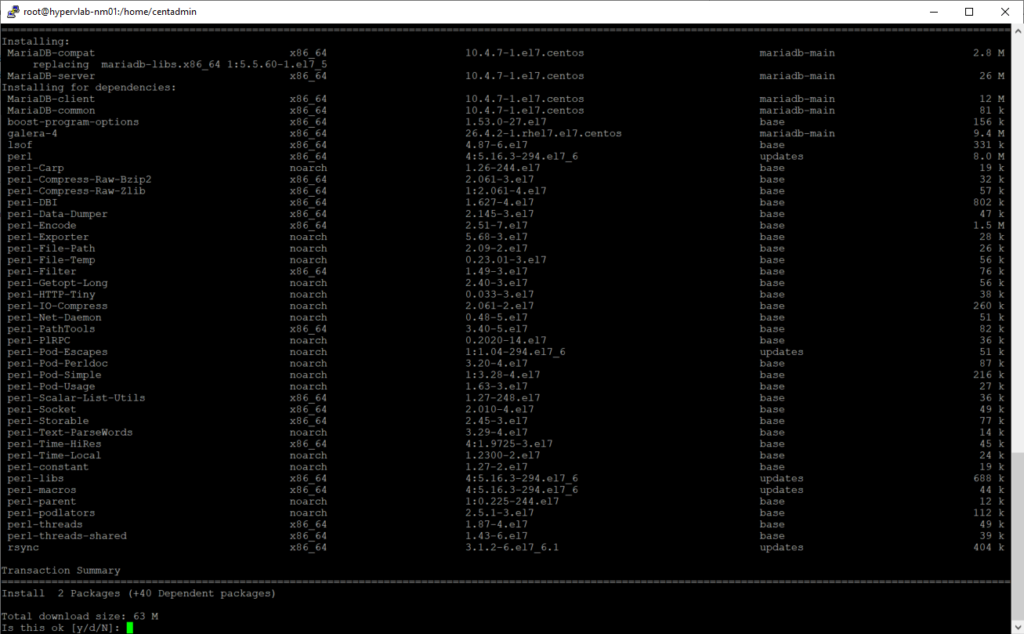
Before we start the MariaDB service, we need to add a couple of extra lines to the server.conf file
vi /etc/my.cnf.d/server.cnf
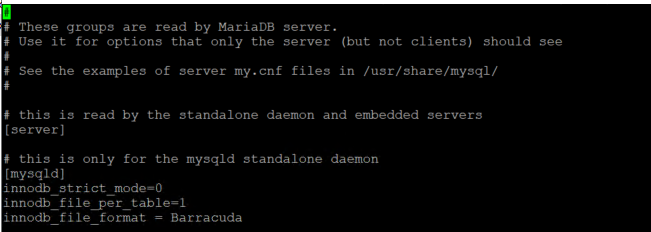
This is required as there is a configuration Bug with MariaDB 10.4.x which has been reported here: https://support.zabbix.com/browse/ZBX-16465
innodb_strict_mode=0
innodb_file_per_table=1
innodb_file_format = Barracuda
Press Esc key to exit the VIM Input Mode then :w then :q
systemctl enable mariadb
systemctl start mariadb
Now let’s Configure the MariaDB MySQL Server. Firstly let’s run through the secure setup:
mysql_secure_installationNow authenticate to the database using the Root Password we have just created:
mysql -u root -p
create database zabbix character set utf8 collate utf8_bin;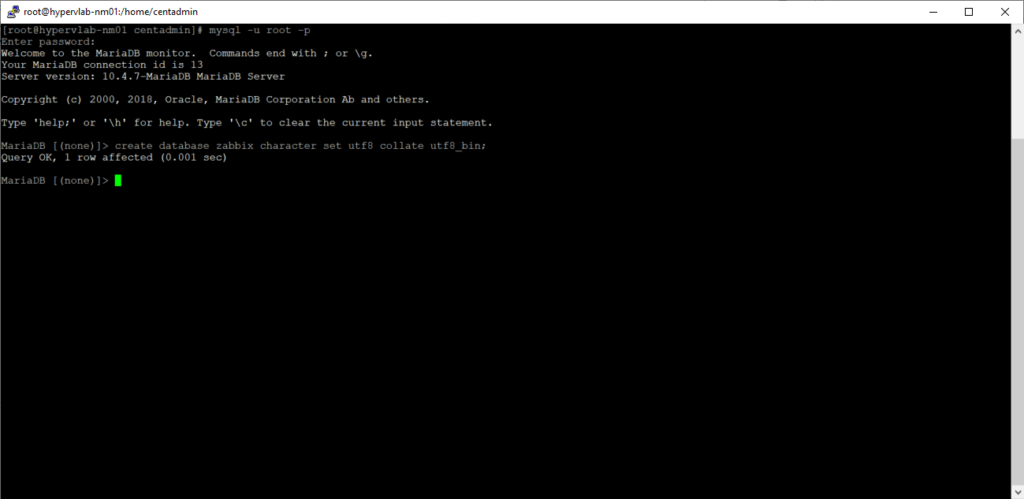
grant all privileges on zabbix.* to zabbix_dba@localhost identified by '53cP@$$w0rd!';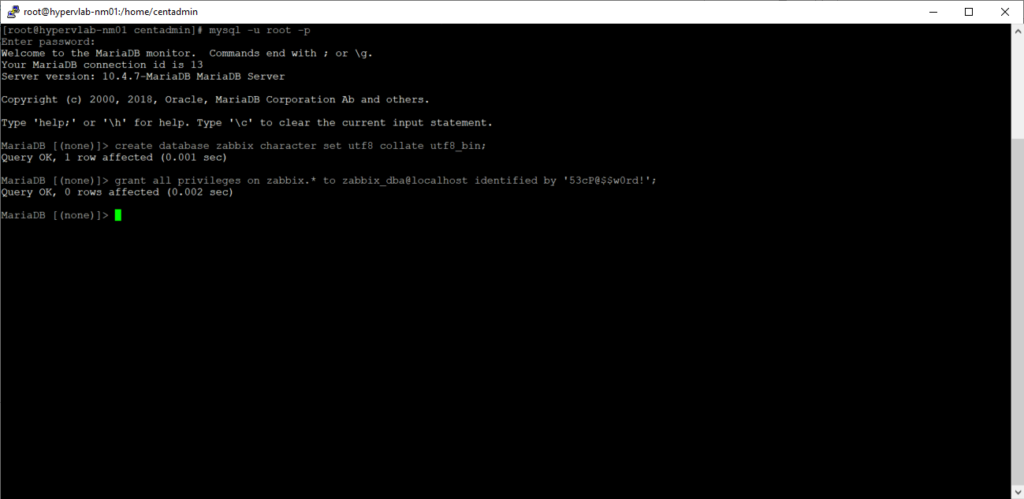
FLUSH PRIVILEGES;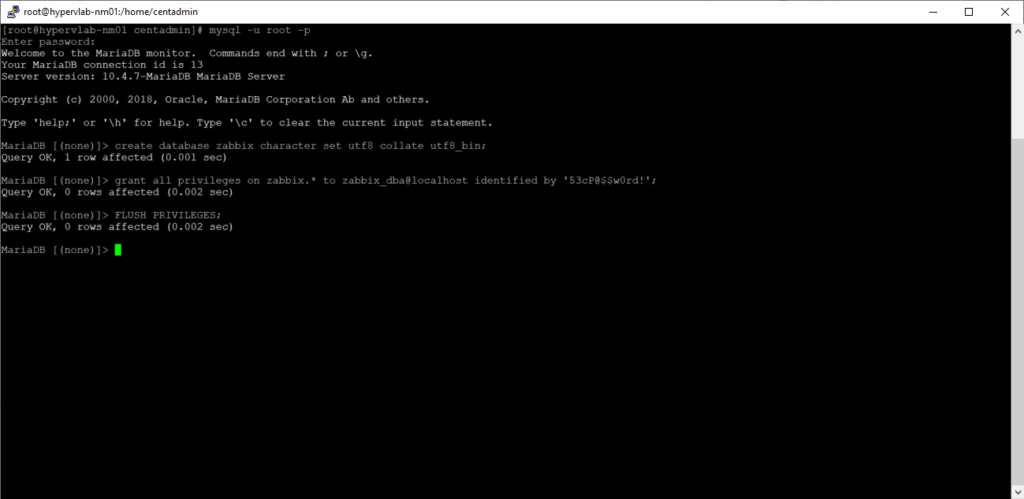
FLUSH TABLES;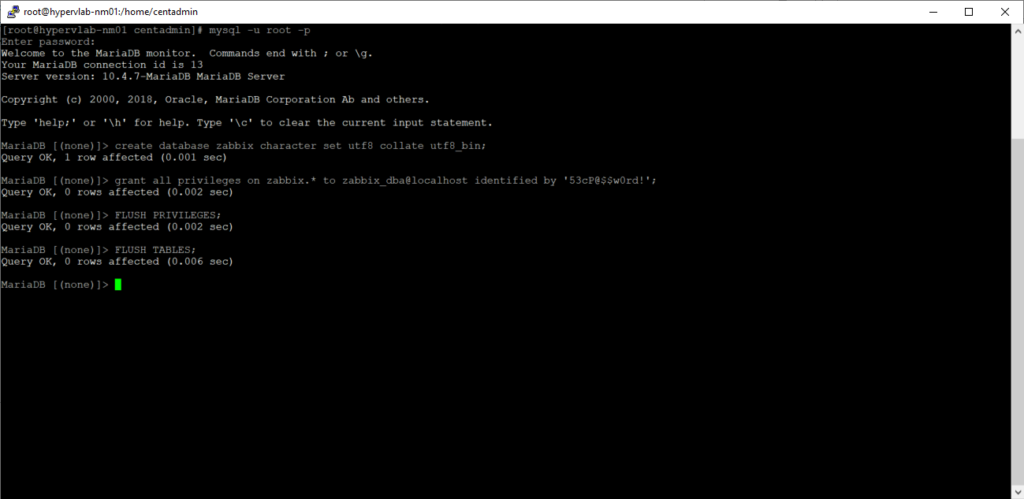
quit;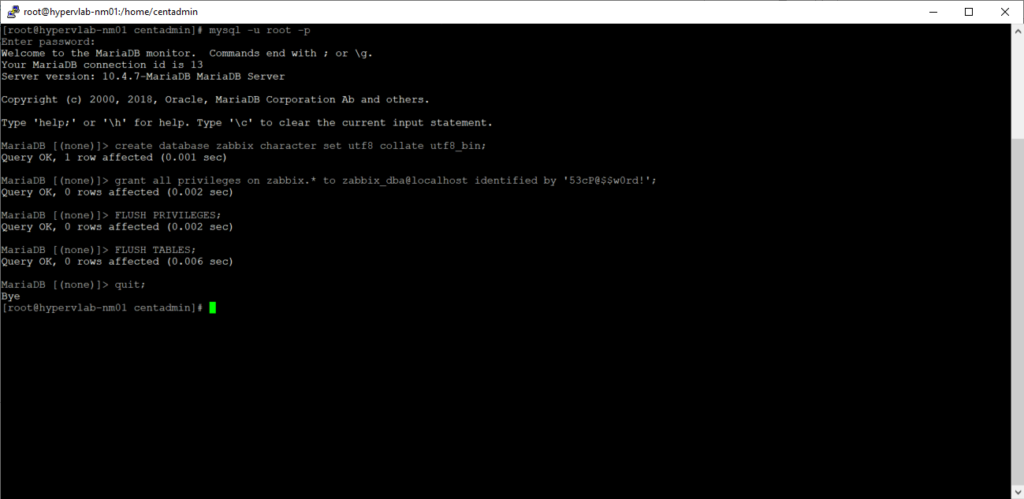
Now let’s add the Zabbix Repositories.
rpm -Uvh https://repo.zabbix.com/zabbix/4.2/rhel/7/x86_64/zabbix-release-4.2-2.el7.noarch.rpm ; yum update
yum -y install zabbix-server-mysql zabbix-web-mysql zabbix-agent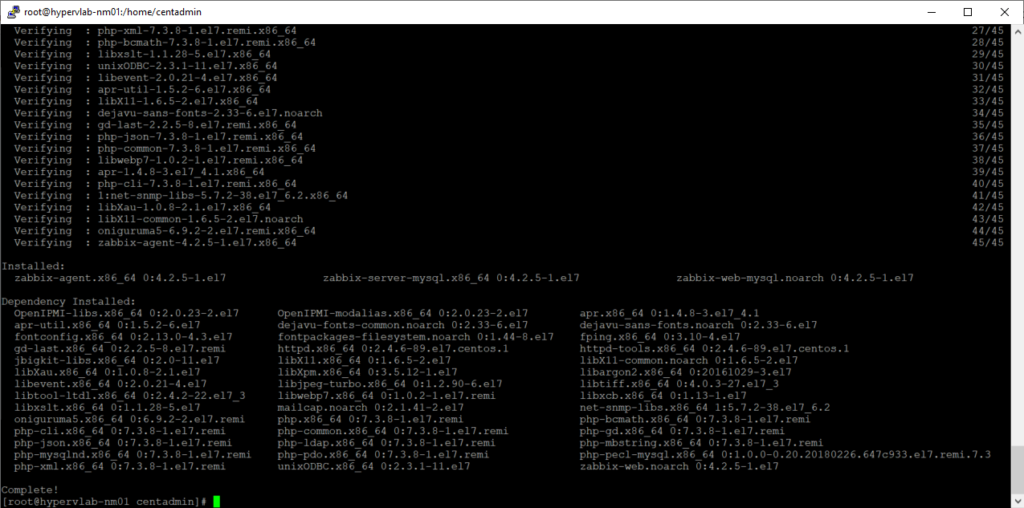
Now import initial schema and data for the server with MySQL:
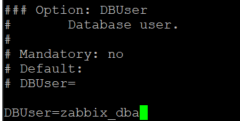
zcat /usr/share/doc/zabbix-server-mysql*/create.sql.gz | mysql -u zabbix_dba -p zabbixNext, we need to edit the zabbix_server.conf file and add the DBA Credentials
vi /etc/zabbix/zabbix_server.conf
Edit the DBUser if you changed it from zabbix_dba
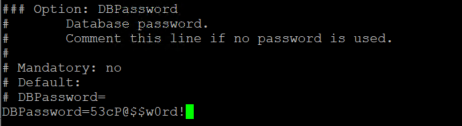
Edit DBPassword
Next, we need to configure the Time Zone, You can get the Time Zone List [Here]
vi /etc/httpd/conf.d/zabbix.conf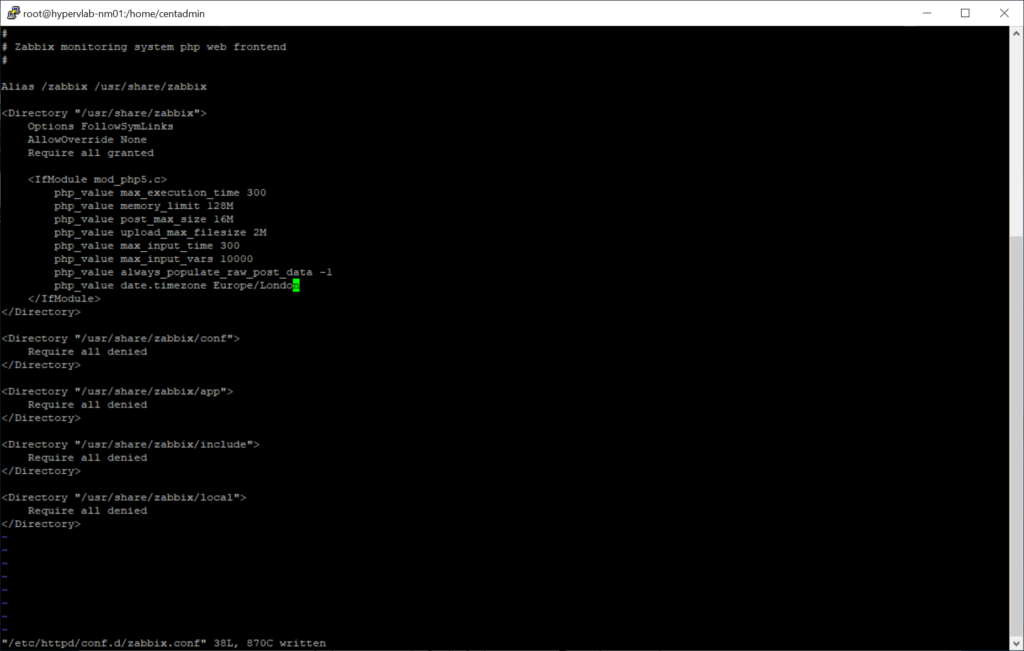
Now lets Enable and start the Zabbix services
systemctl enable zabbix-server zabbix-agent httpd
systemctl restart zabbix-server zabbix-agent httpd
systemctl status zabbix-server zabbix-agent httpd
Next, we need to configure the Internal Firewall rules.
firewall-cmd --permanent --add-port=10050/tcp
firewall-cmd --permanent --add-port=10051/tcp
firewall-cmd --permanent --add-port=80/tcp
firewall-cmd --reload
systemctl restart firewalld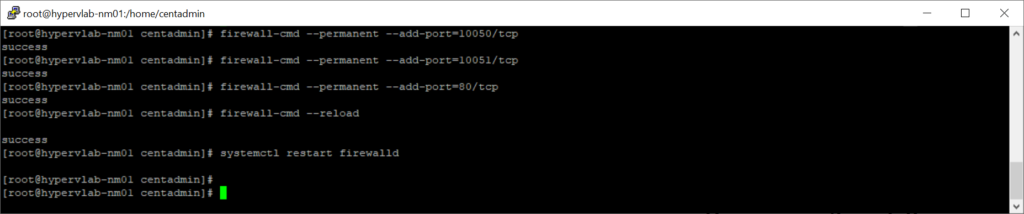
Zabbix Monitoring Front End Configuration
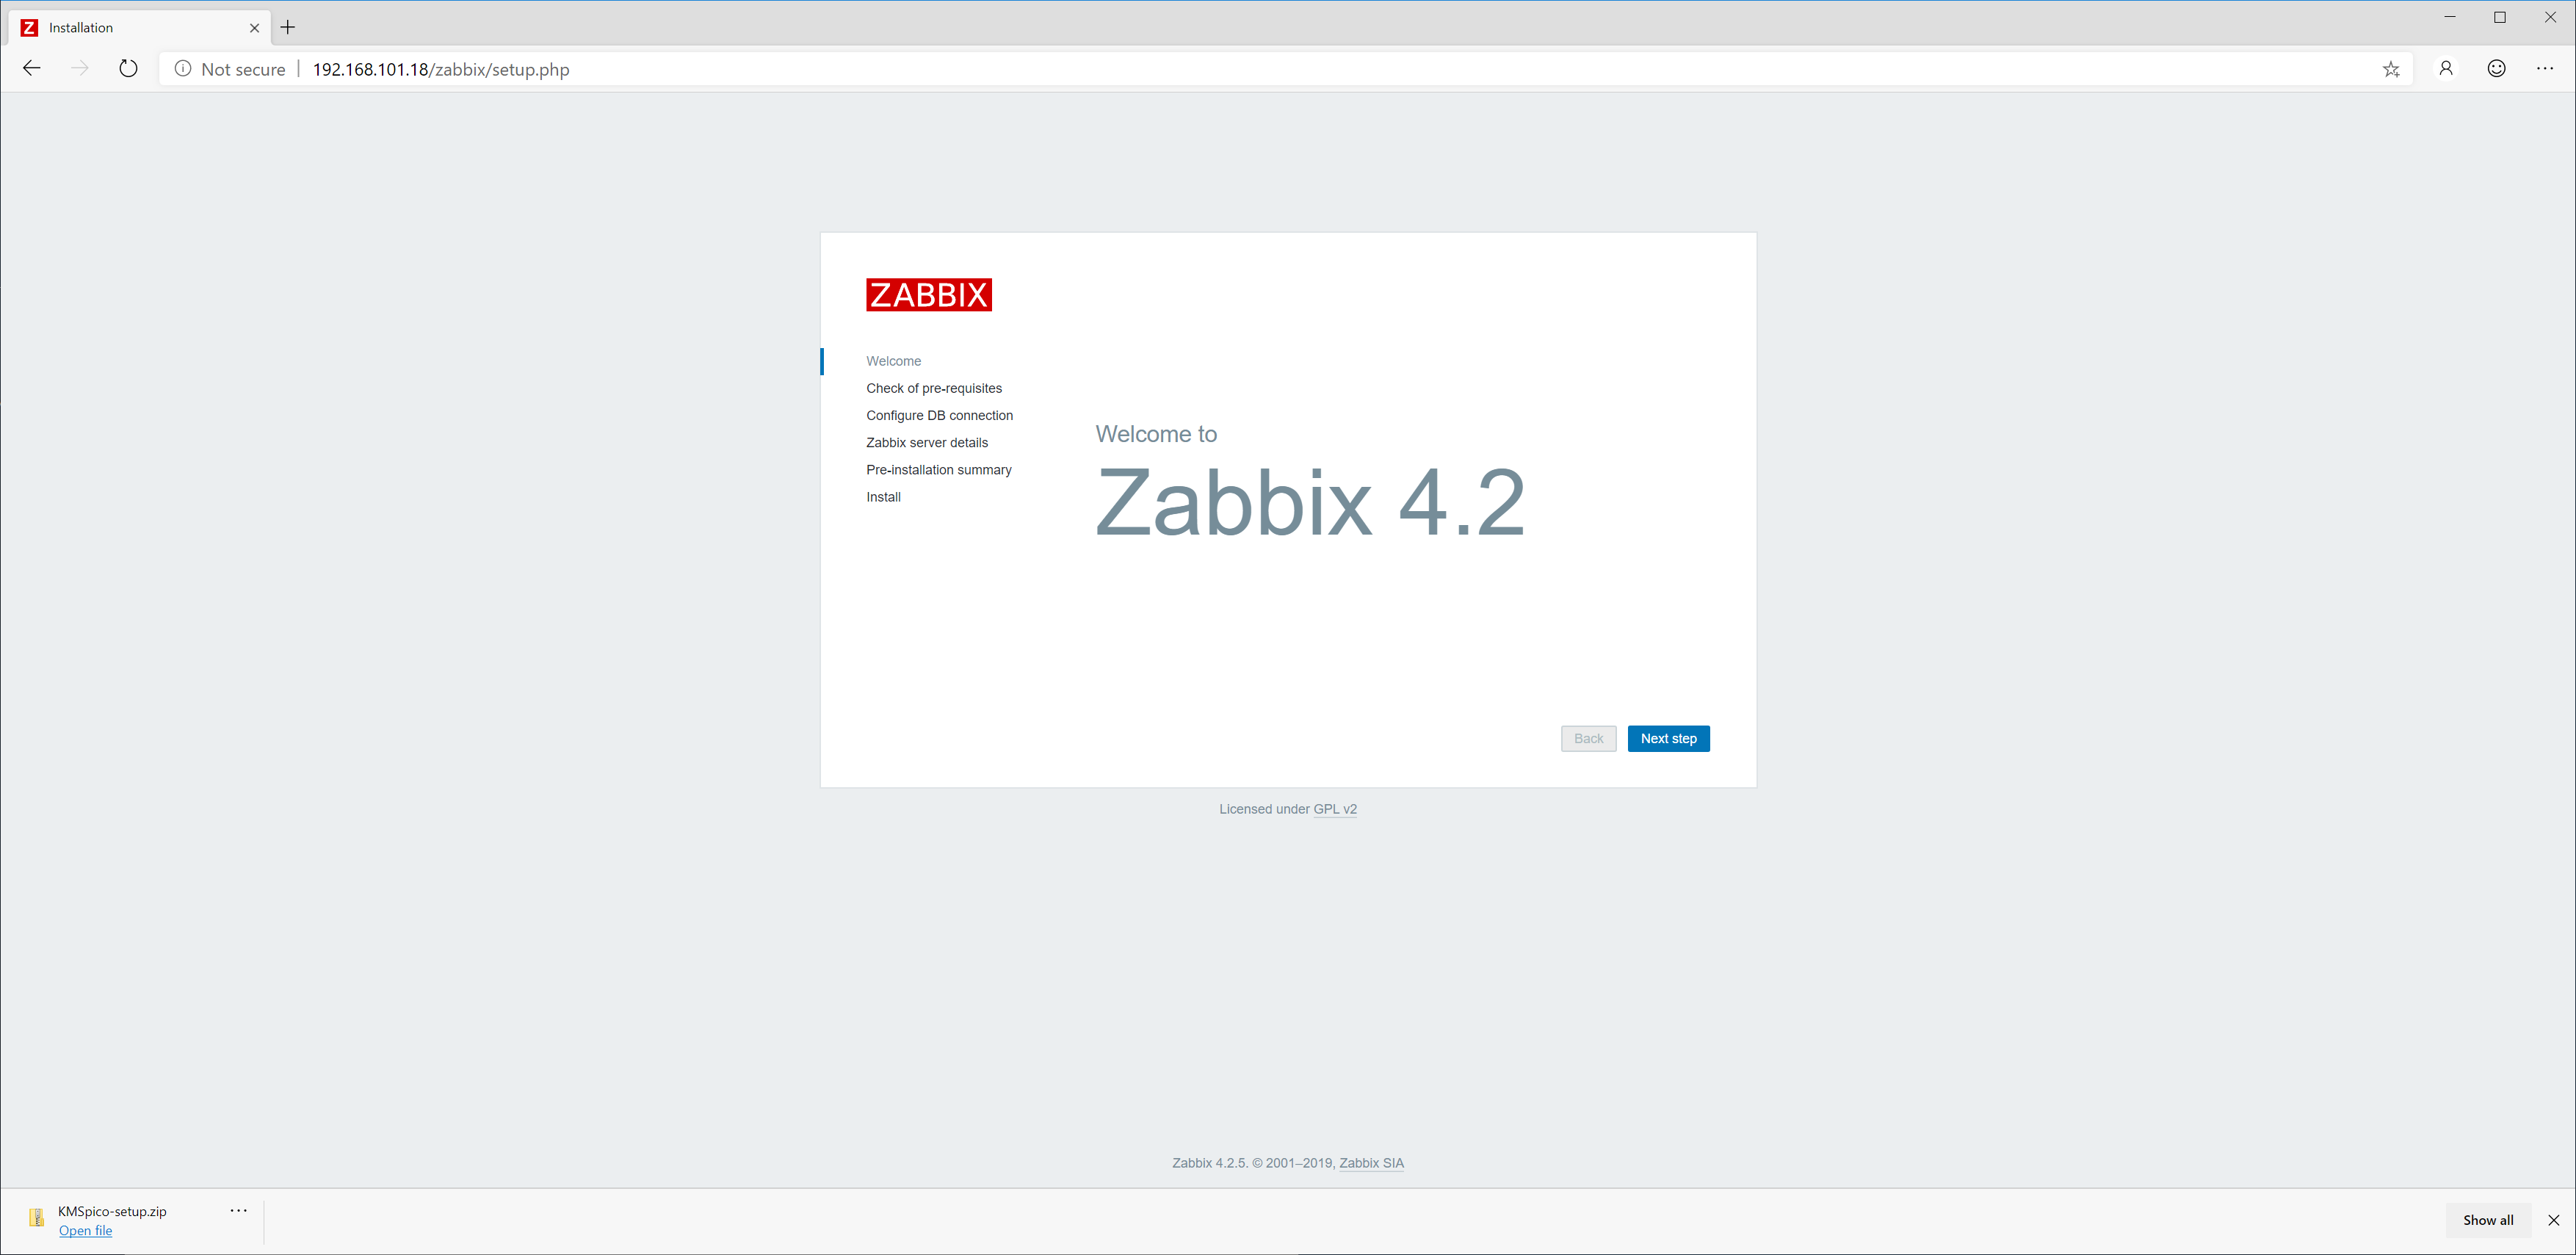
Connect to the Web Interface using the same IP Address which we used to initiate the SSH Session.
http://0.0.0.0/zabbix
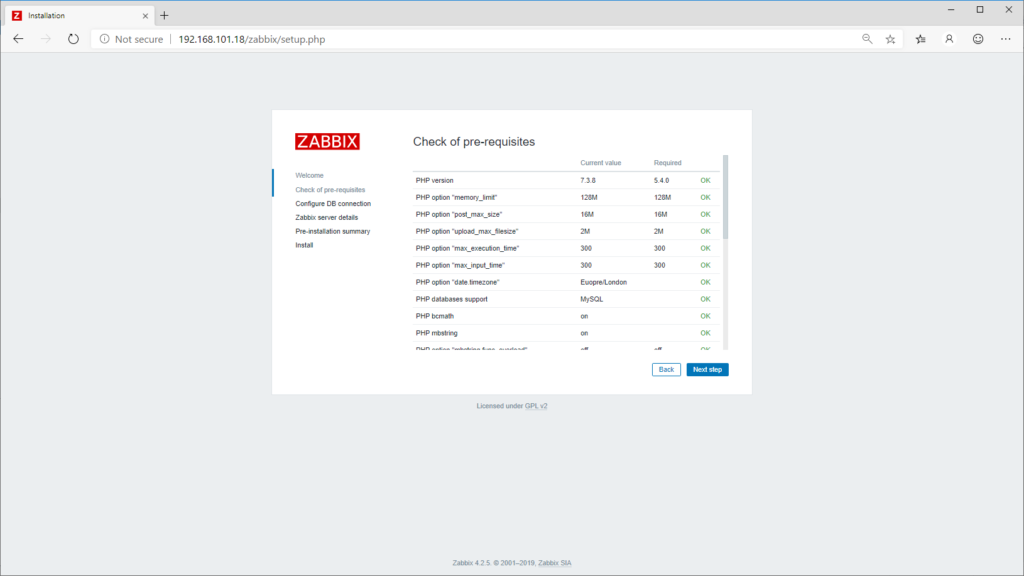
Click ‘Next’.
Click ‘Next’.
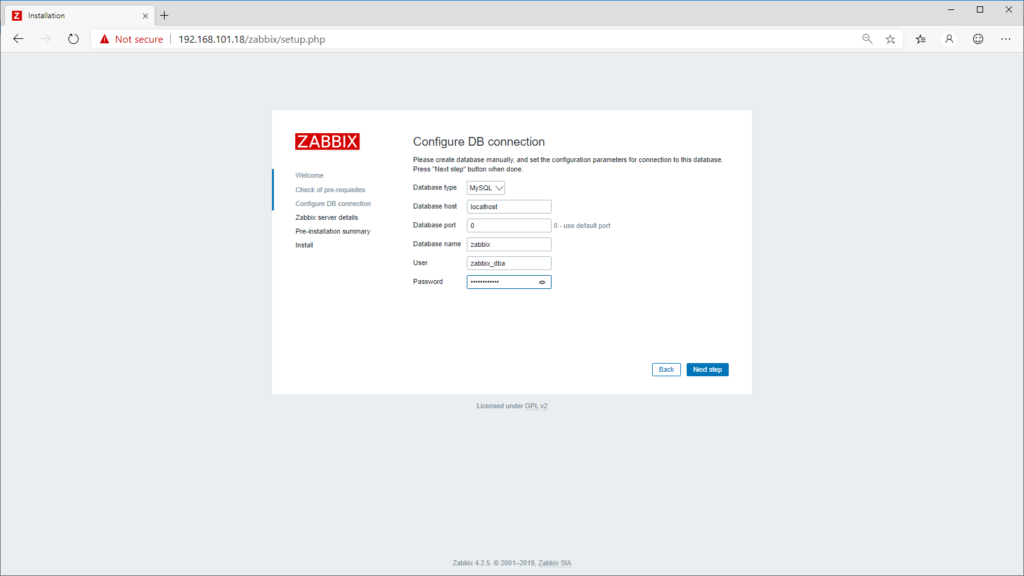
Add the Zabbix database password and then click ‘Next’.
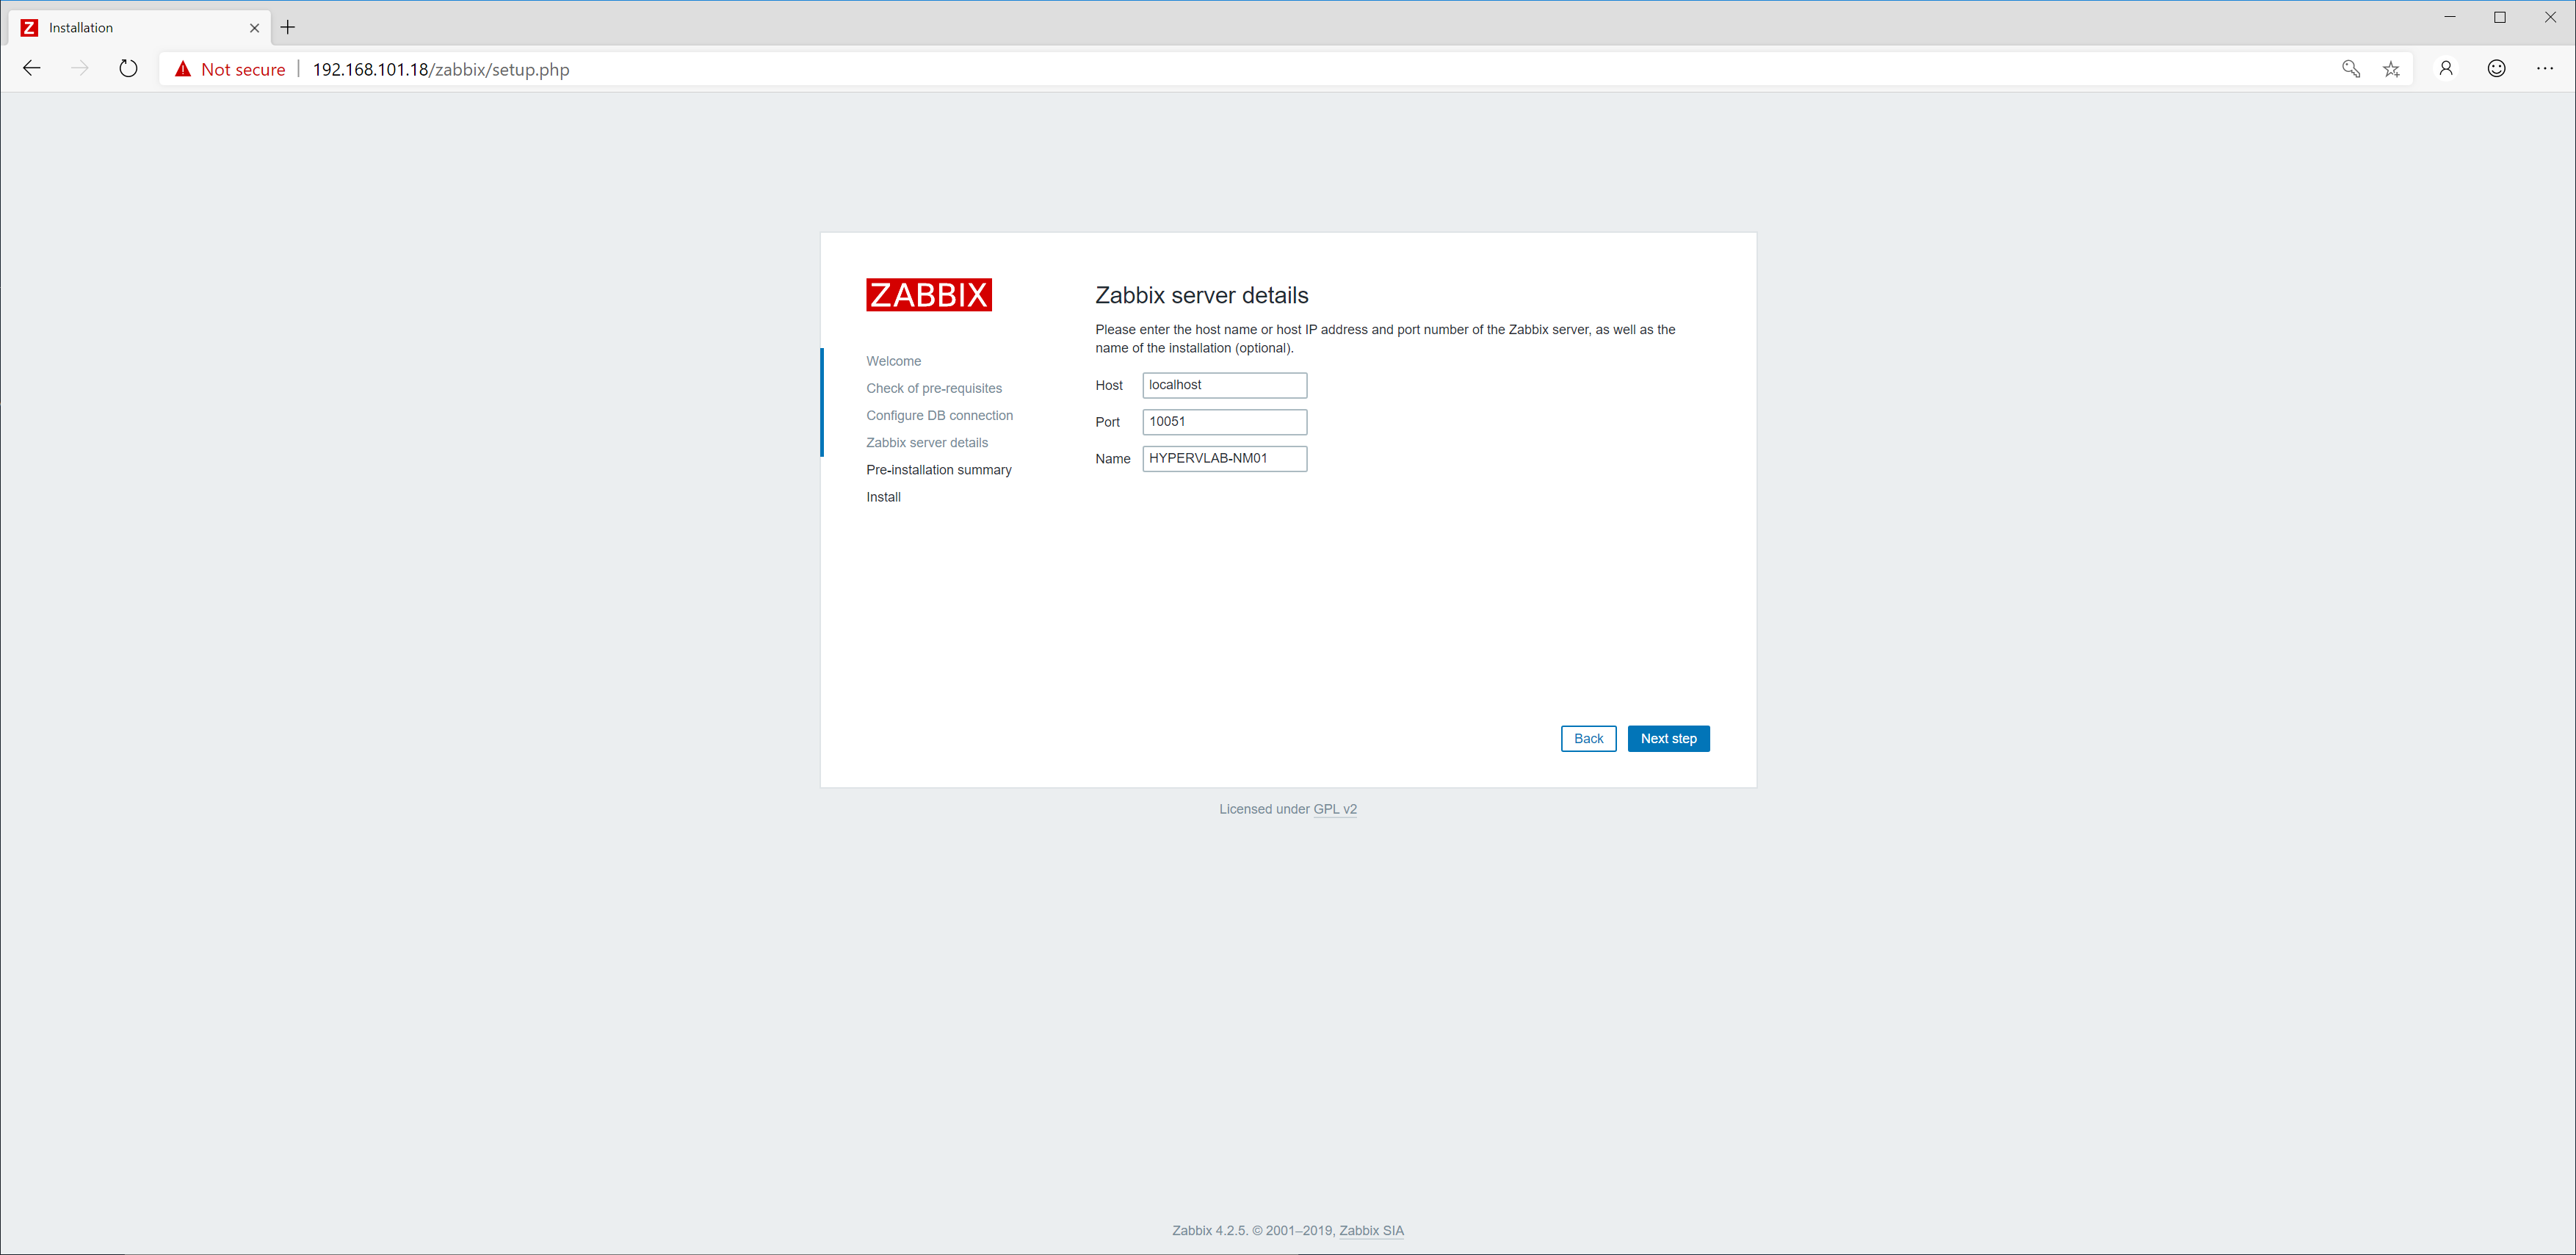
Configure the Server ‘Web’ Hostname, then click ‘Next’.
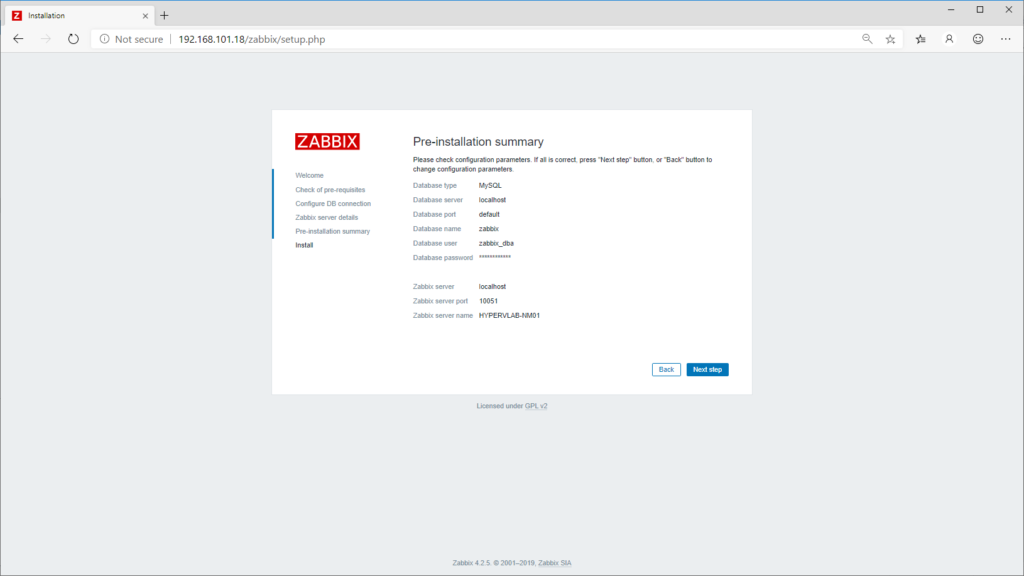
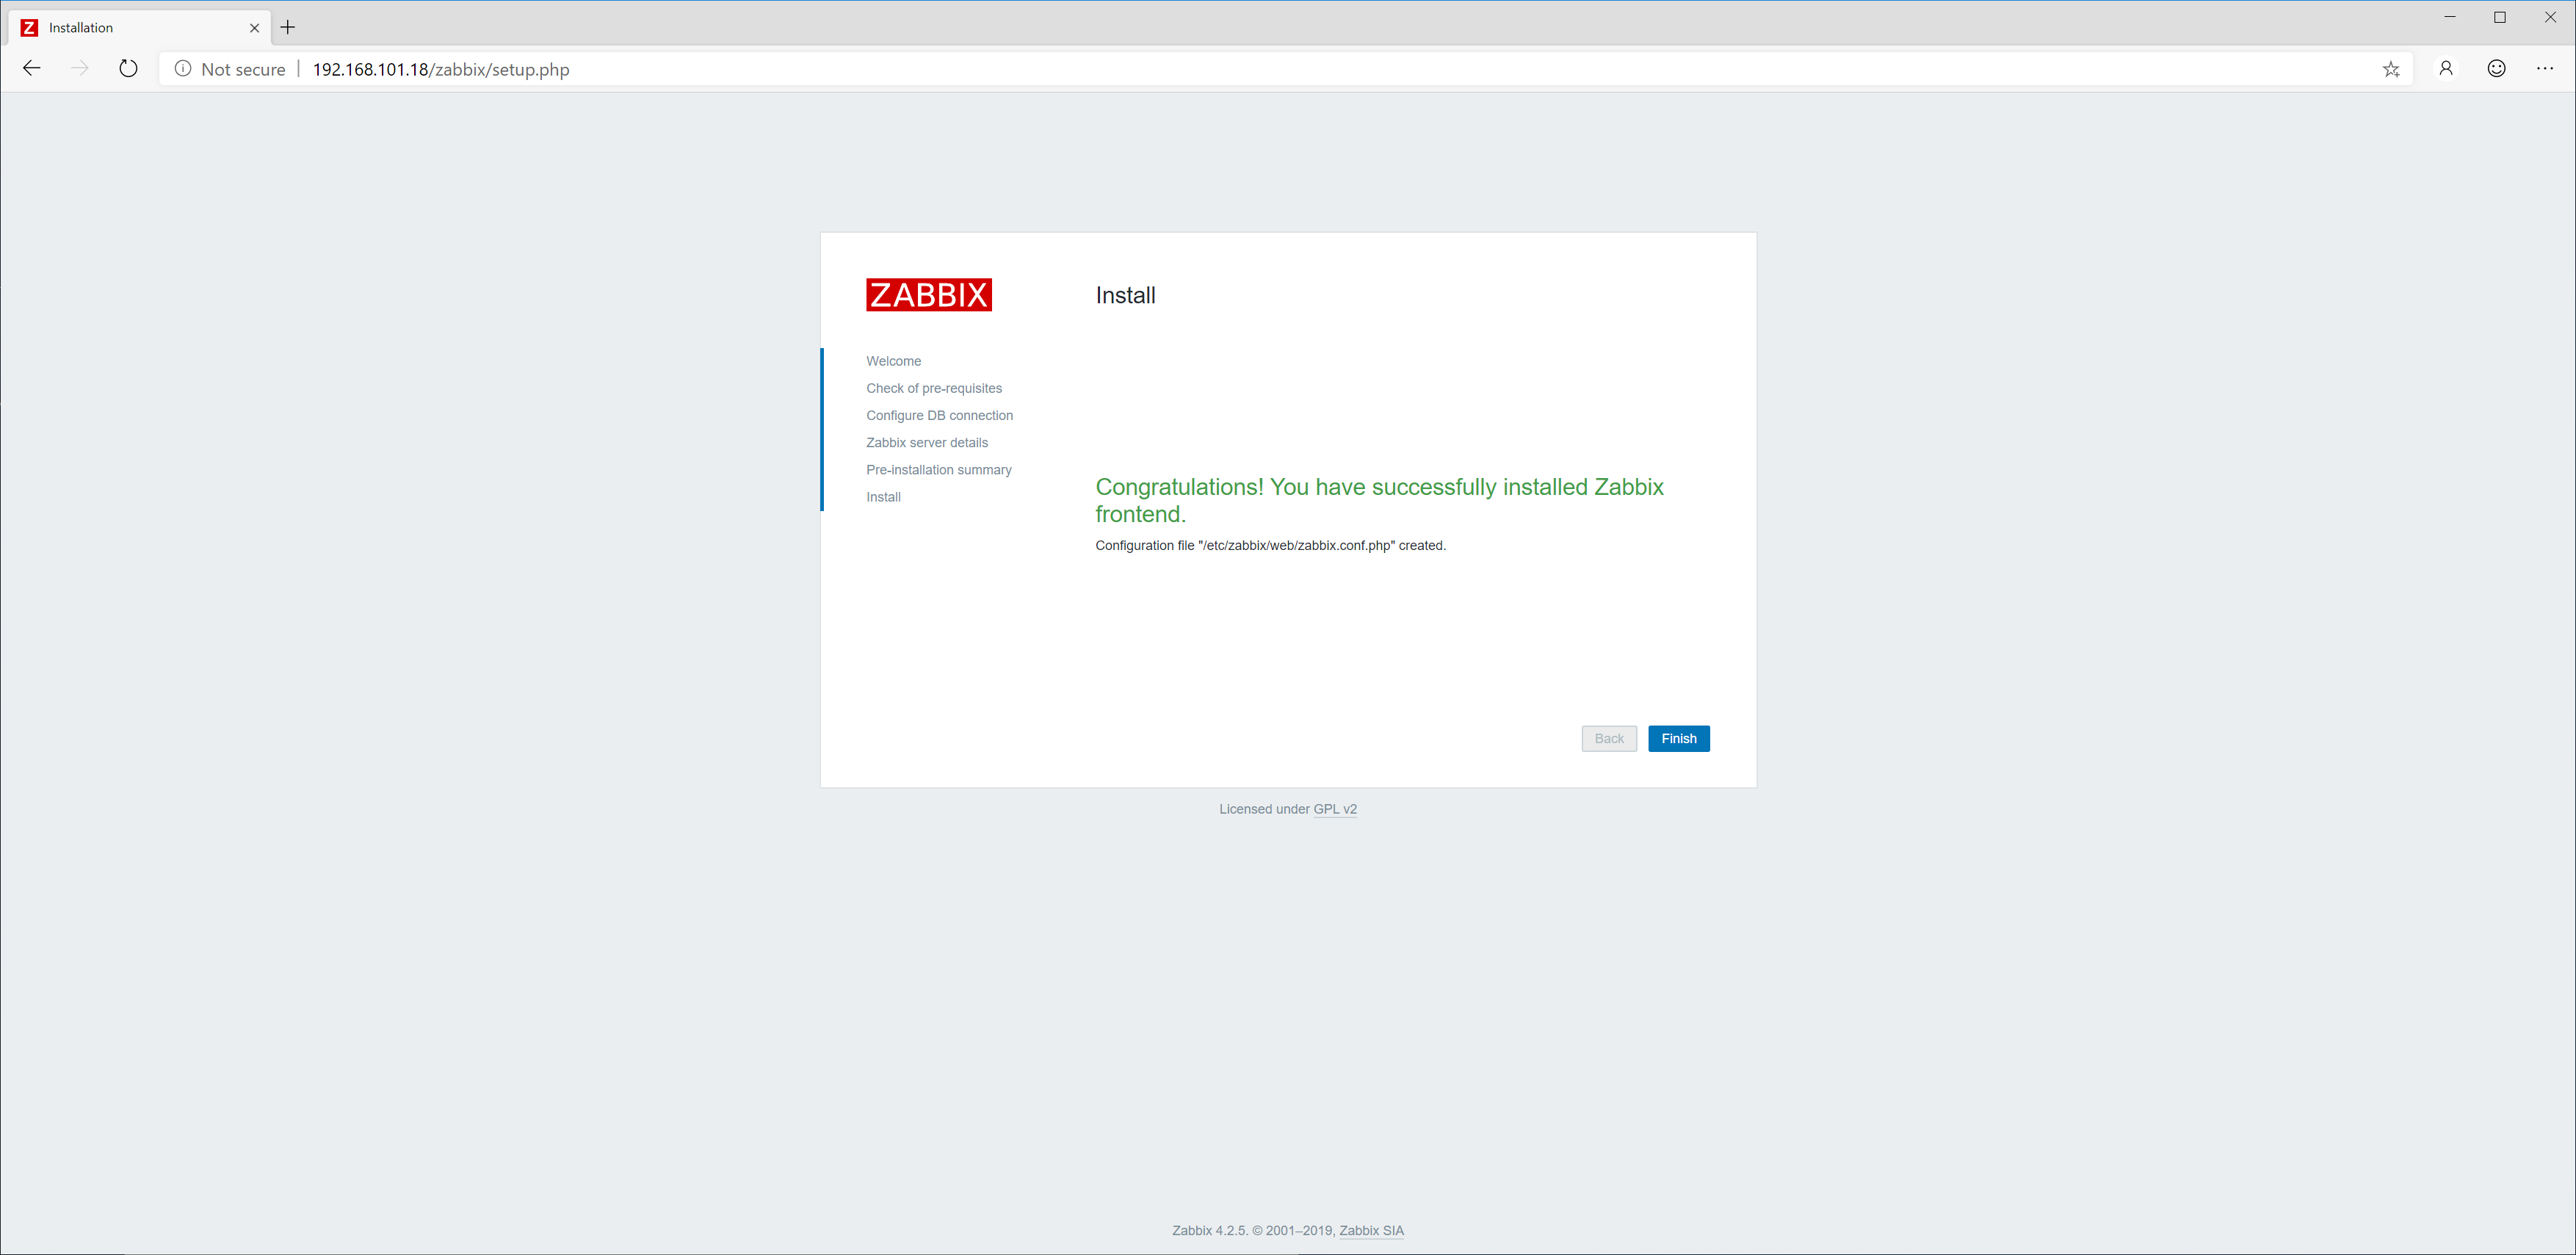
Final Pre-Flight Summary, If you’re happy then let’s go!
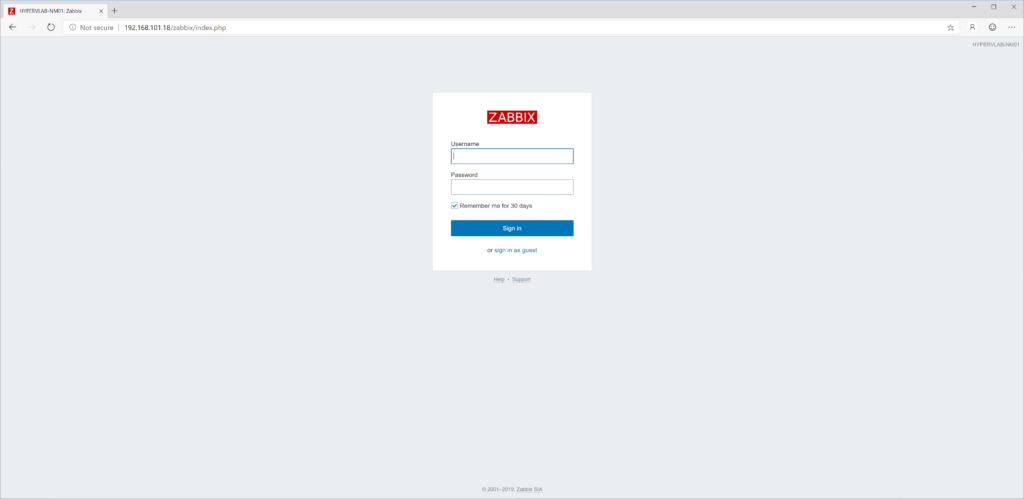
Installation completed, Time to Login!
Zabbix 4.2 Quick Start Guide: https://www.zabbix.com/documentation/4.2/manual/quickstart/login
The Default Login Credentials for Zabbix Network Monitoring are
Admin – zabbix
Zabbix Network Monitoring Default Dashboard.
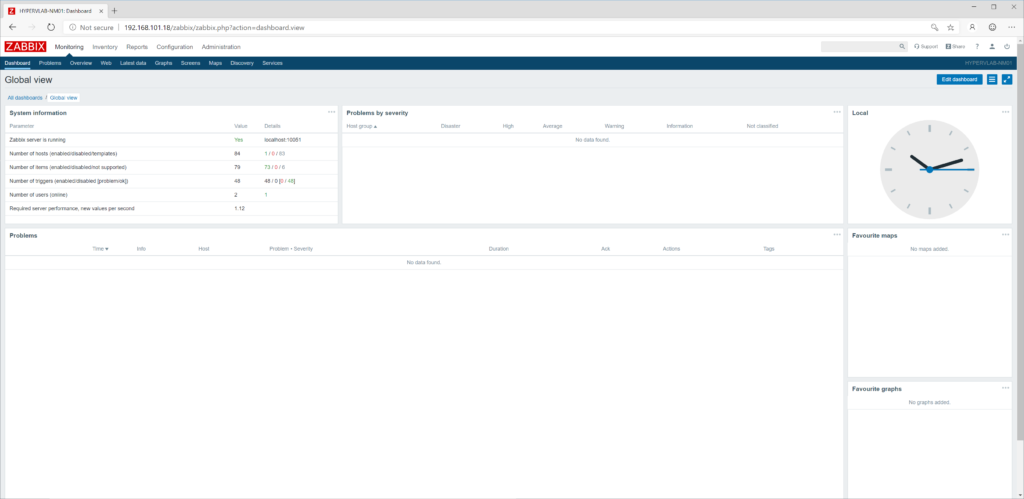
And that’s It for the Initial Setup of Zabbix. In the Next Post, I will configure Configuring and Deploying the Network Agent and some Group Policy Objects which can help save time.


