


Hello, In this blog post, we will cover the basics of creating a docker image from a docker file. So for those who are new to Docker, I would first advise you have a read of this: Getting Started with Docker. Now that you’re acquainted with what the Docker platform is next, you’ll want to check this Dockerfile Reference on the ins and out of what a Docker File is.
The TLDR Overview of a DockerFile is that it’s a configuration file which allows you to build a container image from an Operating System and install any required packages or scripts required for the image/solution to run.
Before we can start building docker images, we first need to install Docker Desktop, You can download the DockerDesktop setup file from well docker’s website. Download Here

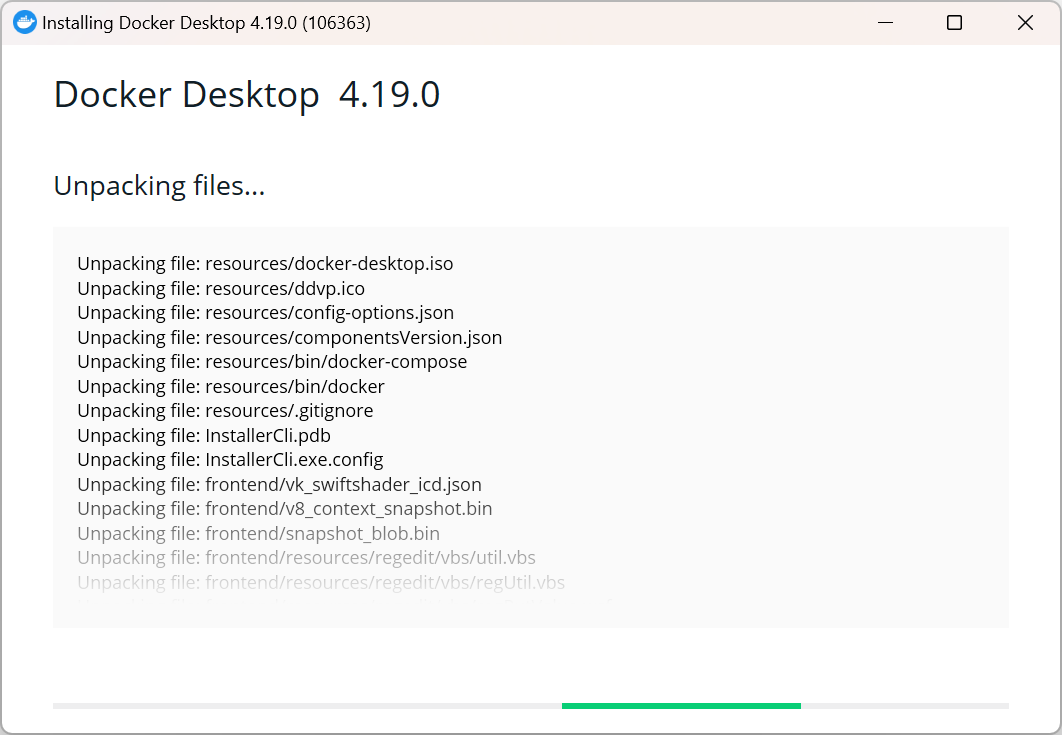
NOTE: Please note you will be required to reboot your device after Docker Desktop has been installed.
Creating a Basic Dockerfile
The first requirement of a Dockerfil file is the FROM instruction, This outlines which operating system the image will be built from, Now this can be either Windows or Linux. the FROM Instruction can be defined in a couple of ways.
Option One:
FROM [--platform=<platform>] <image> [AS <name>]Option Two:
FROM [--platform=<platform>] <image>[:<tag>] [AS <name>]Option Three:
FROM [--platform=<platform>] <image>[@<digest>] [AS <name>]FROM INSTRUCTION ARGS TABLE: (borrowed from the docker website)
ARGis the only instruction that may precedeFROMin theDockerfile. See Understand how ARG and FROM interact.FROMcan appear multiple times within a singleDockerfileto create multiple images or use one build stage as a dependency for another. Simply make a note of the last image ID output by the commit before each newFROMinstruction. EachFROMinstruction clears any state created by previous instructions.- Optionally a name can be given to a new build stage by adding
AS nameto theFROMinstruction. The name can be used in subsequentFROMandCOPY --from=<name>instructions to refer to the image built in this stage. - The
tagordigestvalues are optional. If you omit either of them, the builder assumes alatesttag by default. The builder returns an error if it cannot find thetagvalue.
For this example, we are going to create a Dockerfile file using Alpine Linux.
From the example below the Operating System is: alpine and the version release we are using is 3.14
FROM alpine:3.14You can get the current versions from the DockerHub Repository for Alpine Linux
So now we can create the Dockerfile, For this blog post, we will be creating files under C:\Code\hypervlab-blog.
New-Item -ItemType "Directory" -Path "C:\Code\hypervlab-blog"
Next, we want to create the Dockerfile file, Which will be used to create our Docker image
New-Item -ItemType "File" -Path "C:\Code\hypervlab-blog\Dockerfile"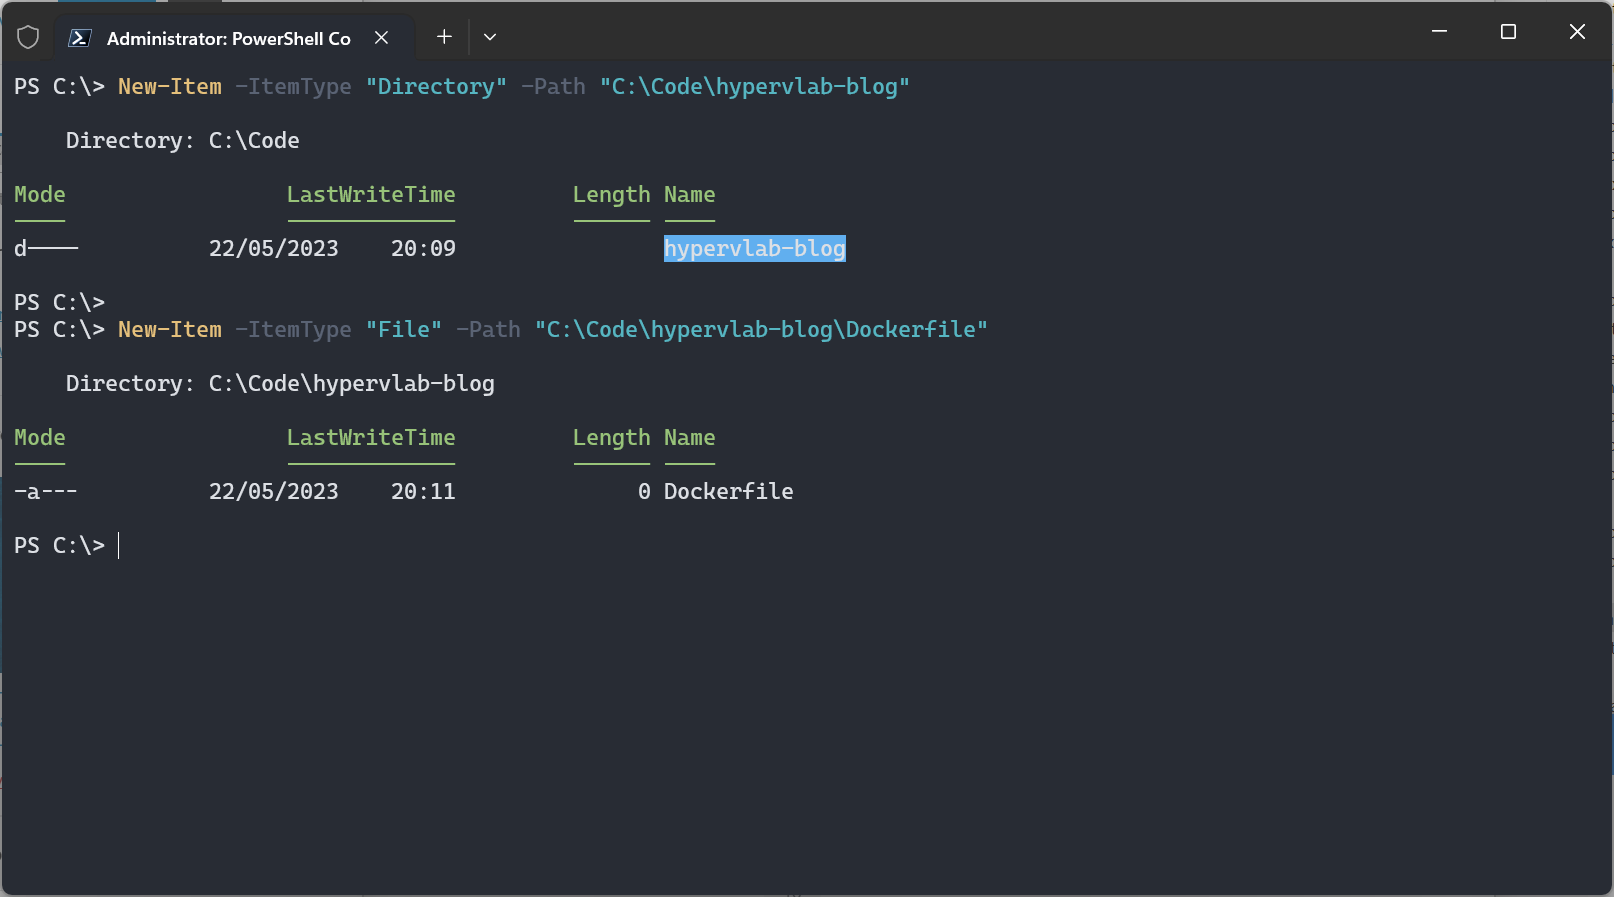
Now we have a blank Dockerfile, we can open the file, for this example, I’m using VSCode.
FROM alpine:3.14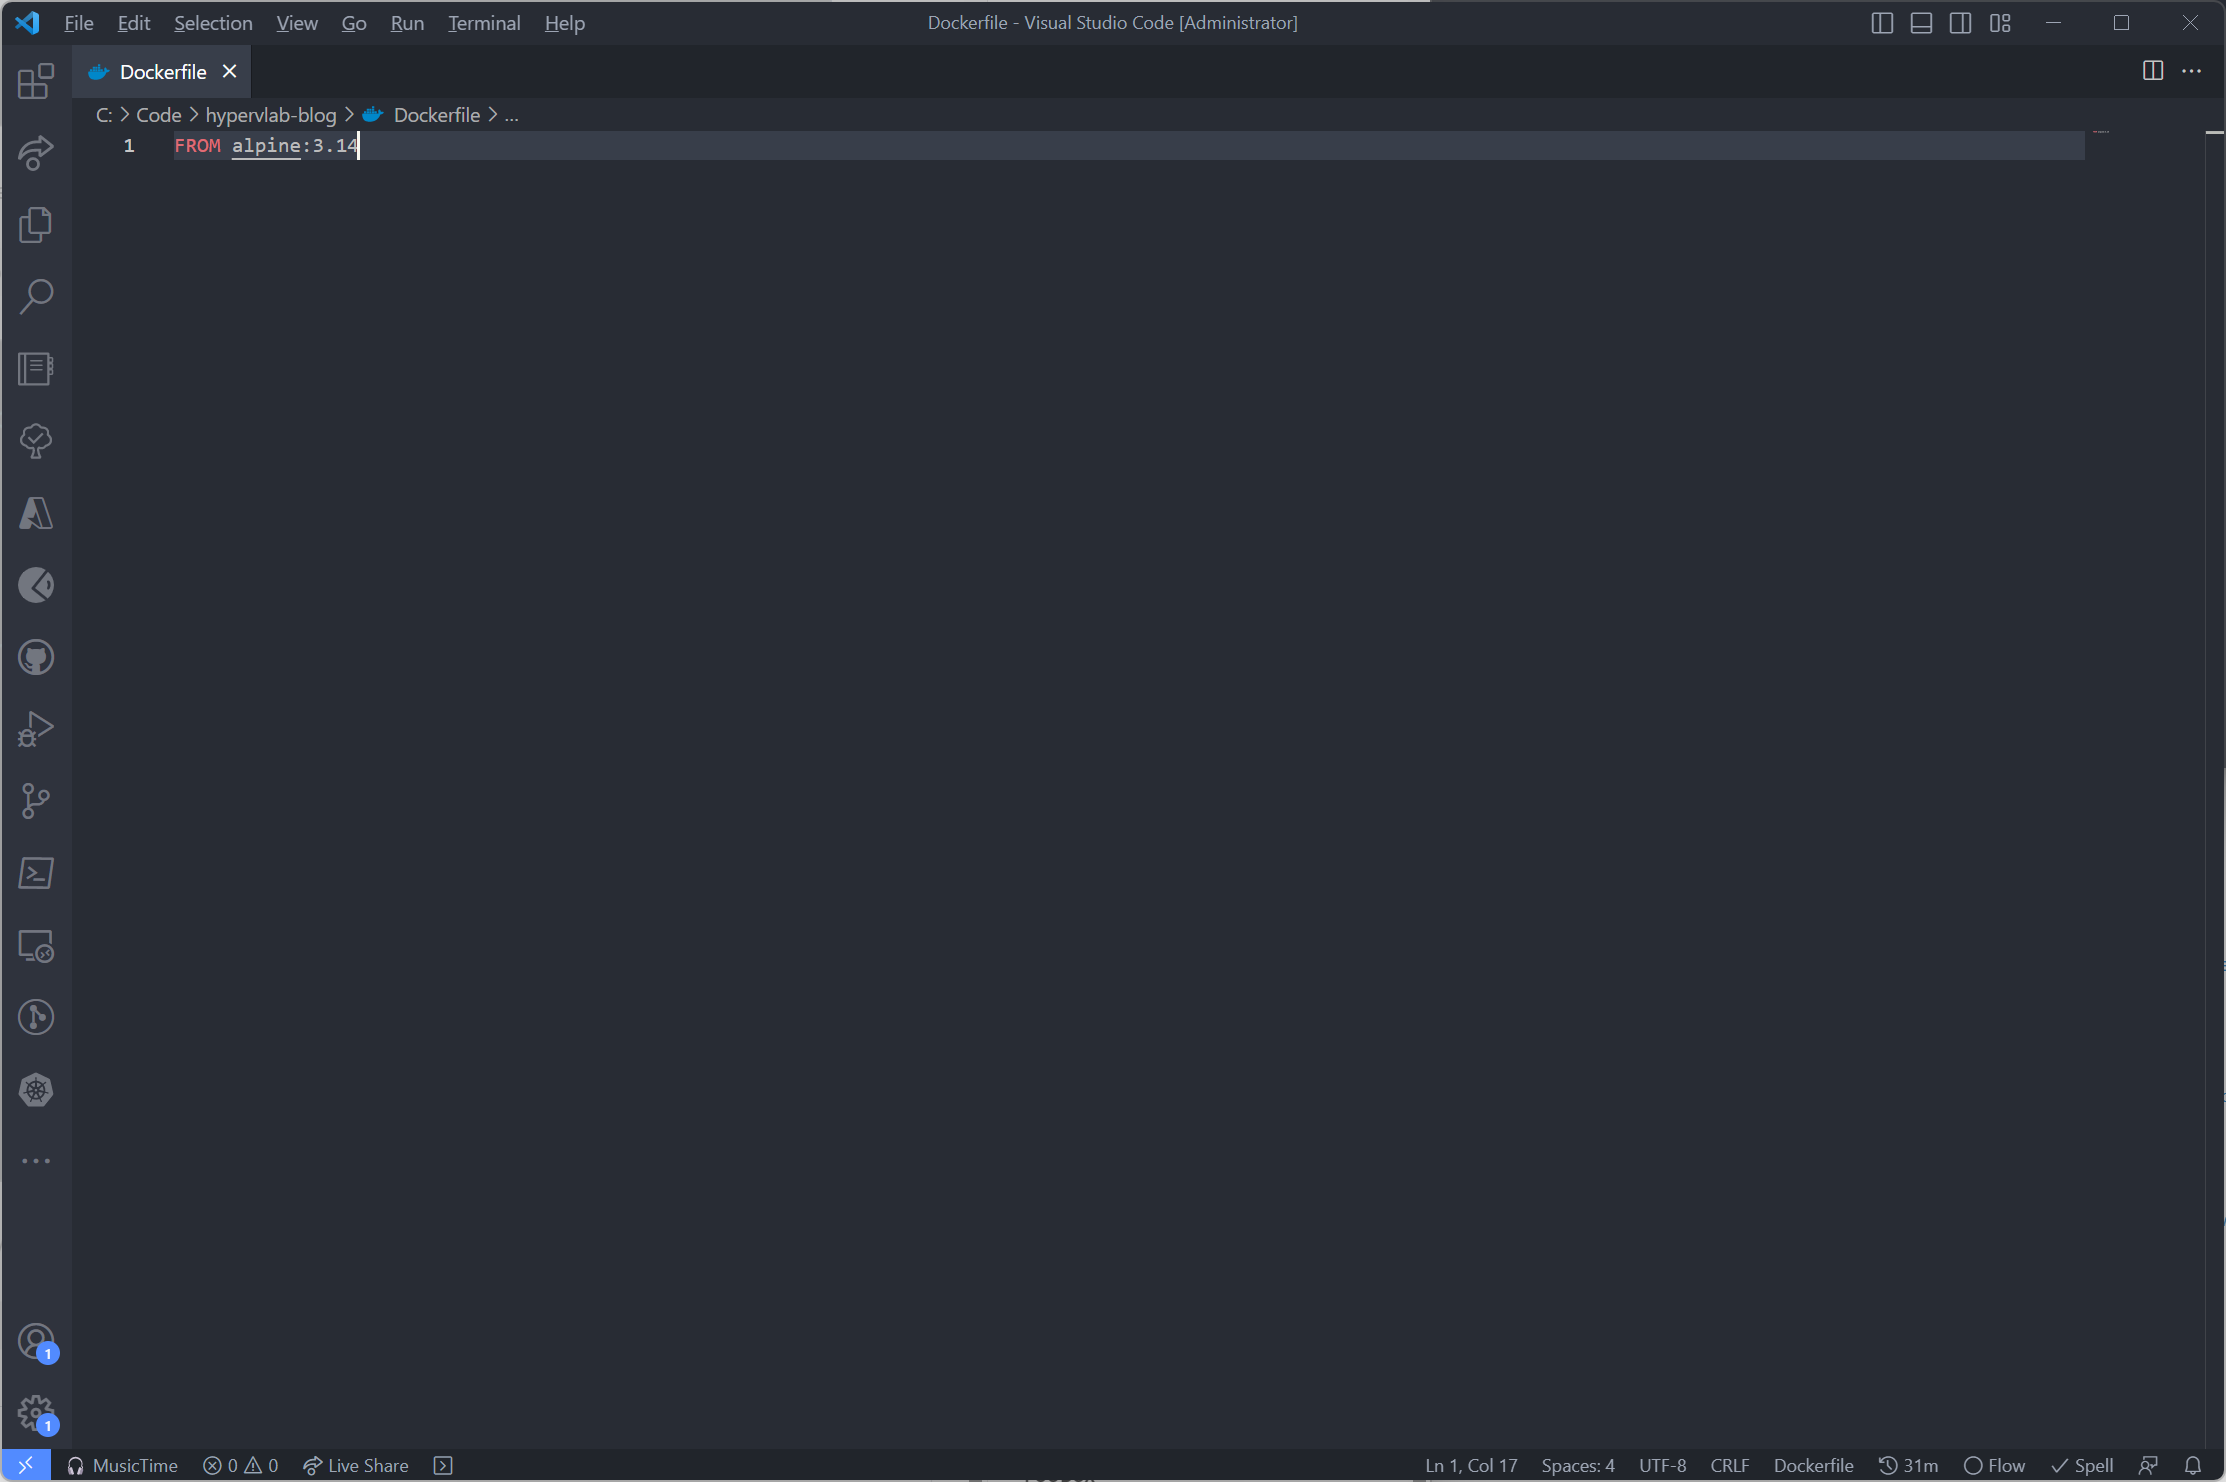
This is a very vanilla Dockerfile, At this stage, all this will do when we build is download the Operating System (alpine 3.14) and create an image for us to reuse at a later date. So once the FROM value has been added and saved to the Dockerfile we need to CD into the working directory.
Set-Location -Path C:\Code\hypervlab-blogSo now we can create our first docker image using the following command below.
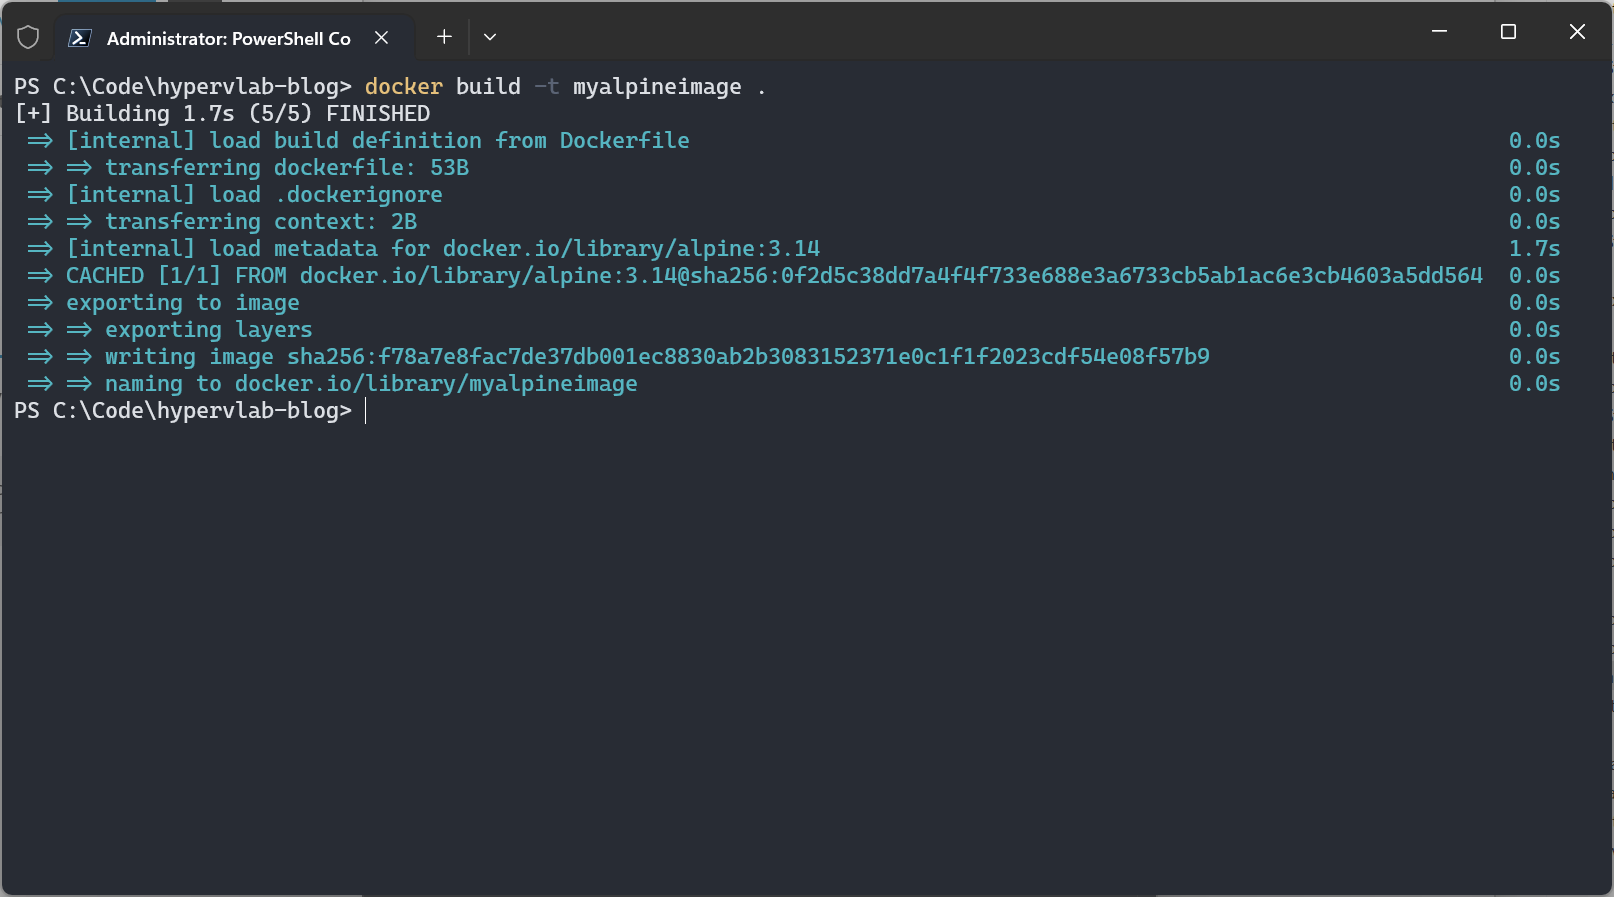
NOTE: using the “.” tells docker that the Dockerfile is located in the same folder, You can also pass the -f flag if the Dockerfile is within another folder or directory.
docker build -t myalpineimage . using the following command you will see the build output shown below.
However, this is where I shall highlight the importance of versioning or “tagging” if you run the above command, Which we’ve just completed when you check the docker images now stored on your local device you will see the following:
docker image list 
Notice how the image version shows as “latest” This doesn’t really tell us anything useful and there is no visible version controlling numbers.
So should you have a problem with the build at any point, which version of the build was broken? So I would advise when building images to use a tag – for example:
docker build -t myalpineimage:0.1 .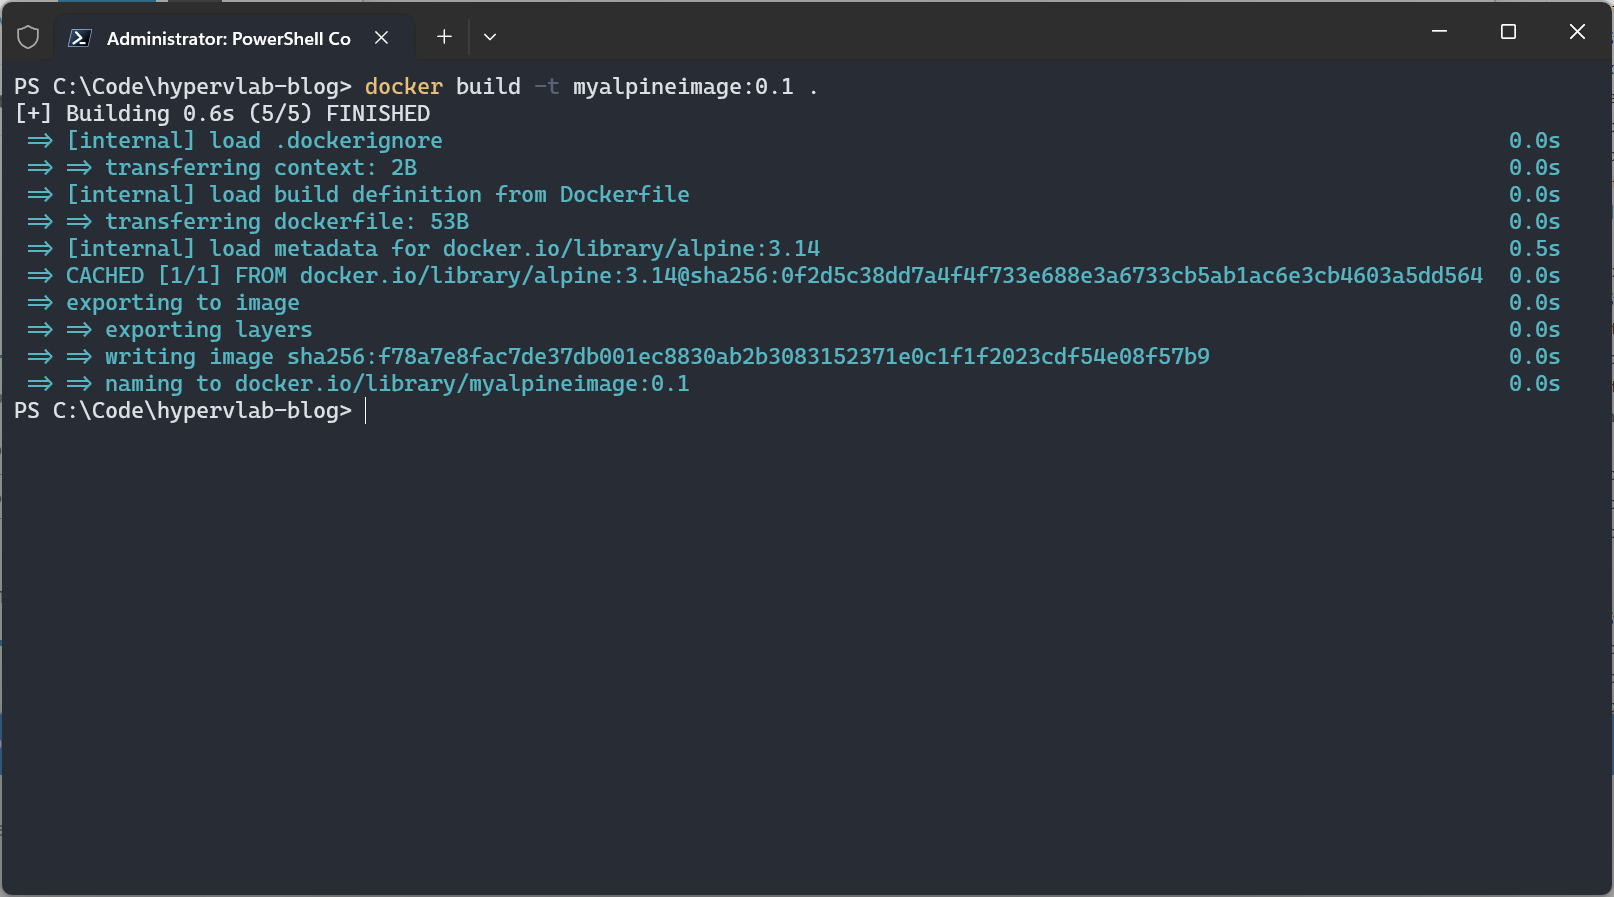
Now when we check the current images in the docker library we can now see that the tag shows as version 0.1. So we will know when it broke.
docker image list 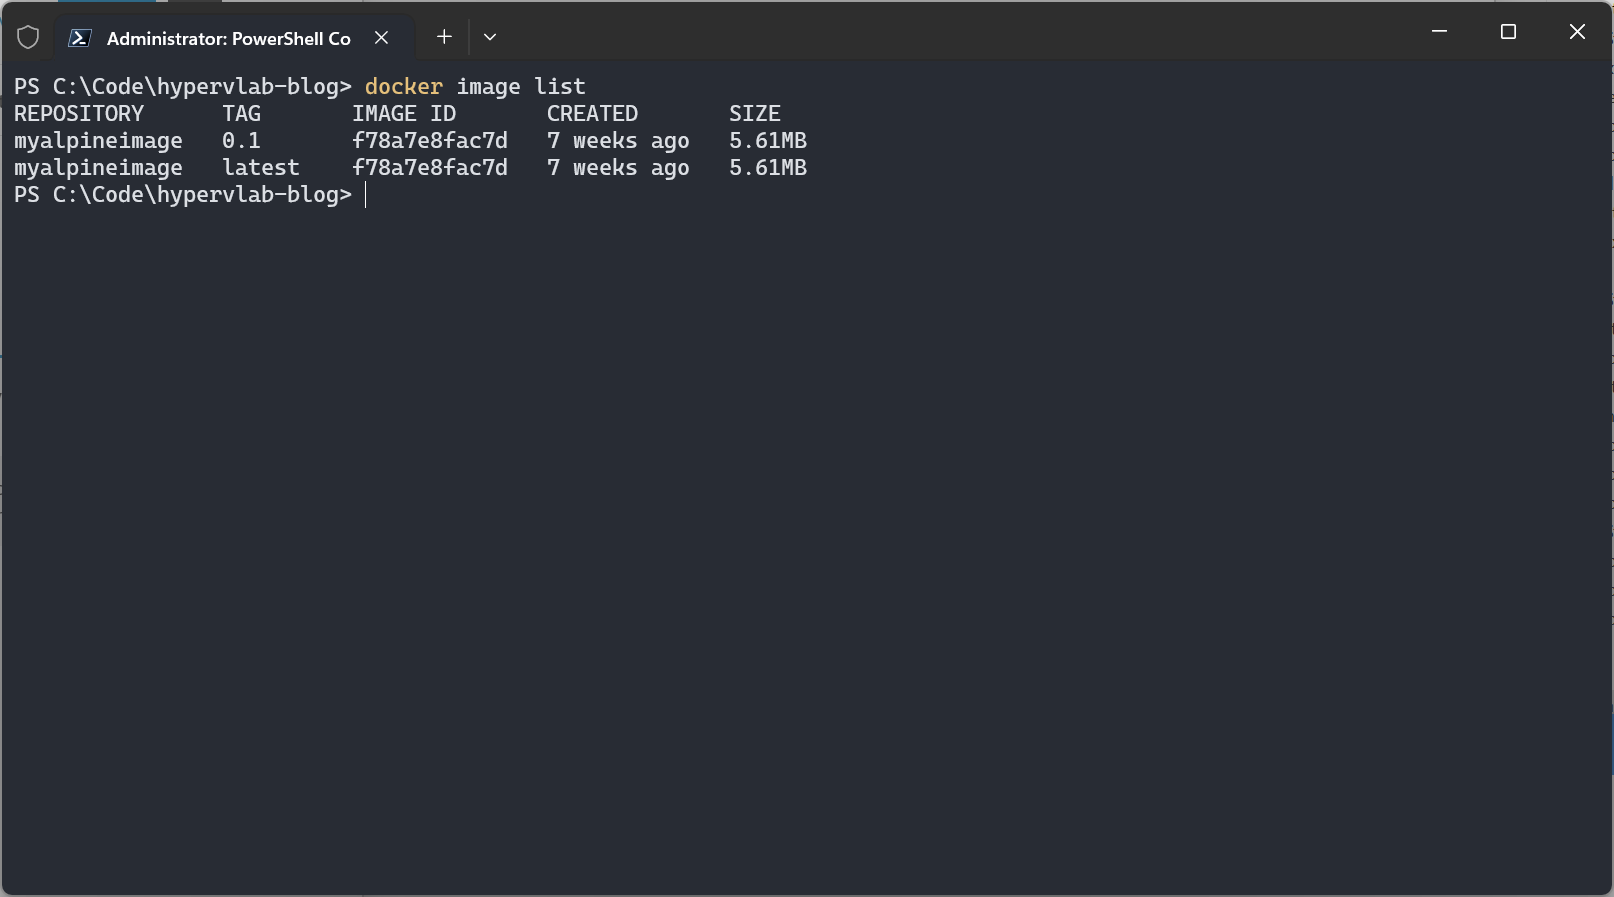
Creating a Function Docker File
So in the previous steps, we’ve covered the very very basics of creating an image, granted there is nothing in that image apart from just Alpine Linux. So using the below Dockerfile we will create a container image which contains PowerShell 7.3.4 (at the time of the blog post the latest release).
There is a super useful Microsoft Learn article on installing Powershell into Alpine Linx [Link Here]
# Define Operating System for Image
FROM alpine:3.14

# Execute Package Update and Upgrade
RUN apk update
RUN apk add --no-cache ca-certificates less ncurses-terminfo-base krb5-libs libgcc libintl libssl1.1 libstdc++ tzdata userspace-rcu zlib icu-libs curl
RUN apk -X https://dl-cdn.alpinelinux.org/alpine/edge/main add --no-cache lttng-ust

# Download the powershell '.tar.gz' archive
RUN curl -L https://github.com/PowerShell/PowerShell/releases/download/v7.3.4/powershell-7.3.4-linux-alpine-x64.tar.gz -o /tmp/powershell.tar.gz

# Create the target folder where powershell will be placed
RUN mkdir -p /opt/microsoft/powershell/7

# Expand powershell to the target folder
RUN tar zxf /tmp/powershell.tar.gz -C /opt/microsoft/powershell/7

# Set execute permissions and create the symbolic link that points to pwsh
RUN chmod +x /opt/microsoft/powershell/7/pwsh
RUN ln -s /opt/microsoft/powershell/7/pwsh /usr/bin/pwsh

# Start PowerShell
ENTRYPOINT pwsh
Build Time!
docker build -t myalpineimage:0.2 .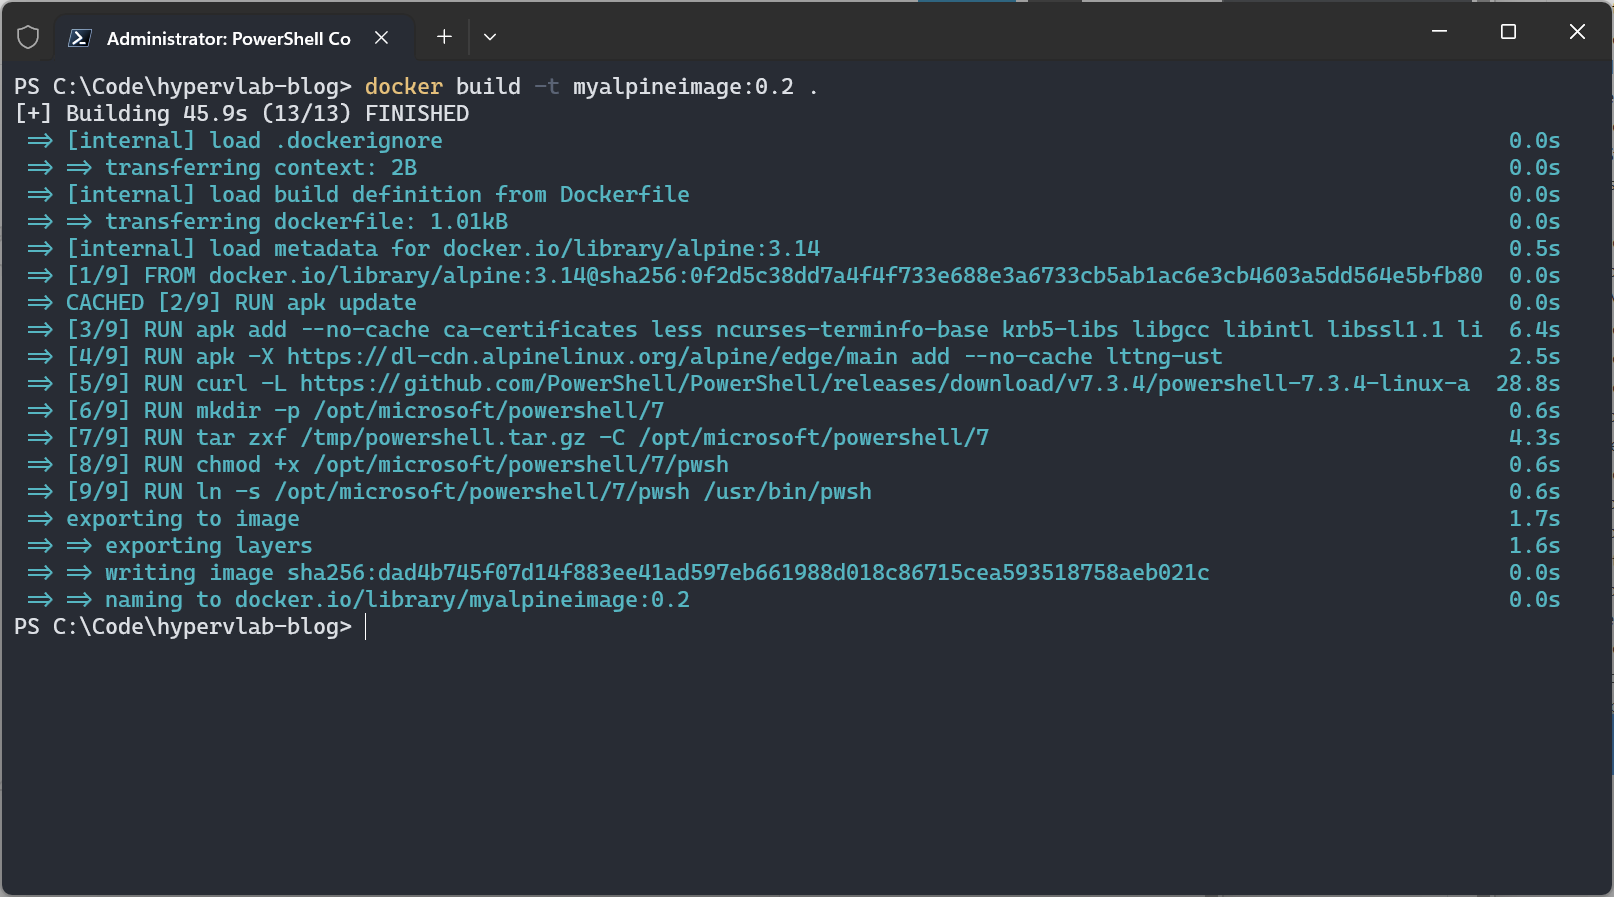
Now when we check the docker images, we can see that the myalpineimage 0.2 is now 320MB as it now holds the PowerShell Modules.
docker image list 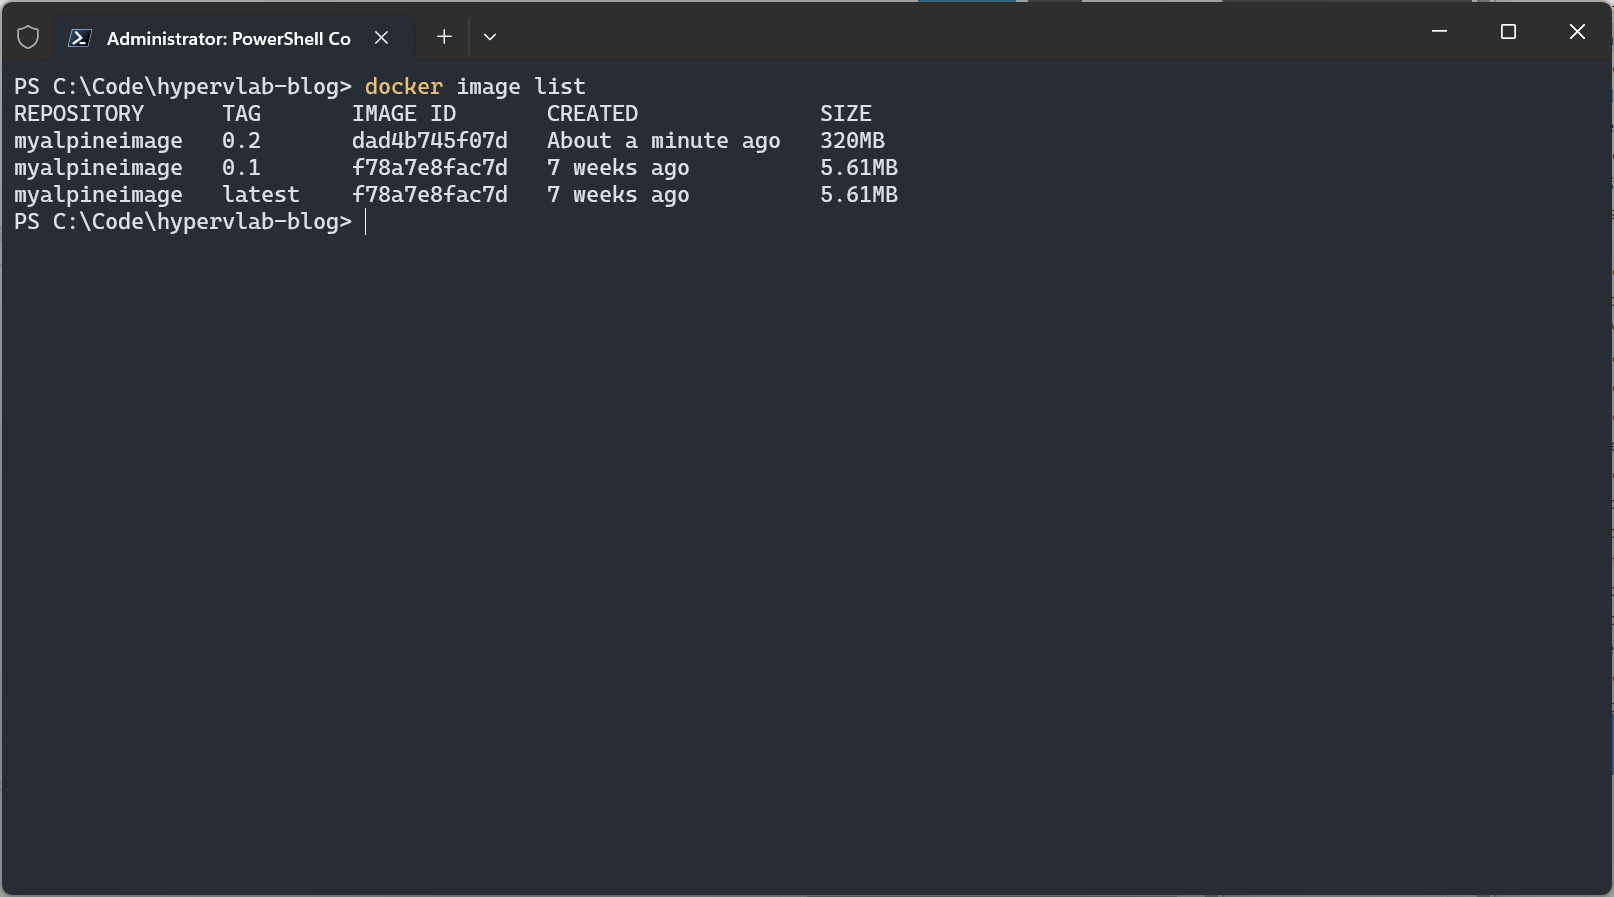
So to wrap up this post, We have covered the steps for creating the world’s most basic alpine linux image and a more functional image which contains PowerShell. In the next blog post, we will look into how to take this image we’ve just created and run the container locally.
Otherwise, I’ll catch you over on Twitter at @smoon_lee


