


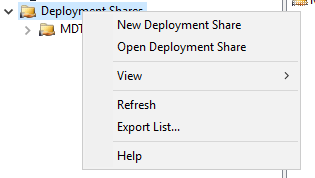
Right click on ‘Deployment Share’ and select ‘New Deployment Share’.
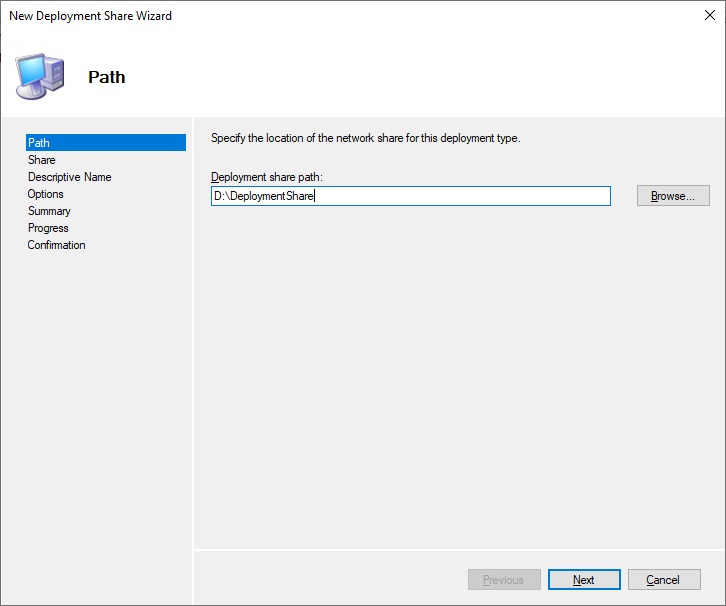
Define the location for the DeploymentShare Folder.
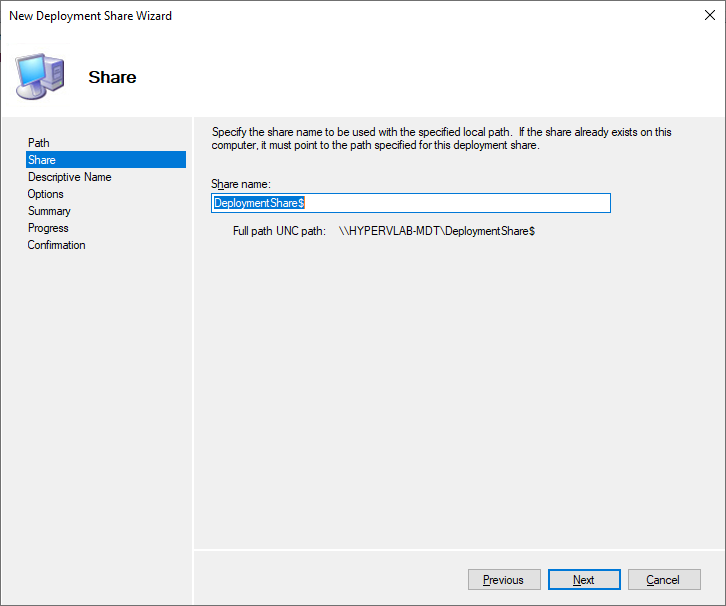
Define the Network UNC Share Name.
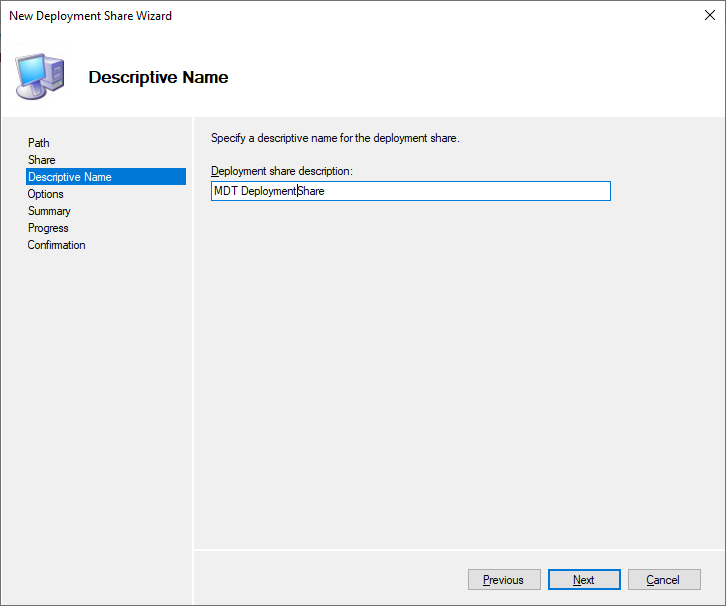
Define the Descriptive Name for the Deployment Share.
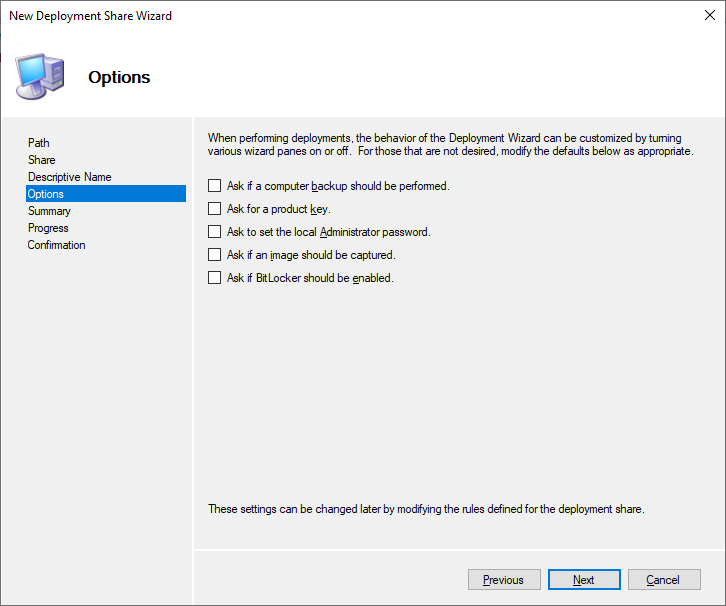
Untick all options at this stage – we will configure with CustomSettings.
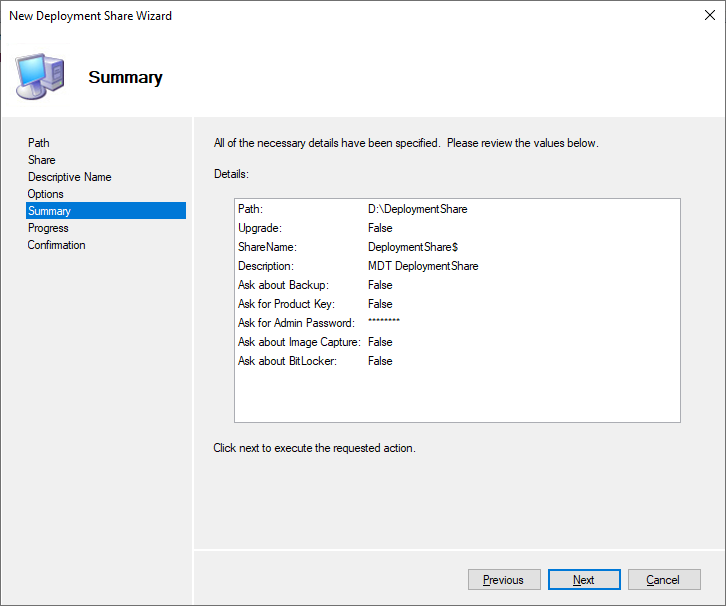
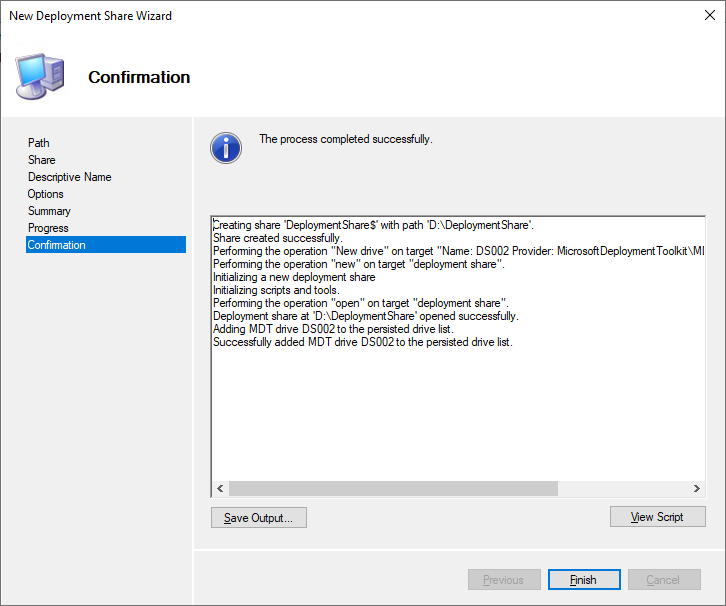
Pre-Setup Summary.
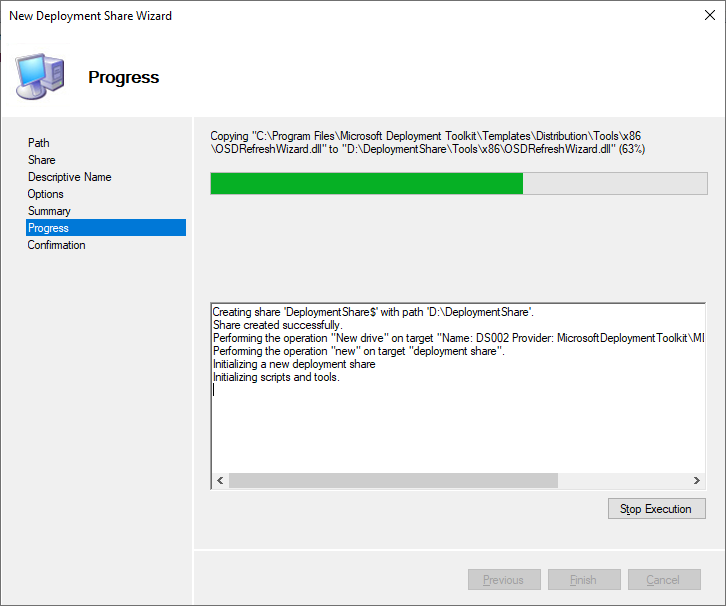
DeploymentShare being provisioned.
DeploymentShare Setup Complete.
Below is the PowerShell Code to auto-provision the ReferneceShare for you:
New-Item -Path "D:\DeploymentShare" -ItemType directory
New-SmbShare -Name "DeploymentShare$" -Path "D:\DeploymentShare" -FullAccess Administrators
Import-Module "C:\Program Files\Microsoft Deployment Toolkit\bin\MicrosoftDeploymentToolkit.psd1"
new-PSDrive -Name "DS002" -PSProvider "MDTProvider" -Root "D:\DeploymentShare" -Description "MDT DeploymentShare" -NetworkPath "\\HYPERVLAB-MDT\DeploymentShare$" -Verbose | add-MDTPersistentDrive -Verbose
Defining the CustomSettings.ini
The CustomSettings.ini file is the brains of the MDT Share, it holds all the information required
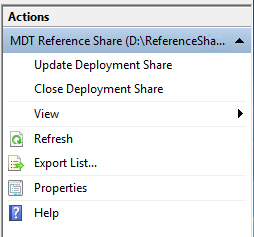
On the right under the ‘Actions Pane’ Click ‘Properties’
Then ‘Rules’ this is what the default CustomSettings.ini looks like
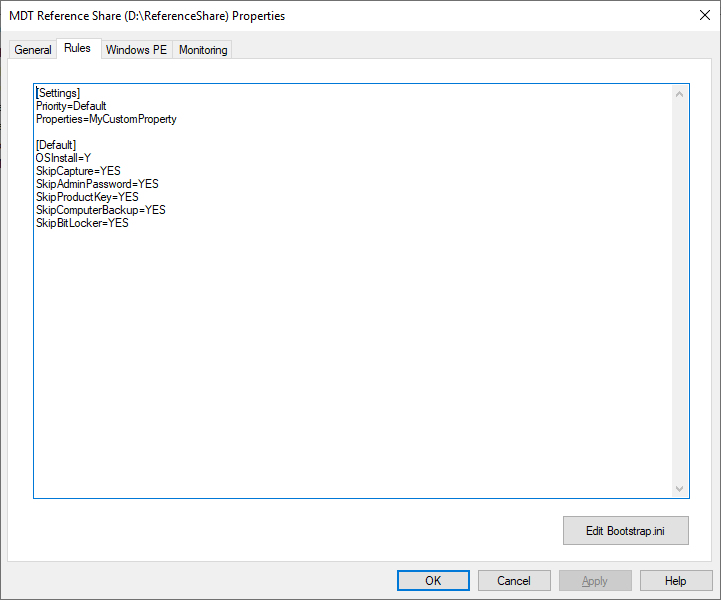
[Settings]
Priority=Default
Properties=MyCustomProperty

[Default]
OSInstall=Y
SkipCapture=YES
SkipAdminPassword=YES
SkipProductKey=YES
SkipComputerBackup=YES
SkipBitLocker=YES
To save time, you can use this pre-made CustomSettings.ini which is designed for automated deployments skips most of the options apart from selected the Computer Name and Task Sequence.
[Settings]
Priority=Default

[Default]
; FinalSummary Section
SkipFinalSummary=Yes
FinishAction=REBOOT

; OSD Visual Deployment Name and TS Sequence
_SMSTSORGNAME=%TaskSequenceID% | %OSDComputerName%

; Display Driver Configuration
BitsPerPel=32
VRefresh=60
XResolution=1
YResolution=1

; Computer Name and Task Sequence Section
SkipComputerName=No
OSDComputerName=
SkipTaskSequence=No
TaskSequenceID=

; Computer Local Administrator Password Section
; Local Password Set in TaskSequences
SkipAdminPassword=Yes
AdminPassword=

; Local User Time Zone
SkipTimeZone=Yes
TimeZoneName=GMT Standard Time

; Local User Interface Lanuage Section
SkipLocaleSelection=Yes
SkipPackageDisplay=Yes
UILanguage=en-GB
UserLocale=en-GB
KeyboardLocale=0809:00000809
LanguagePacks001={49009c91-76dd-49db-9a47-8cc06b3e91c3}

; Active Directory Domain Join Section
SkipDomainMembership=Yes
JoinDomain=ad.microsoftlabs.local
DomainAdmin=svc.mdtdeploy
DomainAdminPassword=53rv1c3!
DomainAdminDomain=ad.microsoftlabs.local

; BitLocker
SkipBitLocker=Yes
BDEInstall=TPM
BdeInstallSuppress=NO
BDeWaitForEncryption=False
BDEDriveSize=2000
BDEDriveLetter=S:
BDEKeyLocation=C:

; Default CustomSetting Section
OSInstall=Y
SkipCapture=Yes
SkipAdminPassword=Yes
SkipProductKey=Yes
ApplyGPOPack=No
SkipApplications=Yes
SkipAppsOnUpgrade=Yes
SkipCapture=Yes
SkipProductKey=Yes
SkipRoles=Yes
SkipSummary=Yes
SkipUserData=Yes
SkipComputerBackup=Yes

; Network Server Pointers
Home_page=https://www.google.co.uk/
SLShare=\\hypervlab-mdt.ad.hypervlab.co.uk\DeploymentShare$\SLSLogs
EventService=http://hypervlab-mdt.ad.hypervlab.co.uk:9800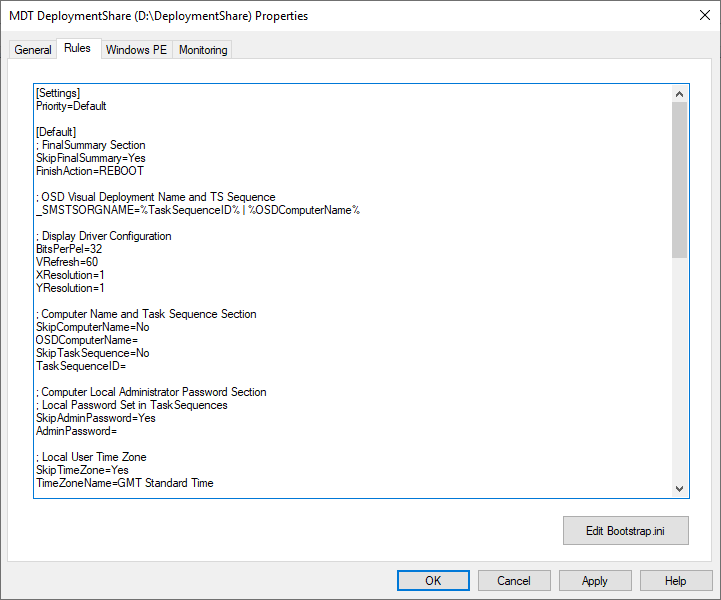
Configure BootStrap.ini Media for Standalone User Account
Next, we need to configure the Bootstrap.ini file with Share Credentials.
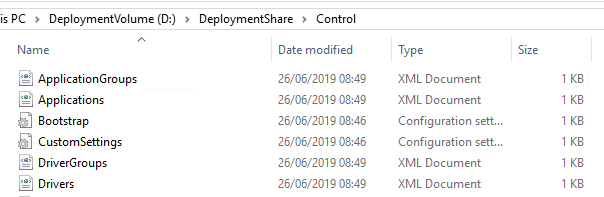
To do this navigate to D:\DeploymentShare\Control\Bootstrap.ini
A Brand new vanilla Bootstrap file would look like this
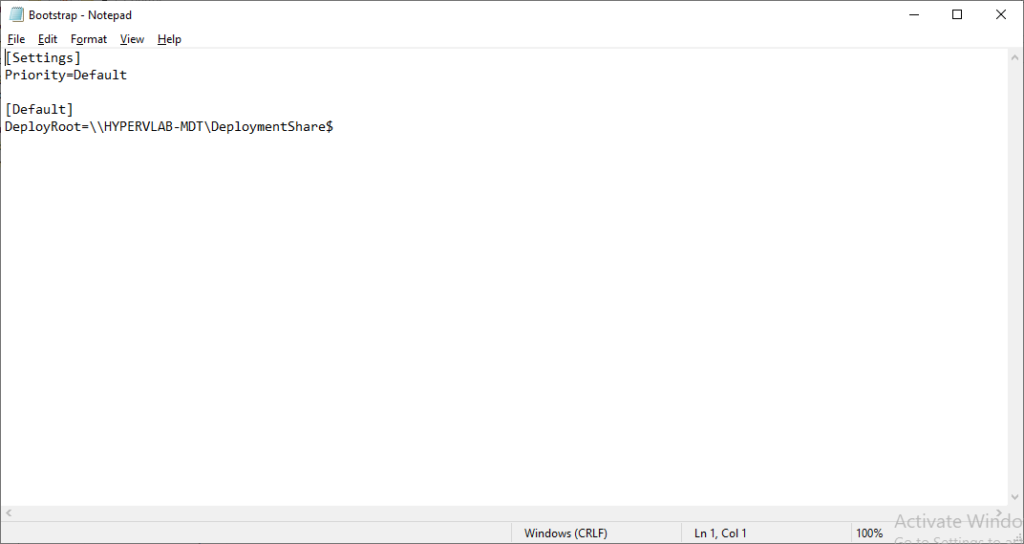
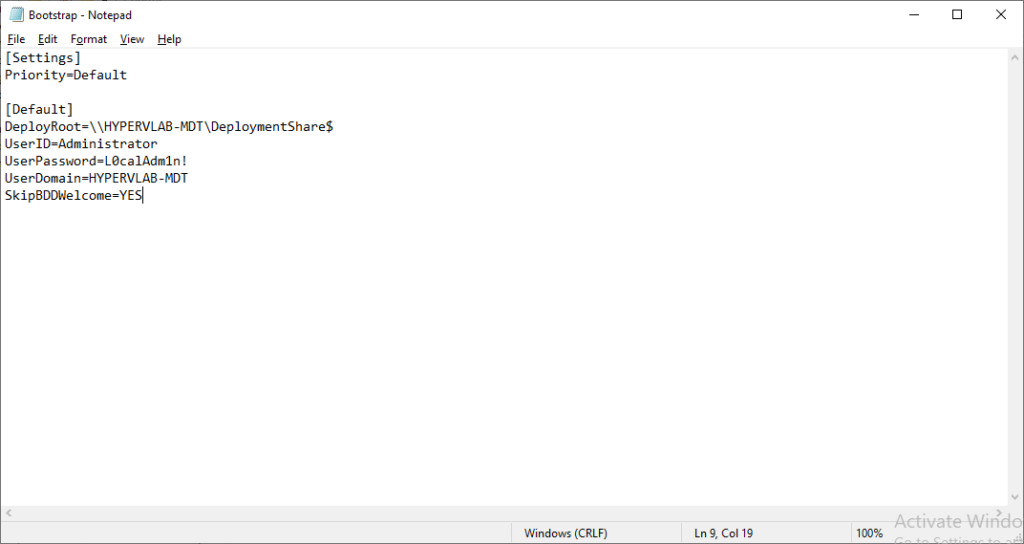
We need to add the following text lines under neath the DeployRoot
UserID=Administrator
UserPassword=L0calAdm1n!
UserDomain=HYPERVLAB-MDT
SkipBDDWelcome=YES
So your Bootstrap.ini File should now look like
For the initial boot image creation we can select ‘Optimize the boot image updating process’. As we have no previous boot media available obliviously nothing will be optomized. we can also ignore the compression tick box and select ‘Next‘.
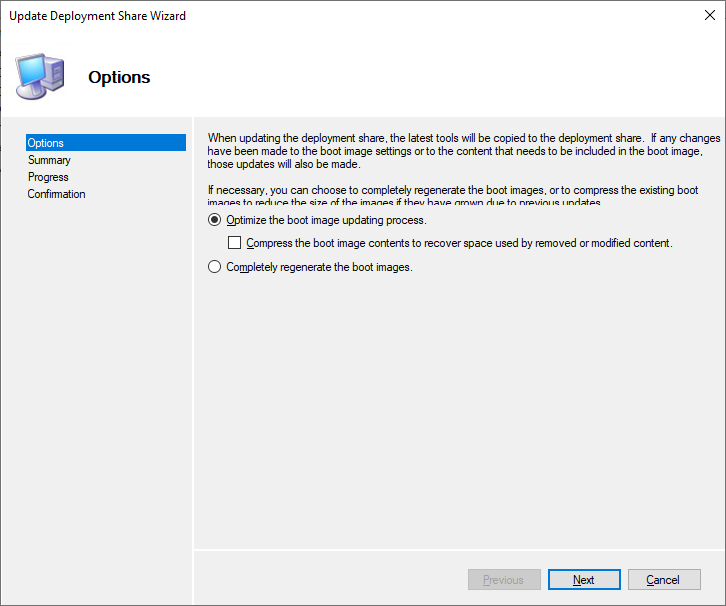
Click ‘Next‘
Again below is the Powershell Code you can use to Automate your Boot Image Media. This code also will add the LiteTouchPE_x64.wim to your WDS Server (If the WDS Role is isntalled on the same server.)
Optimize Boot media update process.
Import-Module "C:\Program Files\Microsoft Deployment Toolkit\bin\MicrosoftDeploymentToolkit.psd1"
New-PSDrive -Name "DS002" -PSProvider MDTProvider -Root "D:\DeploymentShare"
update-MDTDeploymentShare -path "DS002:" -Verbose
wdsutil /add-image /imagefile:"D:\DeploymentShare\Boot\LiteTouchPE_x64.wim" /imagetype:boot
Regenerate Complete Boot Media.
Import-Module "C:\Program Files\Microsoft Deployment Toolkit\bin\MicrosoftDeploymentToolkit.psd1"
New-PSDrive -Name "DS002" -PSProvider MDTProvider -Root "D:\ReferenceShare"
update-MDTDeploymentShare -path "DS002:" -Force -Verbose
wdsutil /add-image /imagefile:"D:\ReferenceShare\Boot\LiteTouchPE_x64.wim" /imagetype:boot
Importing LiteTouch Boot Media into WDS
Now we have the LiteTouch ISO and WIM Files Generated they will be located under ‘D:\DeploymentShare\Boot’.

To Import this into Windows Deployment Service open the WDS Console and navigate to the boot folder
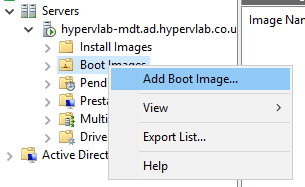
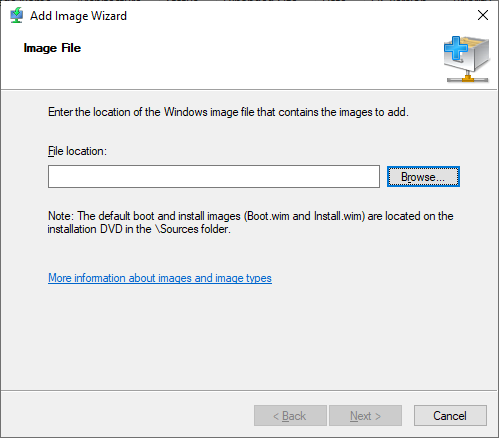
Click ‘Browse…’
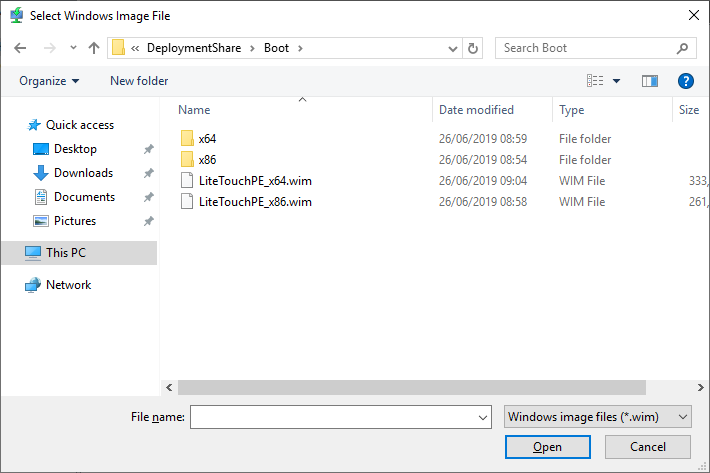
Navigate to D:\ReferenceShare\Boot and select ‘LiteTouchPE_64.wim’
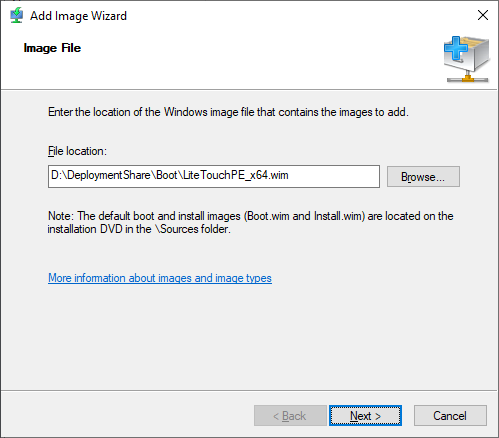
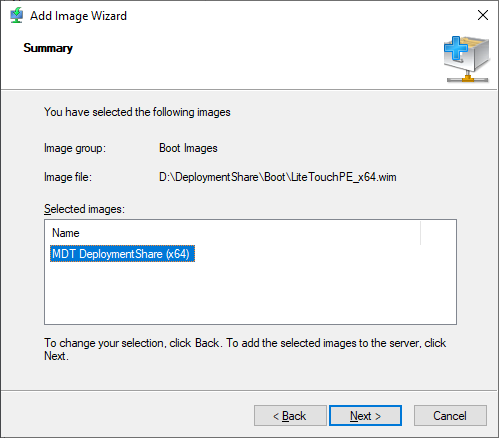
Click ‘Next’
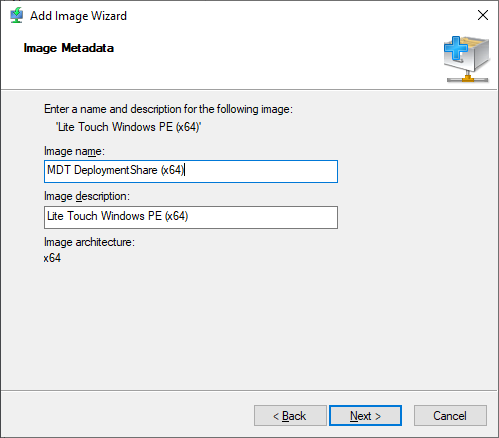
Rename the Image Name to something more useful
Example: MDT DeploymentShare (64x) then click ‘Next’
Click ‘Next’
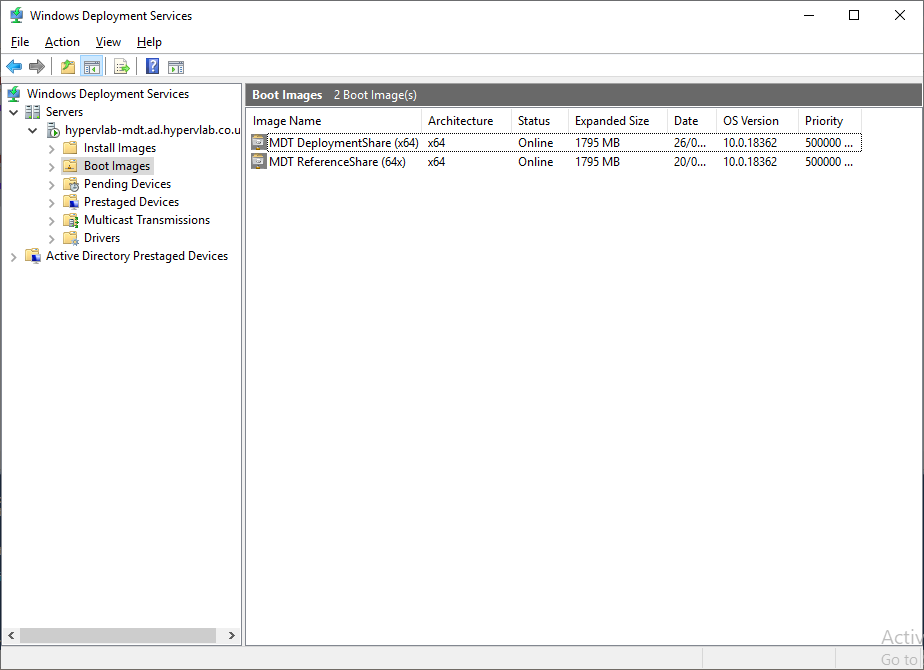
LiteTouch Boot Media added to Windows Deployment Service


