


NOTE: This blog post will not cover the installation of Ubuntu Server for Installation you can view my blog post [HERE] and for Integration Services Installation [HERE].
In this blog post, I will cover the installation and configuration of Teamspeak3. For those who don’t know what TeamSpeak is, Its a VOIP Server Platform which can either be self-hosted on your own server or you are able to rent a server directly from Teamspeak [Rent a Server Here].
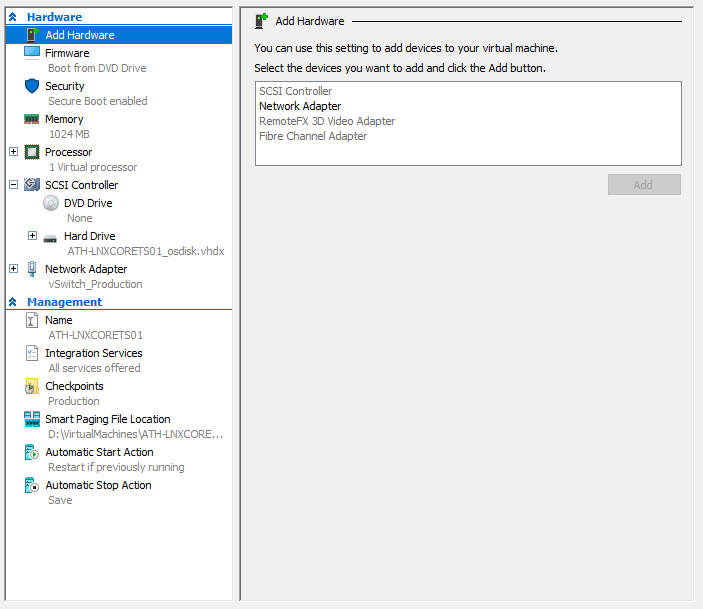
For the installation, the virtual machine I’ve configured on my Hyper-V Host is a Generation Two Template.
Creating Local Teamspeak3 User
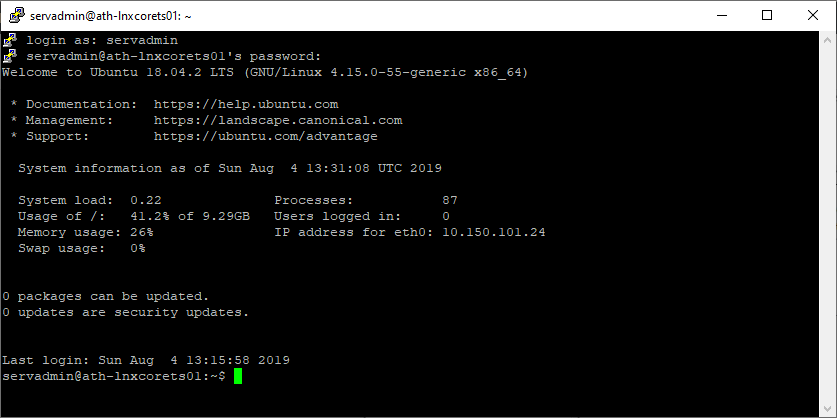
Firstly lets log into the server.
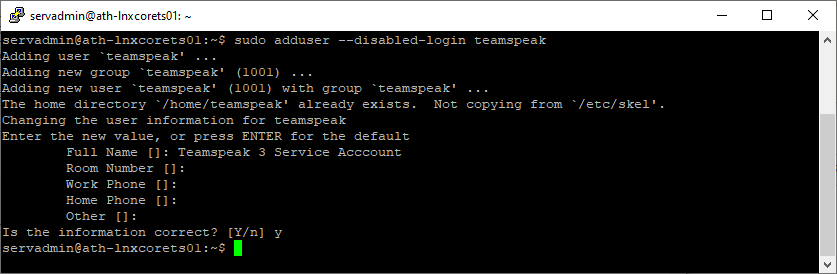
Firstly lets create a new user called ‘teamspeak’.
sudo adduser --disabled-login teamspeak
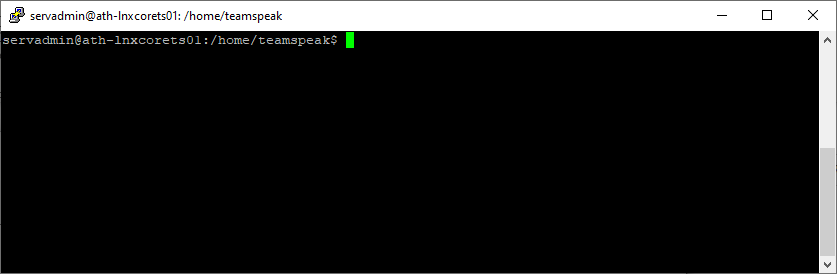
Now we need to change to the home folder of the TeamSpeak service account.
cd /home/teamspeakDownload Teamspeak3 Server Instance
From the Teamspeak3 website, we can download the latest server instance.
[Download Site]
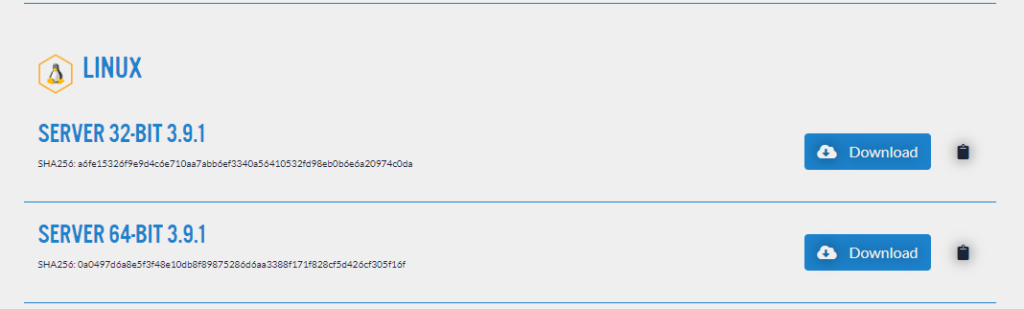
NOTE: At the time of writing the latest release was v3.9.1. This installation guide will work with newer releases but you will need to update the wget pull link below.
sudo wget https://files.teamspeak-services.com/releases/server/3.9.1/teamspeak3-server_linux_amd64-3.9.1.tar.bz2 ; sudo tar xvf teamspeak3-server* ; sudo rm teamspeak3-server_linux_amd64-3.9.1.tar.bz2 ; sudo mv teamspeak3-server_linux_amd64 teamspeak3-server ; cd teamspeak3-server/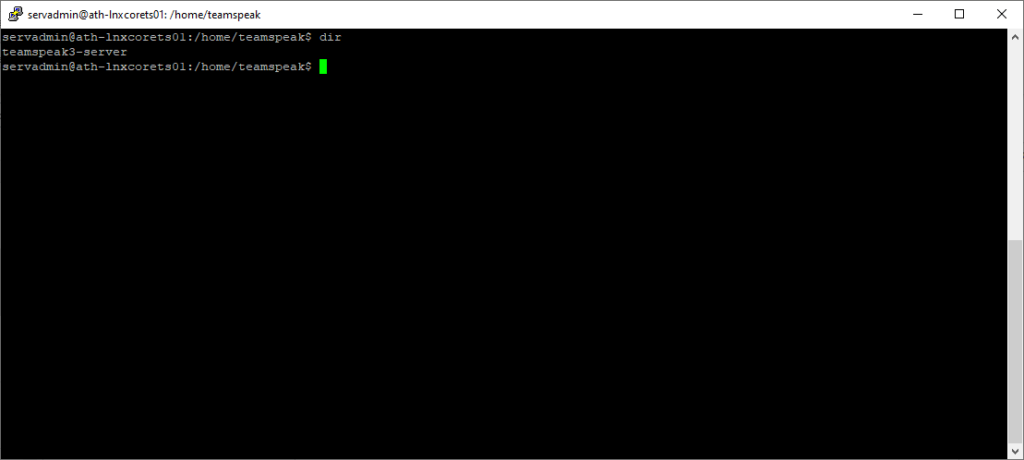
Then the files have been exported and moved to the correct folder the current owner is root: as you can see in the graphic below.
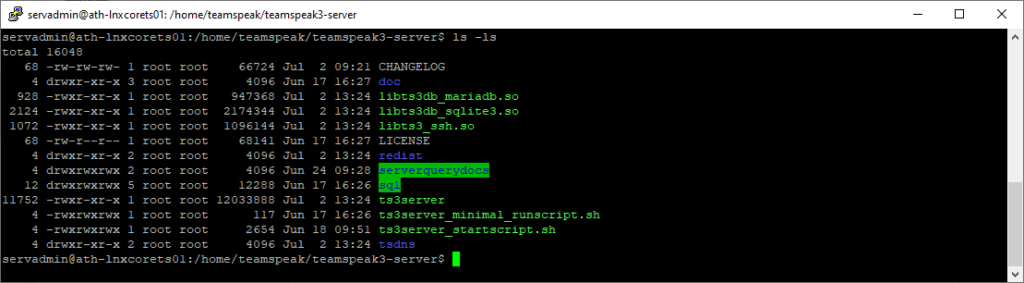
to resolve this we can run the following command to change the file ownership to the TeamSpeak user.
sudo chown -R teamspeak:teamspeak /home/teamspeak 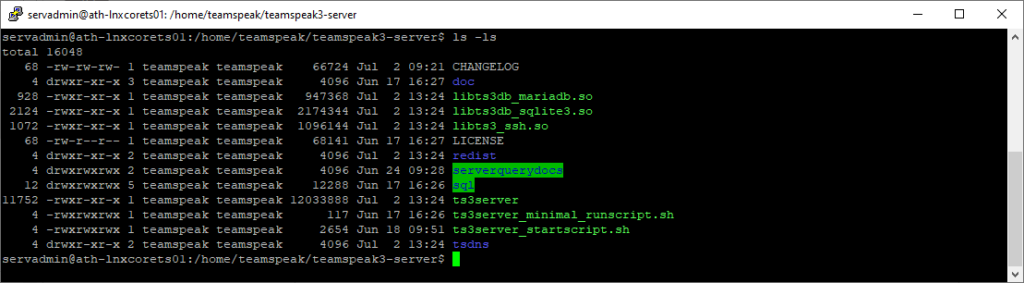
Before we start the teamspeak server we need to create a .ts3server_license_accepted file otherwise the server will give an error about not having an accepted EULA.
The graphic below shows the warning message about the missing .ts3server_license_accepted

sudo touch /home/teamspeak/teamspeak3-server/.ts3server_license_accepted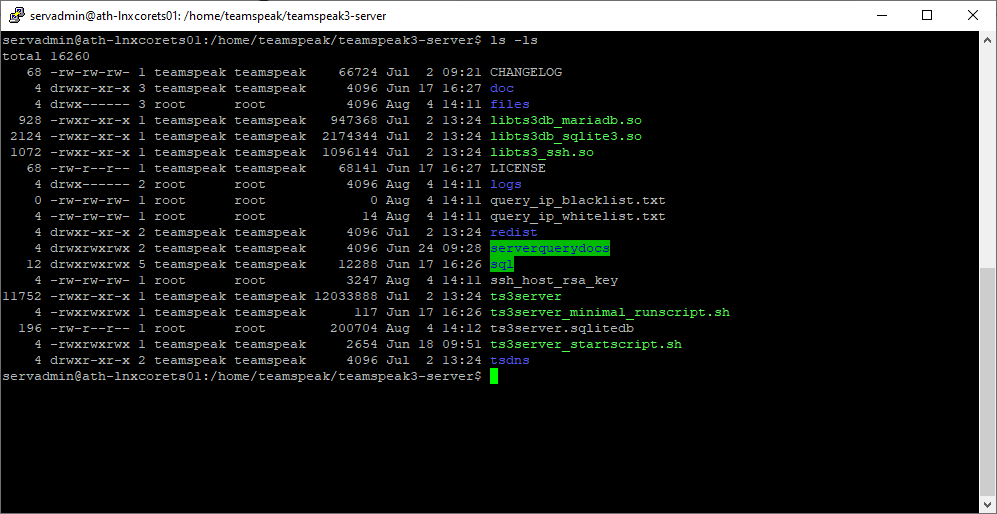
Configure Teamspeak3 Service
Now we will configure the Teamspeak3 Service which will allow the service to start on re/boot to do this we need to create a file under /etc/systemd/system/teamspeak.service.
sudo nano /etc/systemd/system/teamspeak.service[Unit]
Description=TeamSpeak 3 Server
After=network.target
[Service]
WorkingDirectory=/home/teamspeak/teamspeak3-server
User=teamspeak
Group=teamspeak
Type=forking
ExecStart=/home/teamspeak/teamspeak3-server/ts3server_startscript.sh start inifile=ts3server.ini
ExecStop=/home/teamspeak/teamspeak3-server/ts3server_startscript.sh stop
PIDFile=/home/teamspeak/teamspeak3-server/ts3server.pid
RestartSec=15
Restart=always
[Install]
WantedBy=multi-user.target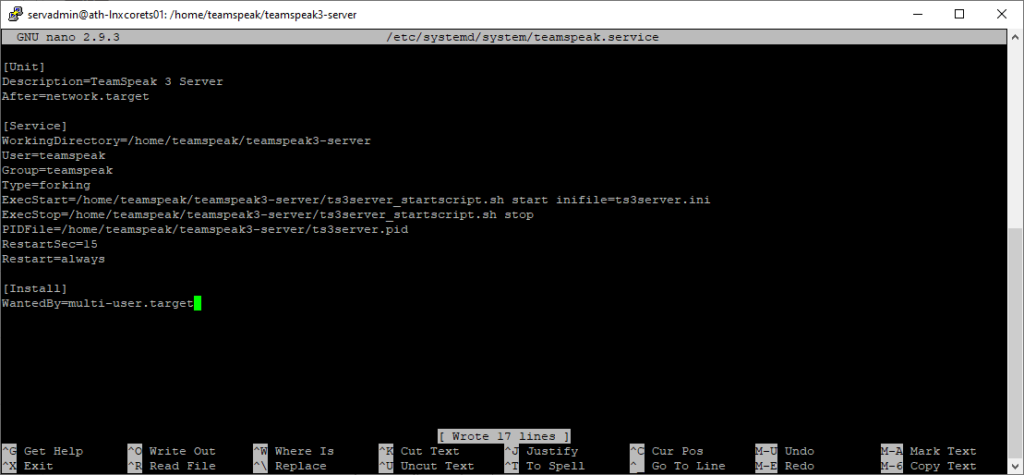
sudo systemctl daemon-reload
sudo systemctl enable teamspeak
Startings Teamspeak3 Server
sudo systemctl start teamspeak Now to obtain the ServerAdmin Token.
sudo systemctl status teamspeak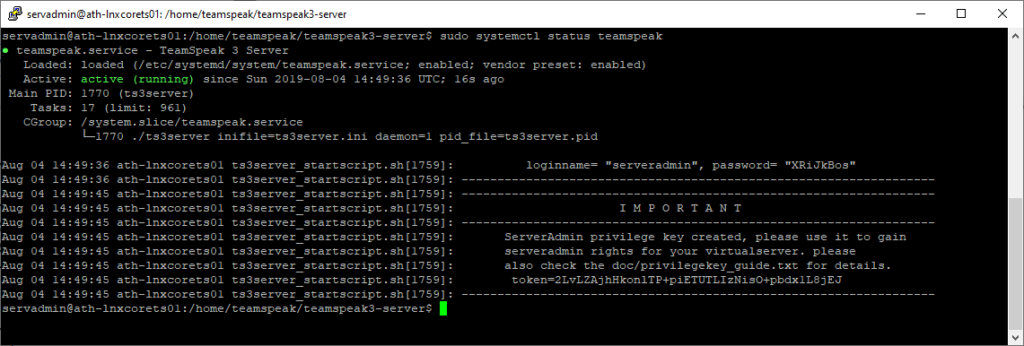
I M P O R T A N T
ServerAdmin privilege key created, please use it to gain
serveradmin rights for your virtualserver. please
also check the doc/privilegekey_guide.txt for details.
token=2LvLZAjhHkonlTP+piETUTLIzNisO+pbdx1L8jEJ
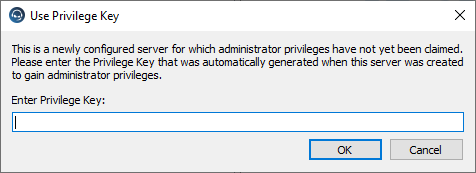
When you first connect to your server you will be prompted with a ‘Use Privilege Key’
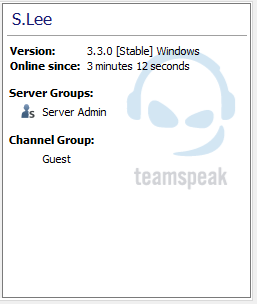
Account elevated with Privilege Key
Now showing in Teamspeak, My Account is part of the Server Admins Group.
Teamspeak3 Port Forwarding
Teamspeak uses the following ports and protocols
VOICE PORT [ UDP ] PORT 9987
FILE TRANSFER [TCP ] PORT 30033
SERVERQUERY [ TCP] PORT 10011
TSNDS [ TCP ] PORT 41144
WEB LIST [UDP ] PORT 2011-2110
Automated Installation
Below is an automated setup script which will complete all these steps in the blog post.
cd /tmp && wget https://raw.githubusercontent.com/hypervlab/hypervlab-resources/master/hyper-v/linux/teamspeak_setup.sh && sudo bash teamspeak_setup.sh #!/bin/bash
# Teamspeak3 Automated Installation Script
# Author: Simon Lee
# Script Revision: 1.0
# Description: Automatically download Teamspeak 3
# Clear Screen
clear
# Check Session Status
if [[ $EUID -ne 0 ]]; then
echo "This script must be run as root"
exit 1
elif [[ $EUID -eq 0 ]]; then
echo -e "Session Running as \e[36mROOT\e[0m"
fi
echo "#######################"
echo "# Hyper-V Lab Scripts #"
echo "# Teamspeak 3 Setup #"
echo "#######################"
echo ""
echo "Creating Local Teamspeak User Account"
adduser --disabled-login --gecos "Teamspeak Service Account" teamspeak
# Download Teakspeak Service
echo ""
echo "Download Teamspeak Server"
echo "Please go to: https://www.teamspeak.com/en/downloads/#server "
echo "and download the latest server"
echo ""
read -p "Paste Here: " wget
cd /home/teamspeak
wget $wget -P /home/teamspeak/
tar xvf /home/teamspeak/teamspeak3-server_linux*
mv /home/teamspeak/teamspeak3-server_linux_amd64 /home/teamspeak/teamspeak3-server
rm -rf /home/teamspeak/teamspeak3-server_linux*
# Create EULA Acceptance File
touch /home/teamspeak/teamspeak3-server/.ts3server_license_accepted
# Change File Onwership to: teamspeak
chown -R teamspeak:teamspeak /home/teamspeak
# Downkload Teamspeak 3 Service
echo ""
echo "#####################################"
echo " Downloading Teamspeak3 Service File "
echo "##################################### "
wget https://raw.githubusercontent.com/hypervlab/hypervlab-resources/master/hyper-v/linux/teamspeak.service -O /etc/systemd/system/teamspeak.service
# Configure Teamspeak Service
echo ""
echo "###############################"
echo " Configuring Teamspeak Service "
echo "###############################"
echo ""
sudo systemctl daemon-reload
echo "System Daemon Reloaded..."
sudo systemctl enable teamspeak
echo "Teamspeak Service Enabled"
sudo systemctl start teamspeak
echo "Teamspeak Service Started"
echo ""
echo "Waiting for Server to Start..."
sleep 7
systemctl status teamspeak
# Self Cleanup
rm -r /tmp/teamspeak_setup.sh 


