


In this blog post, I will cover setting up and configuration of the Microsoft AzureAD Sync Tool. this blog post assumes that you already have an Active Directory and Azure/O365 Environment.
What is AzureAD Sync?
Originally called DirSync, DirSync was a tool created by Microsoft and initially released on the 8 July 2013 to allow on-premise active directory servers to replicate their user database to the Microsoft Cloud to take advantage of Microsoft O365 and Microsoft Azure. Then on the 24 June 2015 AzureAD Sync was released as GA.
Where can I download AzureSync?
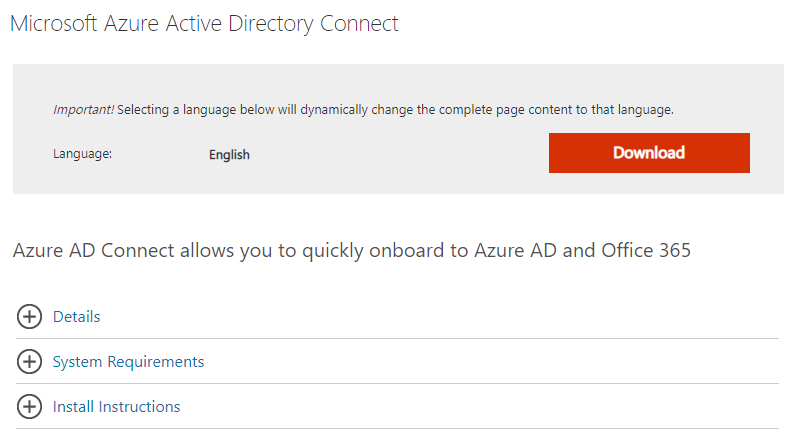
You can either download the direct from the Microsoft download site [Link Here]
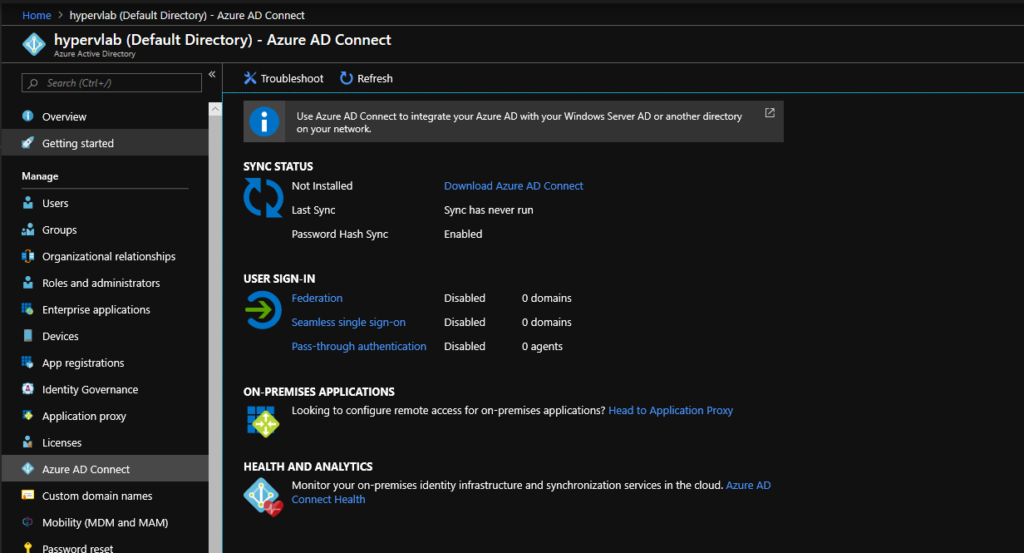
Alternatively, you can download the setup installer from your Azure Portal under the Azure Directory
AzureAD Prerequisites
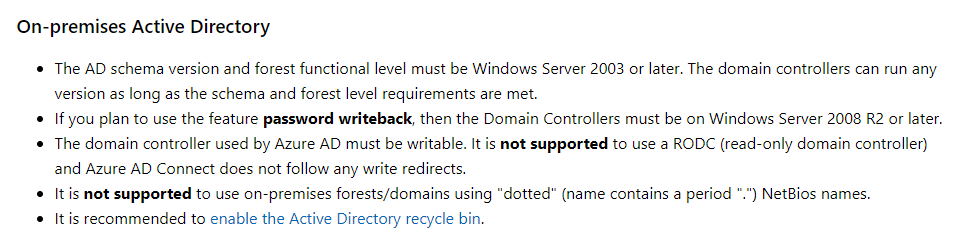
Windows Server Prerequisites

FQDN Domains and UPNs
For AzureAD to work, ideally you want to your companies FQDN Domain: hypervlab.co.uk
If your current active directory domain was created as “.local” domain or if you’re domain as an ‘ad.’ prefix – You will need to add an extra UPN Address. For more information about active directory domain best practise you can have a read of this really useful post on varonis [Link Here]
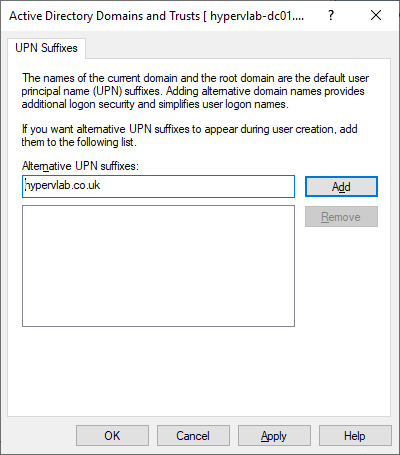
Adding Additional UPN to your Active Directory
For my lab environment, I created the active directory domain using a prefix of ‘ad.’ obviously standing for active directory. this is now recommended as best practise as using the root FQDN can cause dns issues if you were to host your company website within the same network. to resolve this when building a new domain we add the prefix ‘ad’ or some organisations might use ‘corp.’
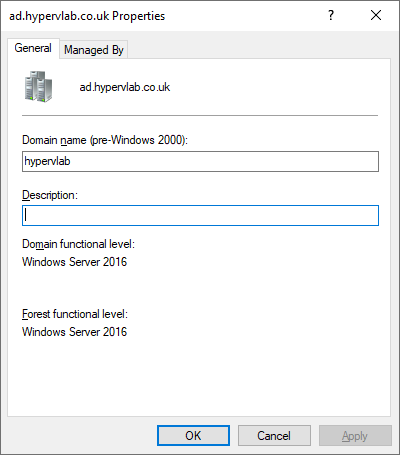
From the start menu search for ‘Active Directory Domains and Trusts’

Right Click on ‘Active Directory Domains and Trusts’ and go to ‘Properties’.

Add in your FQDN for example ‘hypervlab.co.uk’ then click ‘Apply’ and ‘Ok’.
Installing AzureAD Sync
NOTE: For this setup, I’ve created a separate server dedicated for the AzureAD Sync Client. This is due to having multiple domain controllers within my ad.hypervlab.co.uk domain and not wanting to create a SPOF (Singel Point Of Failure) if one server dies or needs patching.
NOTE: Complete the Alternative UPN Suffix prior to starting the AzureAd Sync Installation.
Download the ‘AzureADConnect.msi’ to your server.
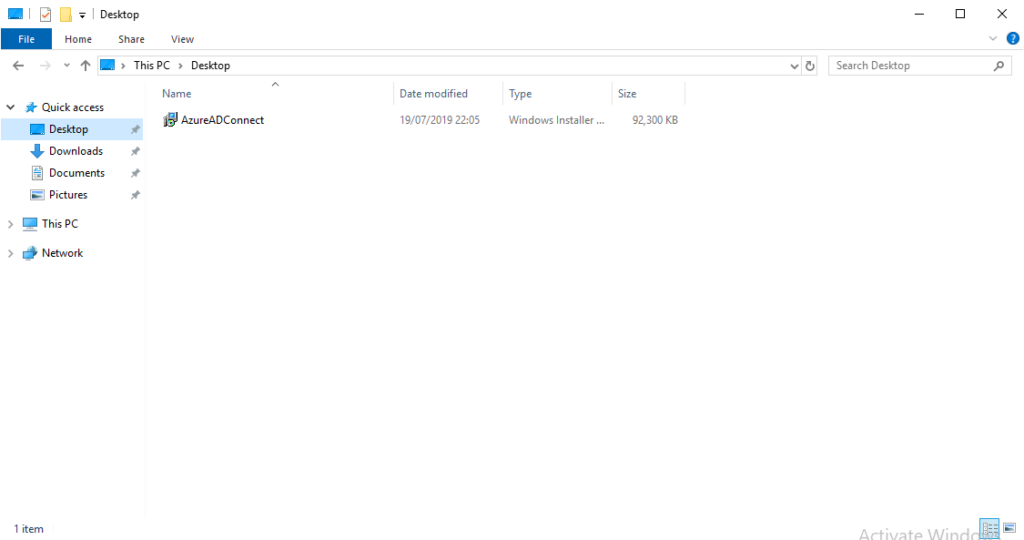
Launch the AzureADConnect.msi setup executable.

Once the automated installation has completed the Azure AD Connect setup process will auto-launch
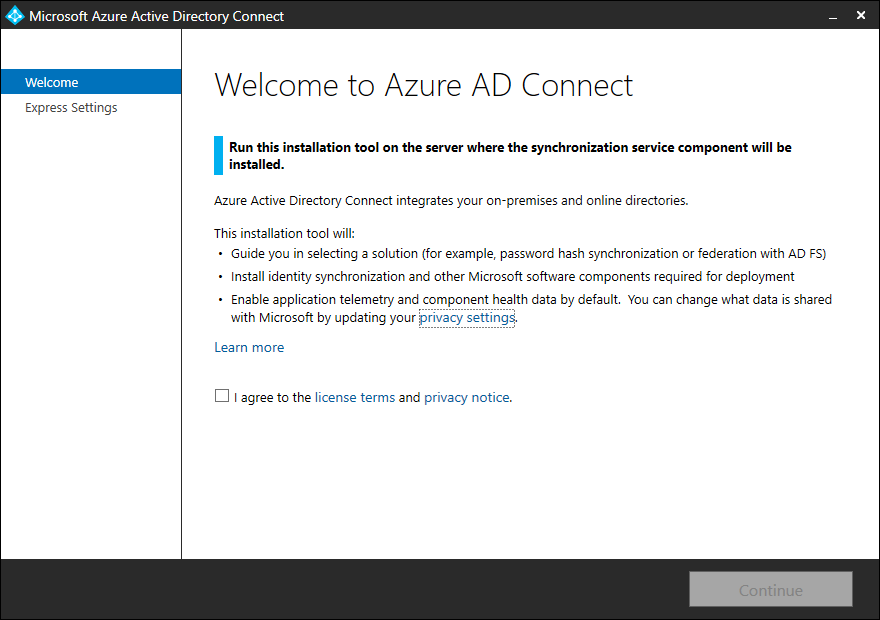
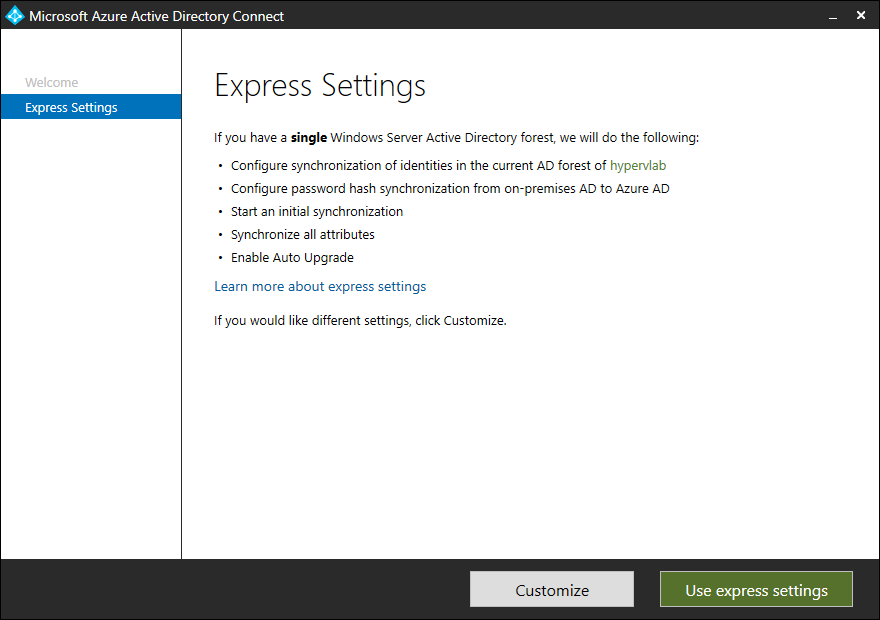
Microsoft Azure Active Directory Connect Welcome Screen
Accept the ‘EULA’ and click Continue.
For this setup, we will be using the: ‘Use express settings’ option.
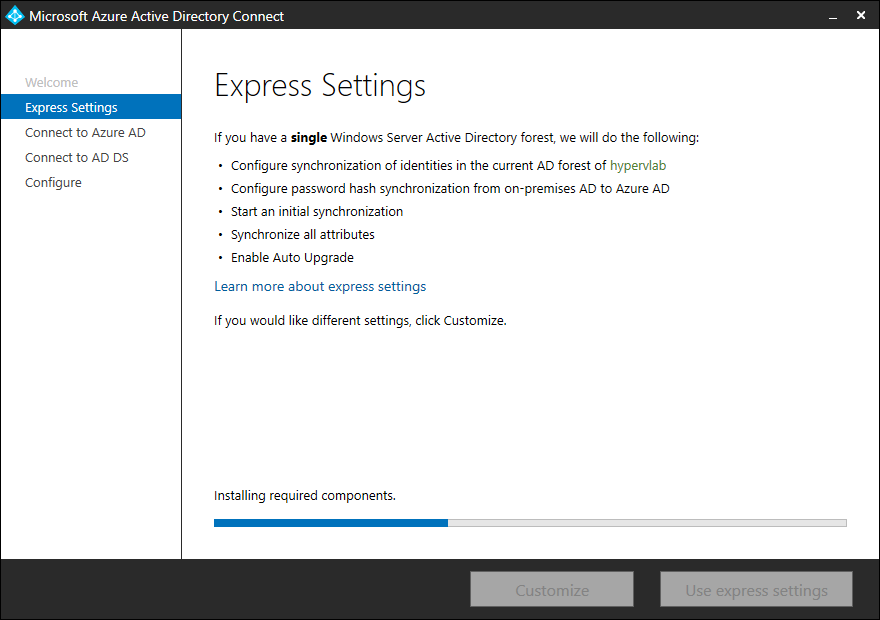
Additional Software packages are installed.
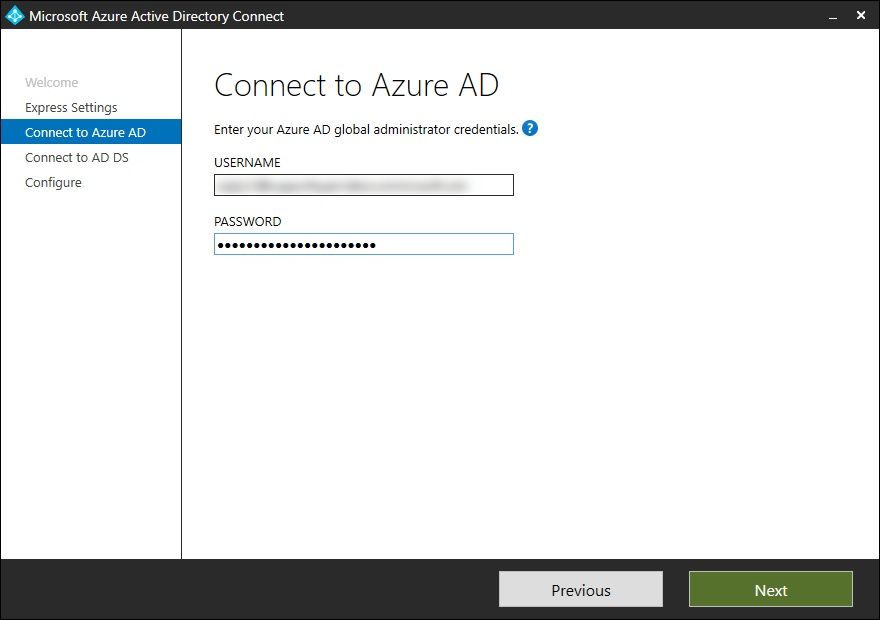
Connect to the AzureAD with a Global Administrator Account.
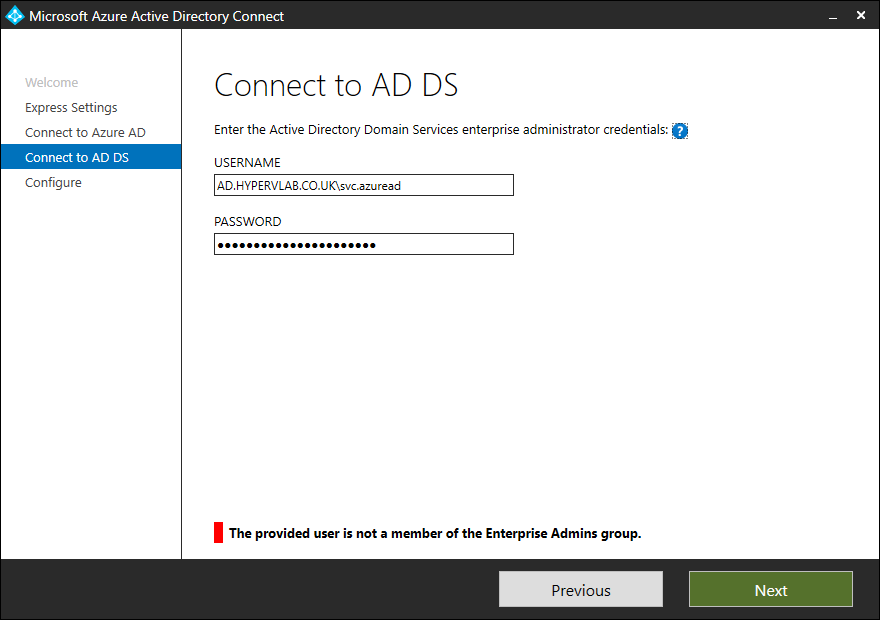
Configure a Local Service Account
NOTE: As shown in the screenshot below the AzureAD Service account must be part of the Enterprise Admins Group.
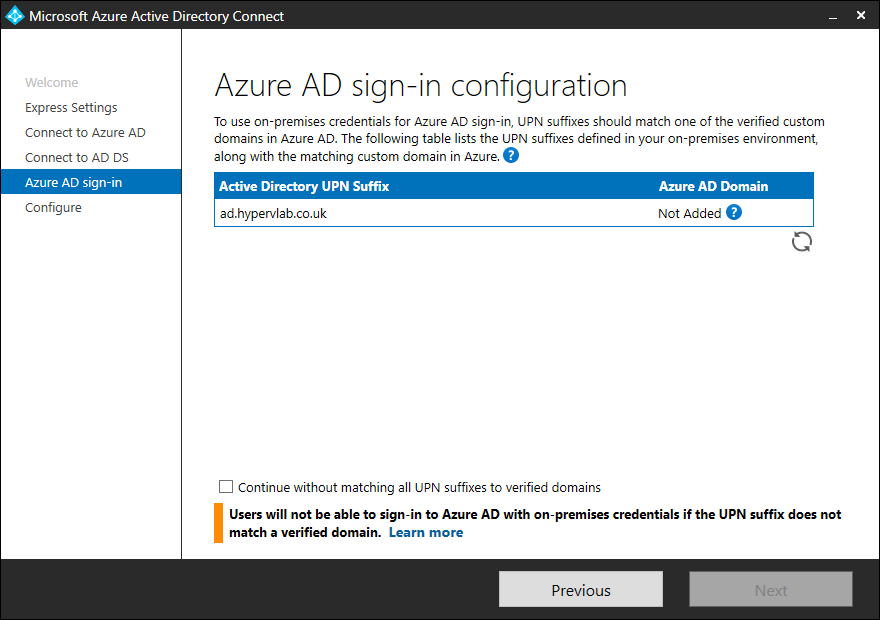
Configure the AzureAD Sign-in information
NOTE: This screen was taken prior to configured the additional UPN of ‘hypervlab.co.uk’
just for a documentation purpose so if you get this error you know why. If you scroll back up to the FQDN Domains and UPN Subheading, there is a documented process on adding an additional UPN to your Active Directory Domain.
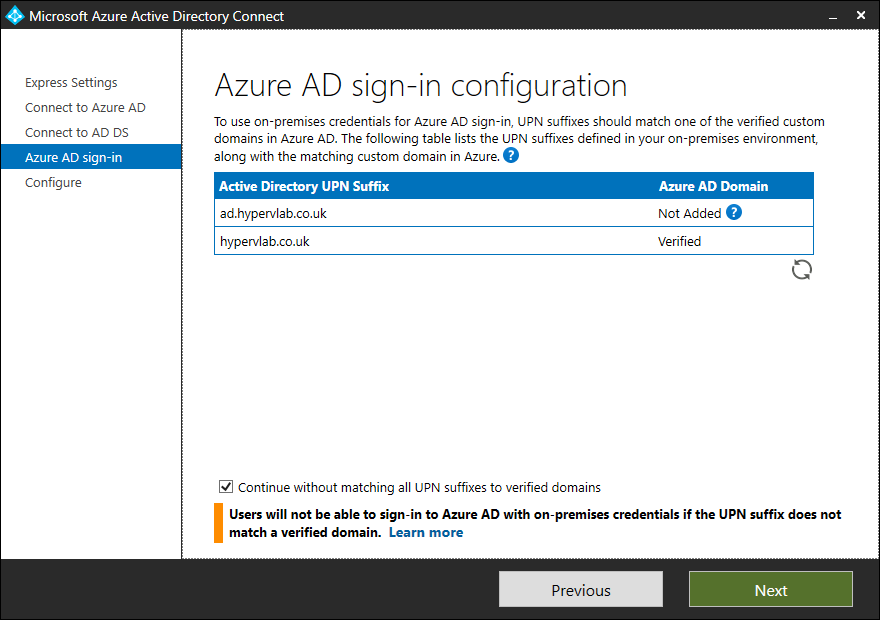
As you can see now we have added the additional UPN we can now proceed, don’t forget to tick [X] ‘Continue without matching all UON Suffies to verified domains.’ then click ‘Next’.
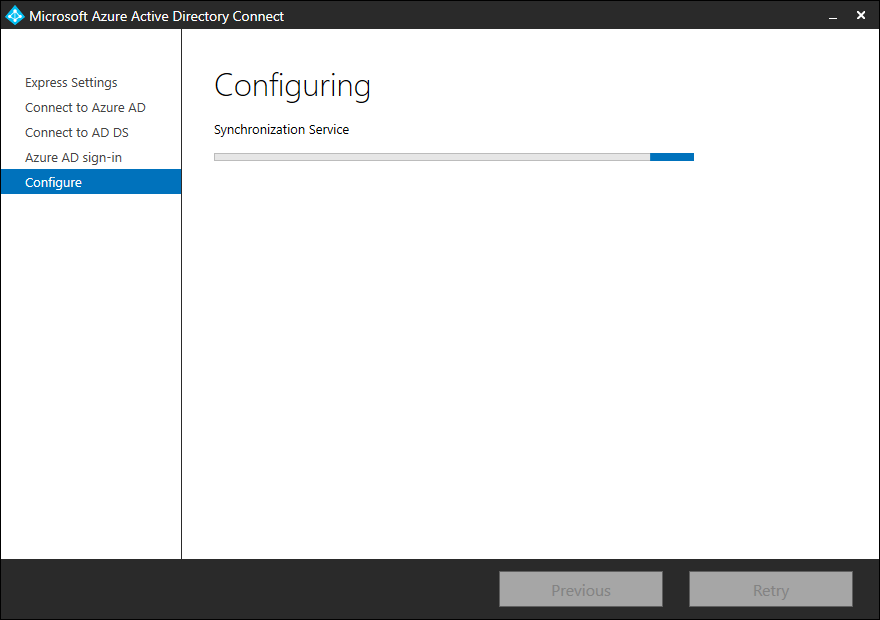
Pre-Flight Setup Completed, Lets Install!

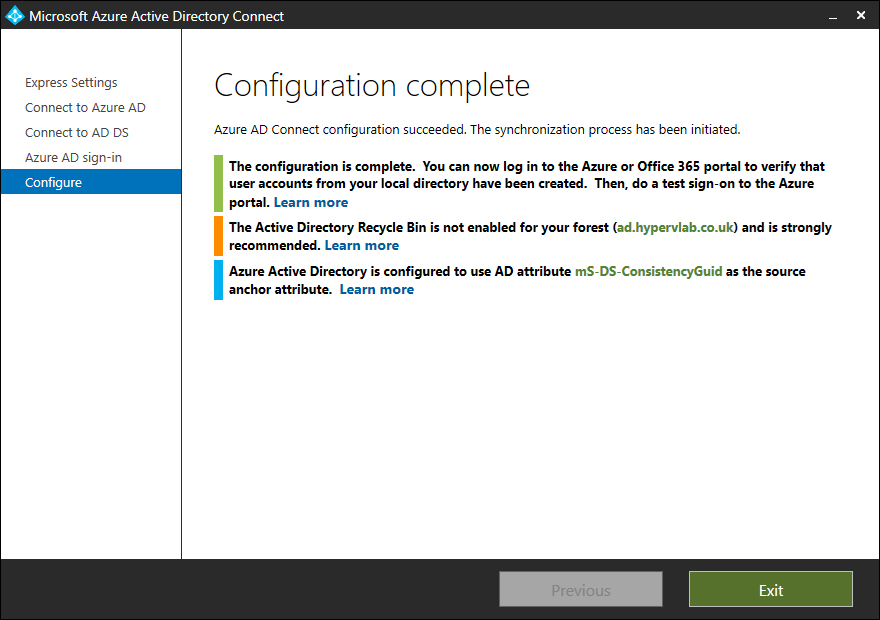
Microsoft AzureAD Sync Installation Completed.
Going back to the Azure Portal we can now see that the Sync Status is: Enabled.

This concludes this blog post, however, in the next one we will be checking out the Application and the Service and Sync Diagnostics Tools.


