


In this blog post i will cover the installation of Active Directory on Windows Server 2019 Standard with a Graphical User Interface.
Before installing the Active Directory Role there are some pre-flight checks which need to be completed before installing the role.
[x] Static IP Address
[x] Server Name
Installing Active Directory From Server Manager
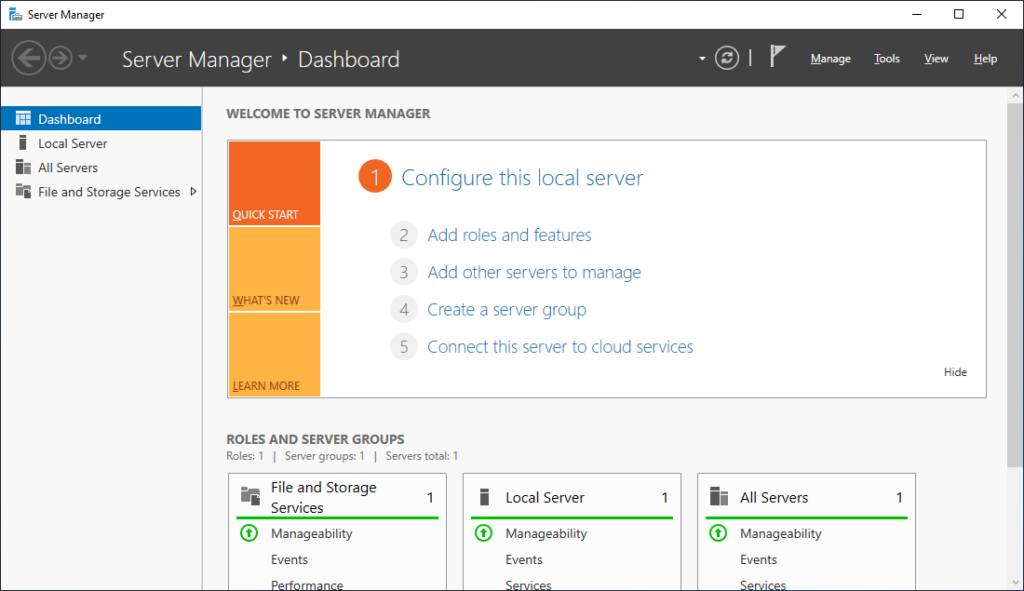
From Server Manger under the dashboard select option two: Add Roles and Features.
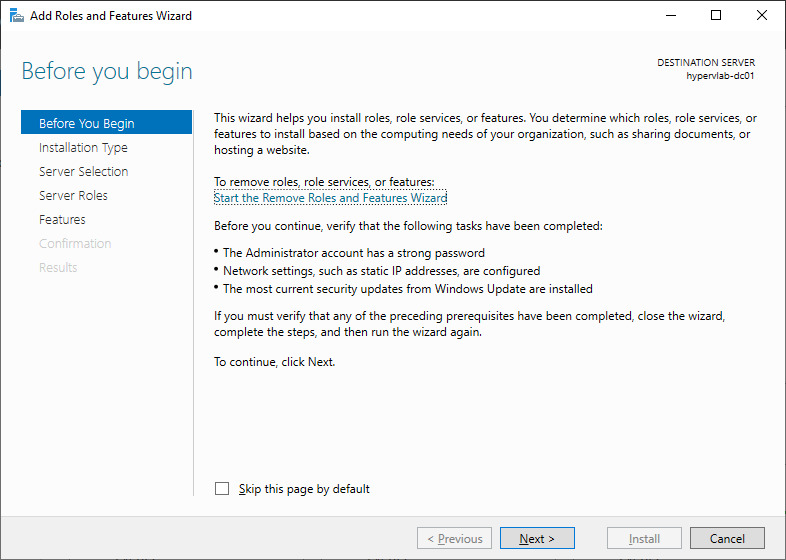
Click ‘Next‘.
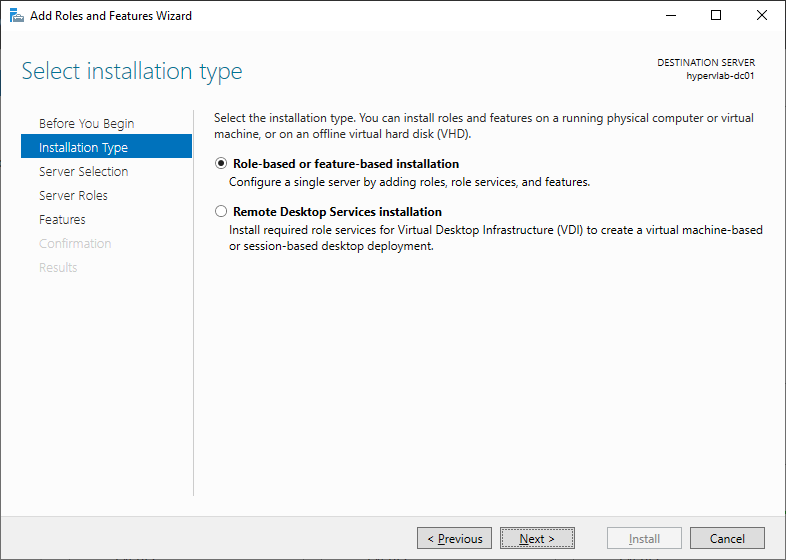
Select: Role-based or Feature based installation.
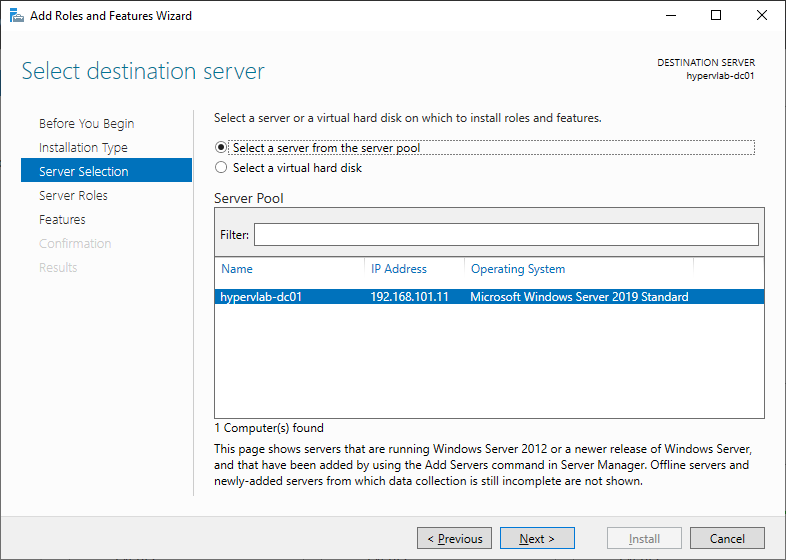
Select a server from the server pool, for this example only one server is shown under the server manager ‘hypervlab-dc01’ finally click ‘Next‘.
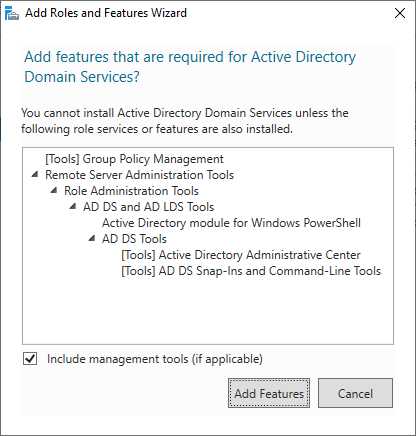
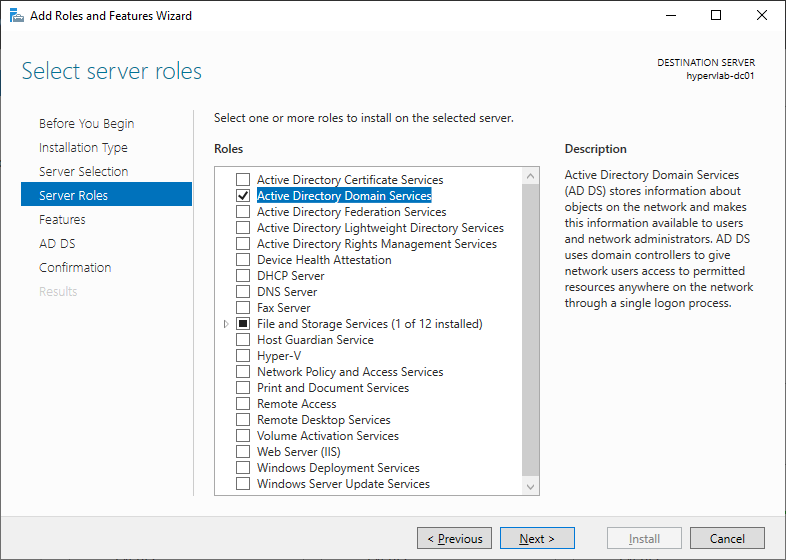
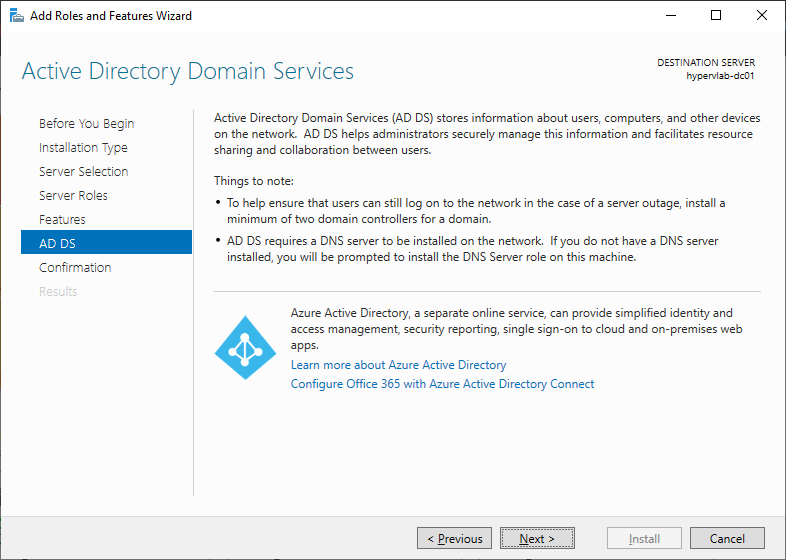
Select the: Active Directory Domain Services.
Click ‘Add Features‘.
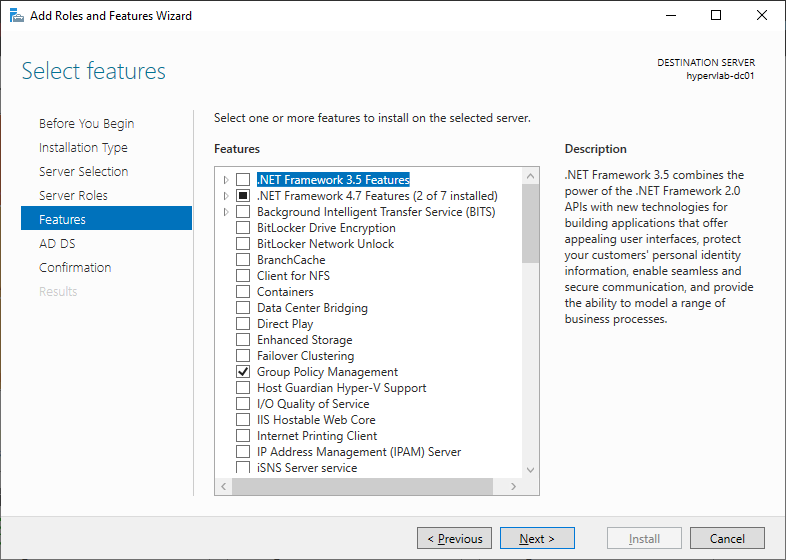
Select ‘Next‘.
Select ‘Next‘.
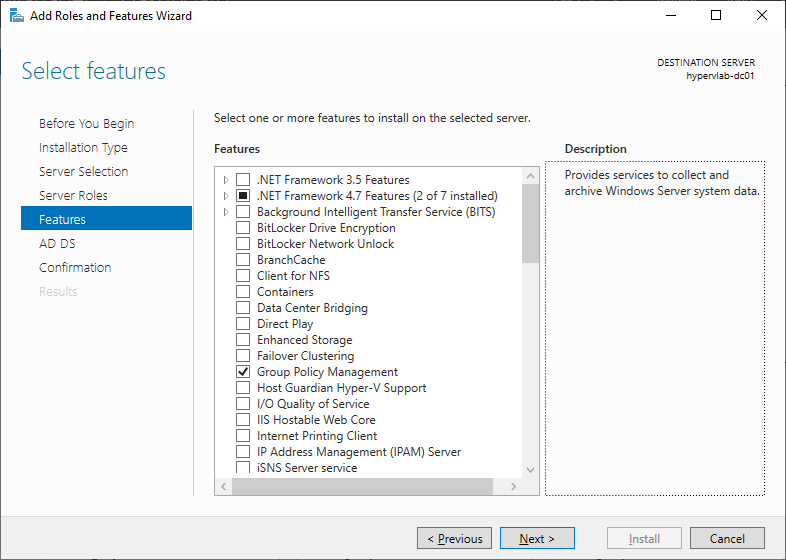
Select ‘Next’.
Select ‘Next’.
Select ‘Install‘.

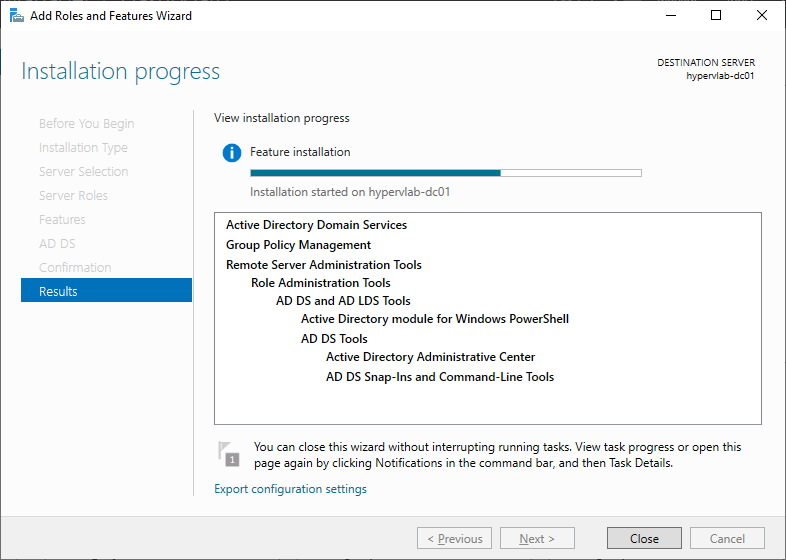
Once the Role installation has completed you can click ‘Close‘.
Promoting Windows Server to Domain Controller
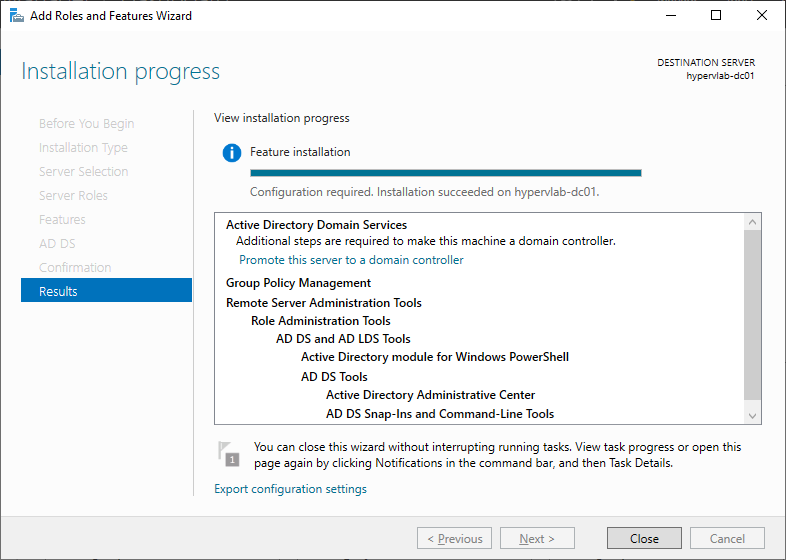
From the final screen click on ‘Promote this server to a domain controller‘.
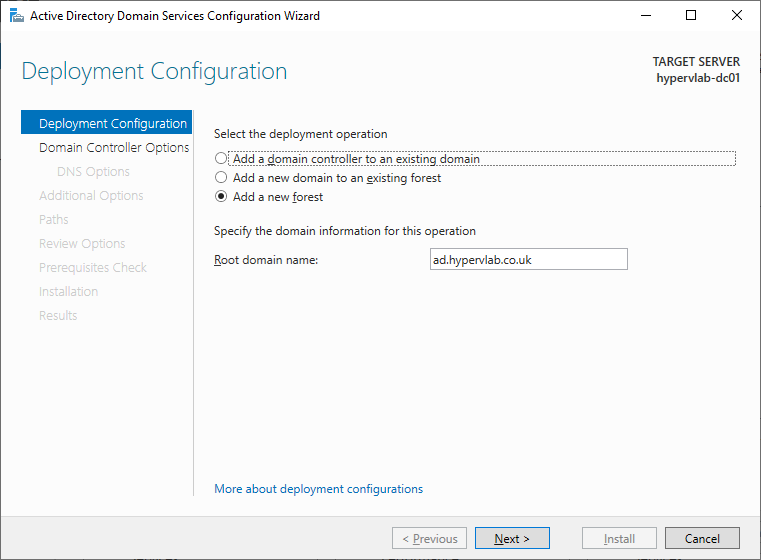
Enter the root active directory domain name : ad.hypervlab.co.uk
here is a useful informational post from varonis about creating and naming active directory domains – Link Here.
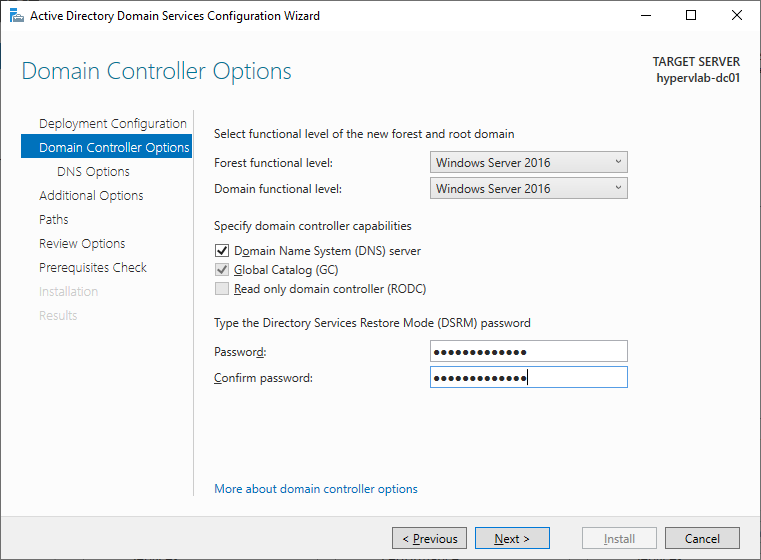
Choose the functional level of your active directory domain and the active directory services restore password.
Active Directory Function Levels
Windows Server 2003 : Win2003
Windows Server 2008 : Win2008
Windows Server 2008 : Win2008R2
Windows Server 2012 : Win2012
Windows Server 2012R2 : Win2012R2
Windows Server 2016 : WinThreshold
Create a Directory Services Restore Password – ensure its kept somewhere safe as its required for AD Recovery and adding additional domain controllers to the domain then click ‘Next‘.
Click ‘Next’.
Configure the NetBIOS Domain Name: HYPERVLAB.
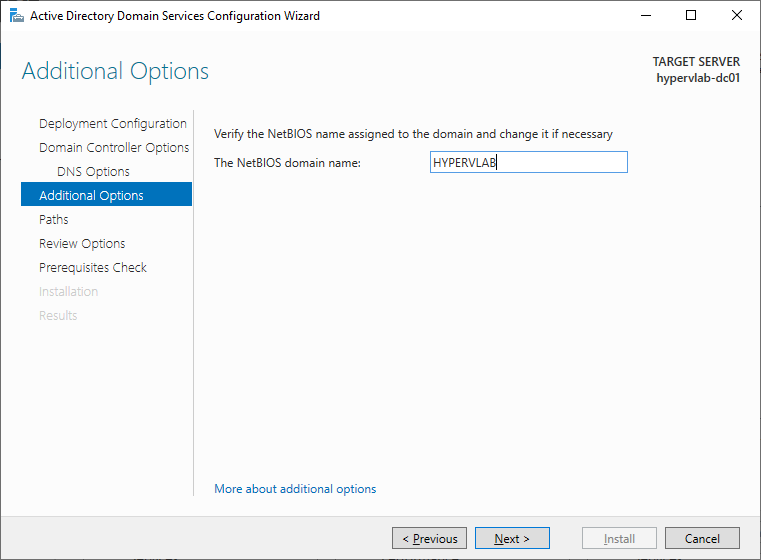
Click ‘Next‘.
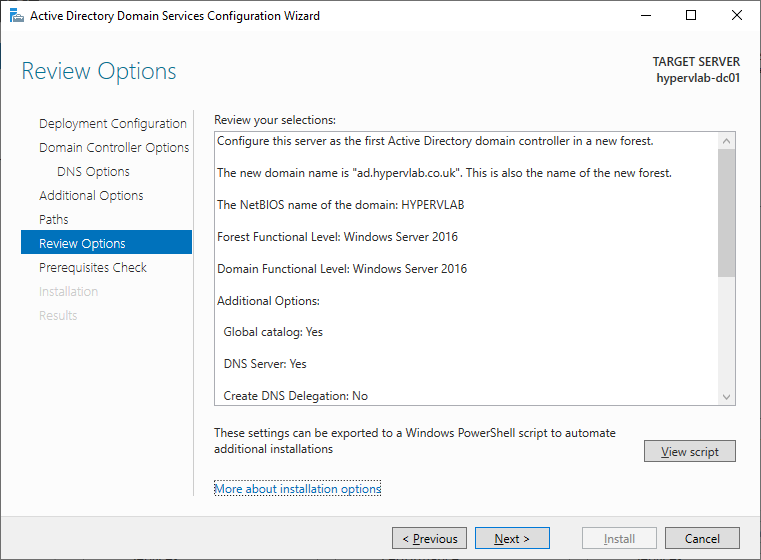
At this point if we click on ‘View Script’ we can save the PowerShell Setup Script for the ad.hypervlab.co.uk domain controller which can be used to rebuild the domain controller when re-creating the lab environment. – finally click ‘Next‘.
Below is a screenshot of the PowerShell Code which was automatically generated by Server Manager.
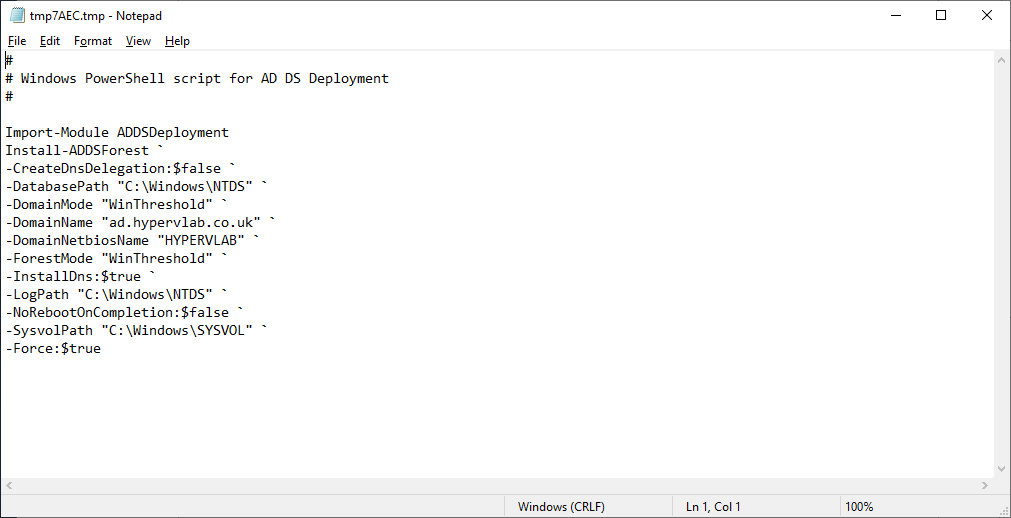
#
# Windows PowerShell script for AD DS Deployment
#

Import-Module ADDSDeployment
Install-ADDSForest `
-CreateDnsDelegation:$false `
-DatabasePath "C:\Windows\NTDS" `
-DomainMode "WinThreshold" `
-DomainName "ad.hypervlab.co.uk" `
-DomainNetbiosName "HYPERVLAB" `
-ForestMode "WinThreshold" `
-InstallDns:$true `
-LogPath "C:\Windows\NTDS" `
-NoRebootOnCompletion:$false `
-SysvolPath "C:\Windows\SYSVOL" `
-Force:$true
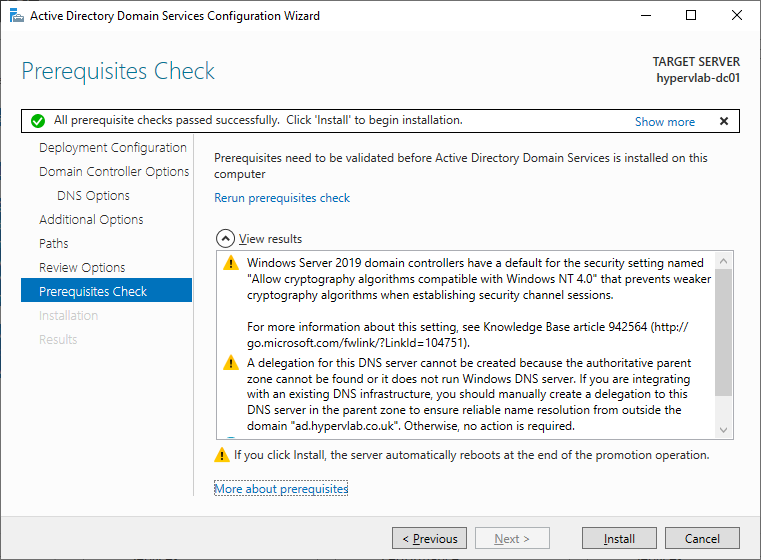
The Warning displayed below are cautionary errors than anything game breaking as you can see All the Pre-Flight have passed successfully and we can promote the hypervlab-dc01 to the first domain controller.
Select ‘Install‘.
Active Directory Installation taking place.
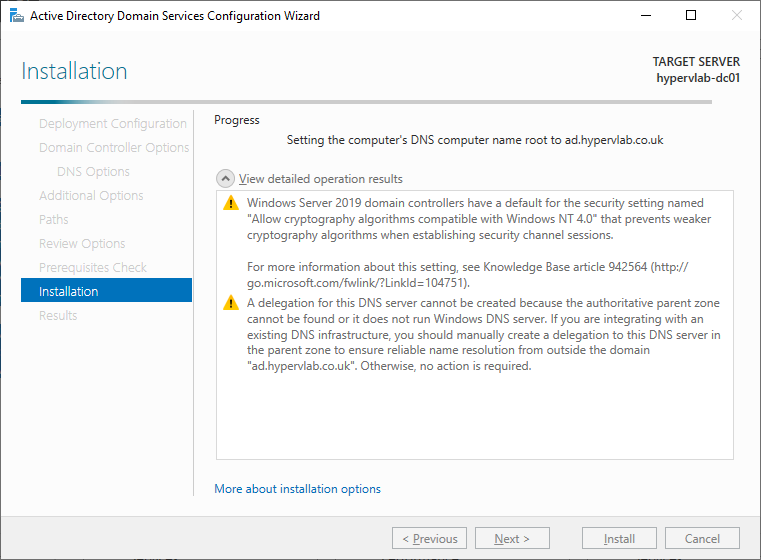
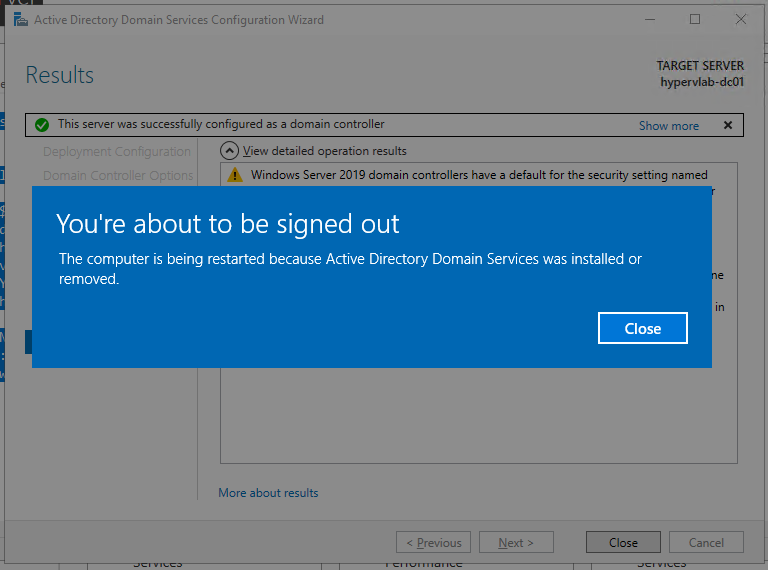
Active Directory Installation Completed. The server will now reboot and run through the final domain controller step-up.
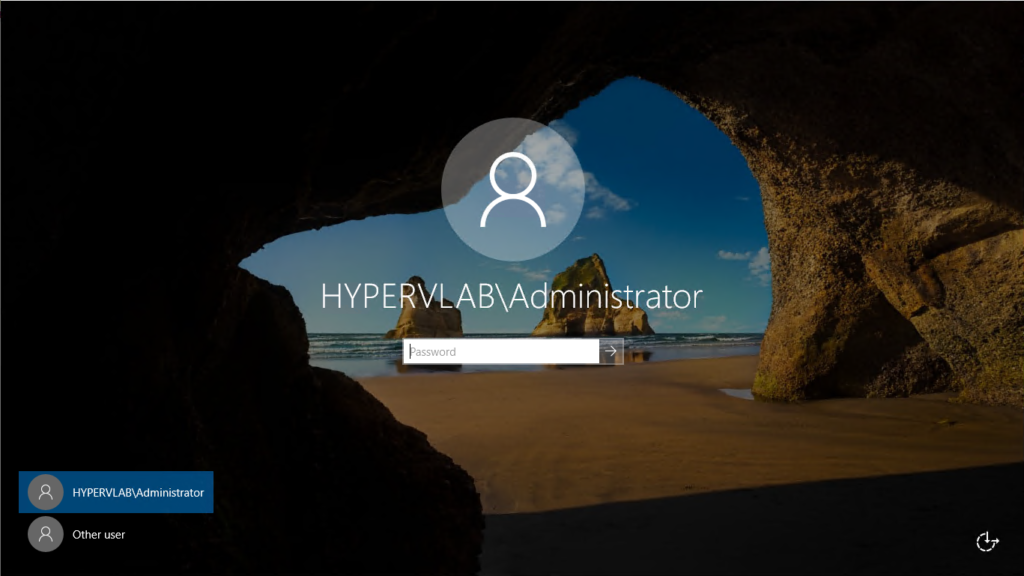
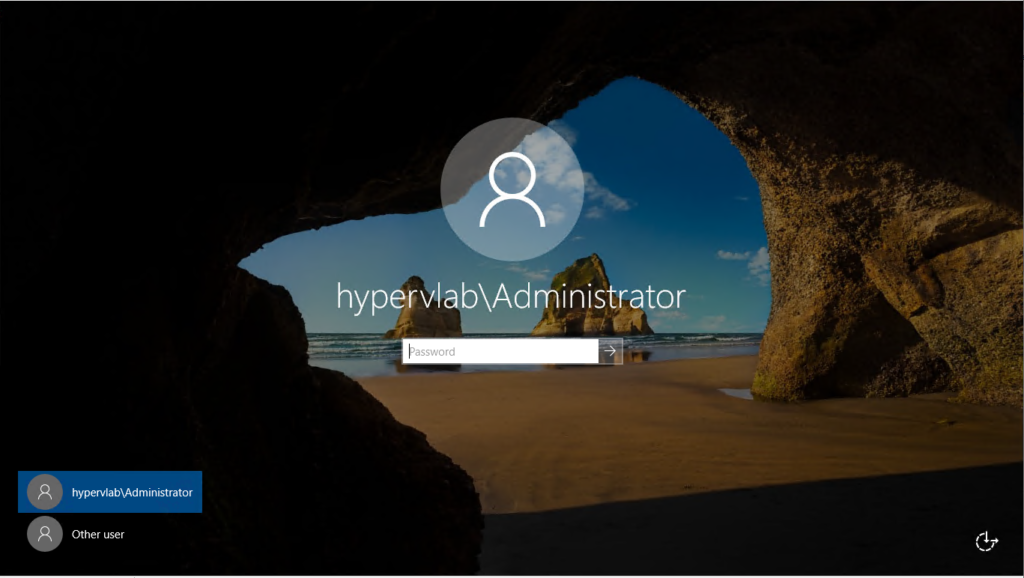
hypervlab-dc01 Domain Controller ready to log into.
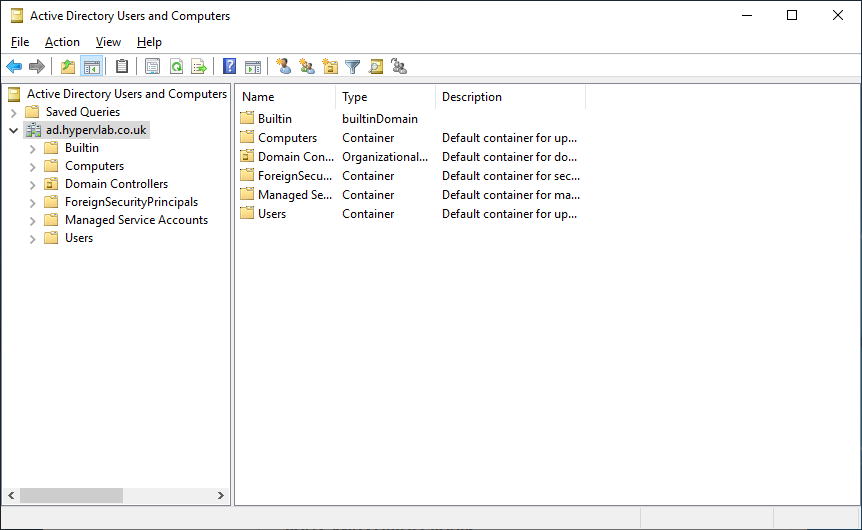
From the start menu we can launch ‘Active Directory Users and Computers’ or ‘dsa.msc’ from a run prompt.

Installing Active Directory From Windows PowerShell
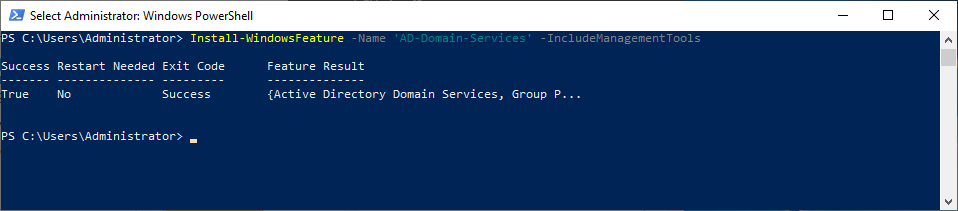
Launch PowerShell as an Administrative Session.
Install-WindowsFeature -Name 'AD-Domain-Services' -IncludeManagementTools 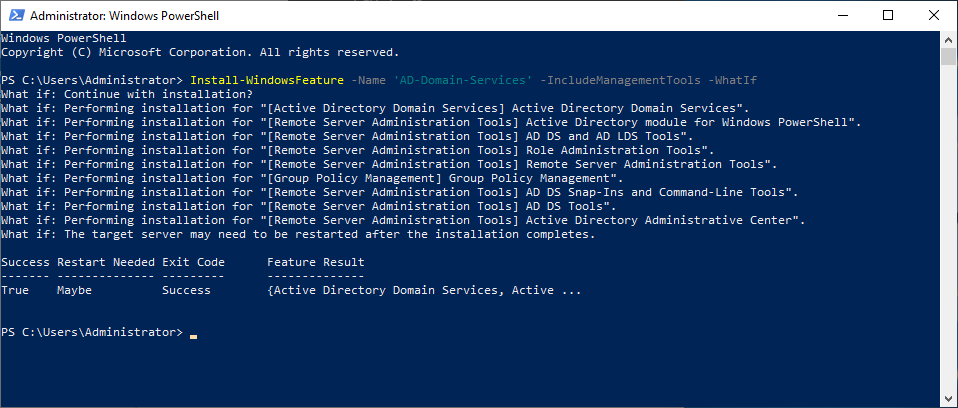
AD-Domain-Services Installed.
Promoting Windows Server to Domain Controller with PowerShell
Next we need to import the ADDSDeploy Module.
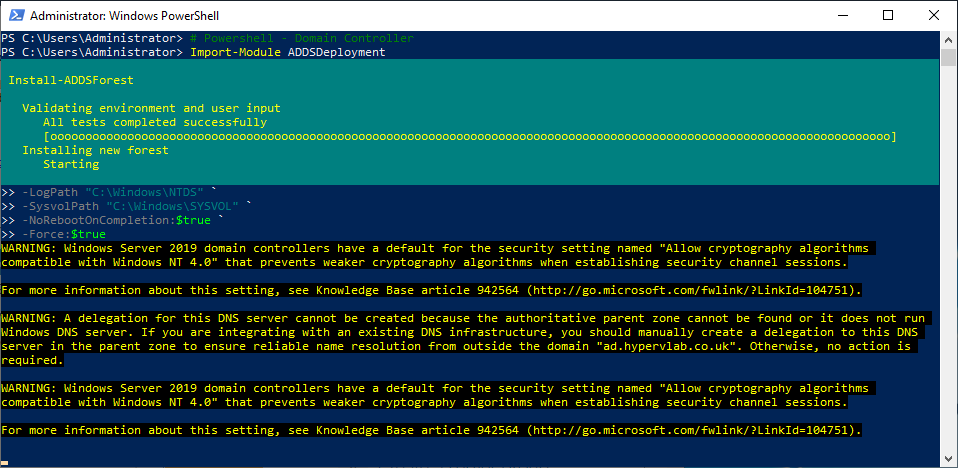
using the script provided below we can automate the domain controller setup.
# Domain Controller Properties
$DomainForest = "WinThreshold"
$DomainMode   = "WinThreshold"
$DomainName   = "ad.hypervlab.co.uk"
$DomainDNS    = "hypervlab"
$DSRMPassword = "@D5rmPa55w0rd!" | ConvertTo-SecureString -asPlainText -Force

# Powershell - Domain Controller
Import-Module ADDSDeployment
Install-ADDSForest `
-ForestMode $DomainForest `
-DomainMode $DomainMode `
-DomainName  $DomainName `
-DomainNetbiosName $DomainDNS  `
-SafeModeAdministratorPassword $DSRMPassword `
-CreateDnsDelegation:$false `
-DatabasePath "C:\Windows\NTDS" `
-InstallDns:$true `
-LogPath "C:\Windows\NTDS" `
-SysvolPath "C:\Windows\SYSVOL" `
-NoRebootOnCompletion:$true `
-Force:$true
NOTE: Using this script the server will not auto reboot because the parameter ‘-NoRebootOnCompletion:$true’ has been configured.
PowerShell Active Directory Domain Installation completed. Notice the prompt about reboot.
You must restart this computer to complete the operation… DCPromo.General.2 True Success
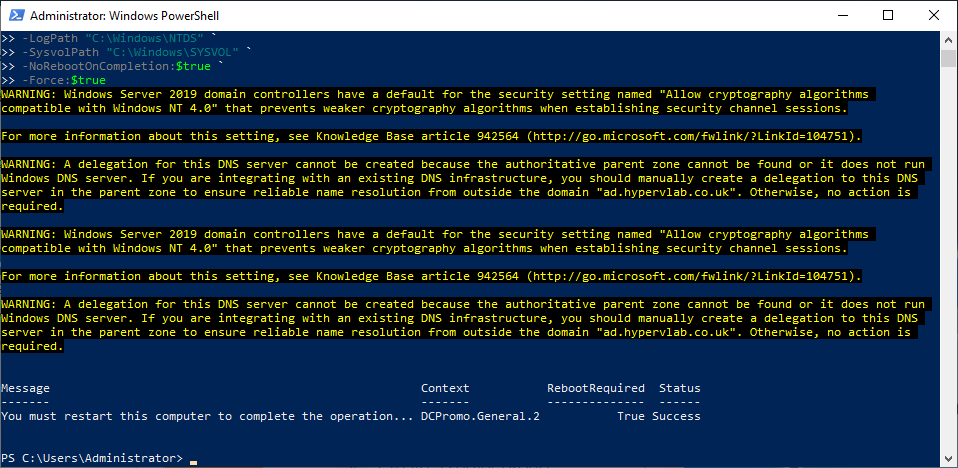
To restart the server from PowerShell use the command.
Restart-Computer -Forcehypervlab-dc01 Domain Controller ready to log into.
From the start menu we can launch ‘Active Directory Users and Computers’ or ‘dsa.msc’ from a run prompt.


