


In this final of the PFSense VLAN Mini Series, we will cover settings the VLANs and DHCP Scopes with an External DHCP Server using Windows Server. Following on from the previous post we will be using the VLAN Interfaces of 10, 20 and 30 and IP spaces of:
VLAN10 : 192.168.10.254
VLAN20 : 192.168.20.254
VLAN30 : 192.168.30.254
NOTE: This guide will not cover the installation of Windows Server, Only the installation and configuration of the DHCP Service.
For this lab i will be using a Windows Server 2019 Standard Server.
to install the DHCP Role using Powershell we can use the following script.
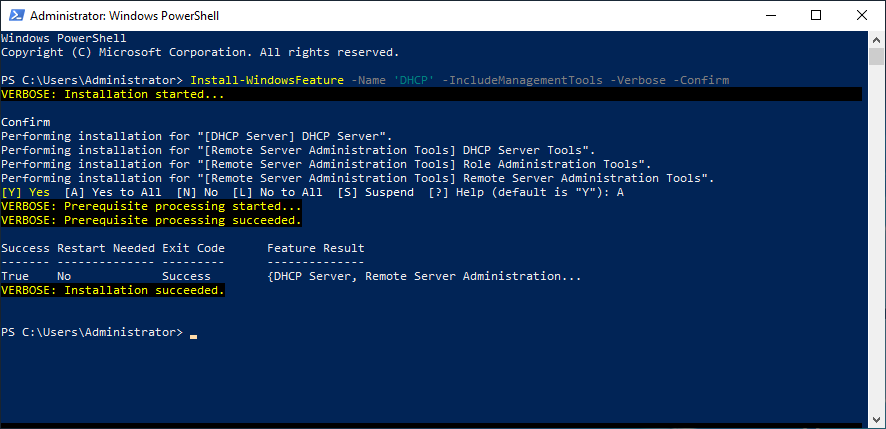
Install-WindowsFeature -Name 'DHCP' -IncludeManagementTools -Verbose -Confirm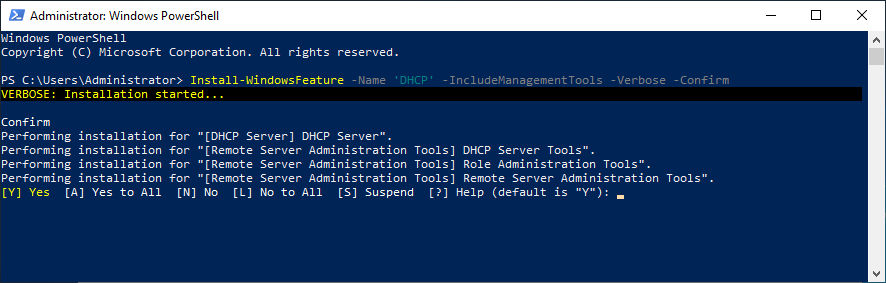
Confirm the installation prompt ‘A‘.
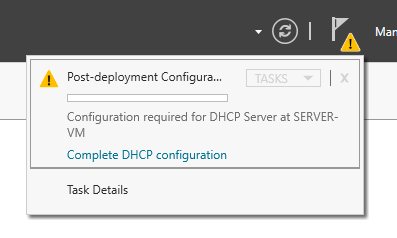
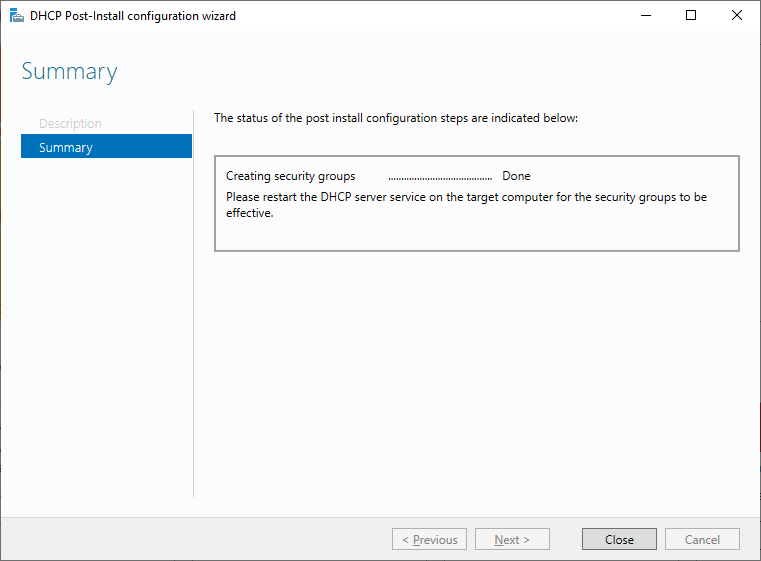
Next we need to authorise the DHCP server.
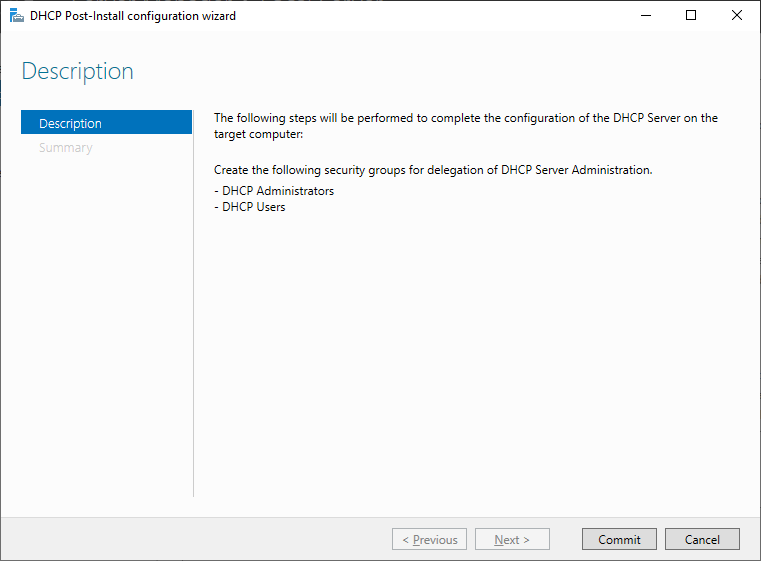
From Server Manager under the notification flag select “Complete DHCP Configuration”.
Select: ‘Commit‘
Select: ‘Close’
Now the DHCP Server has been authorised we can provision the three DHCP Scopes
# Import Powershell Module
Import-Module -Name 'DHCPServer'

# Create VLAN10 DHCP Scope
Add-DhcpServerv4Scope -Name ‘LAN_VLAN10’ -StartRange '192.168.10.10' -EndRange '192.168.10.50' -SubnetMask '255.255.255.0' -Description 'DHCP Pool for VLAN10'
Set-DhcpServerv4OptionValue -ScopeId '192.168.10.0' -DnsServer '192.168.10.254' -DnsDomain "lan_vlan10" -Router '192.168.10.254'

# Create VLAN20 DHCP Scope
Add-DhcpServerv4Scope -Name ‘LAN_VLAN20’ -StartRange '192.168.20.20' -EndRange '192.168.20.50' -SubnetMask '255.255.255.0' -Description 'DHCP Pool for VLAN20'
Set-DhcpServerv4OptionValue -ScopeId '192.168.20.0' -DnsServer '192.168.20.254' -DnsDomain "lan_vlan20" -Router '192.168.20.254'

# Create VLAN30 DHCP Scope
Add-DhcpServerv4Scope -Name ‘LAN_VLAN30’ -StartRange '192.168.30.30' -EndRange '192.168.30.50' -SubnetMask '255.255.255.0' -Description 'DHCP Pool for VLAN30'
Set-DhcpServerv4OptionValue -ScopeId '192.168.30.0' -DnsServer '192.168.30.254' -DnsDomain "lan_vlan30" -Router '192.168.20.254'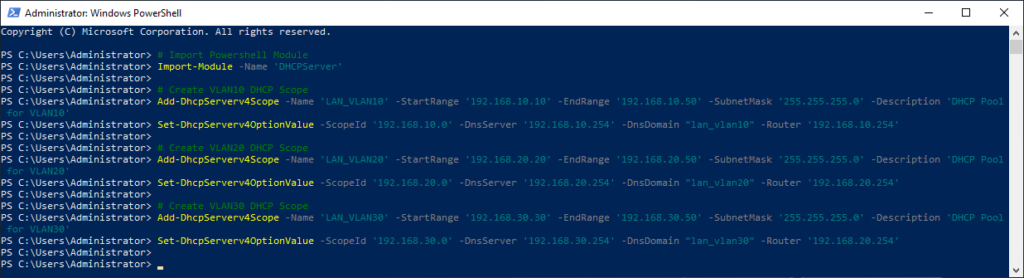
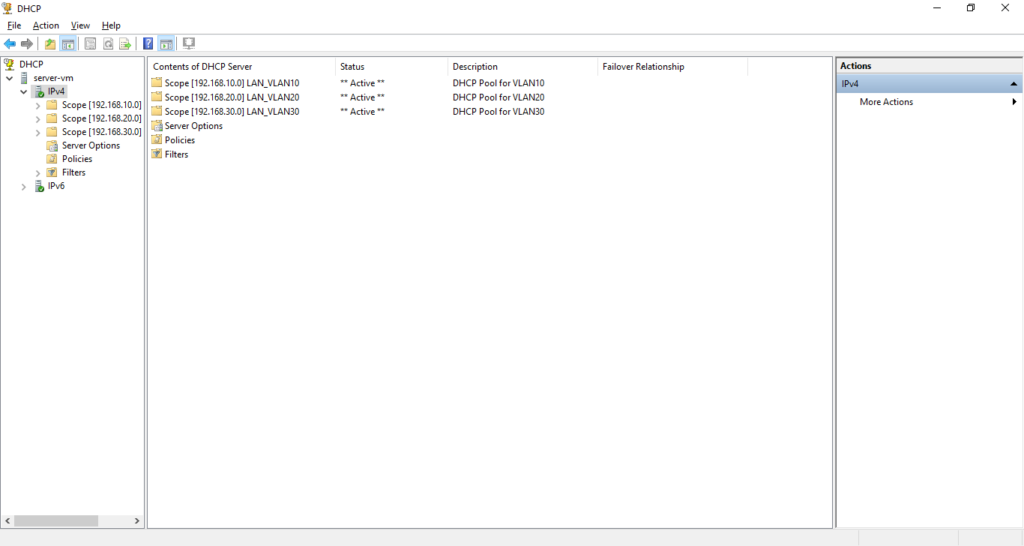
Next we can open the DHCP Management Snap-in and confirm that the DHCP Scopes are all present and correct.
Now we need to go back to PFSense and configure the DHCP Relay for the VLAN Interfaces 10,20 and 30 and forward the traffic requests to the DHCP Server.
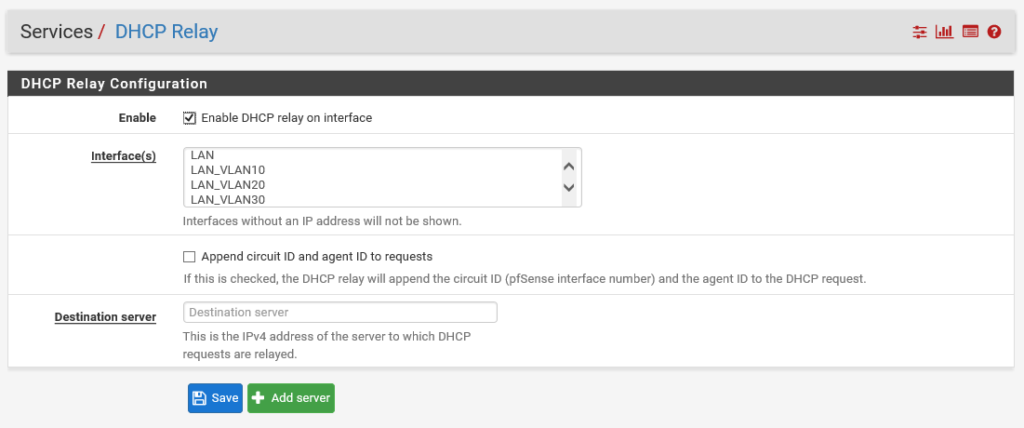
From the PFSense Dashboard navigate to ‘Services‘ -> ‘DHCP Relay’

First we need to disable the the internal PFSense DHCP Server
From the PFSense Dashboard navigate to ‘Services‘ -> ‘DHCP Server’
and untick the ‘Enable [x] Enable DHCP Server on LAN Interface’
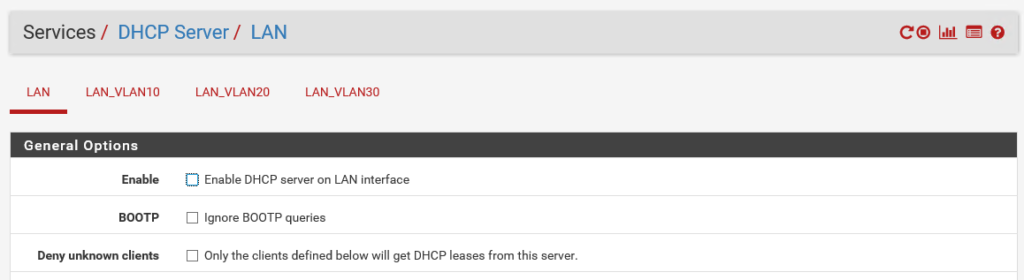
Scroll to the bottom of the page and save the changes, now we can return to ‘Services‘ -> ‘DHCP Relay’
Ensure that the Enable DHCP Relay on Interface is Ticked and that the LAN_VLAN10, LAN_VLAN20 and LAN_VLAN30 are selected. for the destination server i have configured the DHCP Server IP address to: 192.168.1.10. NOTE: Currently there are no Firewall Rules configured for the VLAN interfaces so all traffic can pass between. Once the configuration has been completed this is what you should have:
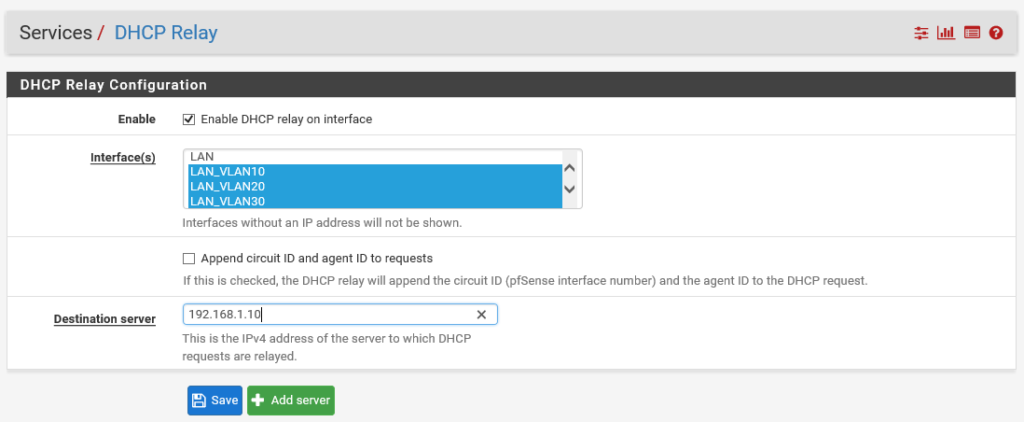
Don’t forget to save the changes. now we can move onto the testing phase of the blog post. For a simple test we can add a second network adapter to the server-vm which is hosting the DHCP Role and Configure the VLAN ID to be 10. the expected result should be that we recive a 192.168.10.X address and dns domain of lan_vlan10.
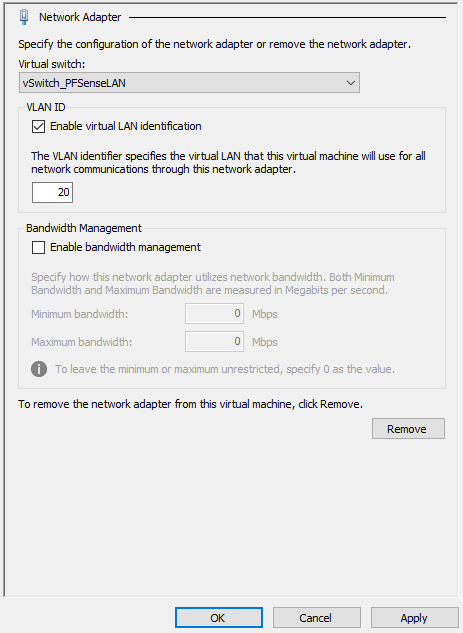
To Configure the VLAN ID, From the VMConnect Session go to ‘File‘ -> ‘Settings‘ -> ‘Network Adaptor‘ Enable the VLAN ID Option and enter the VLAN ID ‘10‘ and then Click ‘Apply’.

From inside the server-vm we can run the following PowerShell command to check
Get-NetIPConfiguration | Where-Object InterfaceAlias -eq 'Ethernet 2'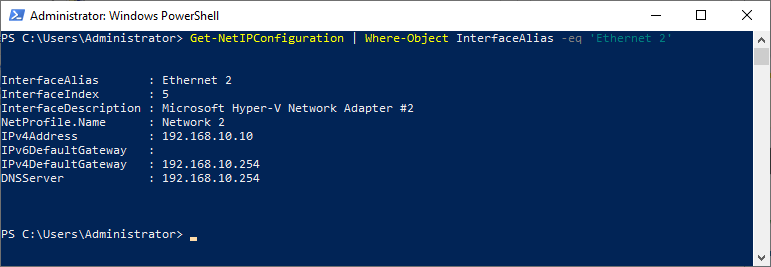
Testing LAN_VLAN20
To Configure the VLAN ID, From the VMConnect Session go to ‘File‘ -> ‘Settings‘ -> ‘Network Adaptor‘ Enable the VLAN ID Option and enter the VLAN ID ‘20‘ and then Click ‘Apply’.
Complete an ipconfig /release ; ipconfig /renew
Get-NetIPConfiguration | Where-Object InterfaceAlias -eq 'Ethernet 2'
Testing LAN_VLAN30
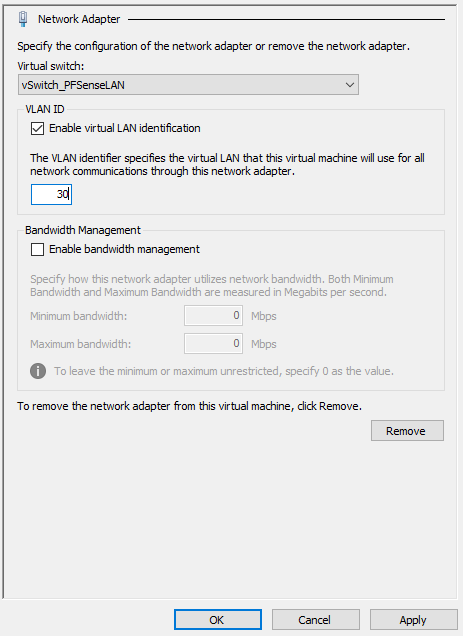
To Configure the VLAN ID, From the VMConnect Session go to ‘File‘ -> ‘Settings‘ -> ‘Network Adaptor‘ Enable the VLAN ID Option and enter the VLAN ID ‘30‘ and then Click ‘Apply’.
Complete an ipconfig /release ; ipconfig /renew
Get-NetIPConfiguration | Where-Object InterfaceAlias -eq 'Ethernet 2'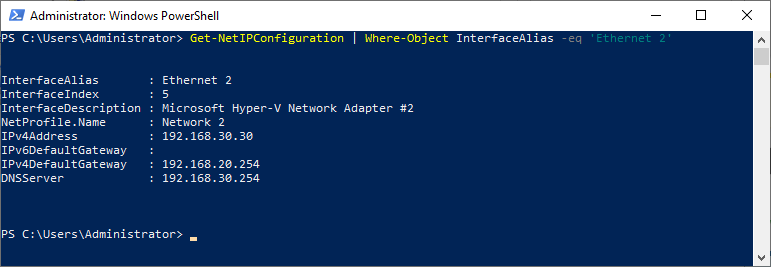
PFSense Mini Series:
[x] Installing PFSense 2.5 BETA on Hyper-V Gen2 Virtual Machine
[x] Configuring PFSense VLAN Interfaces
[x] Configuring PFSense DHCP Scope and Virtual Switches
[x] Configuring PFSense VLAN and External Windows DHCP


