


Recently, Netgate announced they were releasing the 2.5.0 Development preview images for PFSense Firewall Product. Now the bit that intrested me the most of the statement saying that the 2.5.x release would not include the AES-NI Code base. which would mean lots of legacy hardware devices would have to be replaced. this also includes my own Sophos UTM 220 currently running OPNSense but this one reason – The current release of PFSense 2.4.x requires the processor to have AES-NI Support, which the
Intel(R) Celeron(R) CPU E1500 does not have!
So when i saw that the 2.5.0 was going to be released without having the AES-NI requirement i jumped! and have downloaded the preview iso to do some testing within my Hyper-V Lab before i fully commit to a wipe and load of the firewall!
In this blog post on the Netgate website, which documents the release of the 2.5.0 Preview Development Images states the following:

So in this mini series, i will be covering the installation and configuration of PFSense 2.5.0 BETA as a Virtual Appliance on Hyper-V.
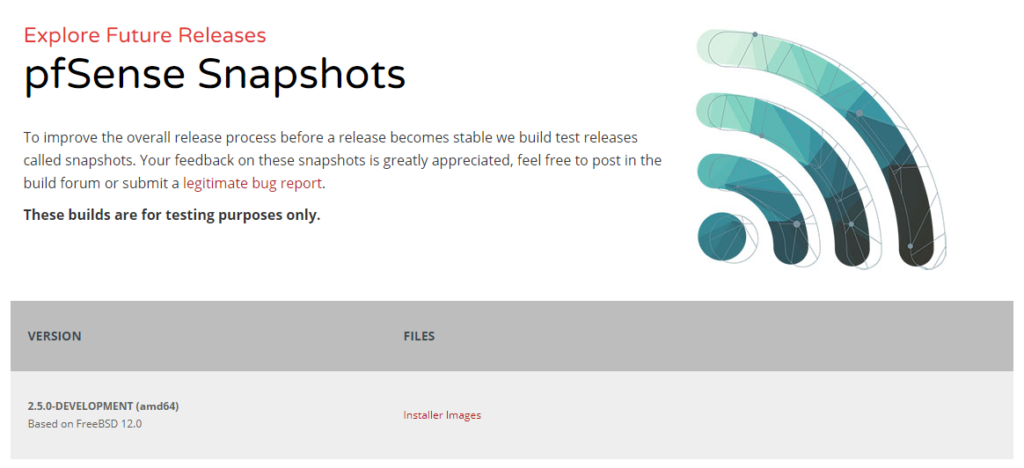
Firstly you will want to head over the PFSense website and download the latest daily development preview image: https://www.pfsense.org/snapshots/

Next we need to create two network interfaces one to act as an ISP Interface and the second to act as an Internal Network Adapter.
# Import Powershell Modules
Import-Module -Name 'Hyper-V'

# Create PFSense Network Adapters
$NetAdapter = Read-Host 'Please Enter Physical Network Adapter Name'
New-VMSwitch -Name 'vSwitch_PFSenseWAN' -AllowManagementOS $true -NetAdapterName $NetAdapter
New-VMSwitch -Name 'vSwitch_PFSenseLAN' -SwitchType 'Internal'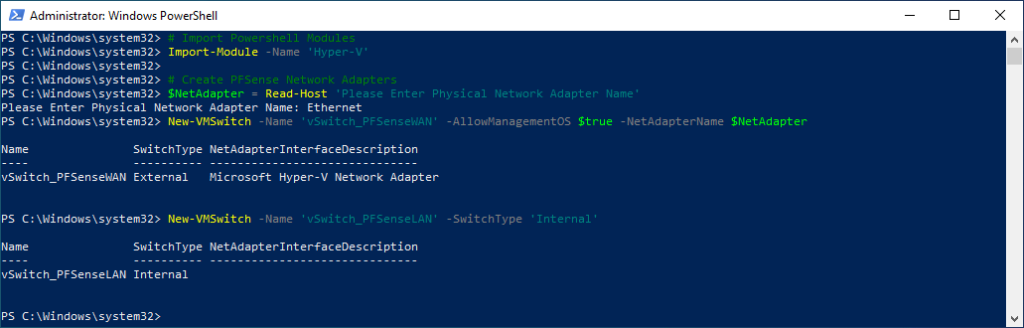
Now we can configured the virtual network adapters we can proceed to create the PFSense virtual machine. to save time you can use the code below to deploy a generation two template.
# PowerShell Title
$host.UI.RawUI.WindowTitle = "PFSense Generation Two VM Builder"
# Clear Screen
Clear-Host
# Import Powershell Modules
Import-Module -Name Hyper-V
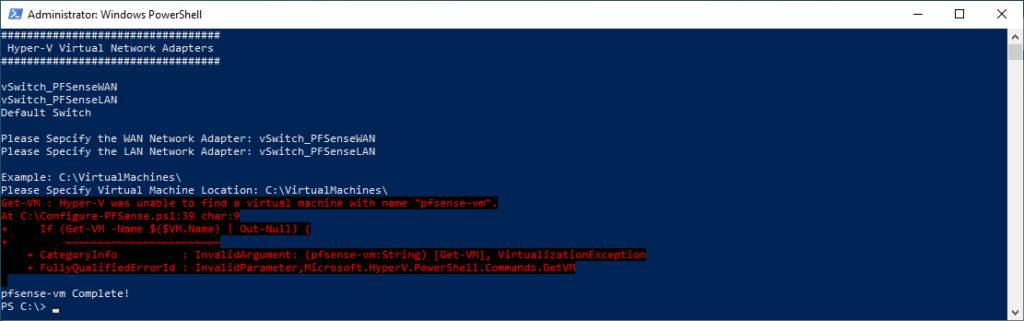
# Display Hyper-V Network Adapters
Write-Output `r '##################################'
Write-Output ' Hyper-V Virtual Network Adapters'
Write-Output '##################################' `r
$vAdapters = (Get-NetAdapter | Where-Object -Property 'InterfaceDescription' -Match 'Hyper-V Virtual Ethernet').Name
$vAdapters.Substring(11 - 0).Replace(")", "")
# Define Network Adaapters
Write-Output `r
$vWANAdapter = Read-Host 'Please Sepcify the WAN Network Adapter'
$vLANAdapter = Read-Host 'Please Specify the LAN Network Adapter'
# Define VM Path Location
Write-Output `r 'Example: C:\VirtualMachines\'
$VMPath = Read-Host 'Please Specify Virtual Machine Location'
# Create Virtual Machine
$vmconfig = @(
New-Object -TypeName psobject -Property @{
Name = 'pfsense-vm'
Path = $VMPath
Generation = '2'
CpuCount = '2'
Memory = 2048Mb
WANAdapter = $vWANAdapter
LANAdapter = $vLANAdapter
}
)
ForEach ($VM in $vmconfig) {
# Remove Virtual Machine
If (Get-VM -Name $($VM.Name) | Out-Null) {
Remove-VM -Name $($VM.Name) -Force -Confirm:$false
Write-Output `r "$($VM.Name) Removed from Hyper-V Console!" `r
}
# Create Virtual Machine
$VMPath = "$($VM.Path)" + "$($VM.Name)"
New-VM -Name $($VM.Name) -Path $VMPath -Generation $($VM.Generation) -MemoryStartupBytes $($VM.Memory) | Out-Null
Get-VM $($VM.Name) | Set-VMMemory -DynamicMemoryEnabled $false
Get-VM $($VM.Name) | Set-VMFirmware -EnableSecureBoot:Off -SecureBootTemplate 'MicrosoftUEFICertificateAuthority'
Get-VM $($VM.Name) | Add-VMDvdDrive -ControllerNumber 0 -ControllerLocation 0 | Out-Null
Get-VM $($VM.Name) | Set-VM -AutomaticCheckpointsEnabled $false
# Create Virtual Hard Disk File
$VHDPath = "$($VM.Path)" + "$($VM.Name)" + "\" + "$($VM.Name)" + "_osdisk" + ".vhdx"
If (Test-Path $VHDPath) {
Remove-Item -Path $VHDPath -Force -Confirm:$false
}
New-VHD -Path $VHDPath -SizeBytes 15GB | Out-Null
Get-VM $($VM.Name) | Add-VMHardDiskDrive -ControllerNumber 0 -ControllerLocation 1 -Path $VHDPath
# Configure Network Adapter
Get-VM $($VM.Name) | Remove-VMNetworkAdapter
Get-VM $($VM.Name) | Add-VMNetworkAdapter -Name 'PFSenseWAN' -SwitchName "$($vWANAdapter)"
Get-VM $($VM.Name) | Add-VMNetworkAdapter -Name 'PFSenseLAN' -SwitchName $($vLANAdapter)
#
$ProvisionComplete = "$($VM.Name)" + " " + "Complete!"
Write-Output $ProvisionComplete
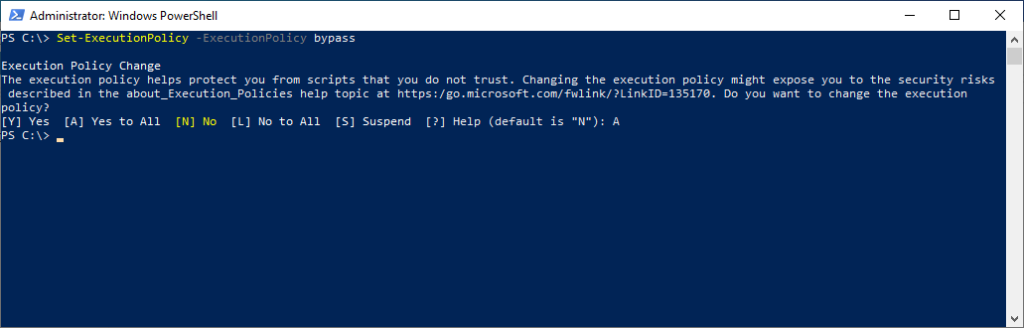
}Don’t forget that by default Powershell does not allow the execution of scripts on a system so we need to temporarily amend the execution policy.
Set-ExecutionPolicy -ExecutionPolicy bypassNOTE: I do not recommend the execution policy like this and at the end of the script we still return the Execution Policy back to default (Restricted).
I saved the PFSense Builder script to C:\Configure-PFSense.ps1.
Now we can reset the PowerShell Execution Policy back to default.
Set-ExecutionPolicy -ExecutionPolicy Default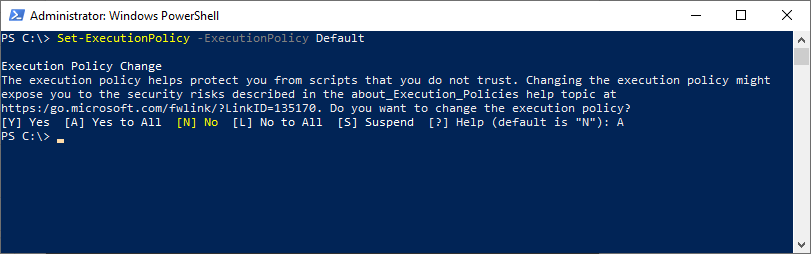
Open the Hyper-V Manager and we can see the new PFSense Virtual Machine.

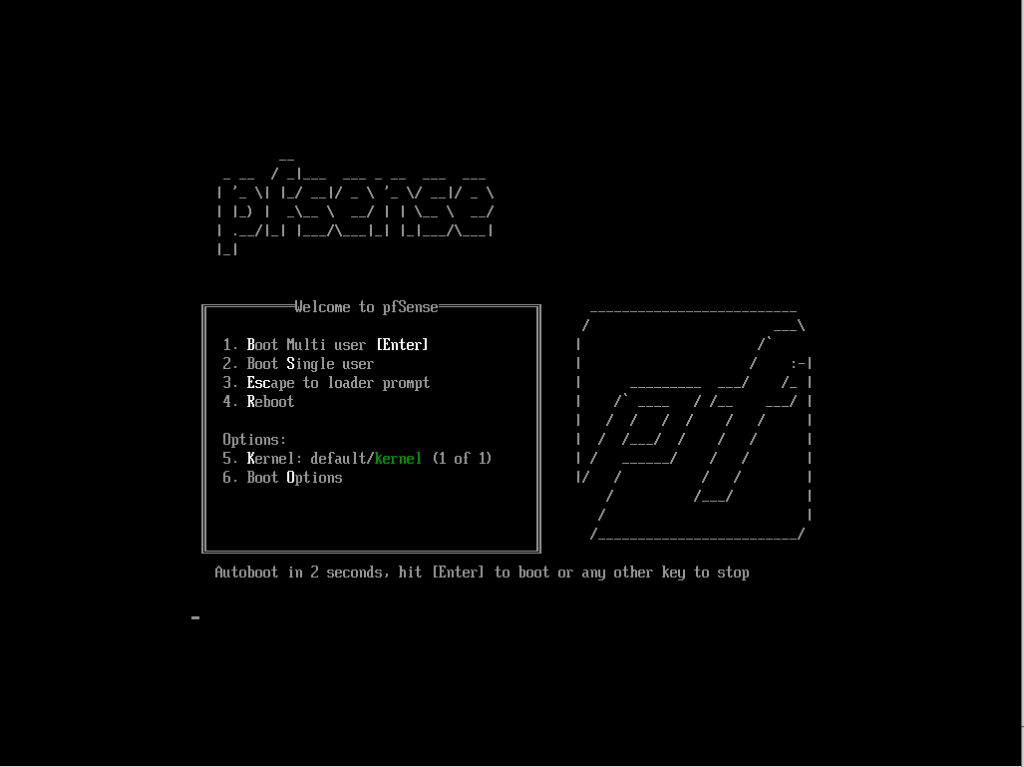
Now we can attached the PFSense 2.5 Development Snapshot ISO we downloaded earlier in the post and attached ready for the OS Installation.
You don’t need to select anything at this stage, just let the ISO auto-boot.
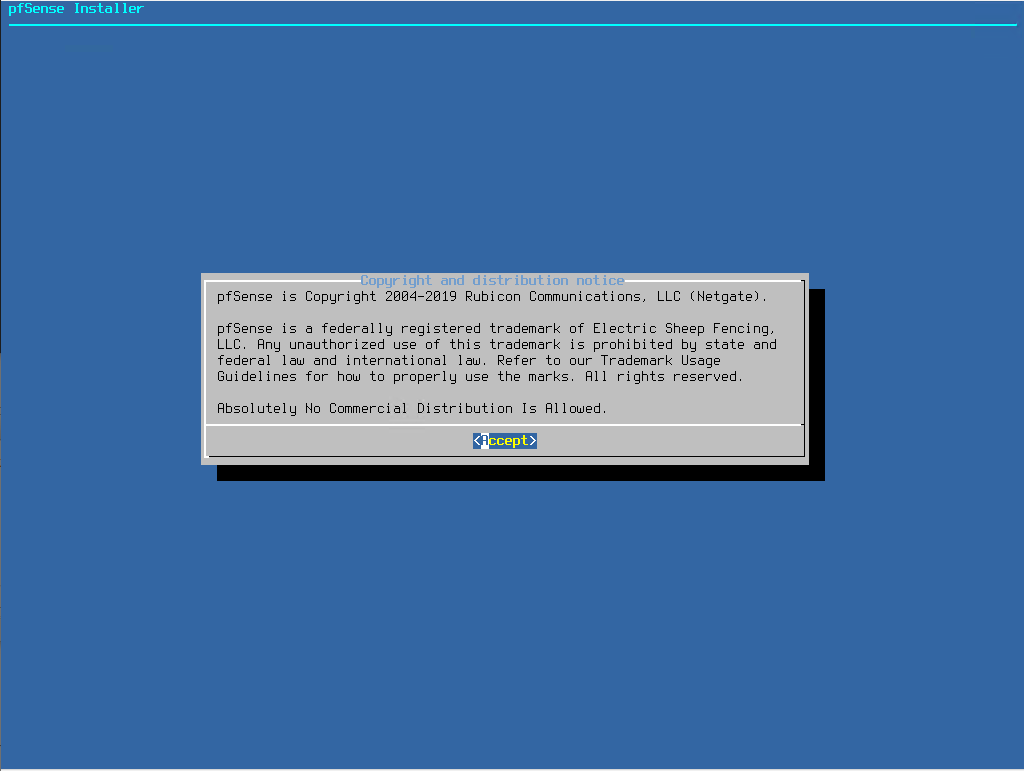
Select “Accept“.
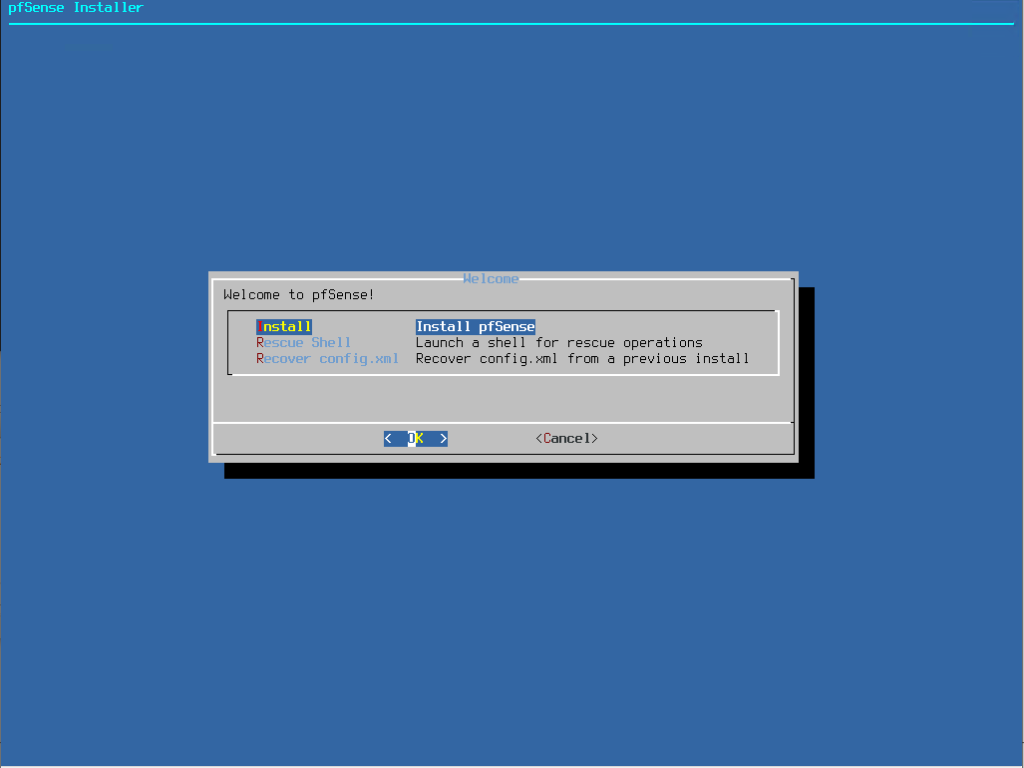
Select “Insall“.
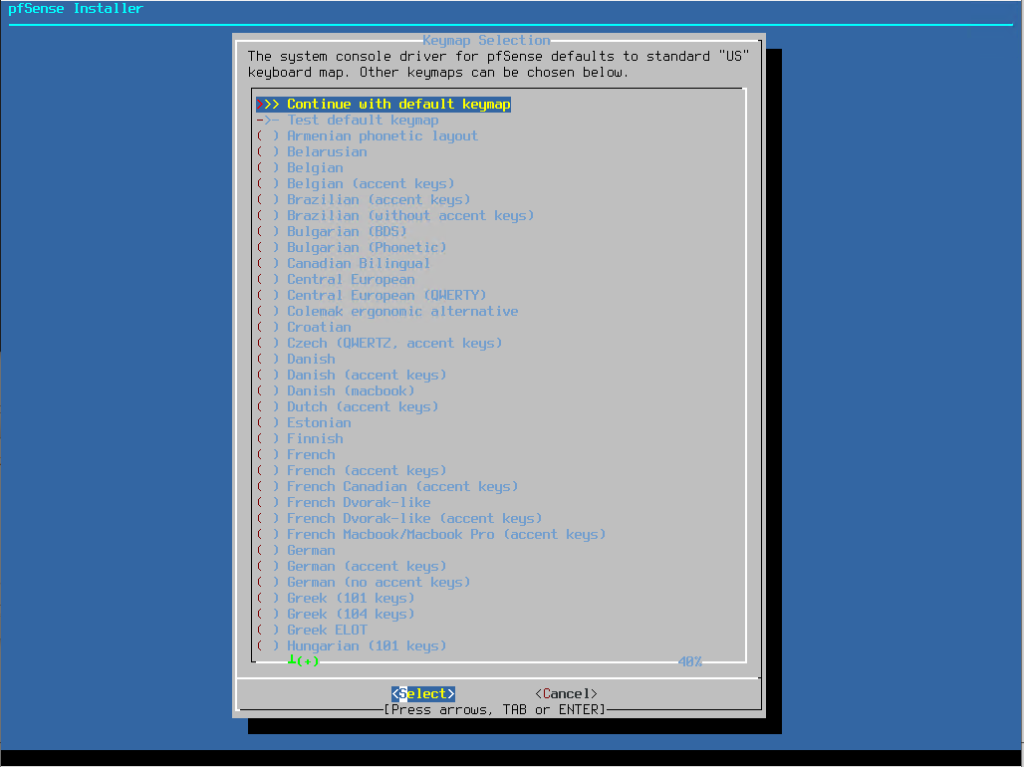
Choose default keyboard language then select “Select”.
Select “Auto (UFS)”.

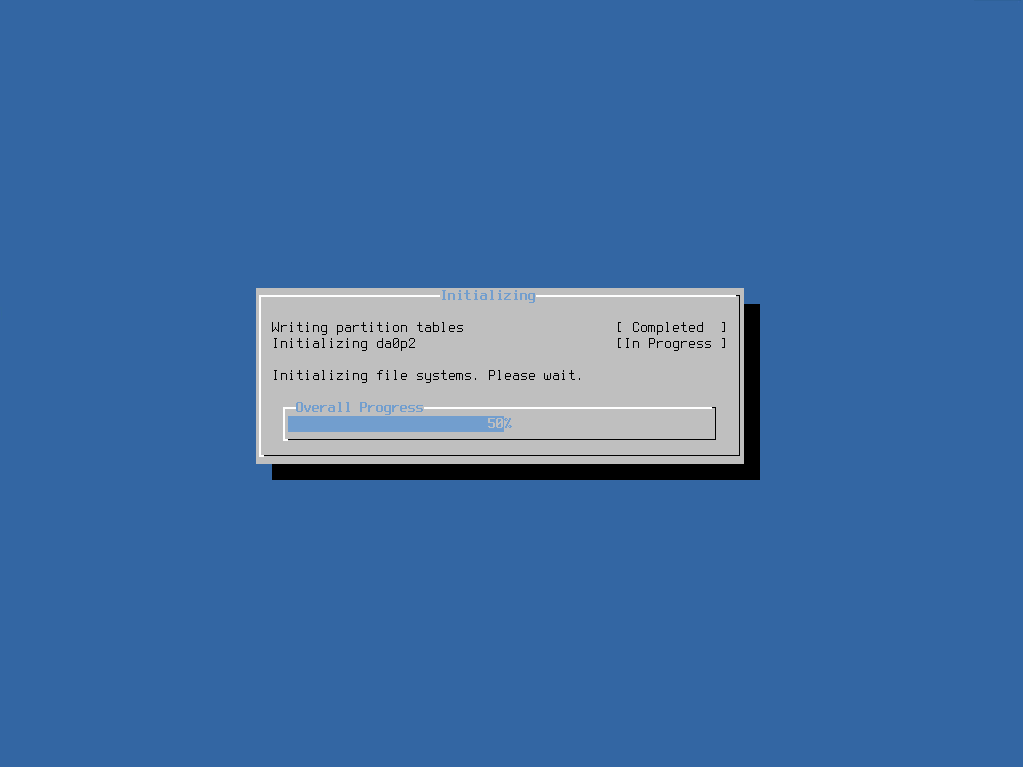
Installation Process Starts… Grab a Drink will only take 2 minutes.
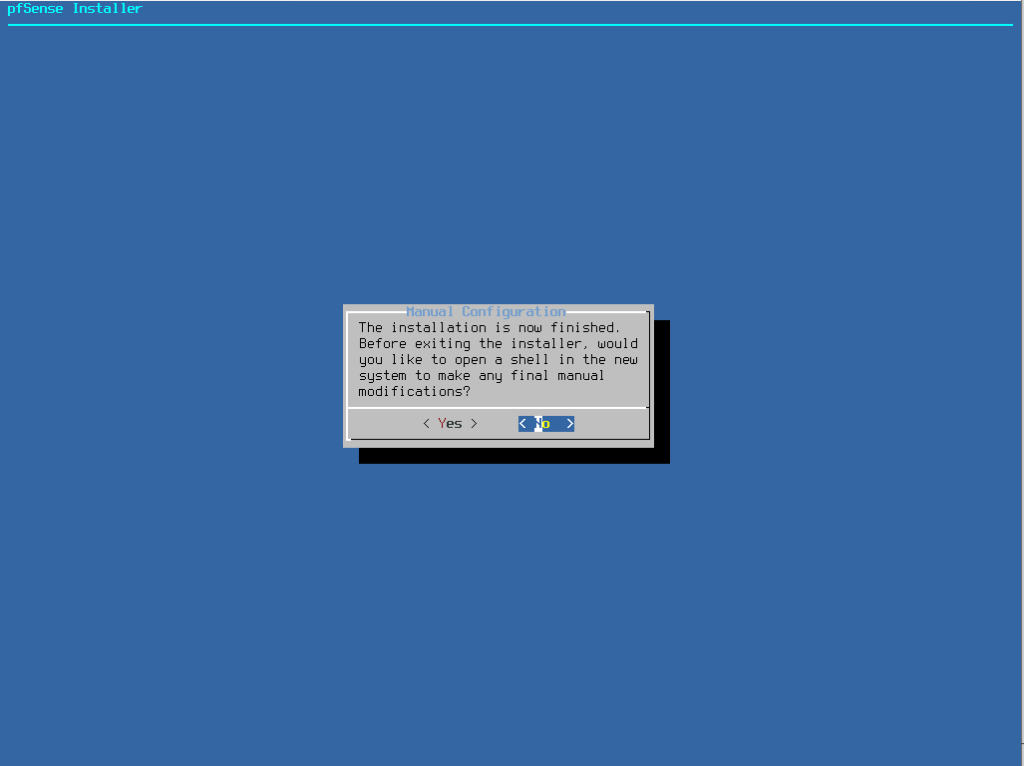
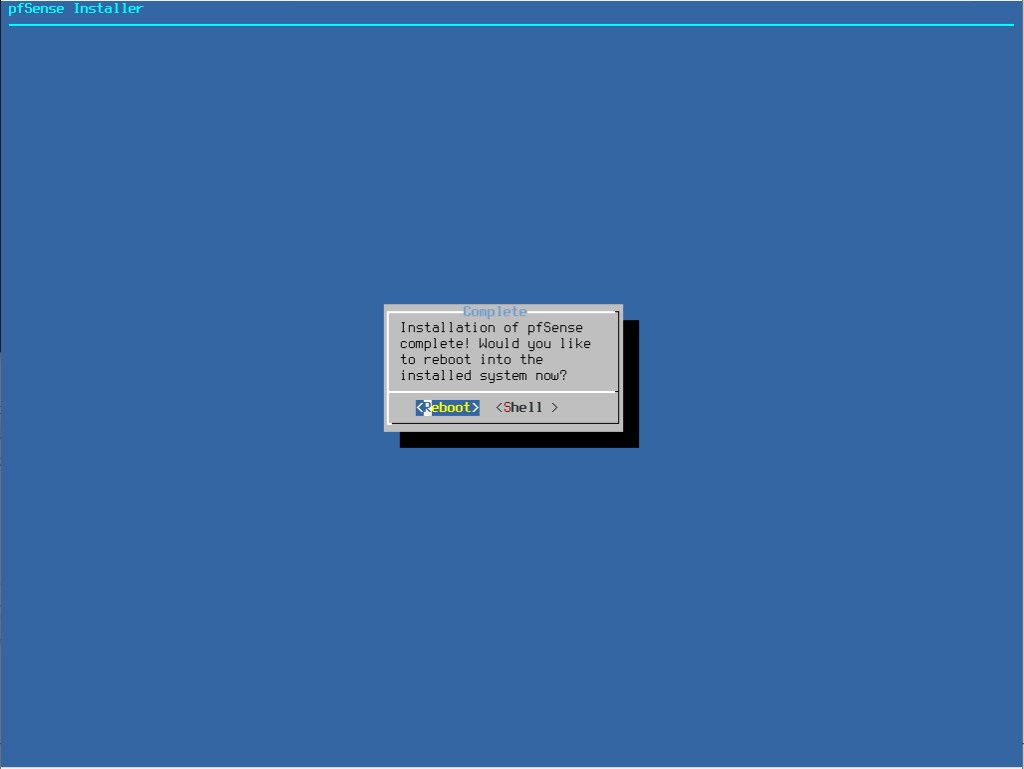
Installation is complete, select “No”.
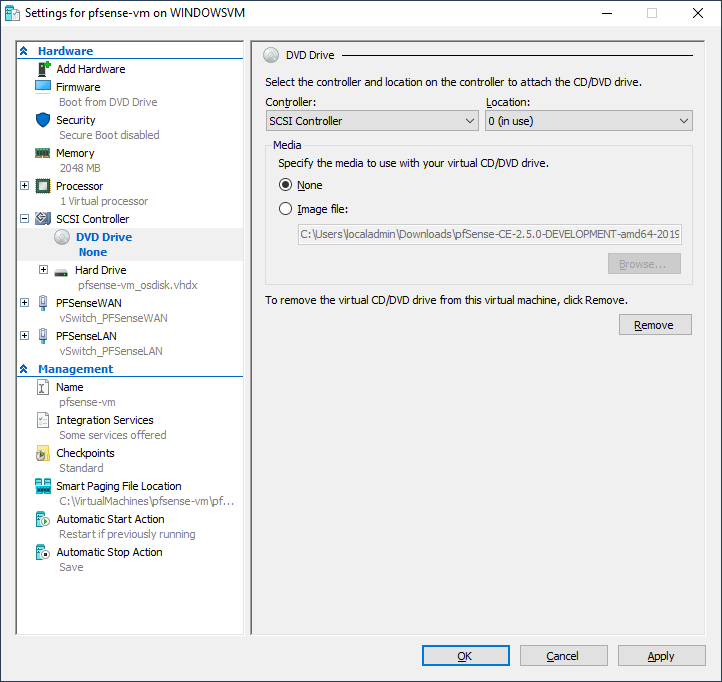
at this stage we need to remove the PFSense installation iso.
Select “Reboot”.
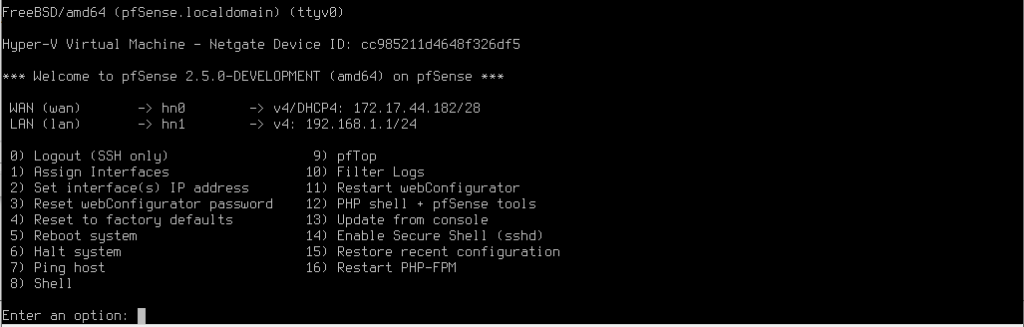
Now we can configure the WAN and LAN Interfaces.
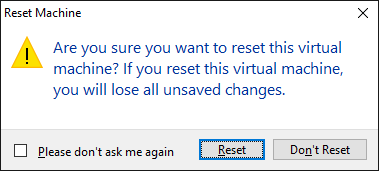
NOTE: If you get this screen, you will need to force reboot the vm
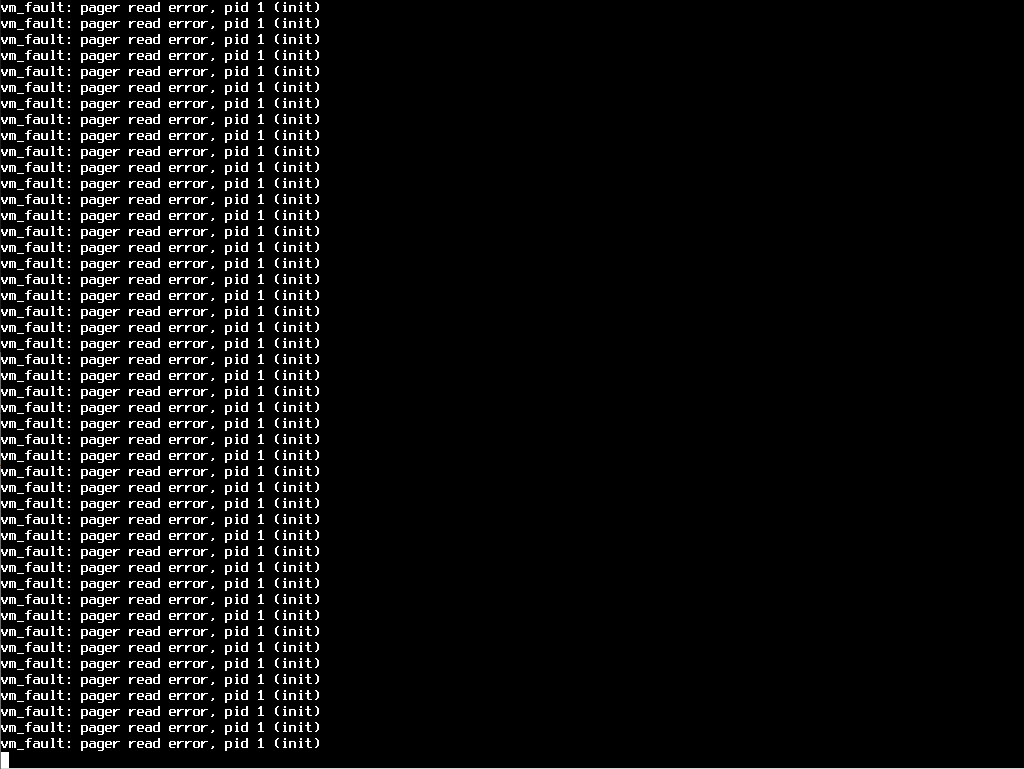
Click the “Restart” Button

Confirm the reboot request.
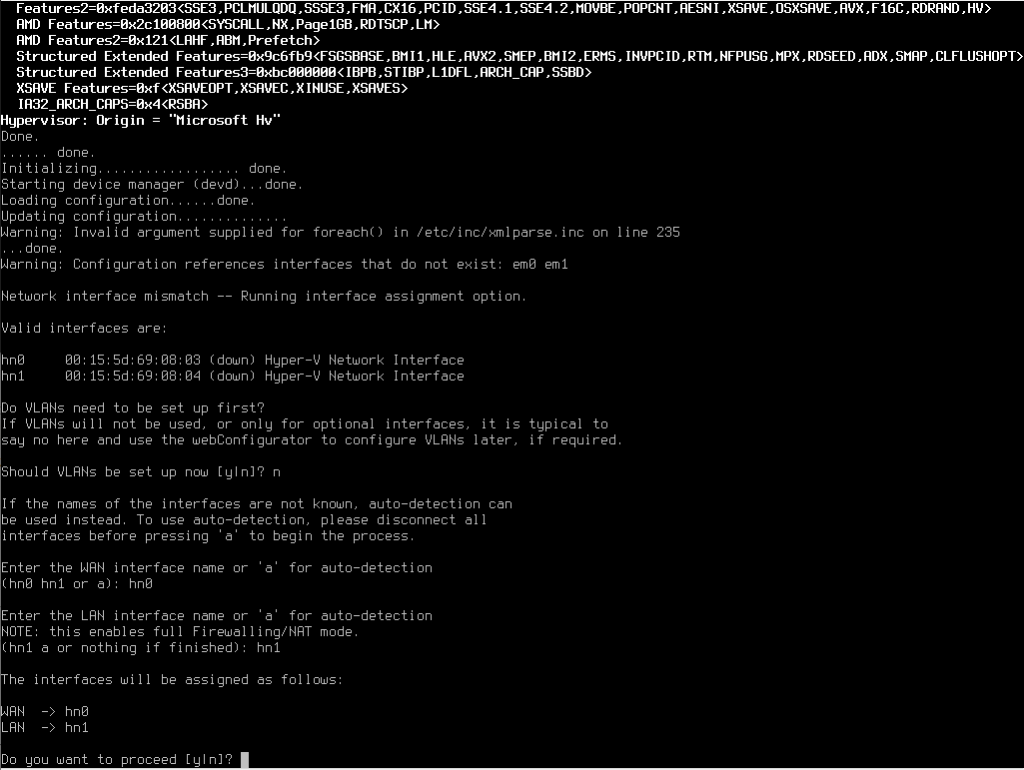
Select Option “N” for VLAN Configuration, this will be covered in a later blog post.
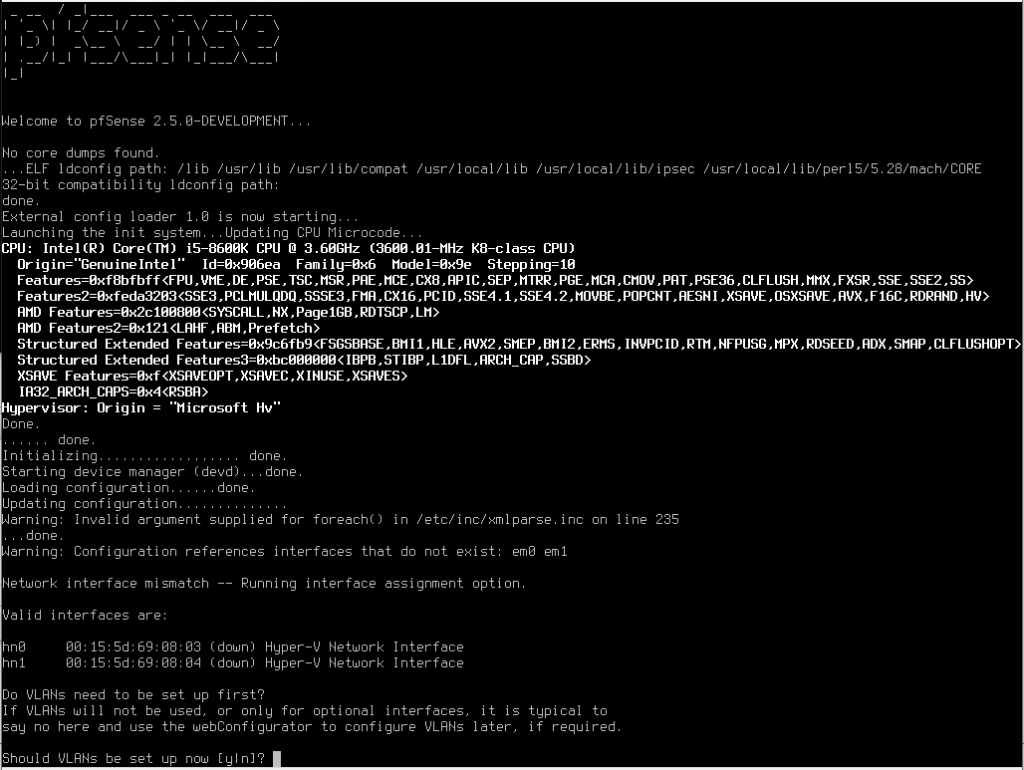
Next we configure the WAN and LAN Interfaces as shown below
Interface Adapter hn0 is for WAN and hn1 is for LAN
Initial Configuration is Complete! we can open the browser run thought the gui setup for end user config.
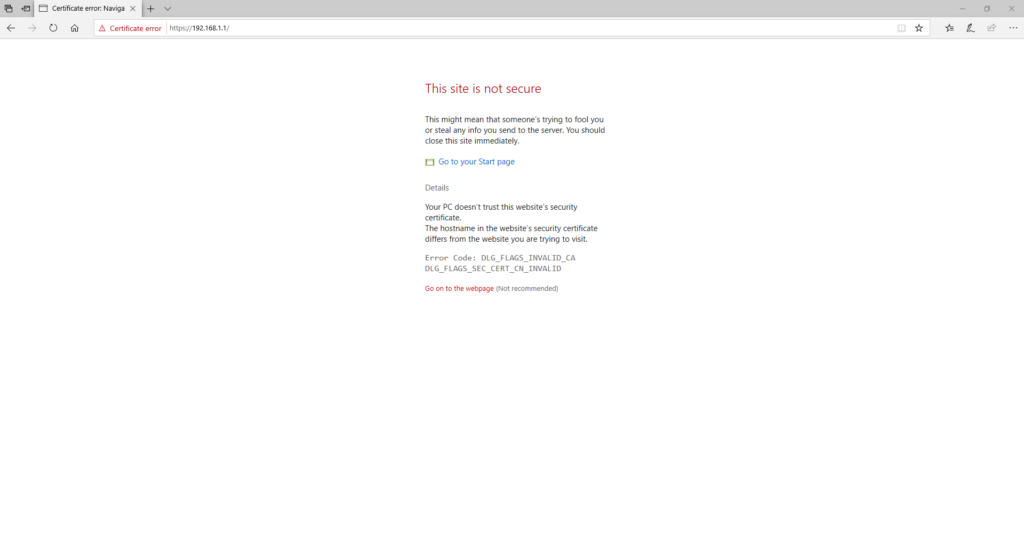
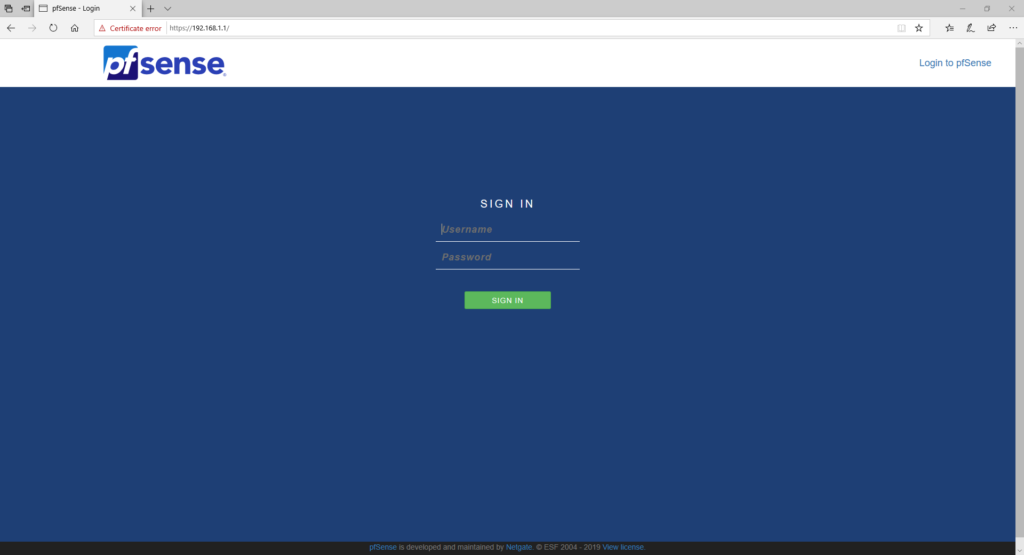
Launch your preferred browser and navigate to: https://192.168.1.1
Default PFSense credentials are: admin and pfsense
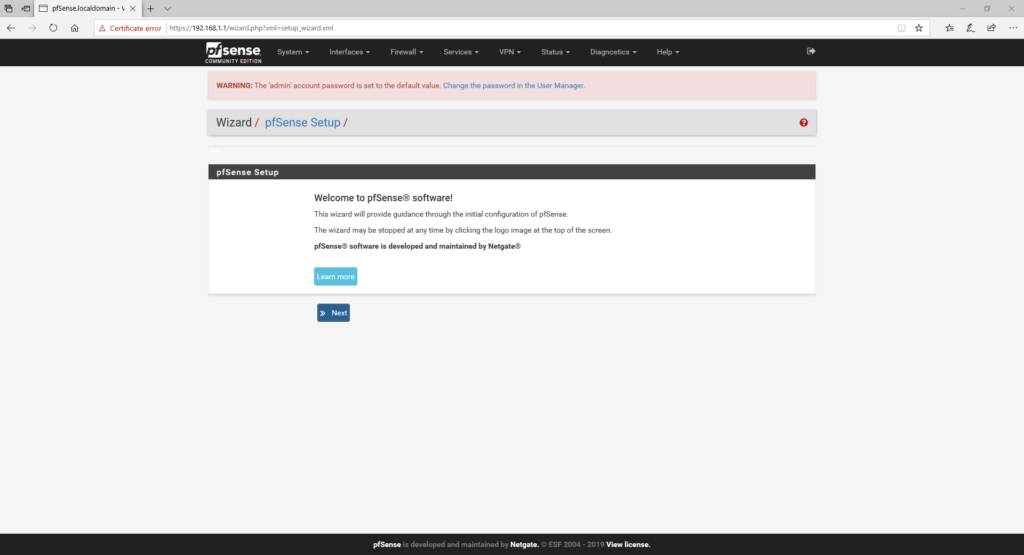
Select “Next“
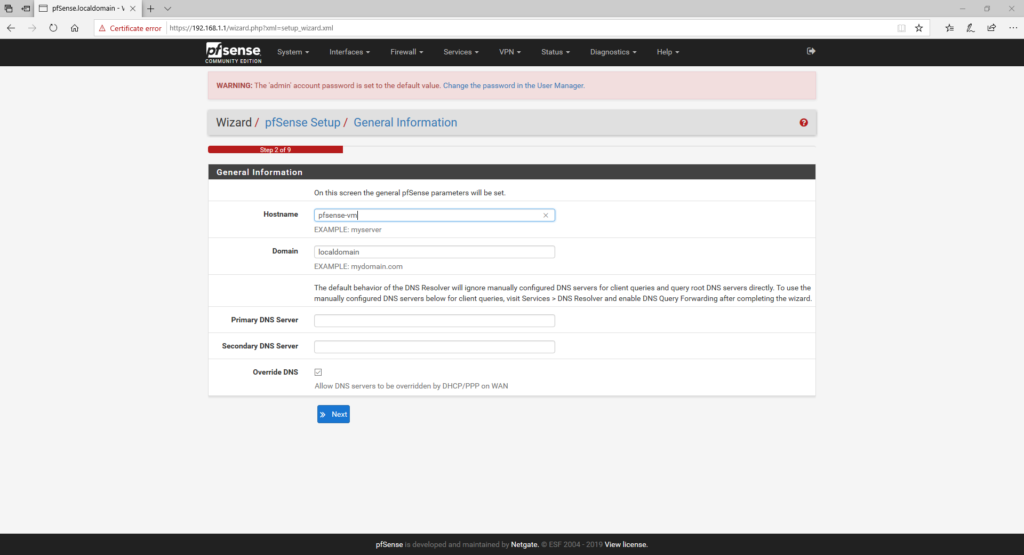
Configure Host Name and domain suffix then click “Next“
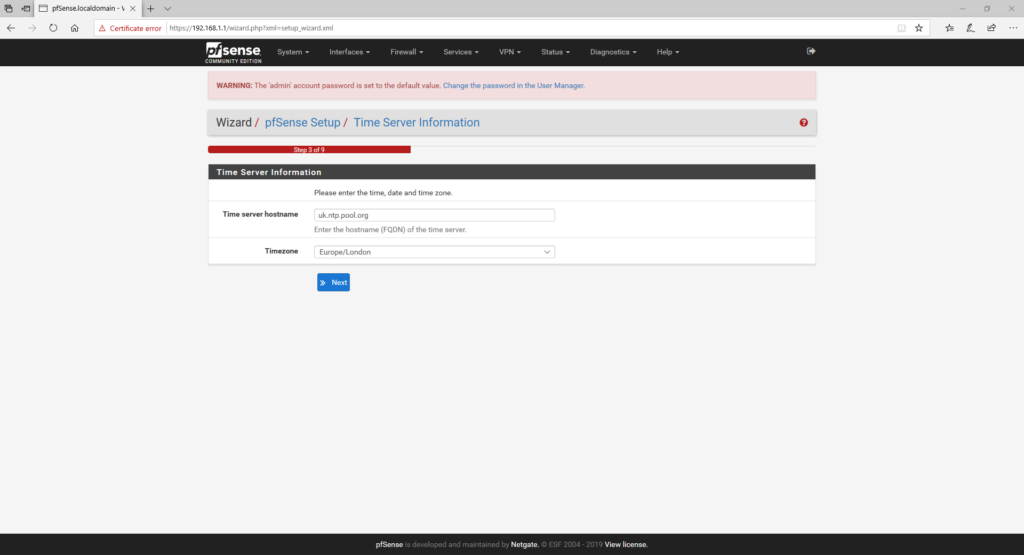
Configure NTP Server and Time Zone then click “Next”
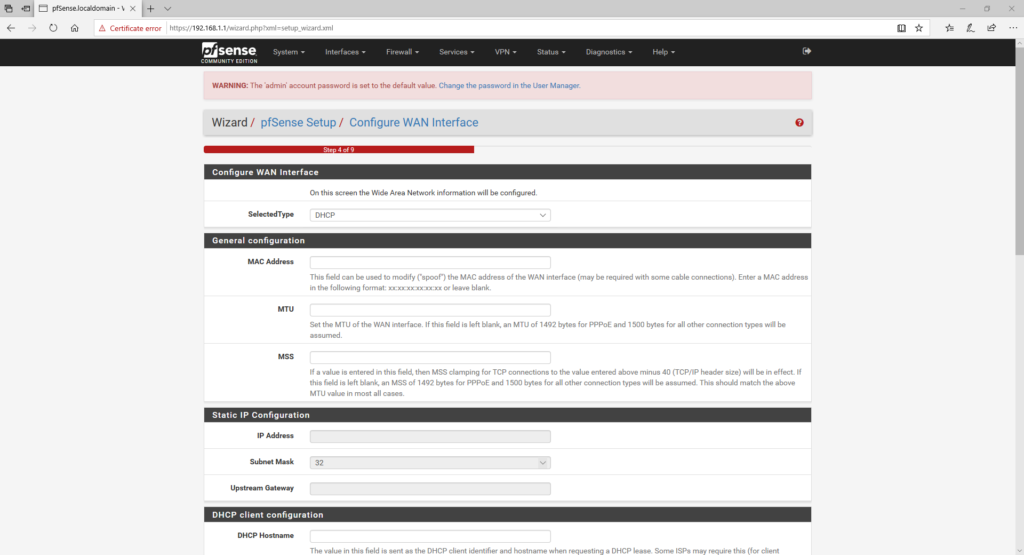
Leave WAN Interface as Default then click “Next”
If your running this for an internal firewall you might want to disable the Block private networks and loopback addresses.

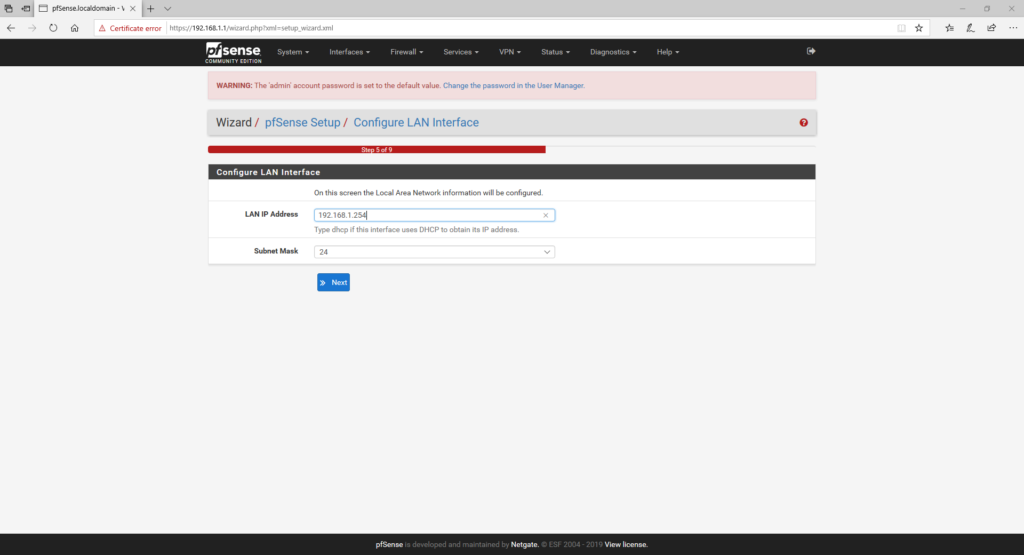
Configure the LAN Interface IP Address then click “Next“.
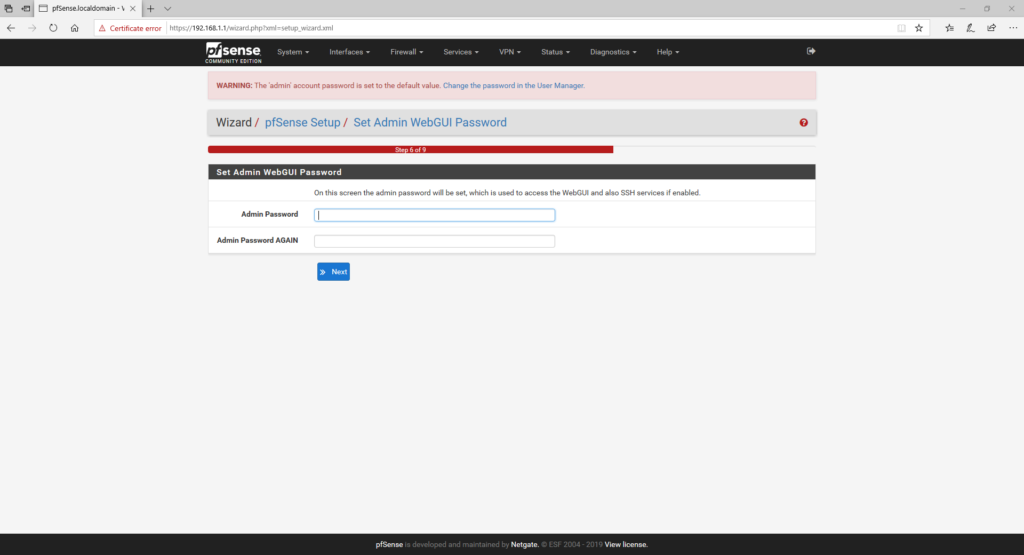
Configure the administrator password for the default account then click “Next“.
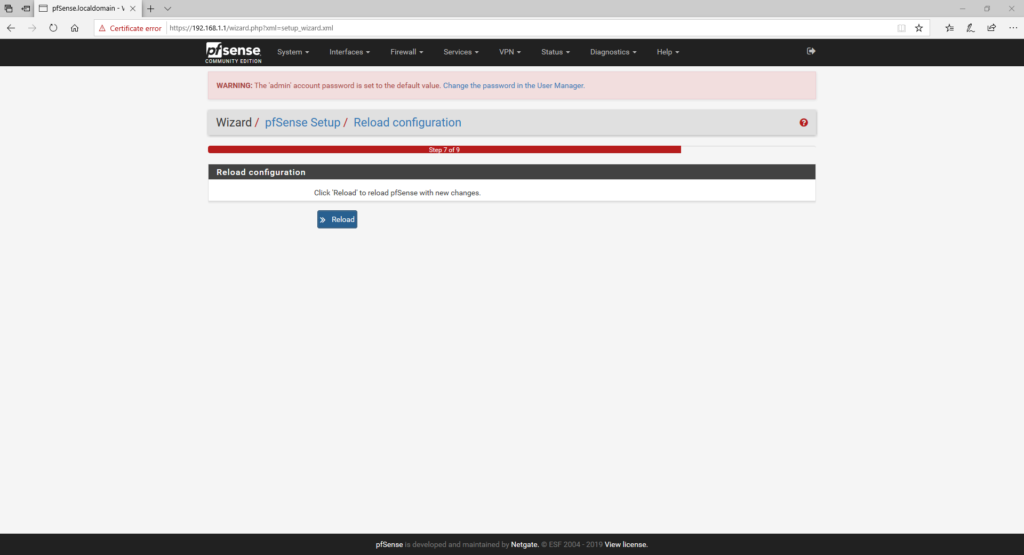
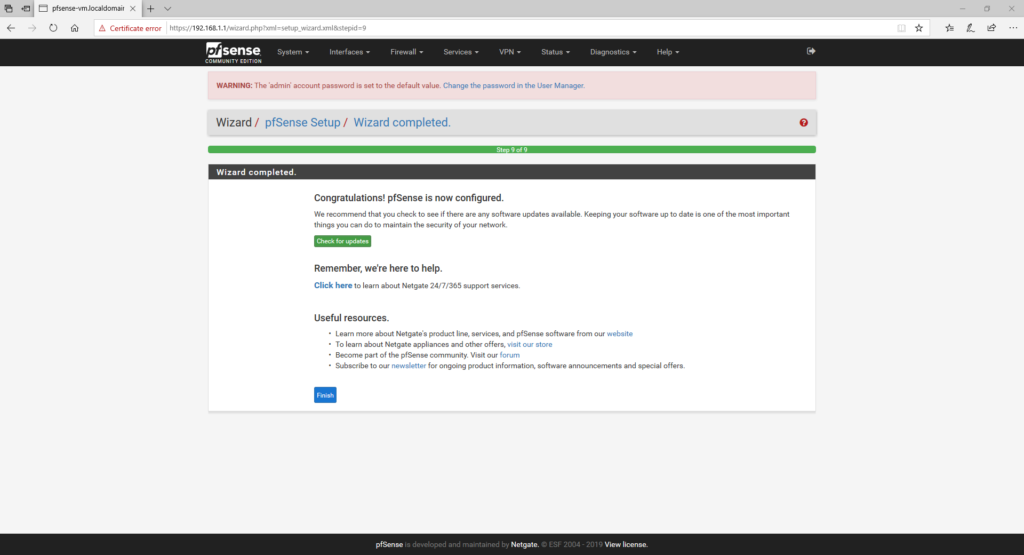
Configuration is finalized and applies to virtual machine then click “Next“.
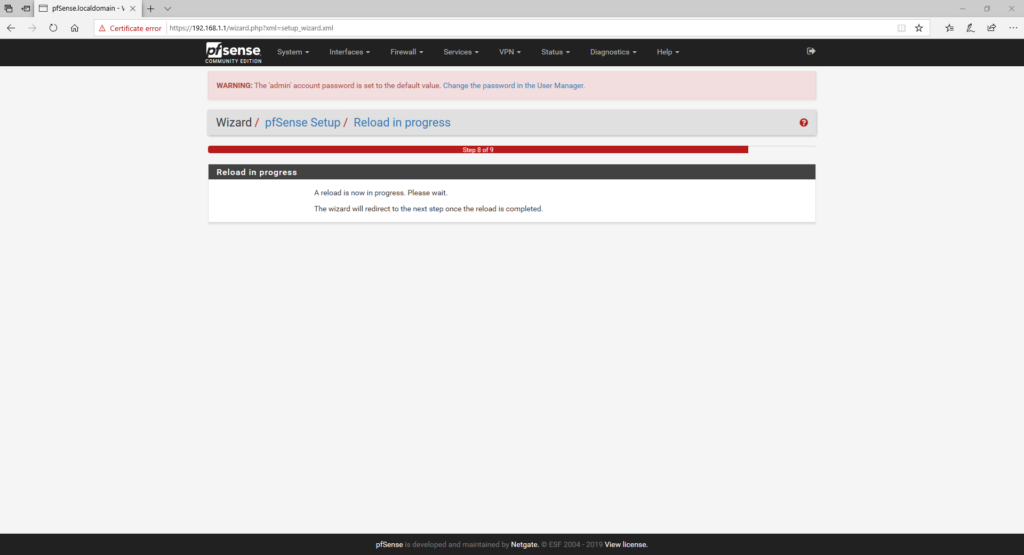
Wait for configuration to complete applying.
then click finish.
Don’t worry if you get this after the refresh, if you changed the LAN Interface IP you will need to refresh your DHCP address and then reconnect.
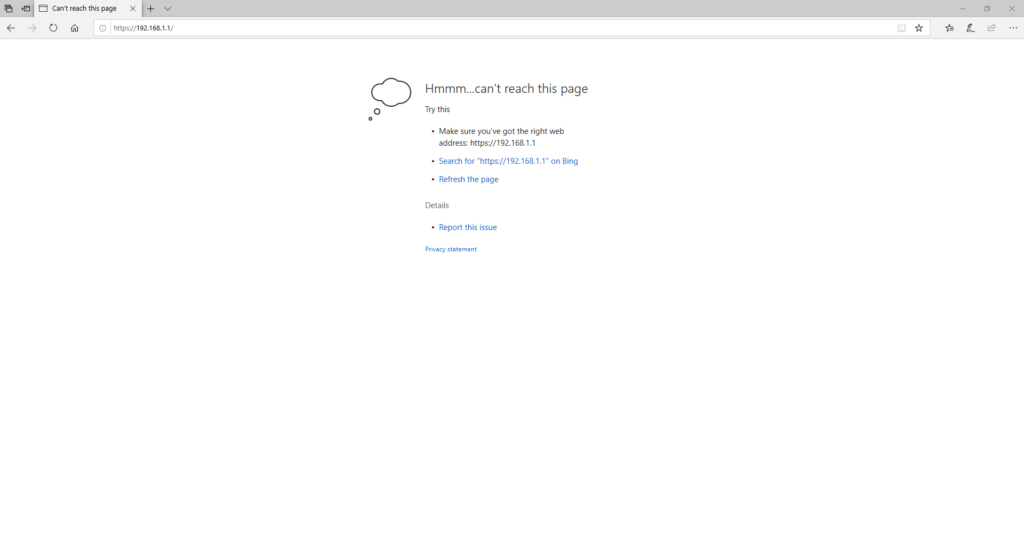
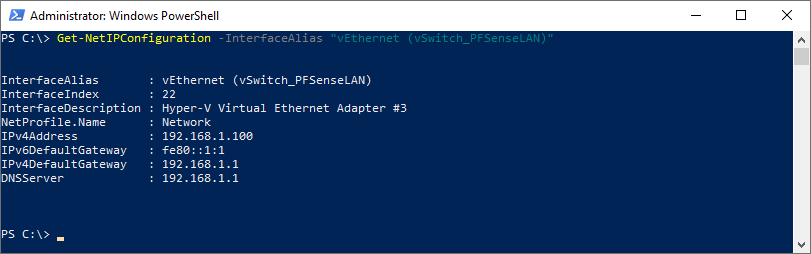
All we need to do is complete an ipconfig release and renew.
ipconifg /release ; ipconfig /renew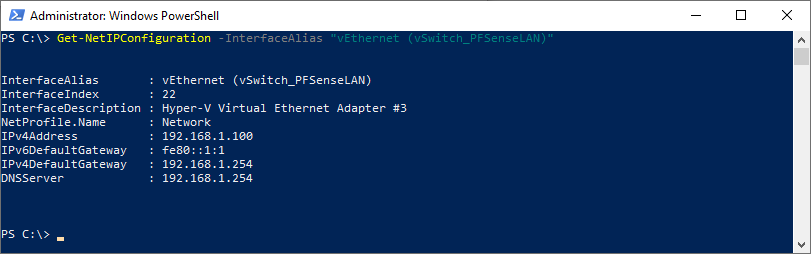
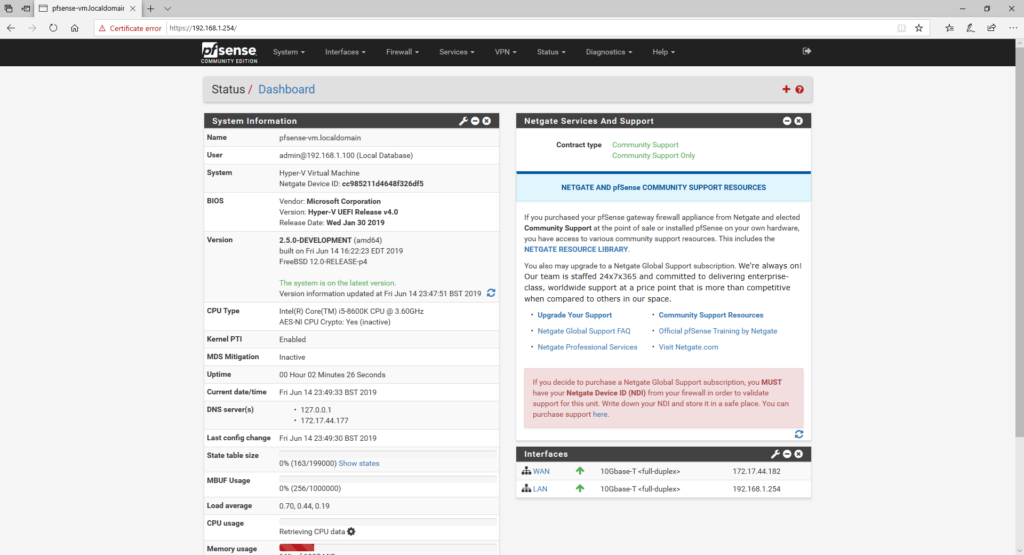
Go back to the browser and connect by the new gateway IP address you configured and you will get the login screen and finally:
PFSense Mini Series:
[x] Installing PFSense 2.5 BETA on Hyper-V Gen2 Virtual Machine
[x] Configuring PFSense VLAN Interfaces
[x] Configuring PFSense DHCP Scope and Virtual Switches
[x] Configuring PFSense VLAN and External Windows DHCP


