


This this blog post i will cover the installation process of downloading and installing Spiceworks Inventory on a Windows Server 2019 Standard Core Server.
The specs of the virtual machine deployed for this service are as follows
Hyper-V Config: Hyper-V Generation Two Virtual Machine with Secure Boot
Operating System: Windows Server 2019 Standard CORE
Processor : 2 Virtual CPUs
Memory : 2048Mb
Local HDD : 30Gb
Some History on Spiceworks…
The Spiceworks Community and Website was founded in 2006 by Scott Abel, Jay Hallberg, Greg Kattawar and Francis Sullivan, They saw an niche opening in the market to design an online platform to bring IT Professional together, to share their common knowledge and issues with each other. In the July of 2006 the initial public release of Spiceworks, with version 1.0 being released that November. Since that the application has grown to accommodate more features and requests based on the IT Professionals Community.
Spiceworks now offer an online cloud based version of their Inventory and Help Desk Solution, more can be found about the cloud version – HERE
Deploying Spiceworks Inventory
Now we have the history of Spiceworks covered, we can now proceed to download and install the inventory and helpdesk. As this is going into my lab I will mainly be focusing on the Inventory and SNMP Monitoring over the help desk aspects.
NOTE: This guide will not cover the installation of Windows Server Operating System.
To Download the Inventory Software go to: Link Here

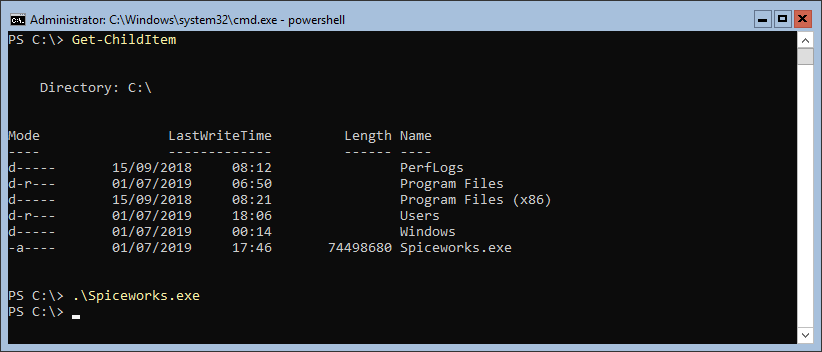
Once the Spiceworks.exe has downloaded move the executable to the root of the C Drive on the Virtual Server.
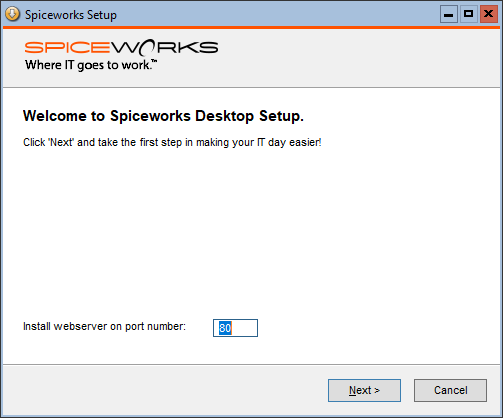
Leave the network port as 80, As to be able to access the Spiceworks Site.
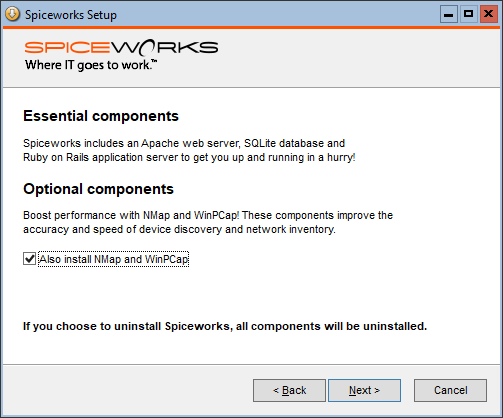
Choose if you want the extra performance NMap and WinPCAP.
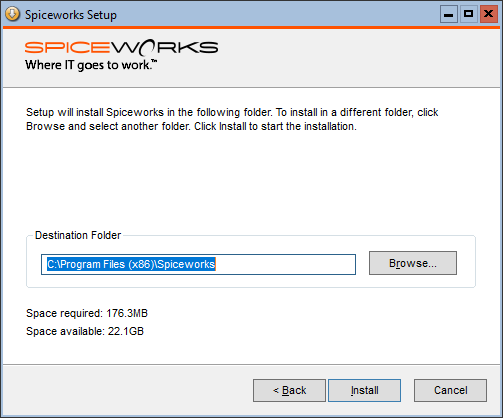
Specify the install location for Spiceworks.
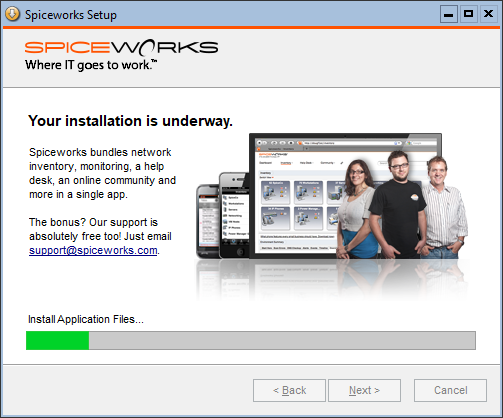
Installation Process Runs it cause.
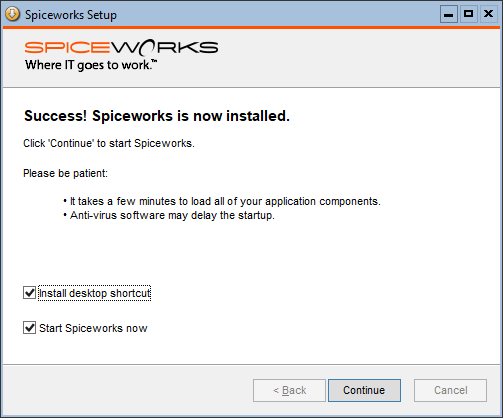
Installation Complete.
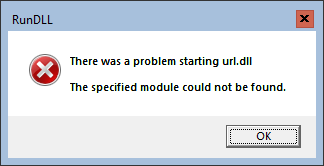
NOTE: If you receive this warning its nothing to be concerned over this is because Spiceworks is installed on a core installation and the url.dll file isn’t found under C:\Windows\System32\url.dll
To Check that the Spiceworks Service is running we can use the following PowerShell Command
Get-Service 'Spiceworks'
Before we can connect to the web interface we need to allow Ports 80 and 443 thought the Windows Firewall, This can be done by running the following PowerShell
New-NetFirewallRule -DisplayName 'Spiceworks (HTTP)' -Direction Inbound -LocalPort 80 -Protocol TCP -Action Allow -Profile Domain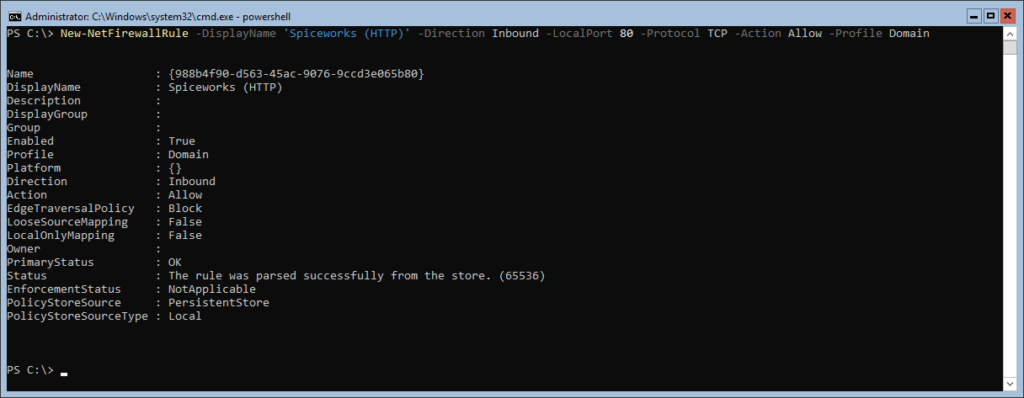
New-NetFirewallRule -DisplayName 'Spiceworks (HTTPS)' -Direction Inbound -LocalPort 443 -Protocol TCP -Action Allow -Profile Domain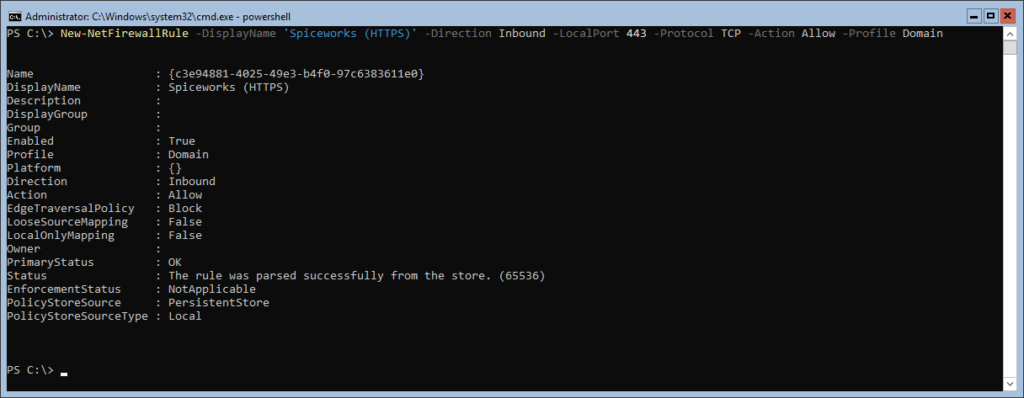
Checking both firewall rules have been created successfully.
Get-NetFirewallRule -DisplayName '*Spiceworks*' | Format-Table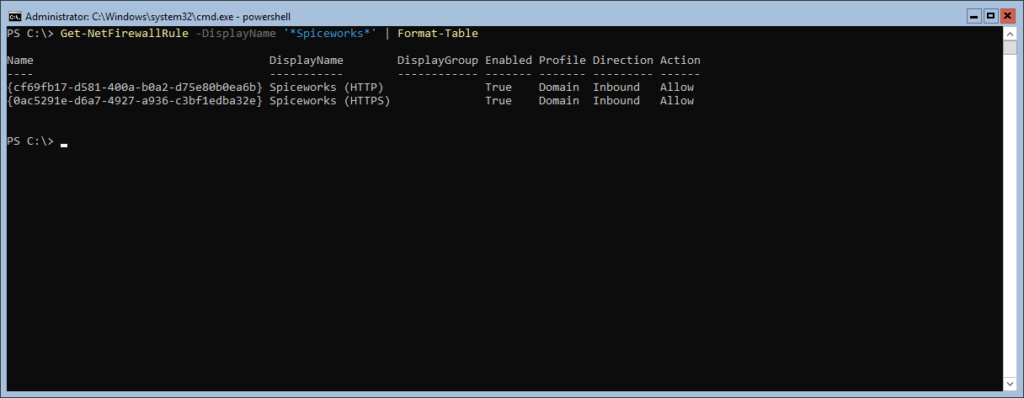
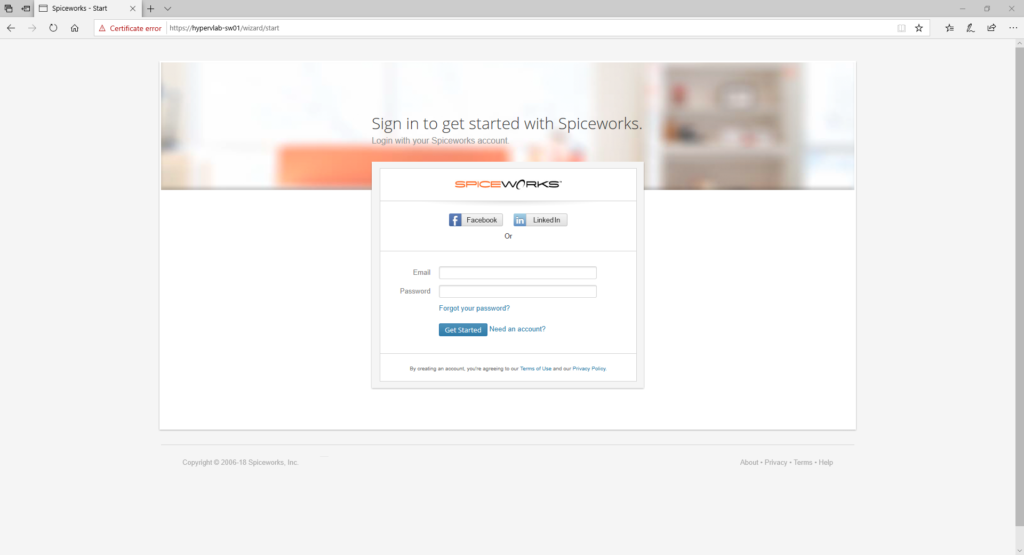
Now we can launch the browser and complete the initial inventory setup.
Login with your Spiceworks Community Credentials. or Register Here
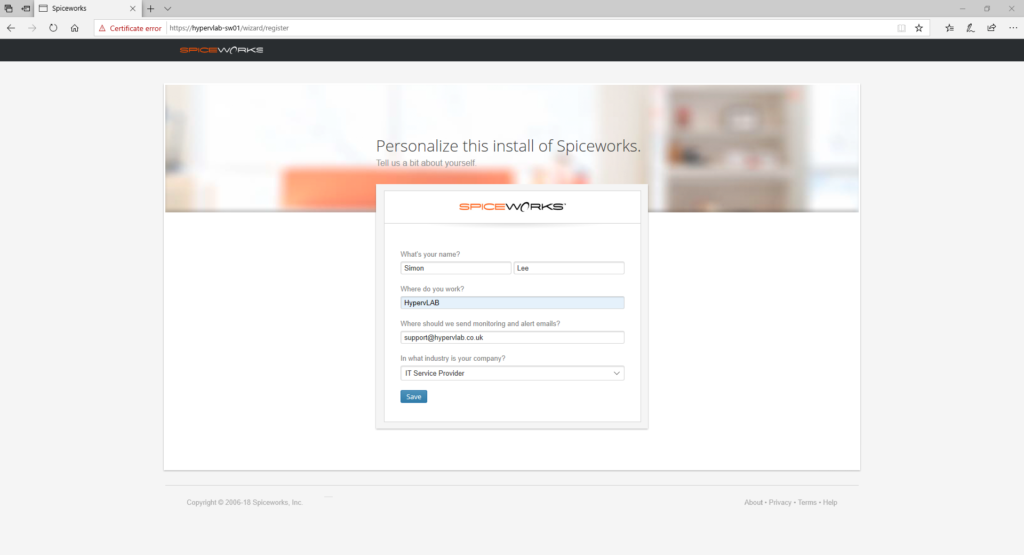
Configure the Personalized Settings for your Spiceworks Profile.
Click on ‘Discover & Monitor My Devices’.

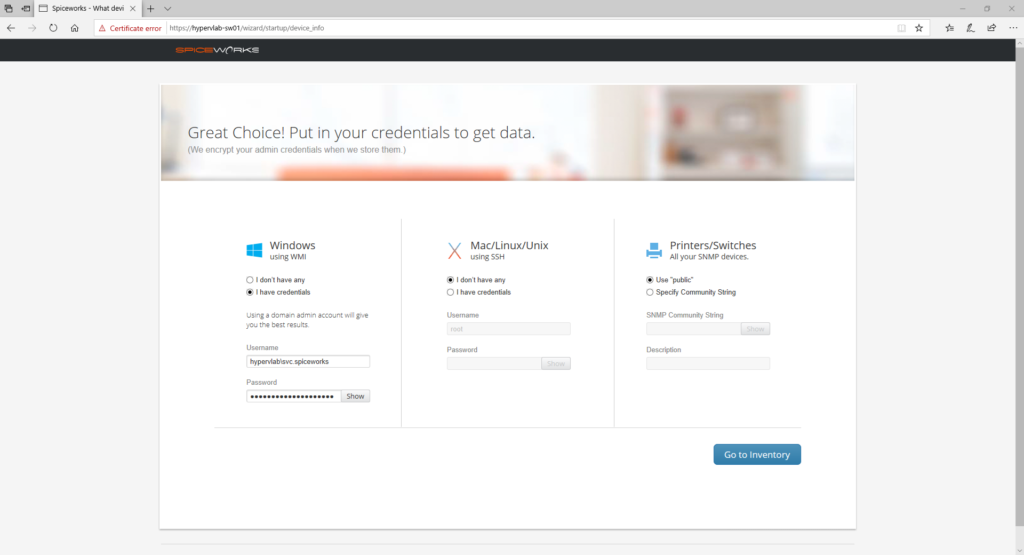
Configure your Windows WMI Service Account, Unix SSH Credentials and SNMP.
NOTE: You don’t need to configure all three to continue.
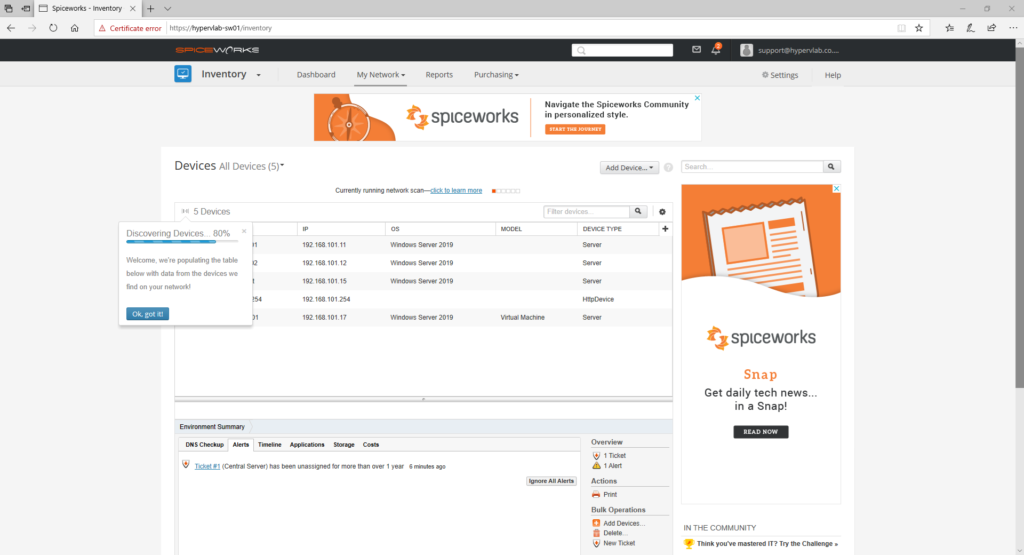
Initial Network Scan takes place, depending on the size of your network and the complexity this can take from a couple of minutes to a couple of hours.
Again this depends on how much you want to inventory on your first initial scan.
The Spiceworks Inventory will scan on the default subnet it is installed on.
For Example the HypervLAB Server VLAN is 192.168.101.0/24 so it will only scan for WMI Devices on that network initially.
In the next blog post, I will cover extended Spiceworks Network Scans, AD Syncing and more in-depth inventory tools and reporting.


