


In this blog post, I will cover creating an iSCSI Target under FreeNAS 11.1-U7. So the back story to this post is while completing some network maintenance on my lab environment I managed to lock my self out of the HP MediaSMART Server, I’m using as my NAS. The main problem with this is this specific device is a headless NAS Device, so I can’t just plug in a VGA Cable and reconfigure the adapter… So I decided to complete a fresh install of FreeNAS, and at the same time, I’d take advantage of this moment and document the process of creating an iSCSI Target which I’m using for Veeam Backup and Recovery.
So, I will assume for this post that you have already got FreeNAS installed, or you happen to know where to download FreeNAS. Those new to FreeNAS is an operating system that can be installed on virtually any hardware platform to share data over a network. FreeNAS is the simplest way to create a centralized and easily accessible place for your data. Use FreeNAS with ZFS to protect, store, backup, all of your data. FreeNAS is used everywhere, for the home, small business, and the enterprise. [Source]
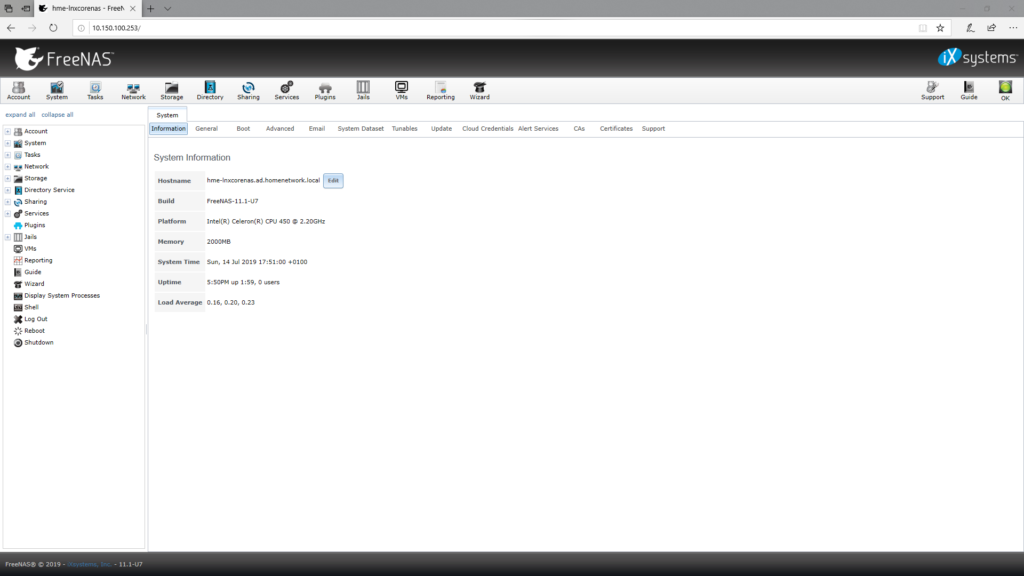
Once you have logged into your FreeNAS Install, We need to configure some local storage.
From the Main Navigation Menu, we need to select STORAGE then Volume Manager.
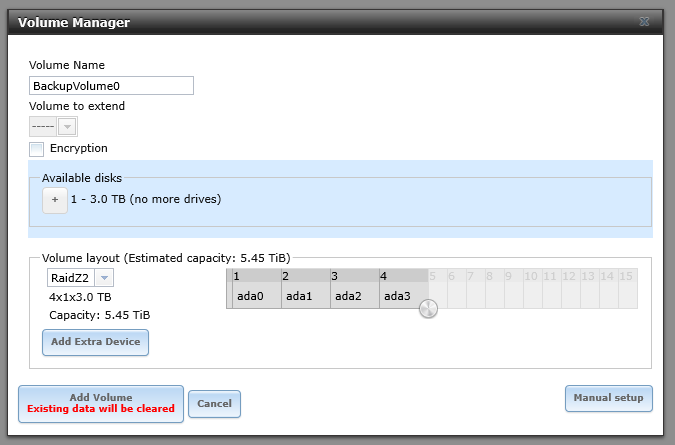
Click “Add Volume” NOTE: THIS WILL WIPE THE DISKS ON YOUR NAS / SERVER.

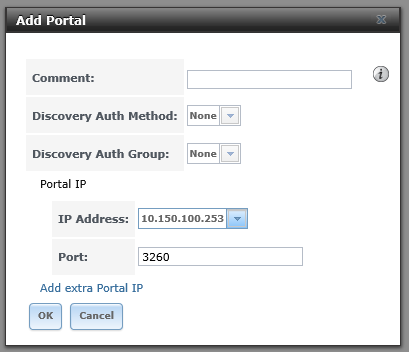
Now we have configured the local storage, we can configure the iSCSI Target, From the main navigation menu click on “Sharing” then “Block iSCSI“.

Next, we want to create a portal.
make sure that you select the IP Address of your FreeNAS Install.
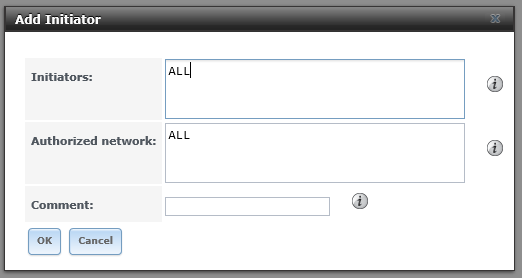
Then Click “Ok” and move onto the “Initiators” Tab, then click “Add Initiator“
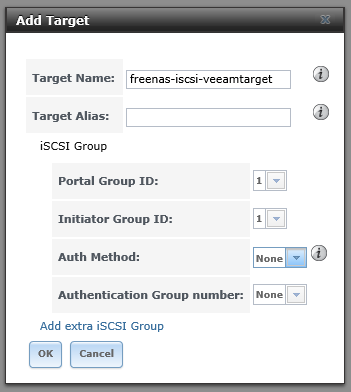
Next, we move to the “Targets”
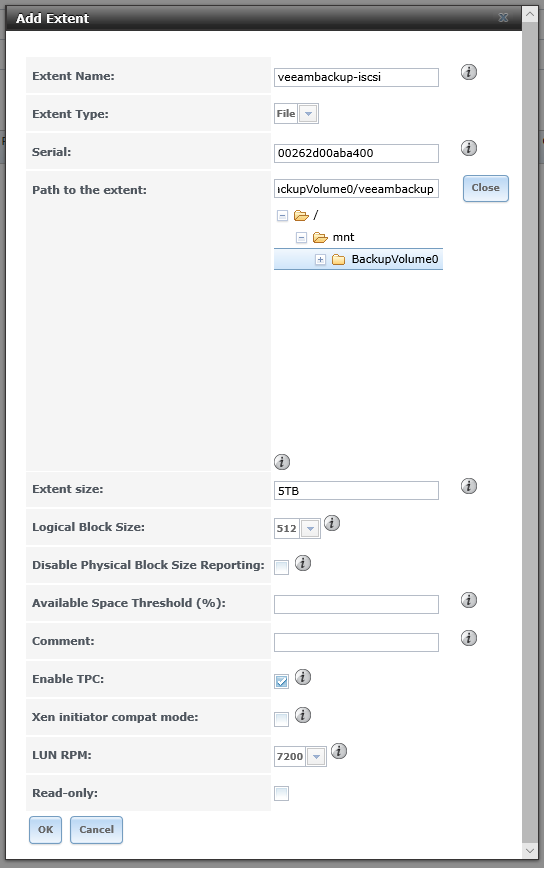
Now we can go back to the web interface and create the extent volume

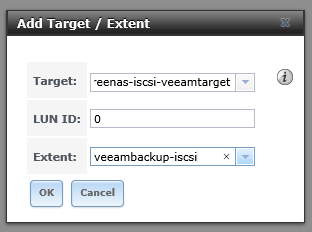
Finally, we can associate the iSCSI target and extent.
Finally, we need to ensure that the iSCSI Service is configured and started. To do this go to Services and check the “Start on Boot” and then click “Start Now”


