


In the previous blog post, I covered how to migrate the FSMO roles from the legacy domain controller to the new Windows Server 2019 replacement. Now we can plan to decommission the old server, just in time before the 14th January 2020!
So before we start lets dobule check some pre-requisites:
[ COMPLETE ] – Deploy a new Windows Server 2019 Virtual Machine
[ COMPLETE ] – Install Active Directory Role and promote the second domain controller
[ COMPLETE ] – Migrate FSMO Roles from Legacy Server to New Server
[ PENDING ] – Decommission the Legacy 2008R2 Domain Controller
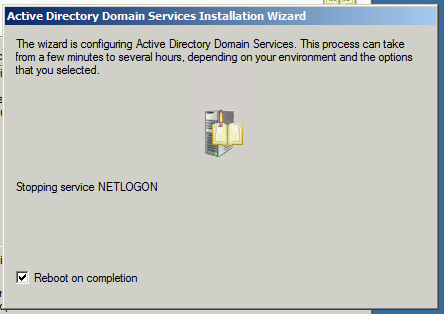
Step One: Launching ‘dcpromo.exe’
From the Legacy 2008R2 Enterprise Server launch an Administrative Command Prompt Session and then run the following command:
dcpromo.exe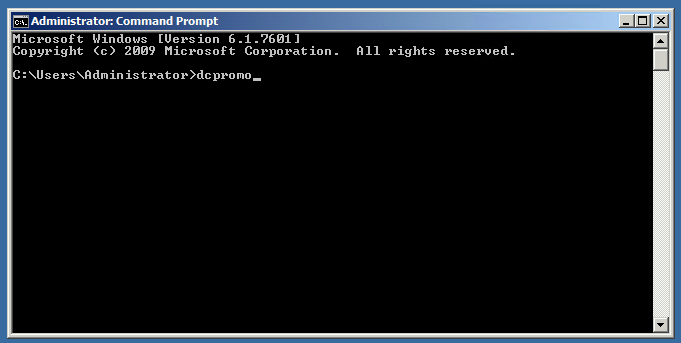
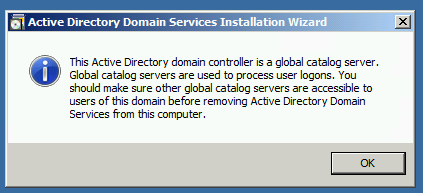
Click ‘Ok’
Click ‘Ok’
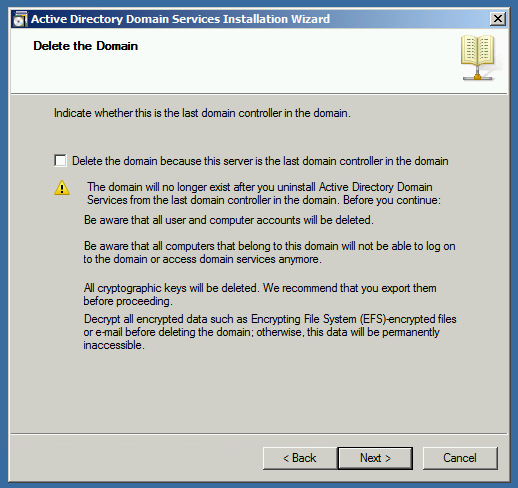
Only tick the Delete the domain if this is the last domain controller and you are DESTROYING the active directory domain – this will remove all configuration.
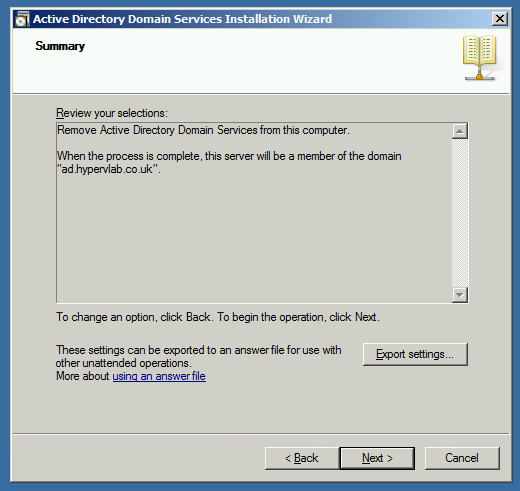
As we are removing only the server role we can just click ‘Next’.
Enter the Domain Services Restore Mode Password and then click ‘Next’.
Check you are happy with the summary and click ‘Next’.
NOTE: AT THIS POINT THE DCPOMO WILL COMMENCE AND YOU CANNT REVERT!
Active Directory is decommissioned from the domain, turn the once Domain Controller into a Member Server. However we are not finished at this stage, we still need to remove the role from the server then perform the meta-data cleanup on the domain to remove any trace of the old server.
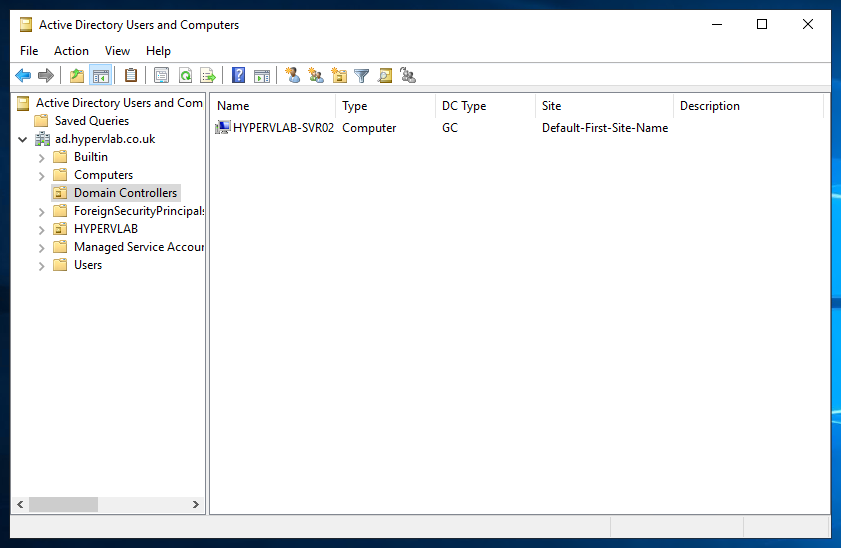
As we can see from the new server the legacy HYPERVLAB-SVR01 Server has been removed from the Domain Controller Organisational Unit.
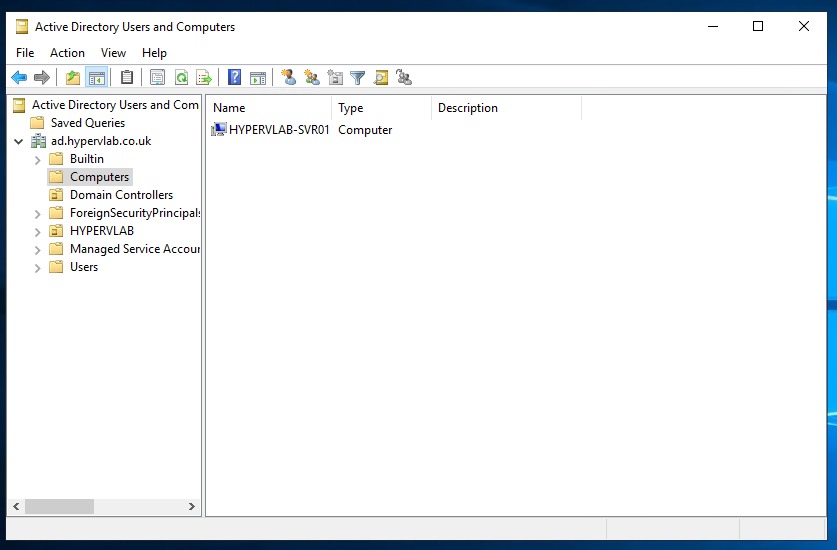
The Server has been moved back to the default ‘COMPUTERS’ Organisational Unit.
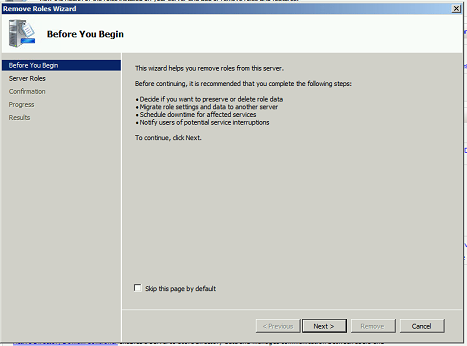
Removing the Active Directory Role
From the HYPERVLAB-SVR01 Open the Server Manager console and navigate to ‘Roles’
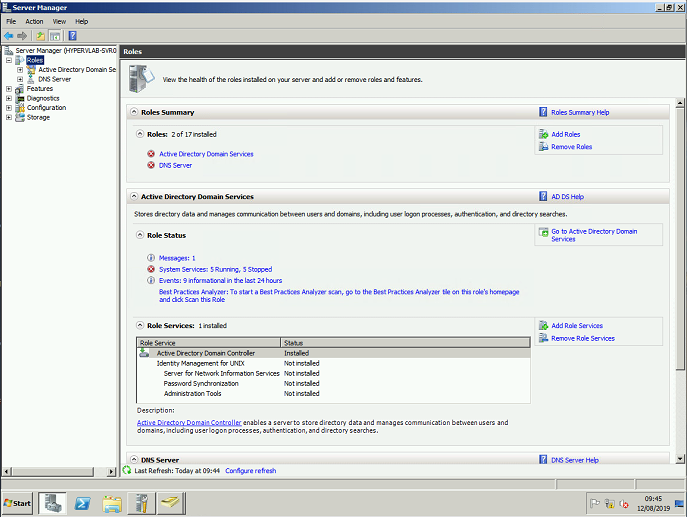
On the right-hand side under Role Summary Help select ‘Remove Roles’
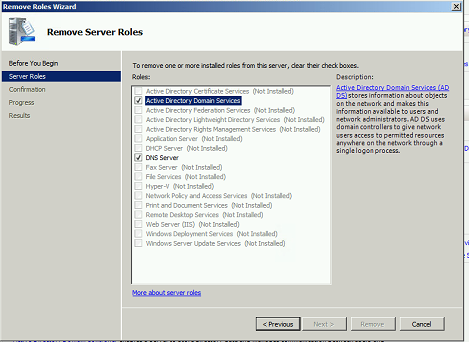
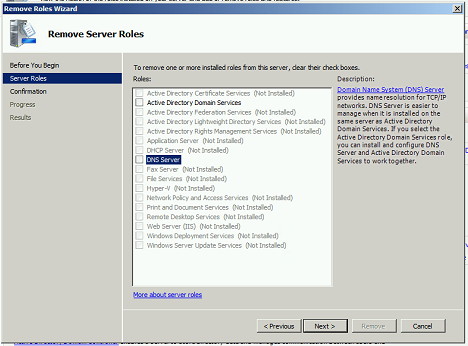
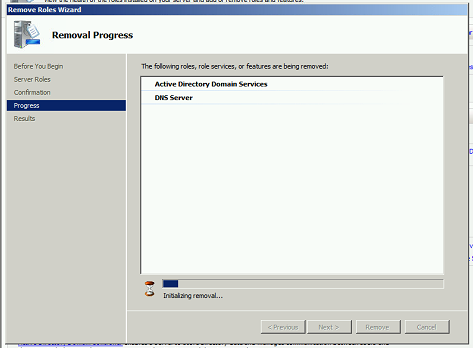
Untick the ‘Active Directory Domain Services’ and ‘DNS Server’.
Then click ‘Next’.
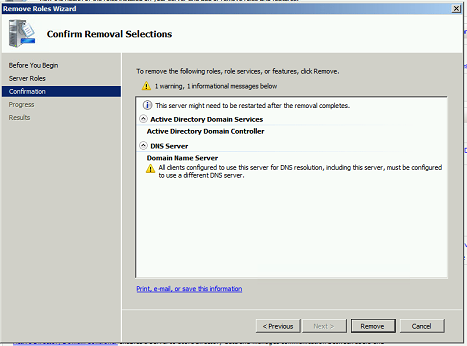
Click ‘Remove’.
Uninstallation of Server roles takes place.
Role Removal Completed.


