


In the previous blog post, we covered the creation of our 2008R2 Domain controller.
Now in this post, I will cover the principles of moving the Active Directory FSMO Roles from our Windows 2008R2 Enterprise server to our new shiny Windows Server 2019 Standard Server. – For more information visit the docs.microsoft.com site.
Pre-Requisites
1x Current Domain Controller (Windows Server 2008R2 Enterprise)
1x Staging Secondary Domain Controller
Step One: Query FSMO Roles on Current 2008R2 Enterprise Server
From the Legacy 2008R2 Server, Open an Administrative Command Prompt Session
netdom query fsmo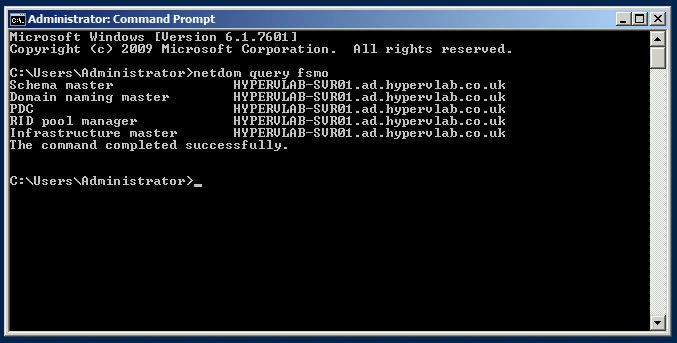
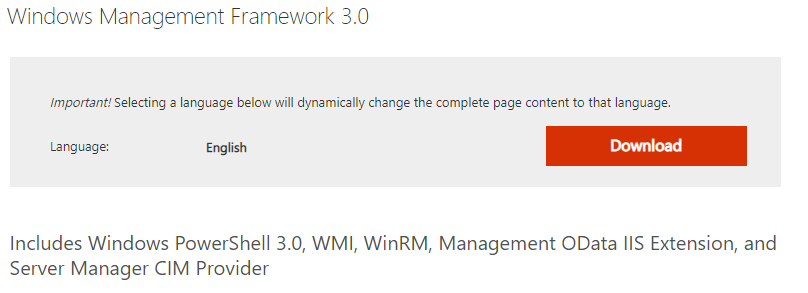
Next, we need to go to the Microsoft Download site and download the PowerShell 3.0 Update to be able to take advantage of the PowerShell Command we need later on.
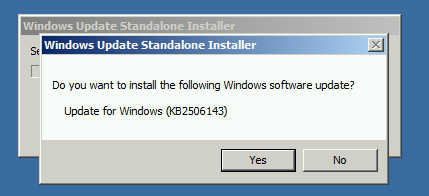
Click ‘Yes’.
Click ‘I Accept’.
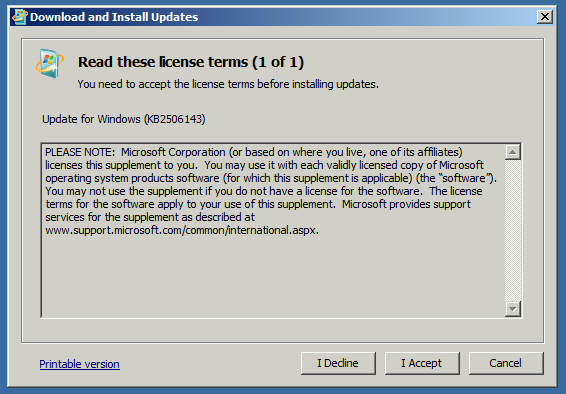
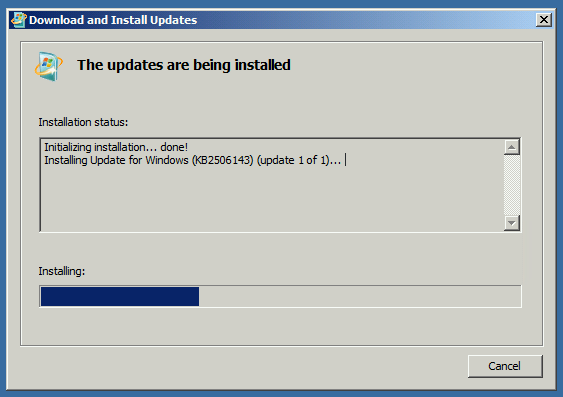
Windows Update Installation takes place.
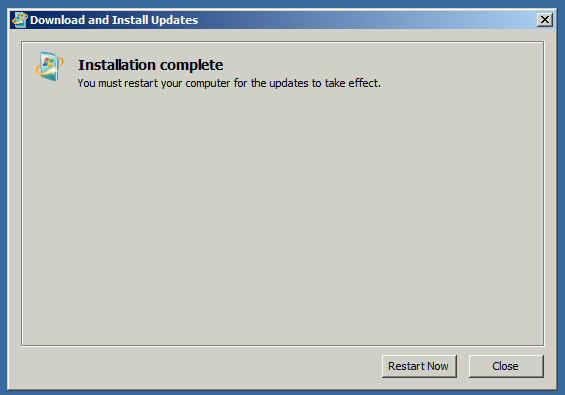
Install Completed, Reboot the server.
to check the version of PowerShell we can use the following command:
$PSVersionTable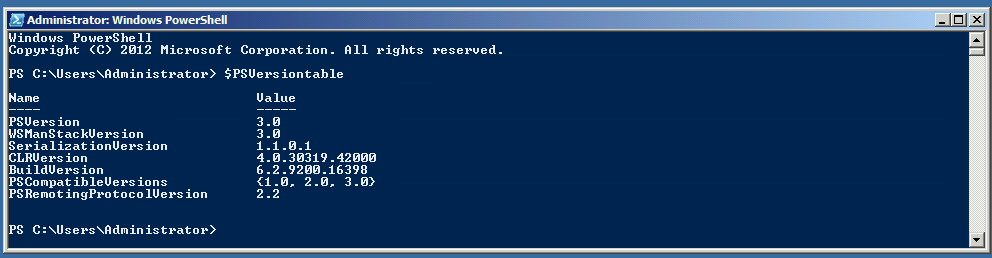
Next, we will need to import the Active Directory Powershell Module into the PowerShell Session.
Import-Module -Name 'ActiceDirectory'To Check where the current FSMO roles reside in the forest we can use the following command:
Get-ADForest -Server 'ad.hypervlab.co.uk' | fl DomainNamingMaster, SchemaMaster
To check the current FSMO roles reside in the domain we can use this command:
Get-ADDomain -Server 'ad.hypervlab.co.uk' | fl InfrastructureMaster, PDCEmulator, RIDMaster
to move the FSMO Roles to the new Windows Server 2019 VM the command we will use is: Move-ADDirectoryServerOpertaionMasterRole.
The PowerShell Command ranks the FSMO roles in the following order:
PDCEmulator or 0
RIDMaster or 1
InfrastructureMaster or 2
SchemaMaster or 3
DomainNamingMaster or 4
If you wanted to move only a single FSMO role you would use this command:
Move-ADDirectoryServerOperationMasterRole 'HYPERVLAB-SVR02' -OperationMasterRole 'PDCEmulator'
If you wanted to move all the FSMO Roles at one to the new server use this command:
Move-ADDirectoryServerOperationMasterRole 'HYPERVLAB-SVR02' -OperationMasterRole 'PDCEmulator', 'RIDMaster', 'InfrastructureMaster', 'SchemaMaster', 'DomainNamingMaster'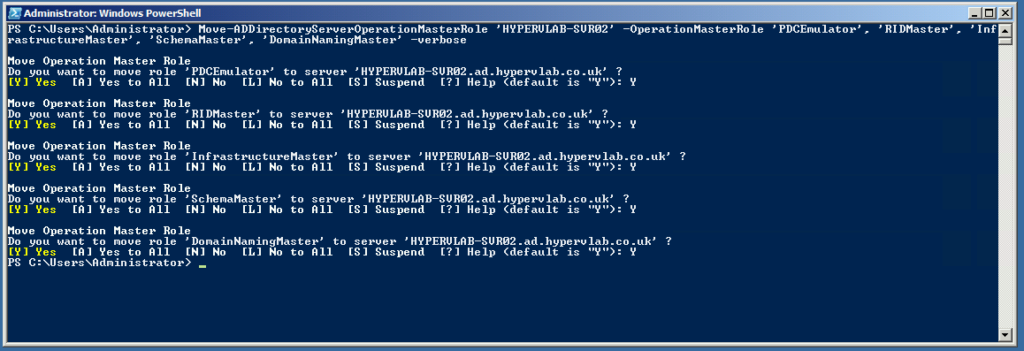
Checking the FSMO Roles have moved, From the 2008R2 Legacy Domain Controller we can run the netdom query command:
netdom query fsmoFrom the graphic below you can see that all FSMO roles have now been moved to HYPERVLAB-SVR02 which is the new domain controller for the ad.hypervlab.co.uk domain.

So this wraps up this post, in the next, I will cover the decommissioning of the 2008R2 Enterprise Domain Controller and performing a domain cleanup.


