


In this blog post, I’ll cover the installation and Configuration of the SPMT (SharePoint Migration Toolkit). First, you will want to go to the following web address
https://spmtreleasescus.blob.core.windows.net/install/default.htm

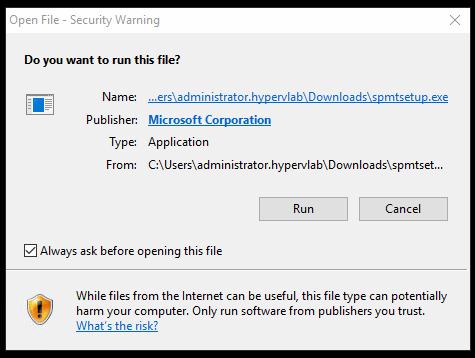
Launch the spmtsetup.exe setup file.
Setup Files download to:
C:\Users\%UserName%\AppData\Local\Apps\SharePointMigrationTool\SPMT

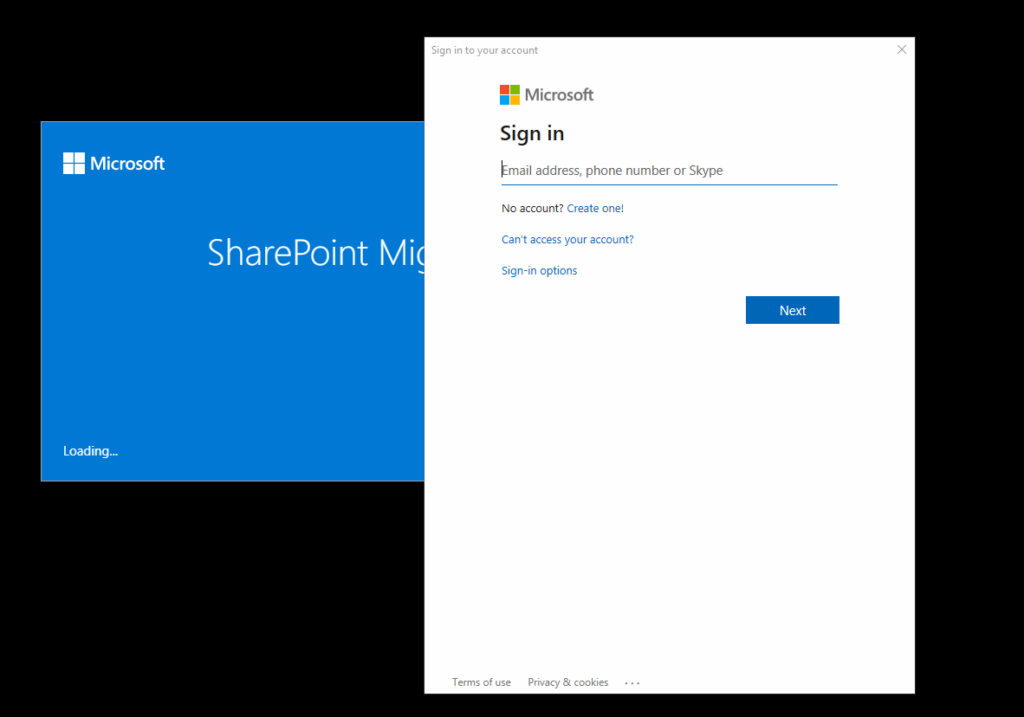
Once the download has completed you will need to sign using your Office365 Global Administrator Account.
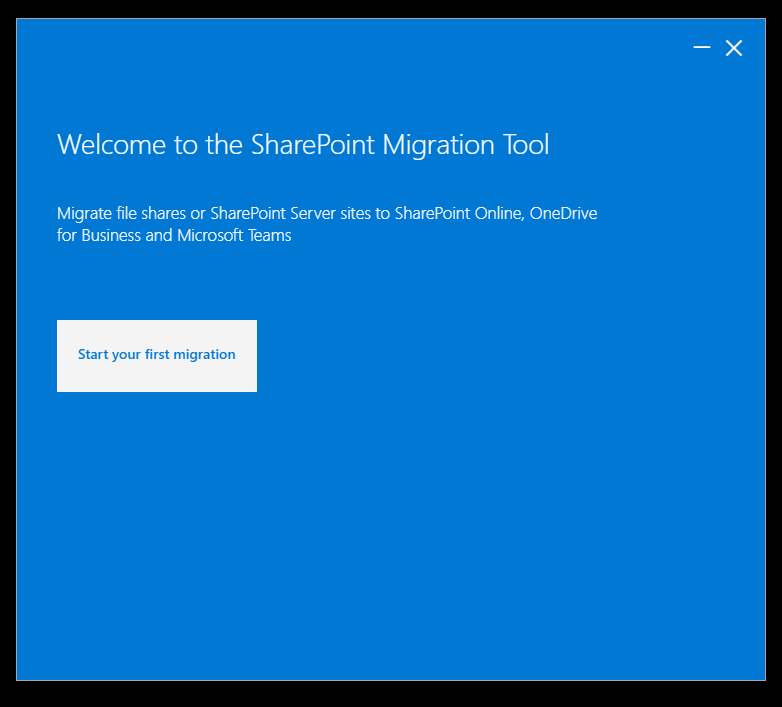
Let’s start the SharePoint Data Migration!
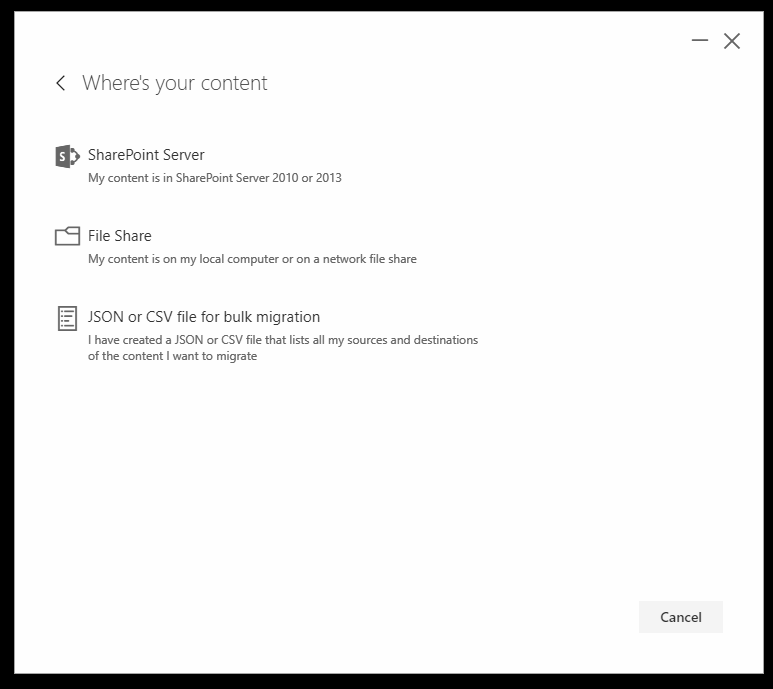
Select the Source Data – For this post we will be moving data from a File Share to SharePoint Online.
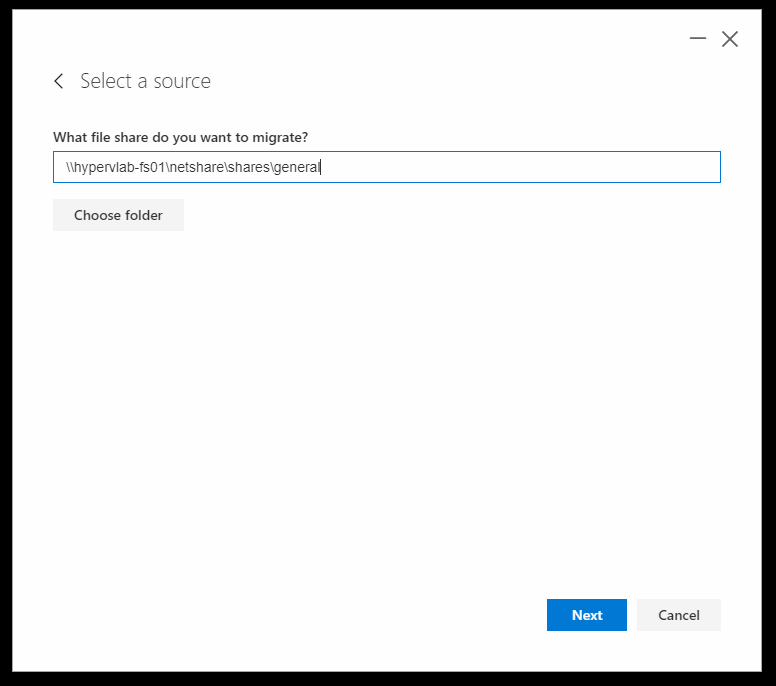
Enter the folder path that you want to move to SharePoint Team Site.
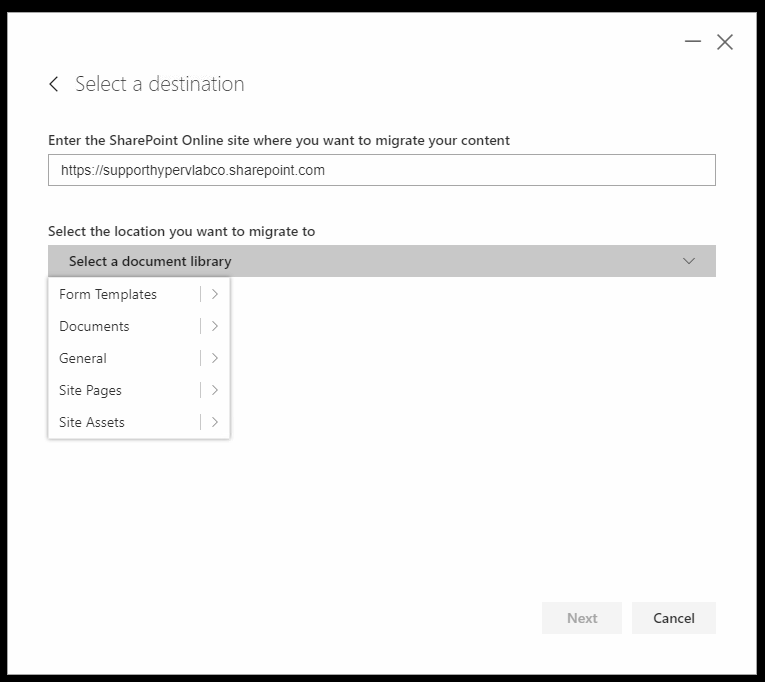
Enter the SharePoint site you wish to upload the data too.
NOTE: You will need to have already created the document library prior to migrating the data – Creating Document Library (support.office.com).
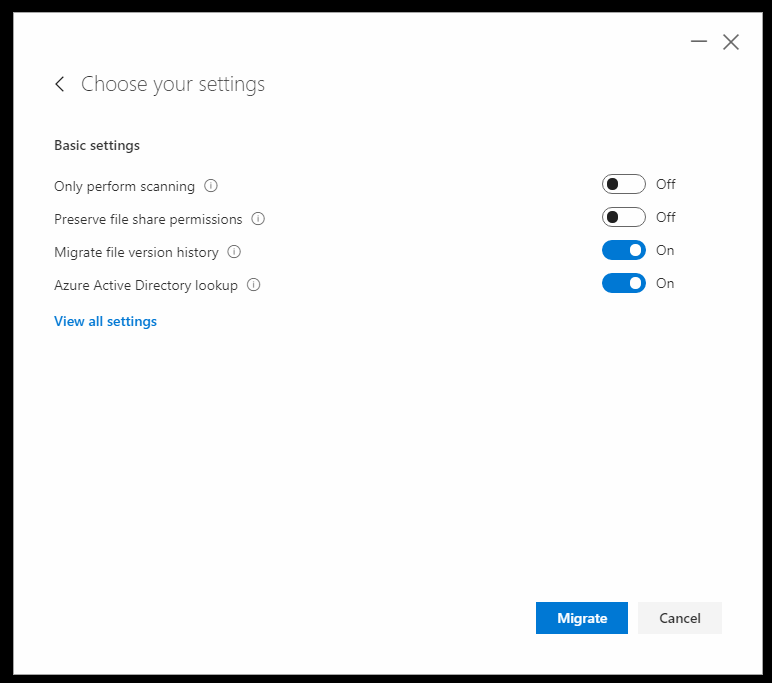
Double Check the Pre-Migration Settings and Data, You an at this stage also add more data migrations using the Add another source.
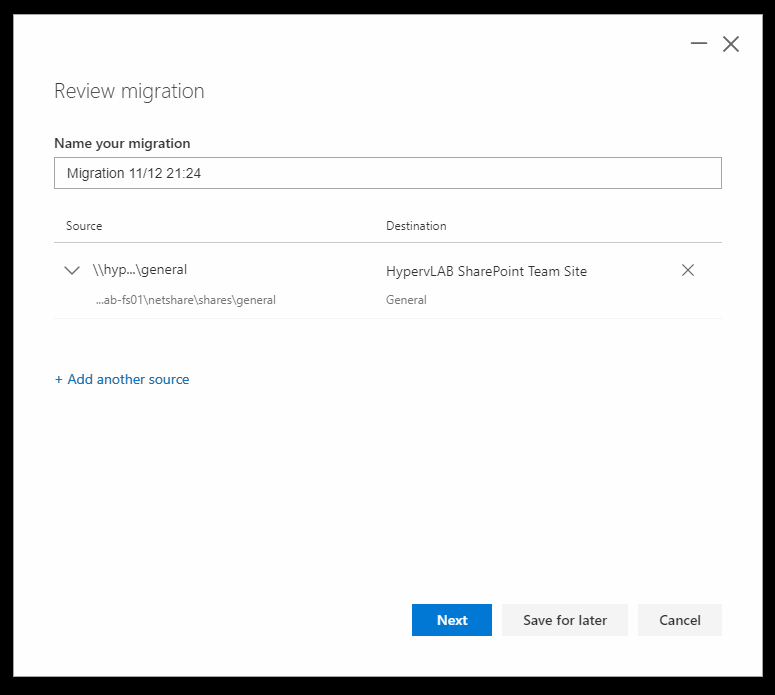
If you are unsure about the data being migrated you can run “Only perform scanning”
This will scan the data you wish to move and let you know if there were to be able problems prior to the move.
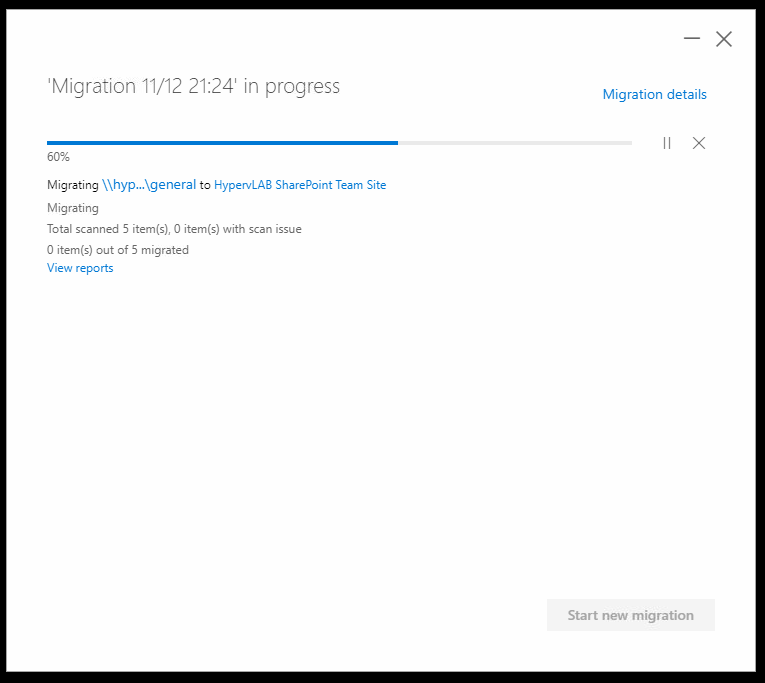
Let’s Migrate!!
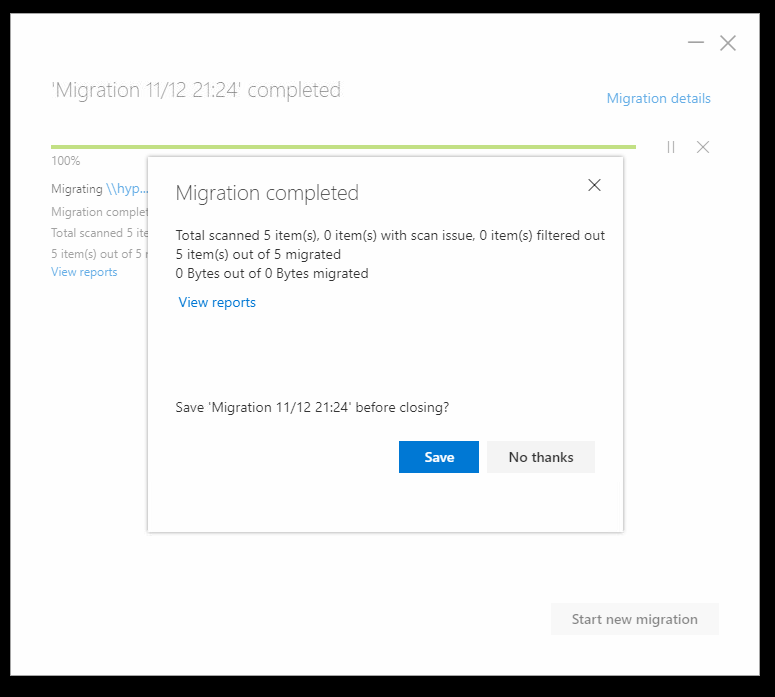
Migration Completed.
NOTE: Depending on the amount of data and number of files this could day hours or days depending on the quantity of data and your ISP Upload Limit!
Now we can check the “General Documents” Library under the HypervLAB Team SharePoint Site. Show below in the graphic there are the 5 Text files from the On-Prem HYPERVLAB-FS01 General Share.
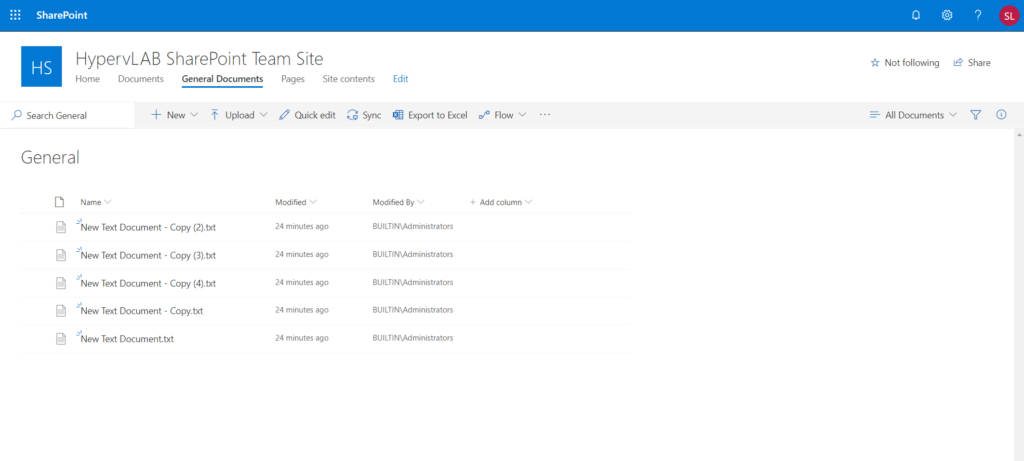
We can show Sync the General Document Library to the computer to be able to work on these files locally. From the Document Library click on “Sync”.

Next, you will get an on-screen prompt. Click “Open”.

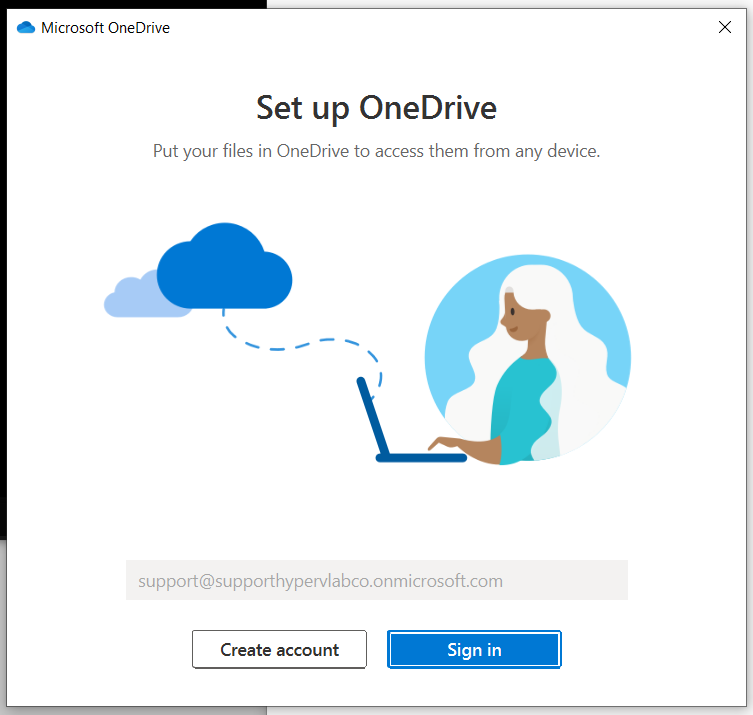
This will launch the Onedrive for Business Login screen.
Now enter the password for your Office365 Account.
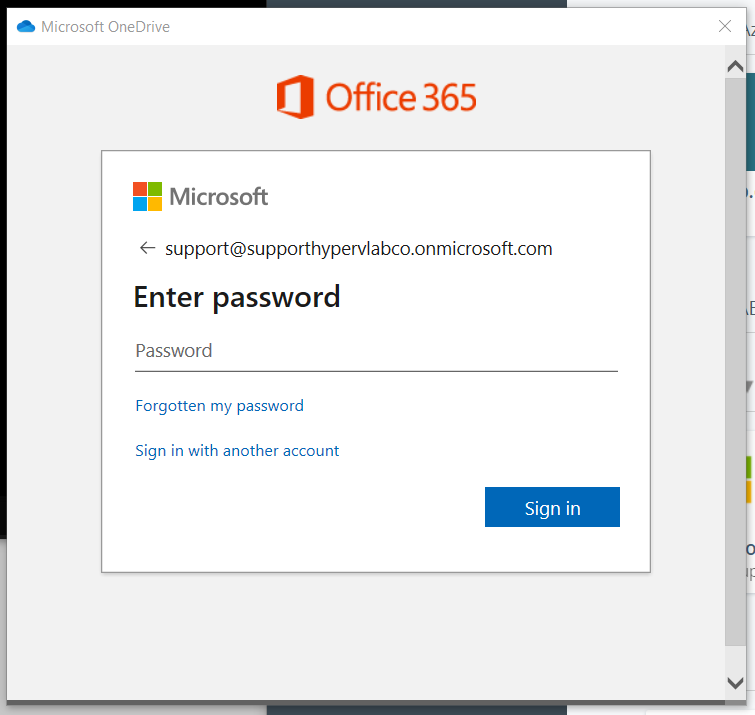
Click ‘Next’.
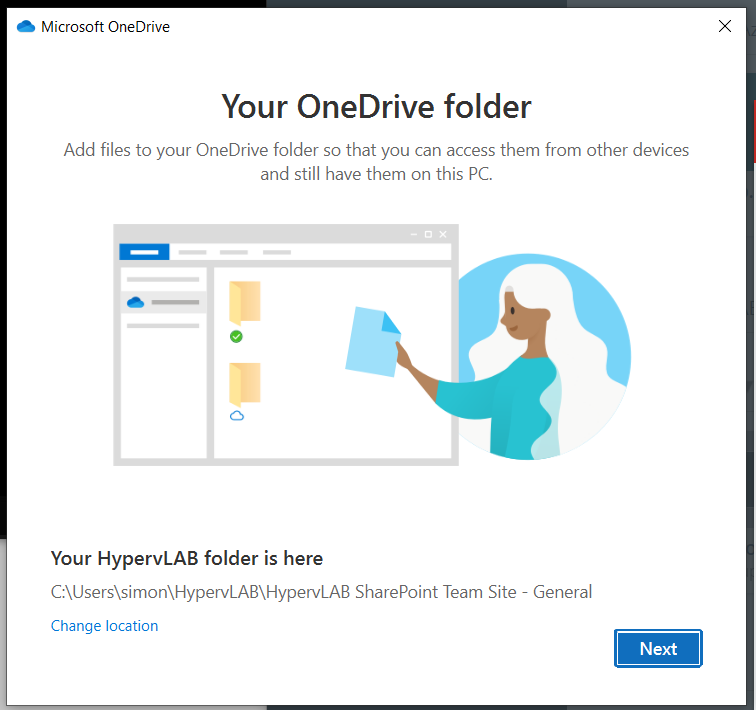
Click ‘Next’.
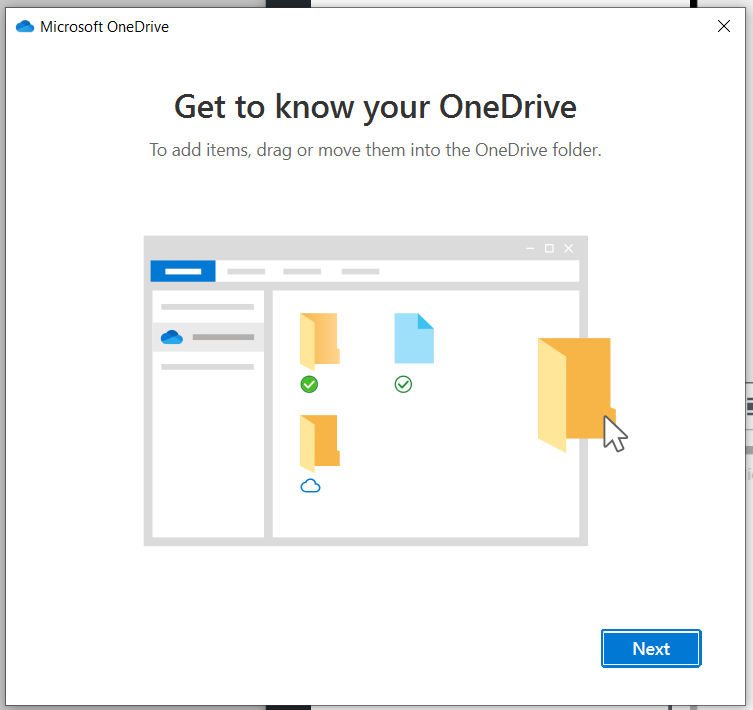
Click ‘Next’.
Click ‘Next’.
Click ‘Later’.
Click ‘Open my OneDrive Folder’.

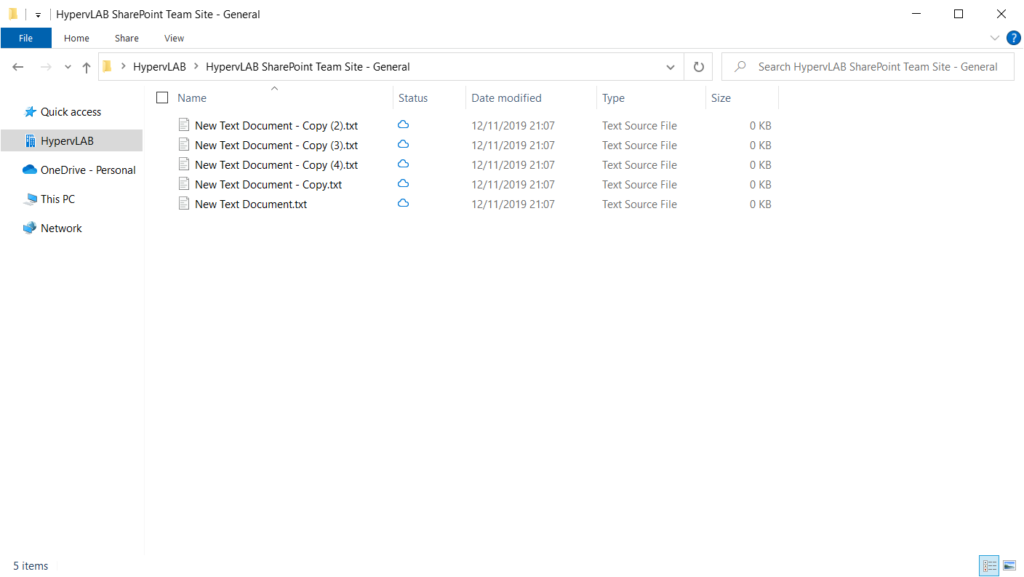
Double Click on the ‘General Documents Library’.
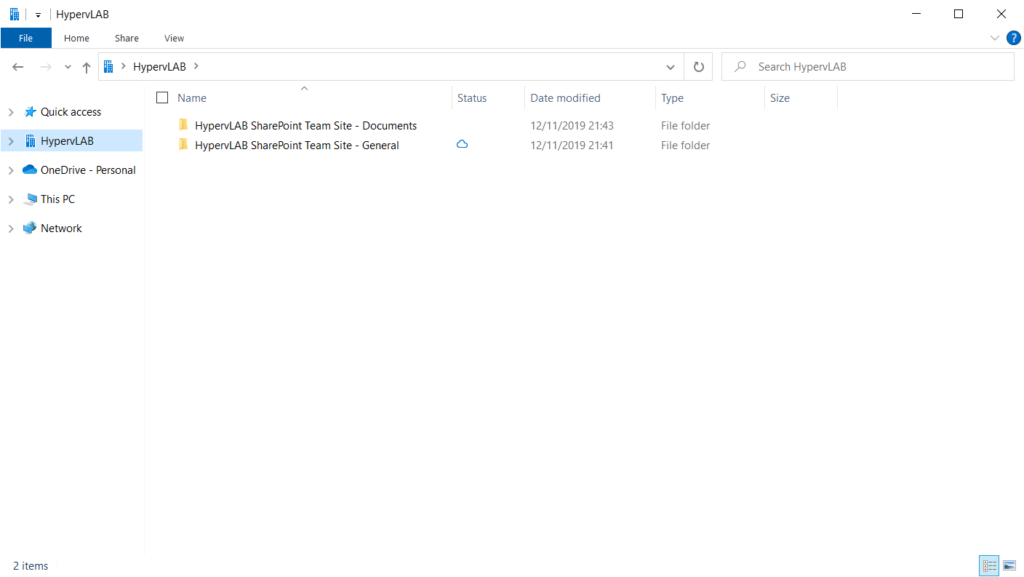
Here are the files accessible in Windows 10.


