


In this blog post i will cover how to create VLAN Interfaces in PFSense.
In the previous article i covered the installation process for the development snapshot you can review that article here or the link at the bottom of this post.
Once you have logged in the PFSense web interface

We want to navigate to “Interfaces” -> “Assignments“

then select VLANs.

next you need to click on “+ Add” and then configure the VLAN Interface.


Lets repeat the VLAN Create to create two more VLAN Interfaces so we have VLAN10, VLAN20, VLAN30

now we have created the VLAN Interfaces we need to create actual interface. On the Available network ports select “+ Add”
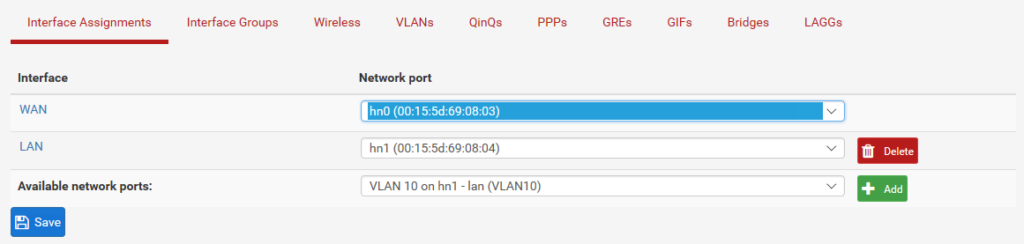
By Default when new virtual interfaces are named as OPT1. Click on “OPT1″ and you can then configure the interface.

You need to ensure that the interface is Enabled, Description and IPv4 Configuration.
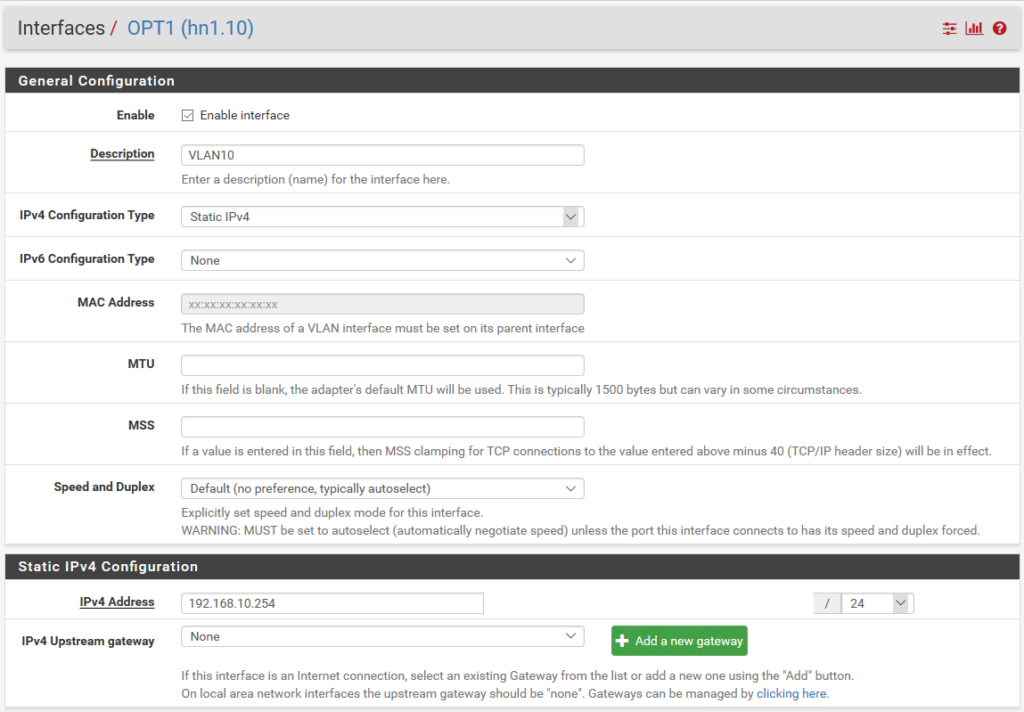
At the bottom of the page there is a all important “Save” button.

Don’t for get to apply the changes for the VLAN10 Creation.

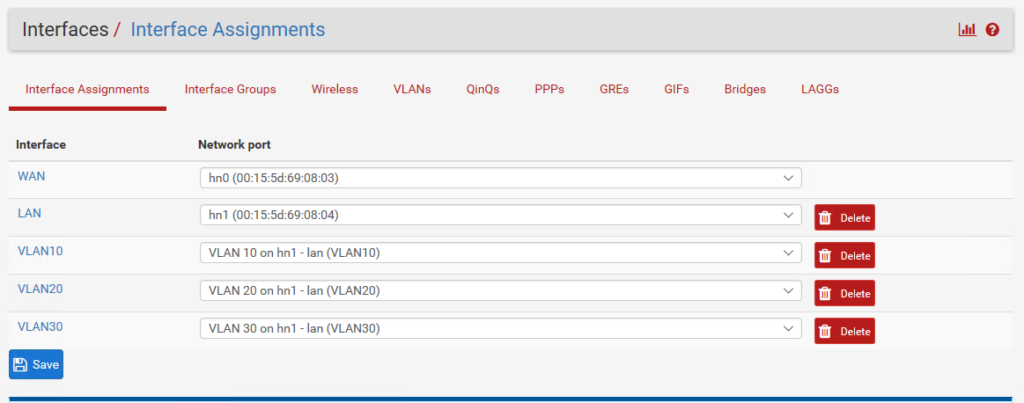
Lets repeat the VLAN Create to create two more Interfaces Assignments so we have VLAN10, VLAN20, VLAN30. Using IP Address
VLAN10 : 192.168.10.254
VLAN20 : 192.168.20.254
VLAN30 : 192.168.30.254
P PFSense Mini Series:
[x] Installing PFSense 2.5 BETA on Hyper-V Gen2 Virtual Machine
[x] Configuring PFSense VLAN Interfaces
[x] Configuring PFSense DHCP Scope and Virtual Switches
[x] Configuring PFSense VLAN and External Windows DHCP


