


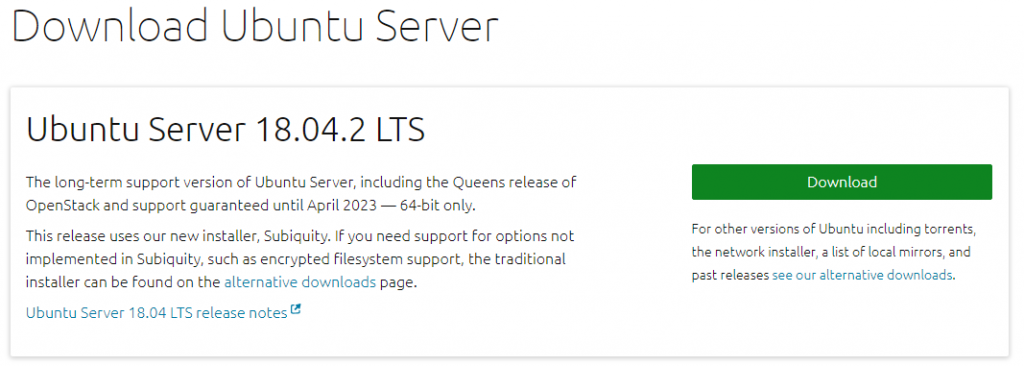
For this blog post i will be covering the installation of Ubuntu Server 18.04.02 LTS
First we need to go to the Ubuntu Website and download the ISO Link
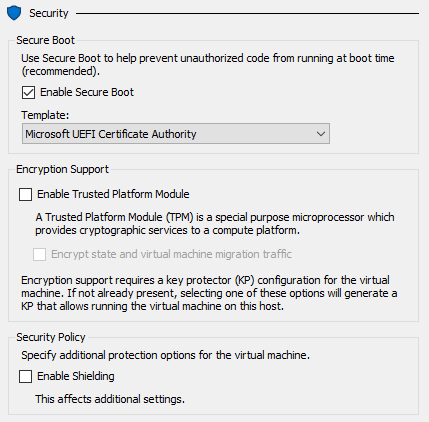
Once we have downloaded the ISO, we need to mount it to the Virtual Machine. – For this post I’ve skipped the Virtual Machine creation as this will be covered in another post. I will however point out that if you are wanting to use Secure Boot you need to change the Policy Template to: “Microsoft UEFI Certificate Authority”
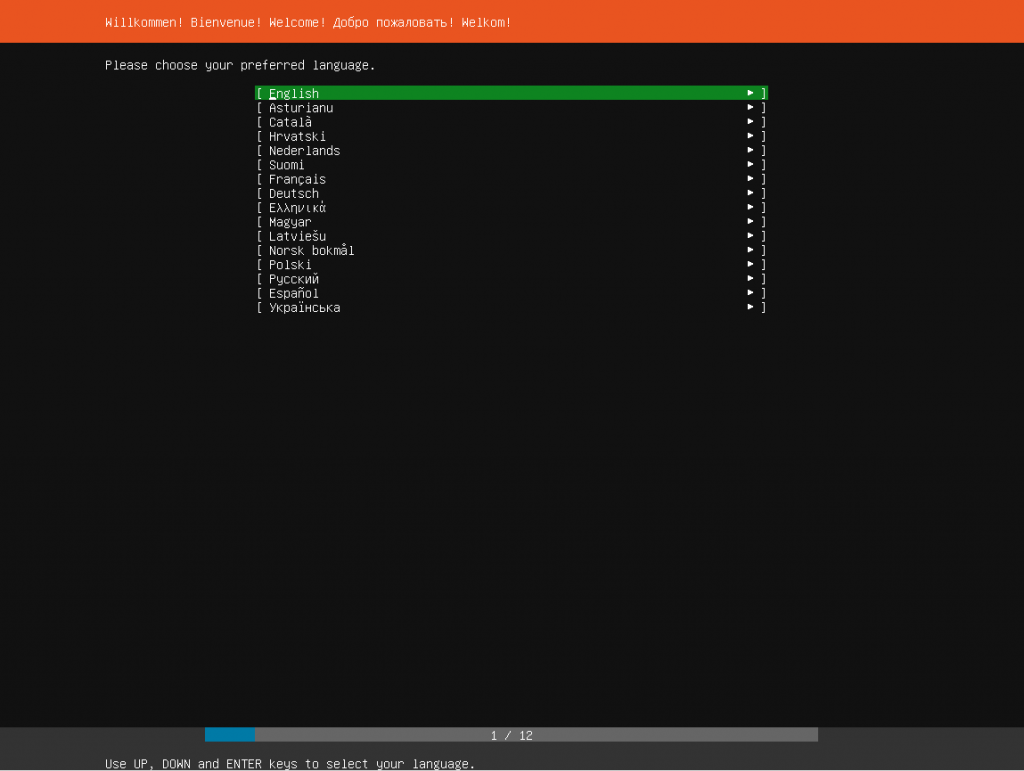
Step One: Select your preferred install language: English
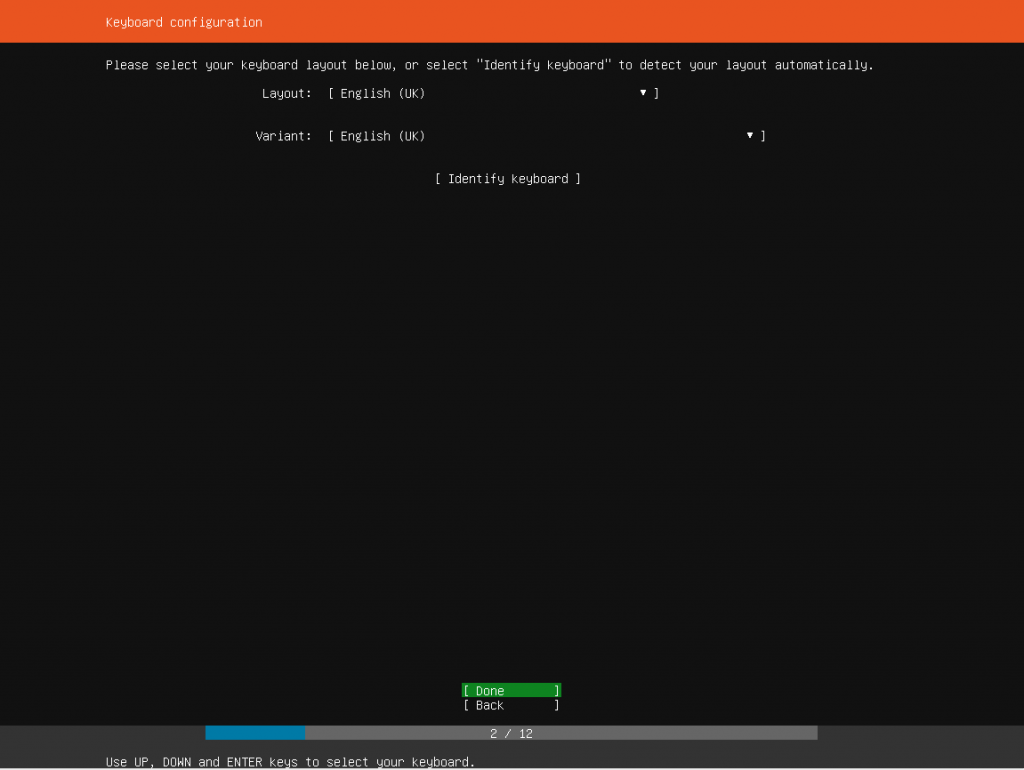
Step Two: Select Keyboard
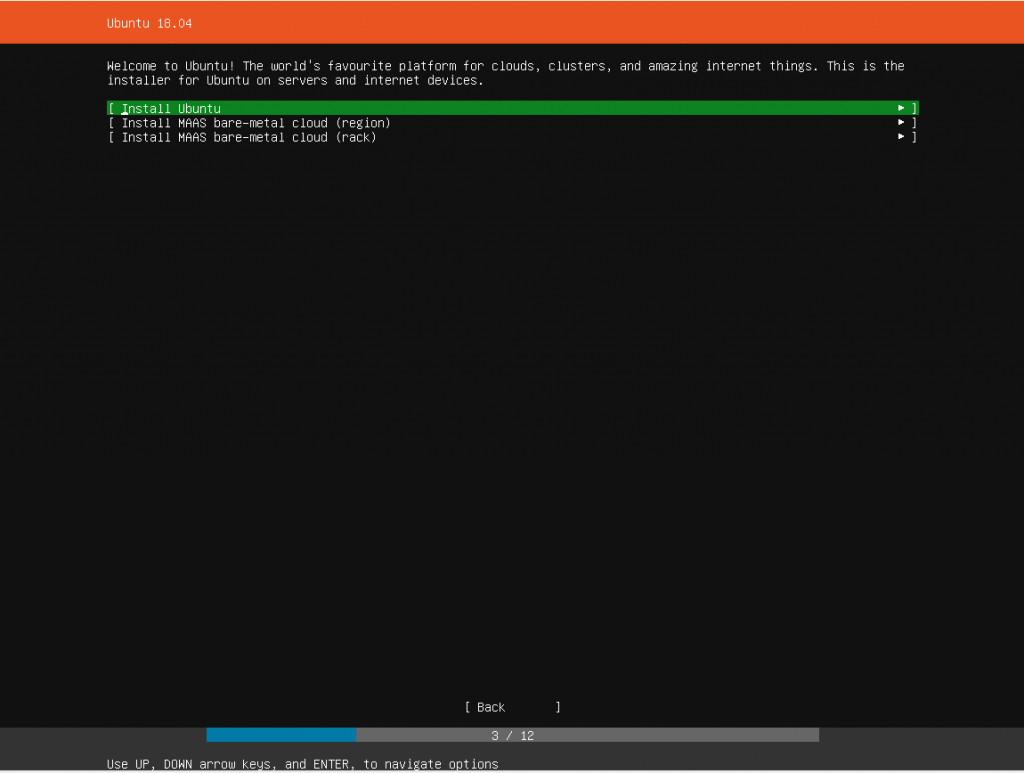
Step Three: Select the installation type
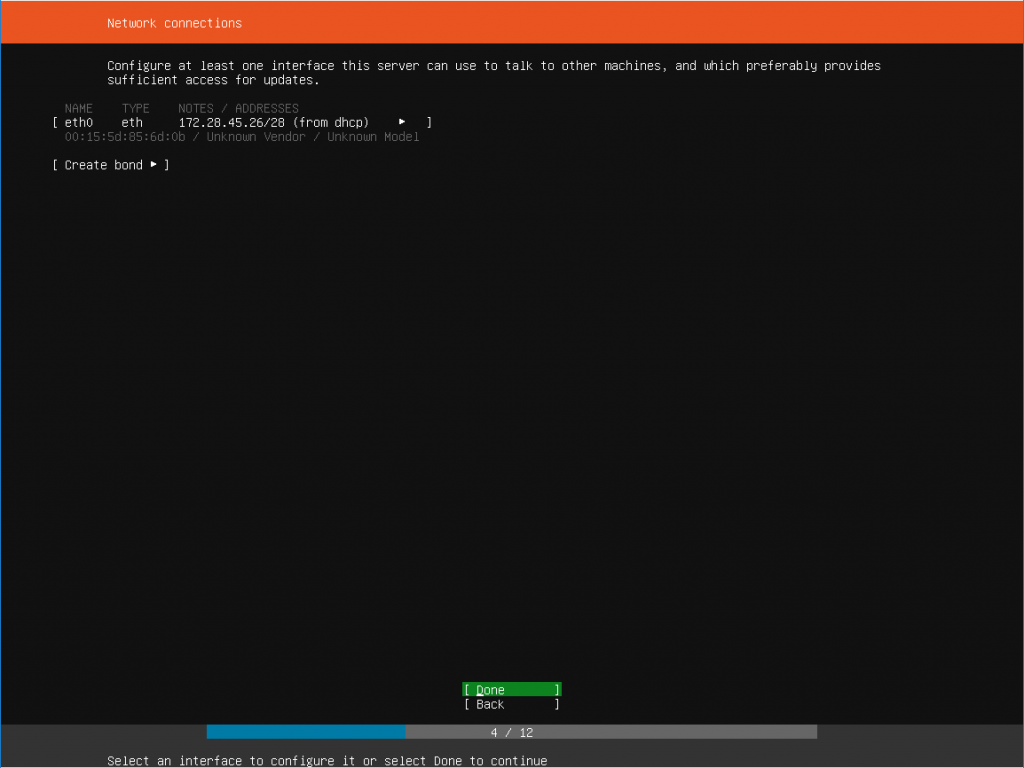
Step Four: Configure Network Adaptor
NOTE: For this example i will be using DHCP. I don’t advise this for a production install.
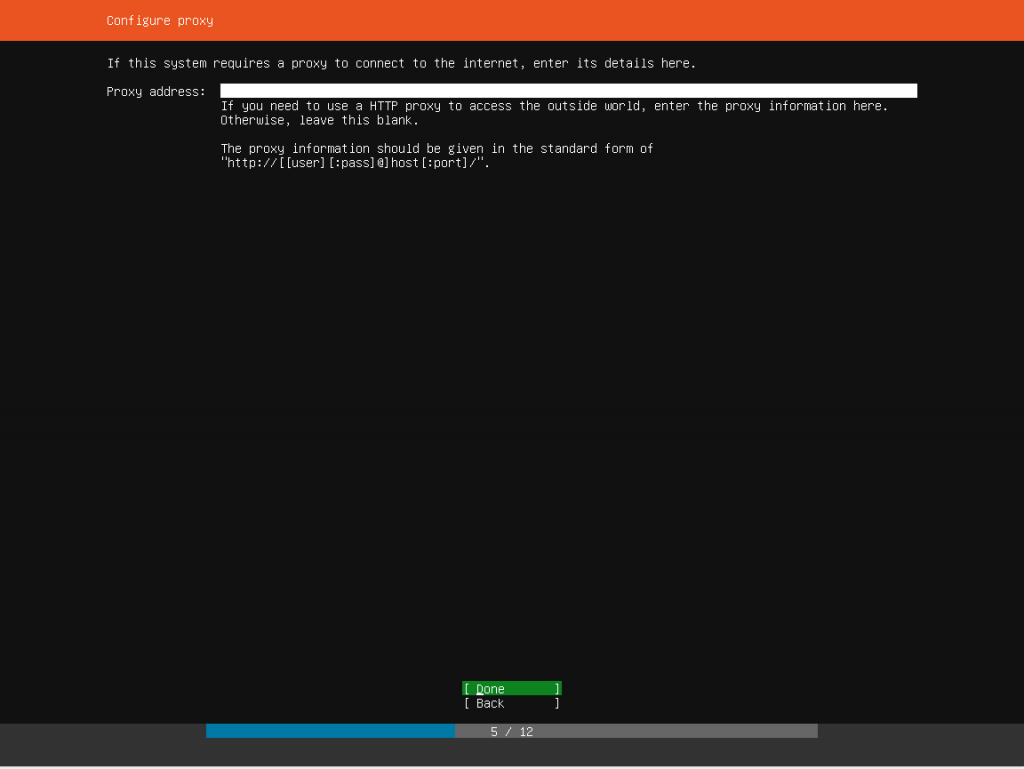
Step Five: If you’re deploying behind a proxy configure the details here
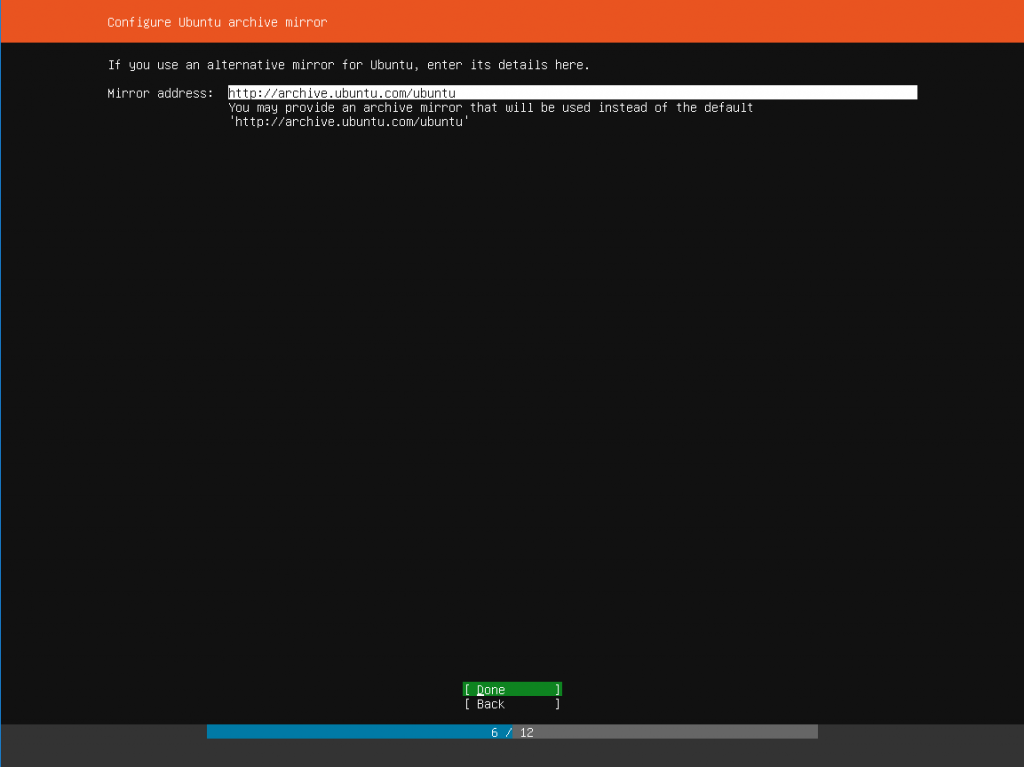
Step Six: Configure Mirror Address
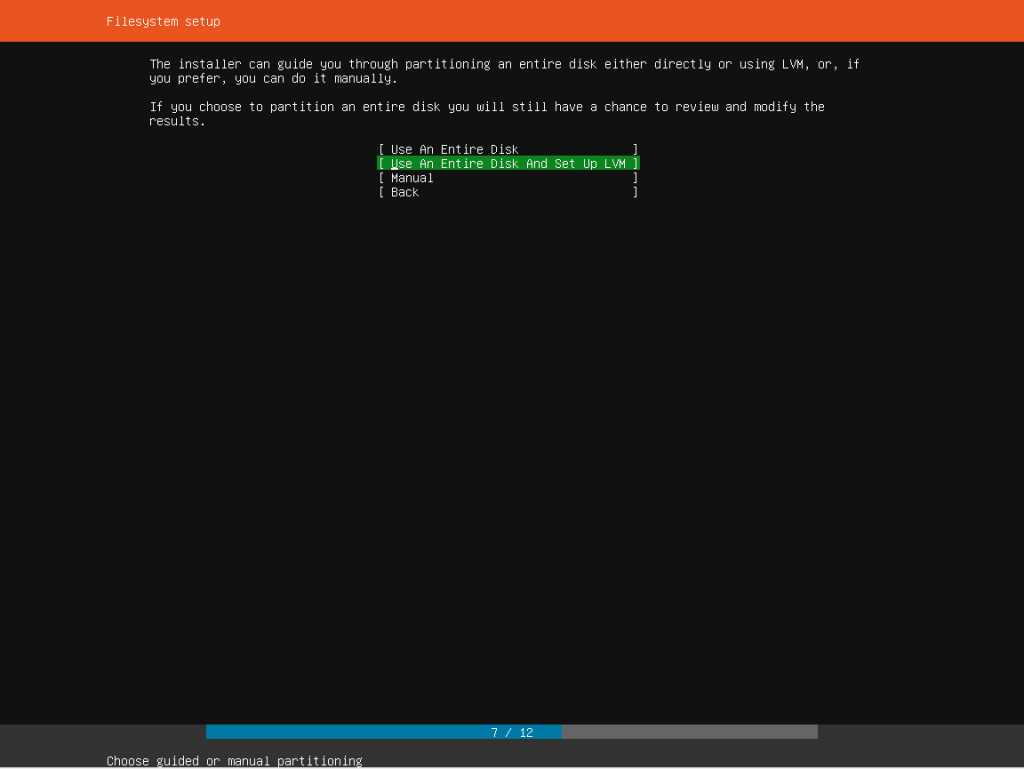
Step Seven: Configure Partition Table and Layout
NOTE: For this example i will be using the LVM Table
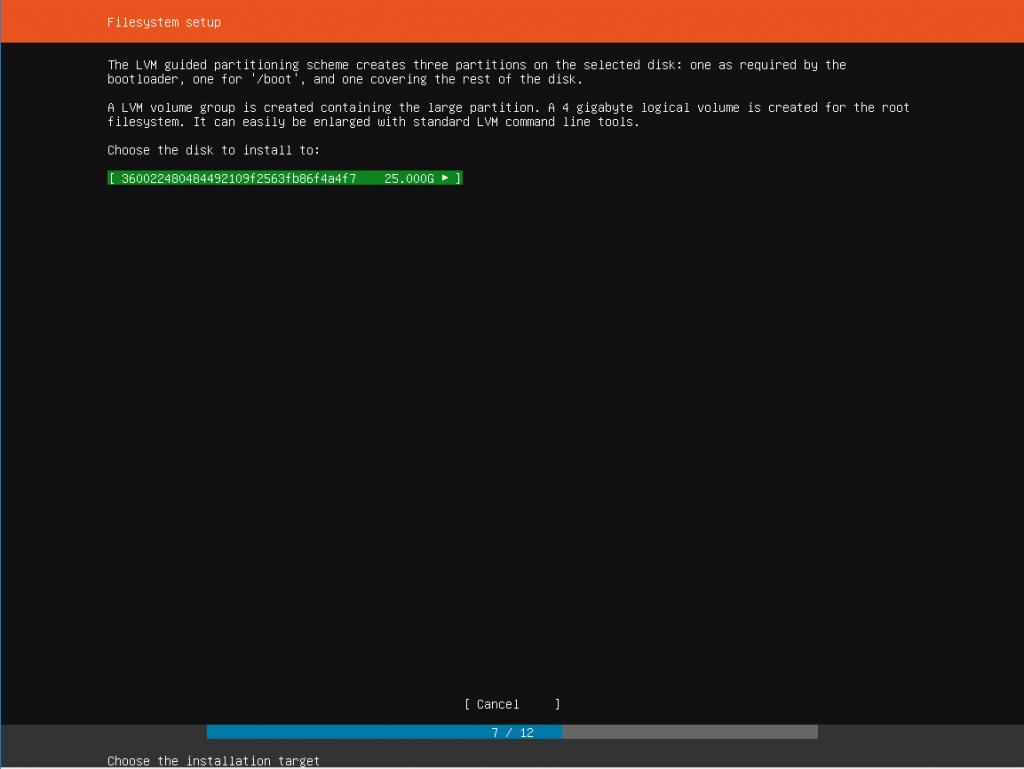
Step Eight: Choose Target disk for OS Installation
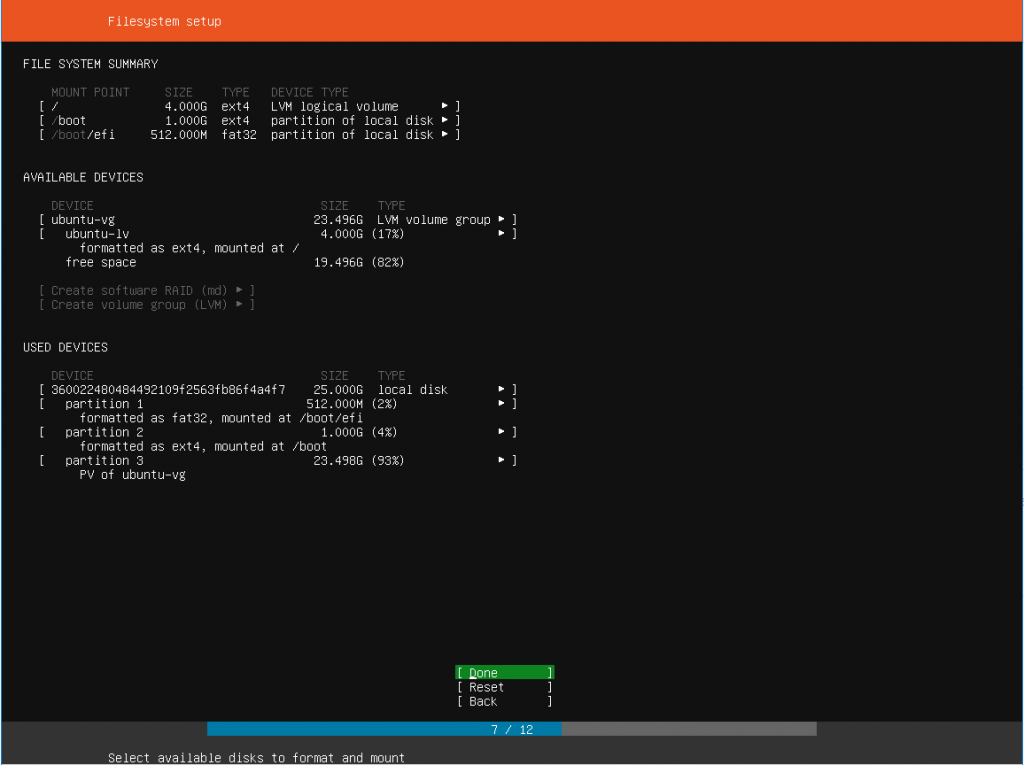
Step Nine: Confirm Partition Table and Layout
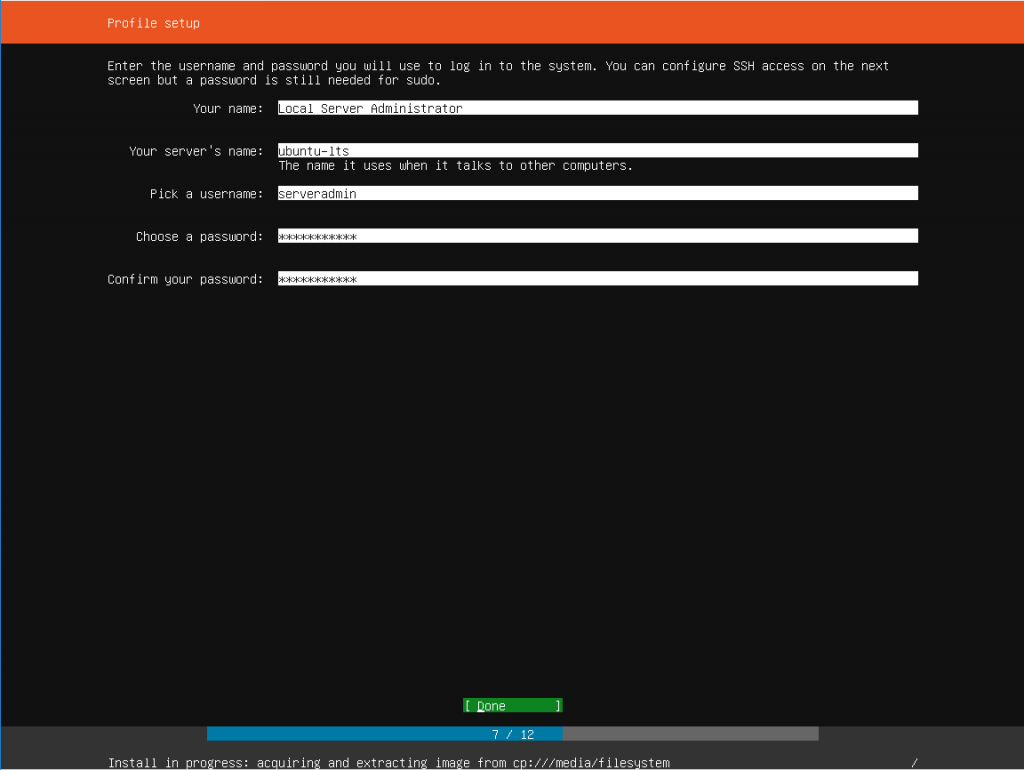
Step Ten: Configure Local Administrator Account
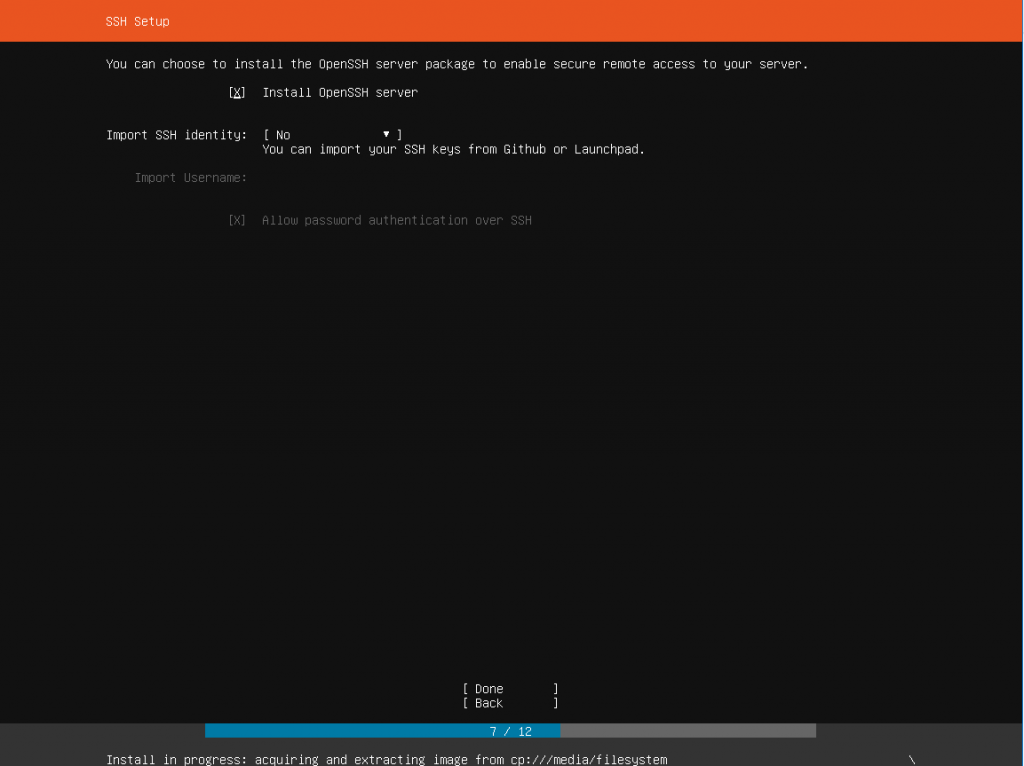
Step Eleven: OPTIONAL Install OpenSSH Server
NOTE: I Would recommend you install openssh-server
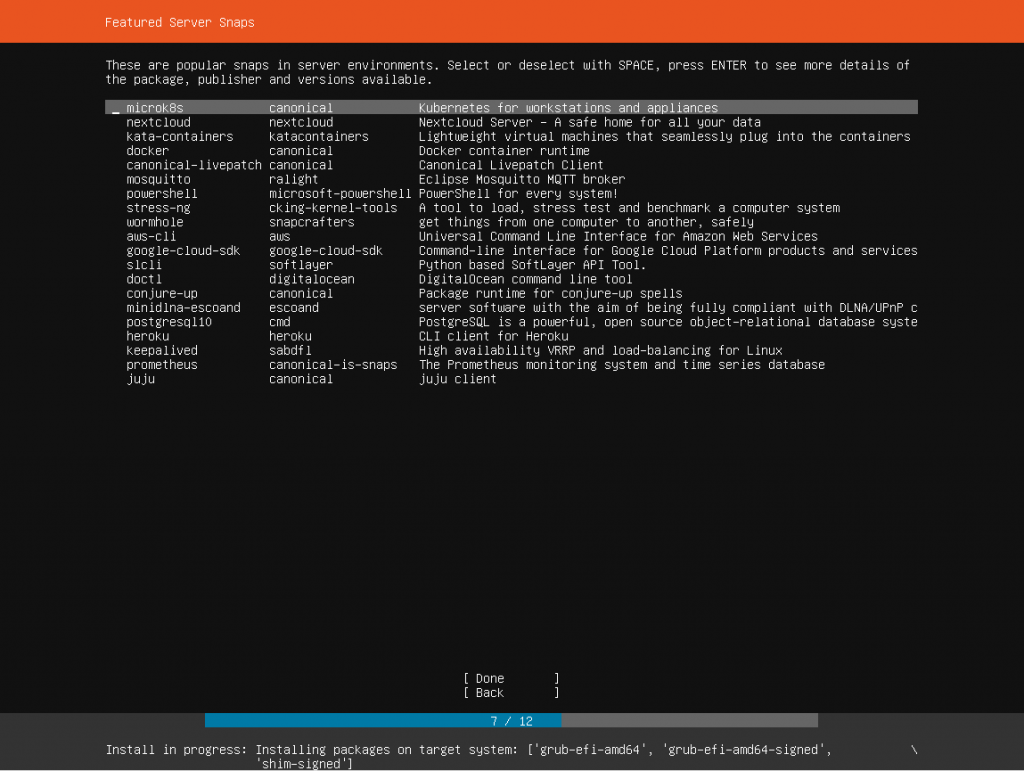
Step Twelve: OPTIONAL Configure Featured Server Snaps
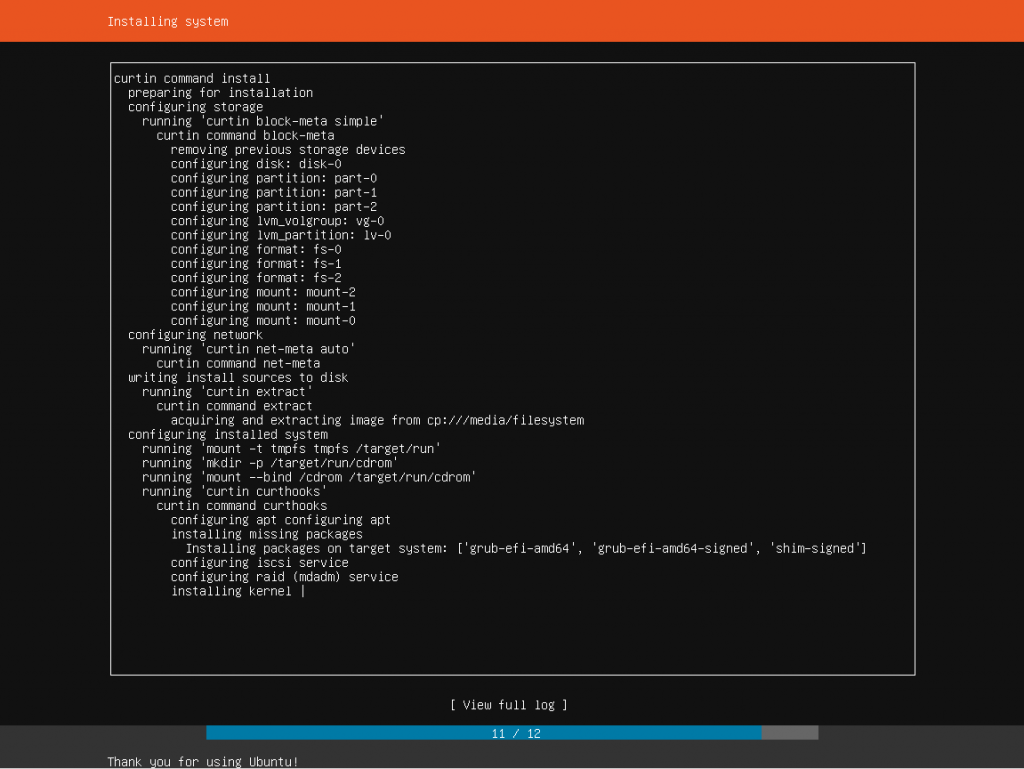
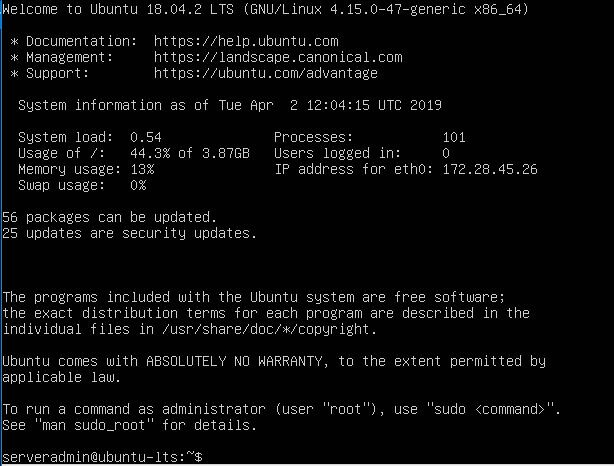
Now we wait for the OS Installation to complete
Welcome to your shiny new Ubuntu Virtual Machine


