


In this blog post i will cover how to configure a Server Core installation.
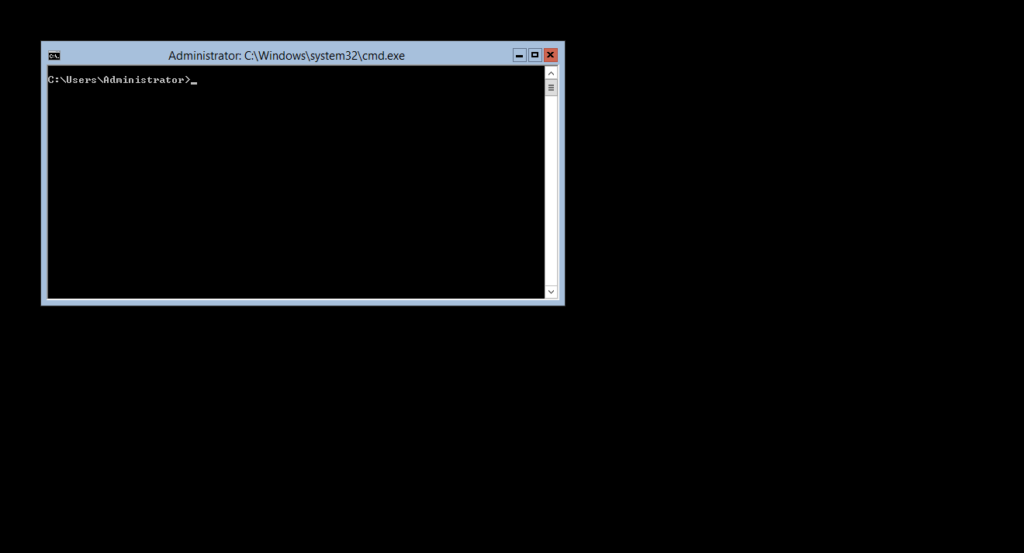
First thing you will want to do when you log into your server core instance is type the following into the cmd session.
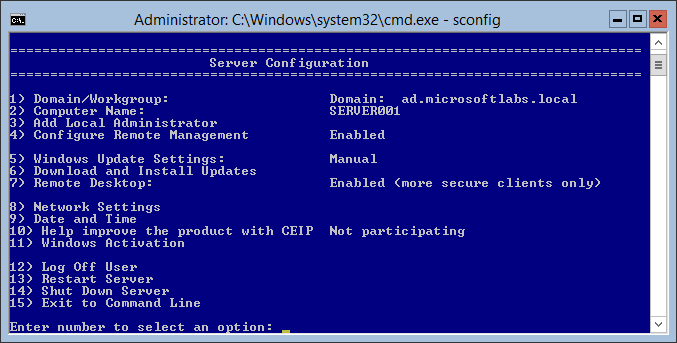
sconfig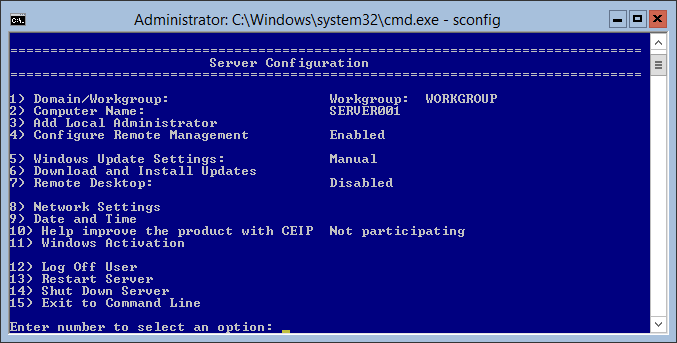
From here you can configure your server core instance. A few command tasks which i’ll cover in this post will be adding a server to the domain, enabling remote desktop and configuring a static IP address.
Joining an Active Directory Domain
To Join an existing domain from the server configuration menu you want to press Option 1
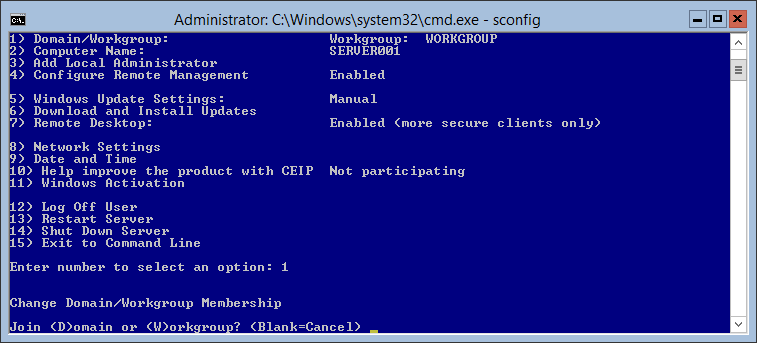
then select D and then enter the domain FQDN and domain administration credentials.
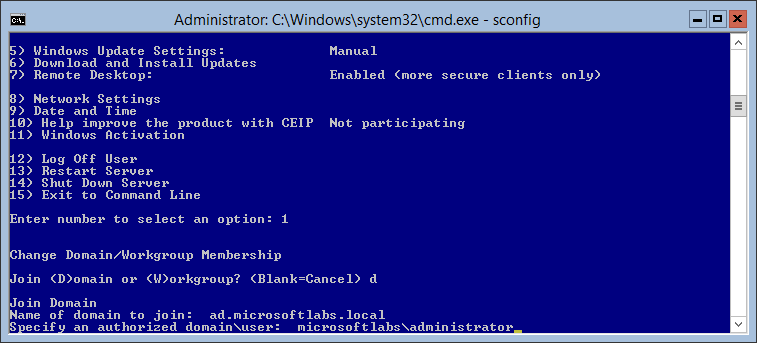
Before the domain join process is completed you will be prompted to rename the server instance.
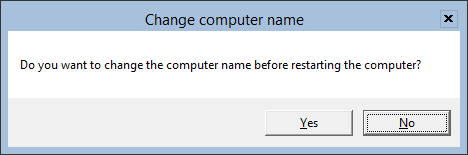
finally a reboot prompt.

your server core instance will now reboot and be joined to the domain.
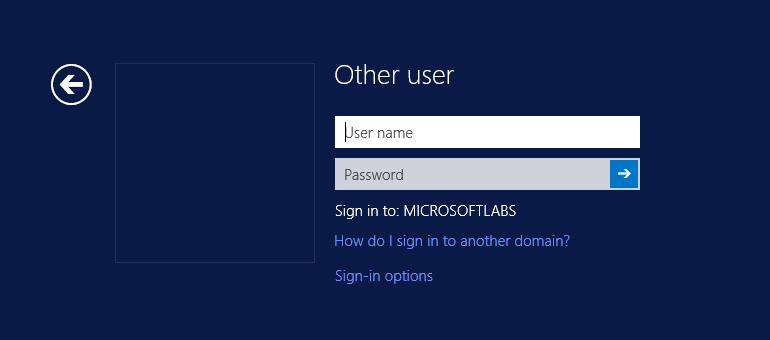
As you can see from the graphic below this server is now joined to the ad.micorsoftlabs.local active directory domain.
Configure a Static IP Address
To configure a static IP address from the server configuration menu you want to select Option 8.
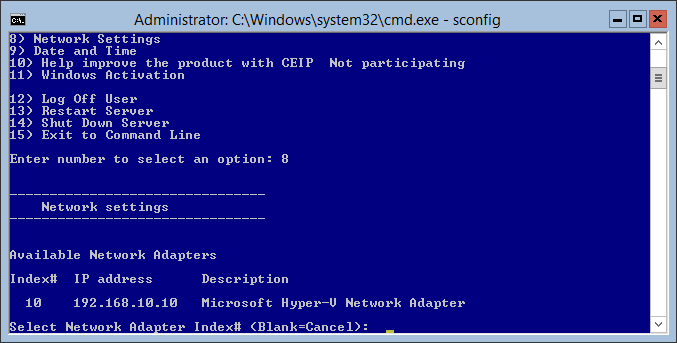
Next you will need to select the network adapter interface 10.
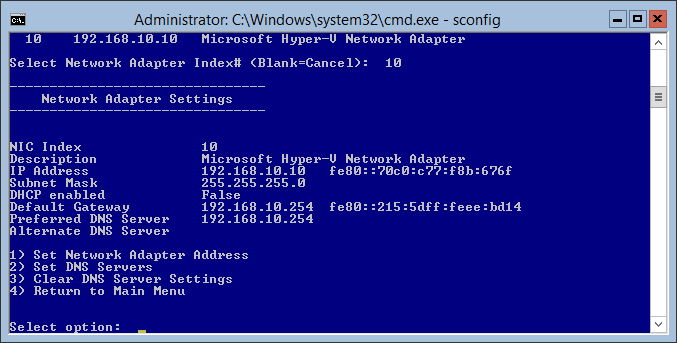
Next you will want to select Option 1 Set Network Adapter Address’.
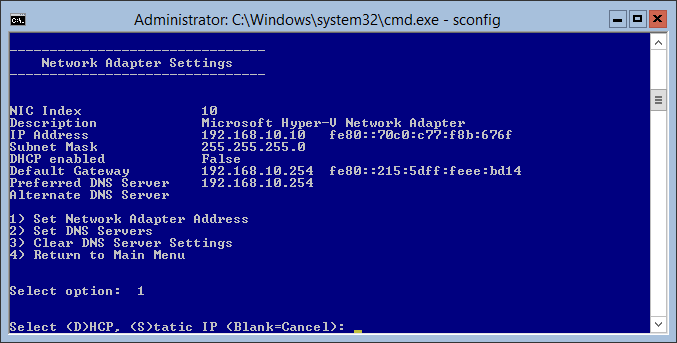
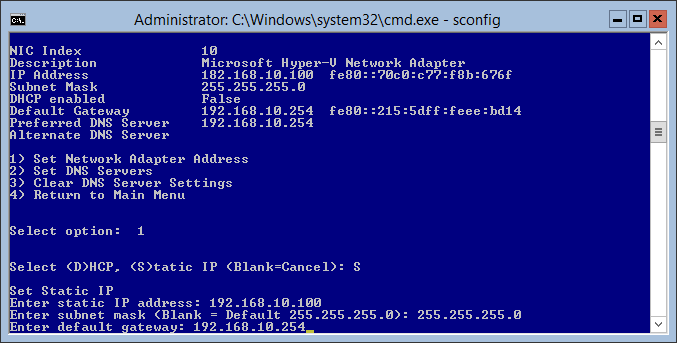
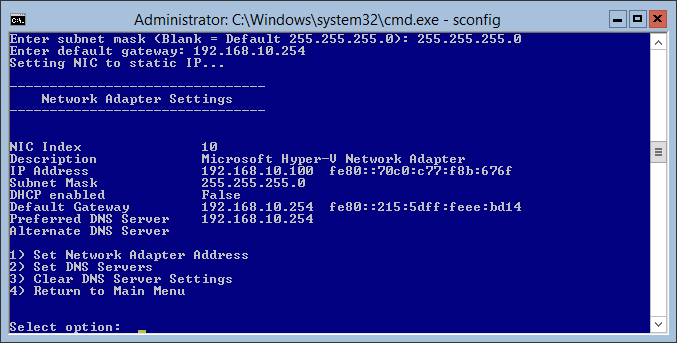
Select Static ‘S‘ and now configure your IP address.
There you have, a Static IP Address configured.
Configuring Remote Desktop Access
To Enable Remote Desktop, you want to select Option 7 from the Server Configuration menu.
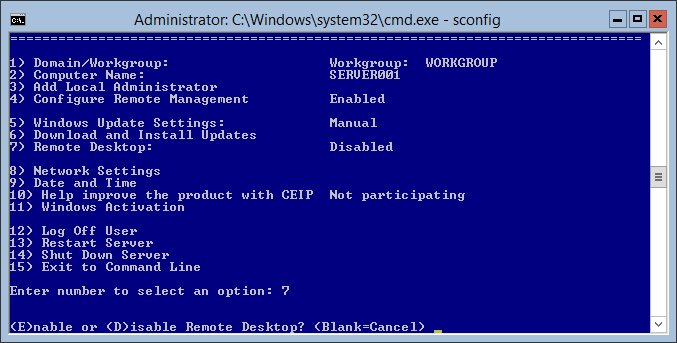
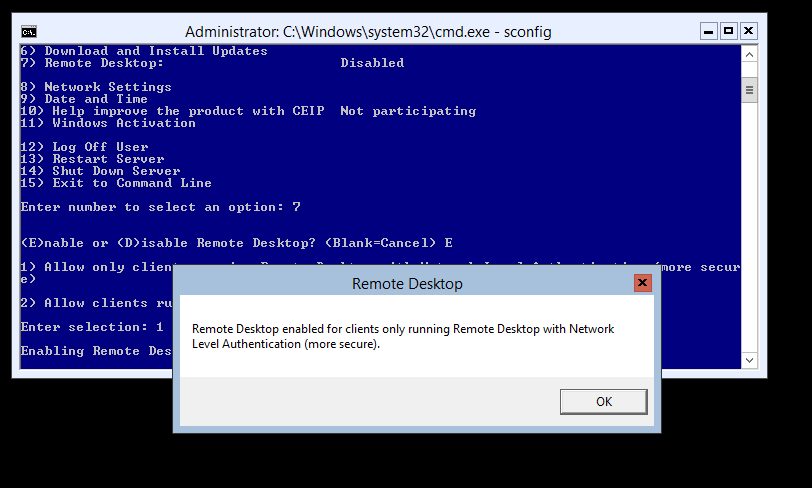
Press ‘E‘ to enable Remote Desktop, you will then be prompted for what level of security do you want enabled: NLA or No NLA.
NOTE: I would recommend using NLA Security.
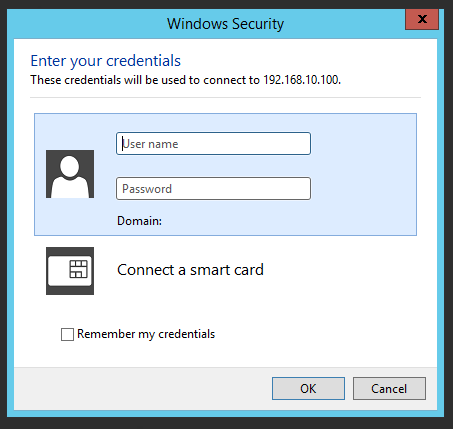
Testing the remote desktop connection from a secondary computer.


