


In this Blog Post, I will cover the principles of migrating Roles and Features from a 2008R2 Enterprise Virtual Machine to a 2012R2 Standard Virtual Machine.
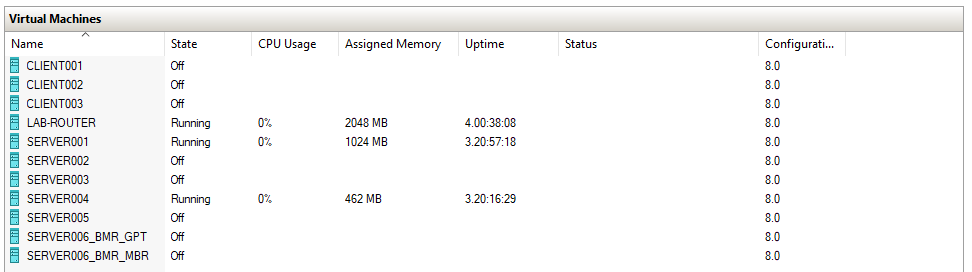
For the Lab Environment i have setup is:
SERVER001 – Windows Server
SERVER004 – Windows Server
Step One : Installing Migration Tools on Windows Server
Installing Windows Migration Feature Using Server Manager
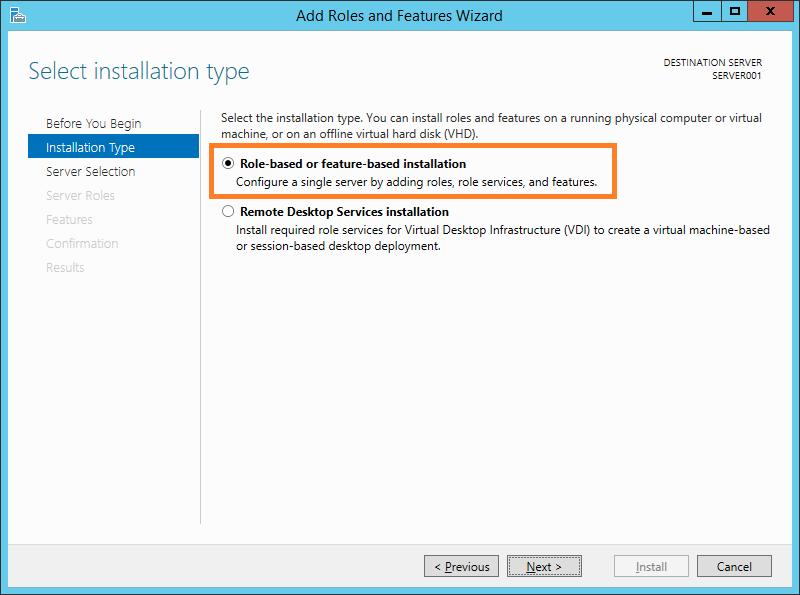
Launch Server Manager and select Option Two : Add roles and featues.
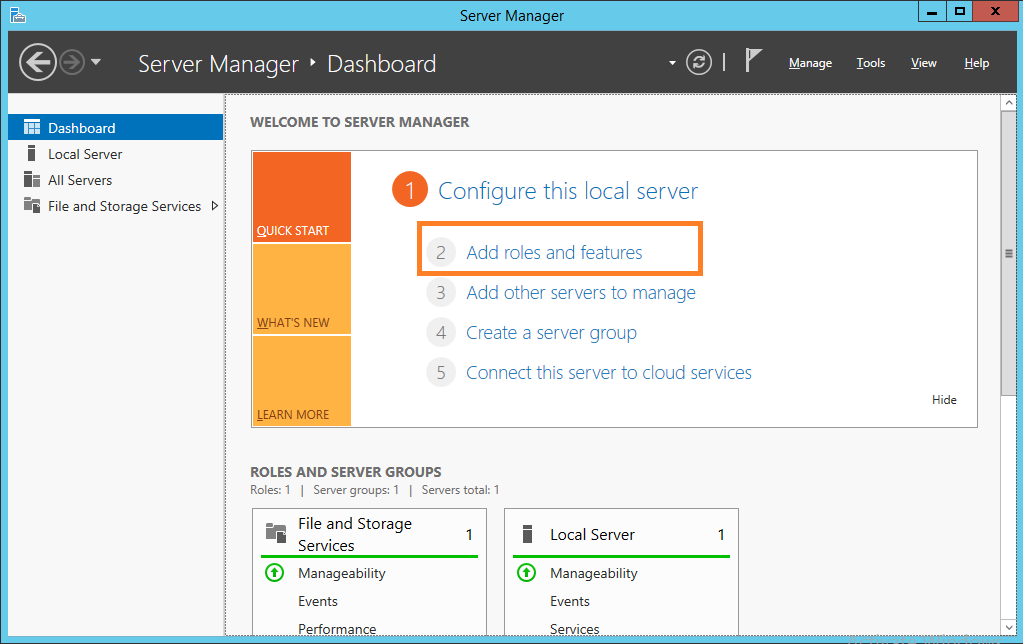
Click ‘Next‘.
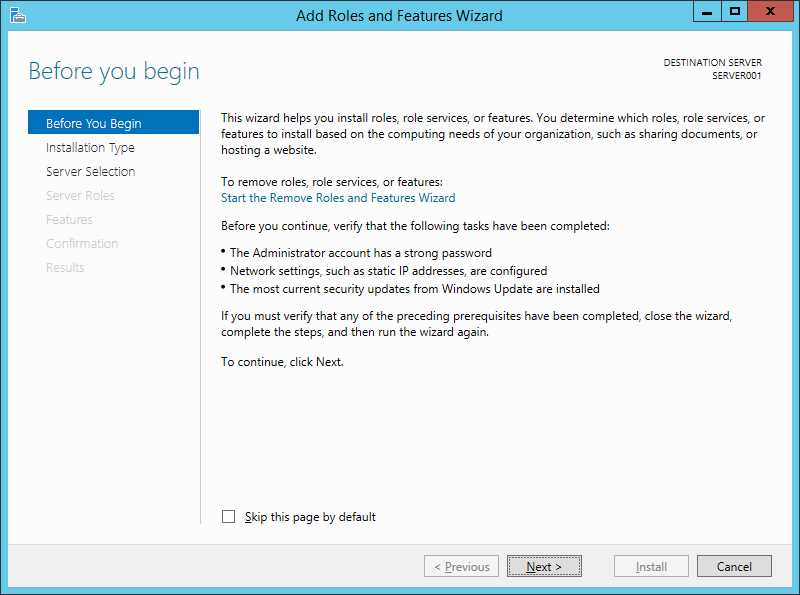
Select: ‘Role-based or feature based installation’.
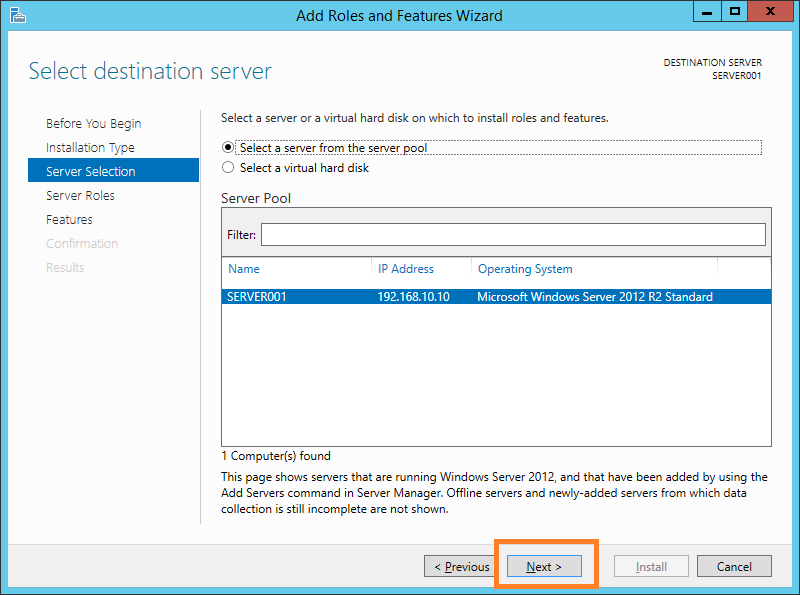
Select the server you wish to install the migration feature too.
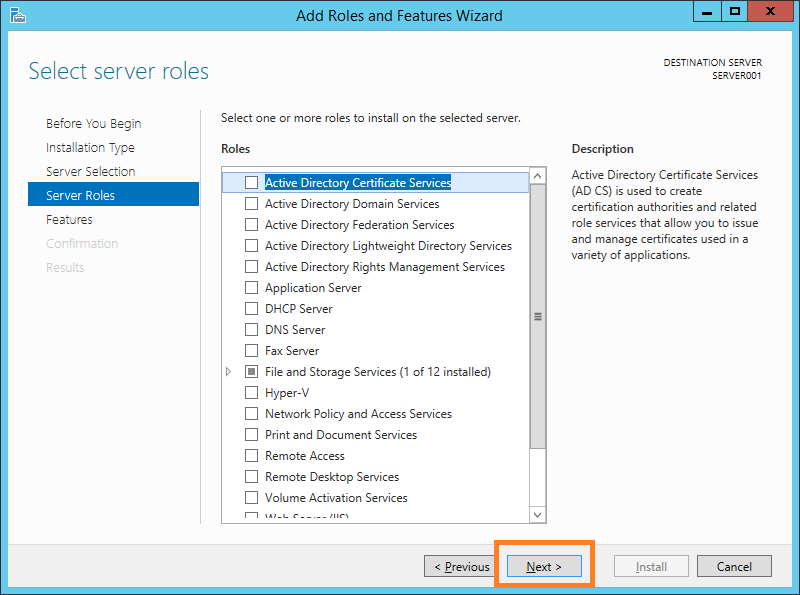
Skip the Server Roles tab and click ‘Next’.
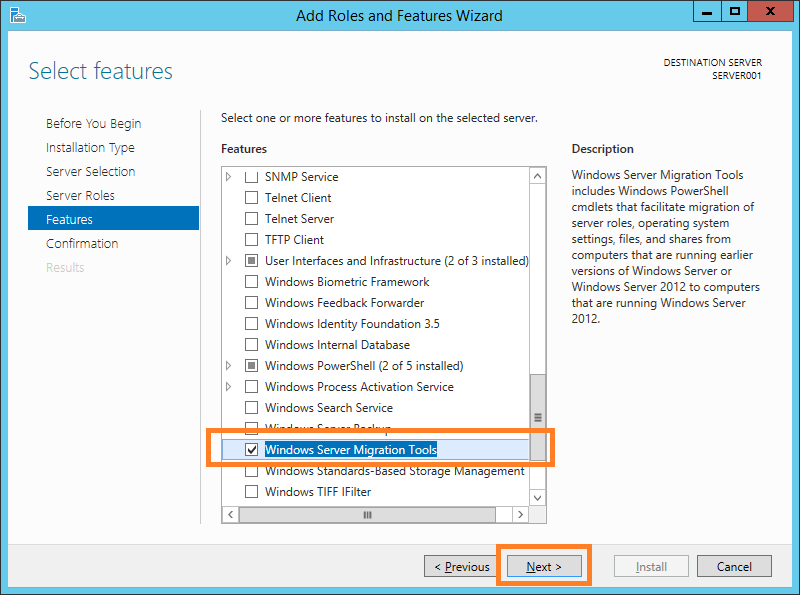
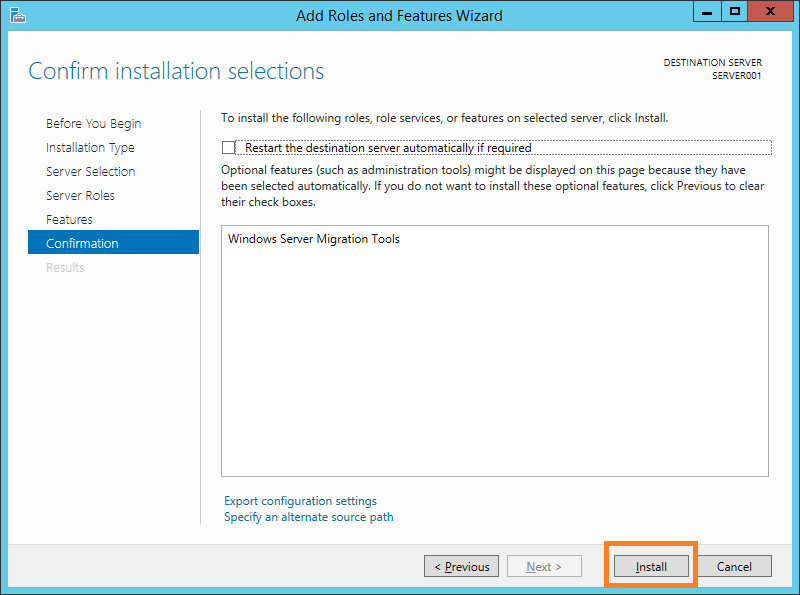
Select: Windows Server Migration Tools then click ‘Next’.
Confirm you are happy with the installation pre-checks and click ‘Install‘.
Installing Windows Migration Feature Using Microsoft PowerShell
Get-WindowsFeature
Install-WindowsFeature -Name 'Migration' -IncludeManagementTools -Verbose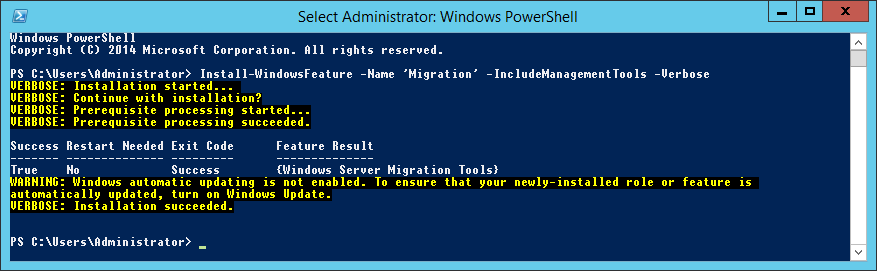
Step Two : Creating Migration Tools on Destination Server on Destination Server
For this example we will have two virtual machines, one running Windows Server 2012R2 Standard and the Second running Windows Server 2008R2 Enterprise. the scope of this next step is to document the process of creating the Migration Tools and copying them over to the master server (2008R2) and then replicate the content back to the newer replacement server (2012R2). Please note for this lab i have created two network shares on each server under C:\Migration and shared with Everyone with Full Read/Write Access.
From the same PowerShell Window change the directory.
Set-Location C:\Windows\System32\ServerMigrationTools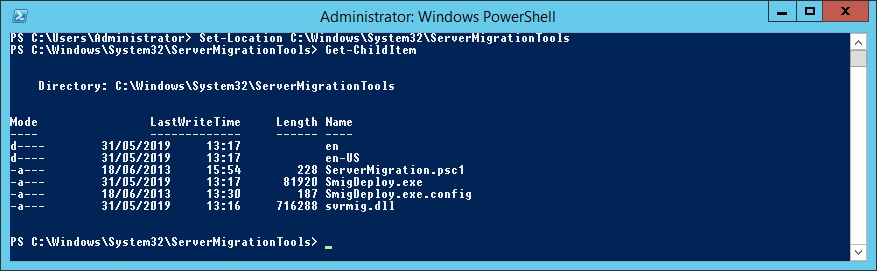
Generating Migration Toolkit for Offline USB Transfer
Next you will want to generate the initial migration toolkit you can achieve this by running the following command.
.\SmigDeploy.exe /package /architecture amd64 /os WS08R2 /path C:\Migration 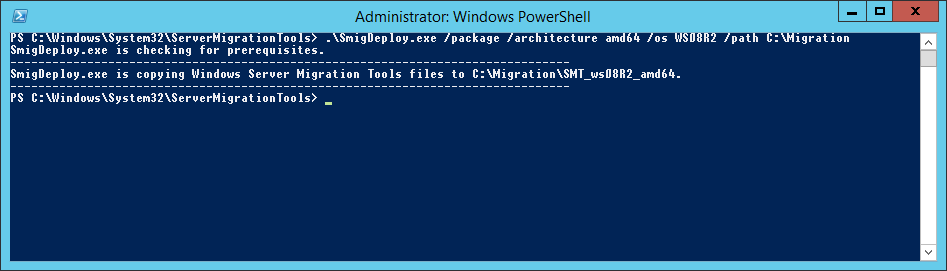
If your 2008R2 Server is connected to your network you can run the following command to generate the migration toolkit media direct to the server
.\SmigDeploy.exe /package /architecture amd64 /os WS08R2 /path \\192.168.10.13\Migration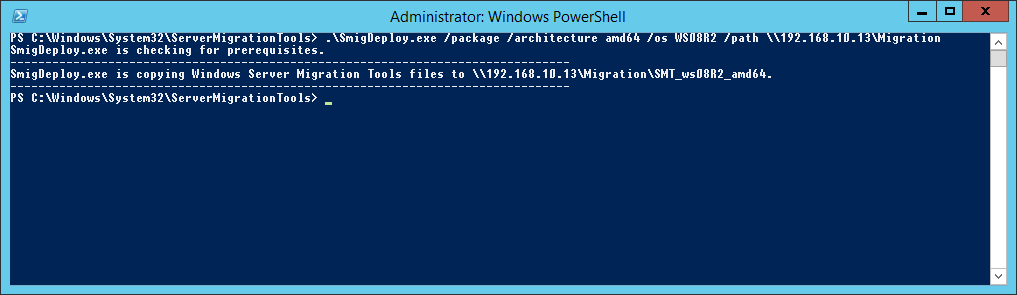
Step Three : Export SMGMIG Data
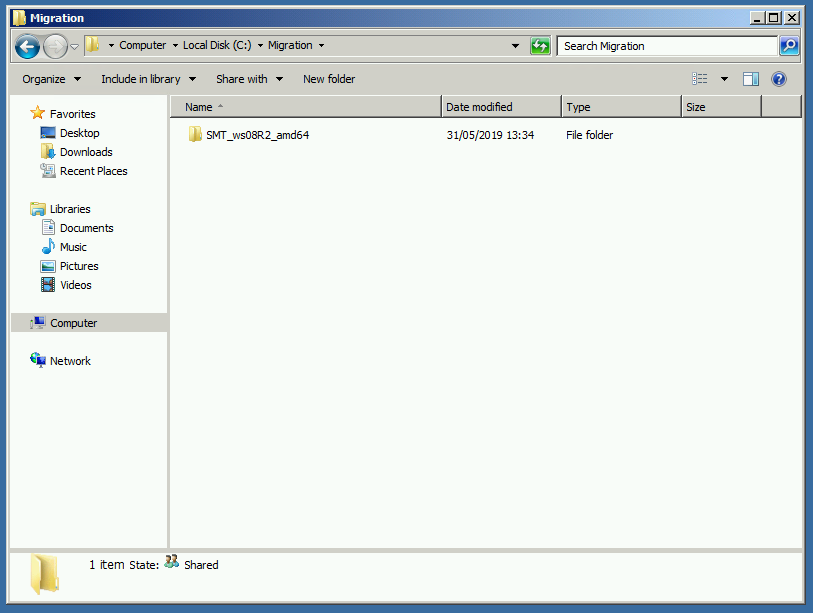
From the 2008R2 server we can check that all the prerequisites are met by navigating to the folder under C:\Migration\SMT_ws08R2_amd64 and running the following command
.\SmigDeploy.exe 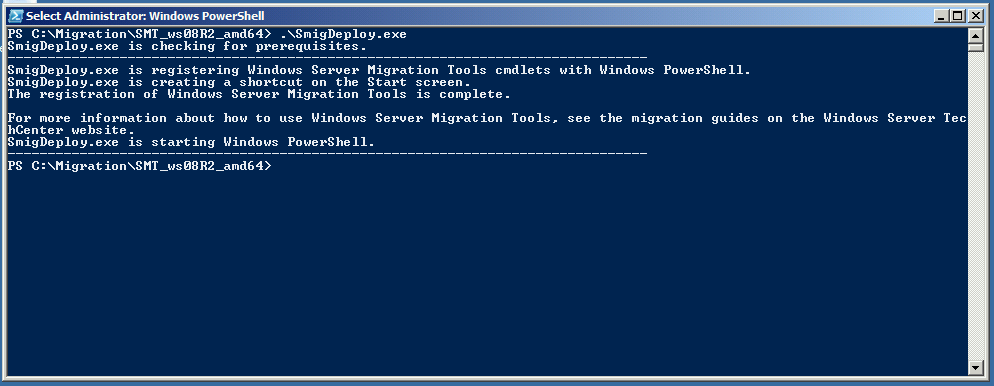
These are the supported Powershell Command for the Migration Role.
CommandType     Name                                               ModuleName
-----------                  ----                                                   ----------
Cmdlet                    Export-SmigServerSetting          Microsoft.Windows.ServerManager.Migration
Cmdlet                    Get-SmigServerFeature              Microsoft.Windows.ServerManager.Migration
Cmdlet                    Import-SmigServerSetting          Microsoft.Windows.ServerManager.Migration
Cmdlet                    Receive-SmigServerData            Microsoft.Windows.ServerManager.Migration
Cmdlet                    Send-SmigServerData                 Microsoft.Windows.ServerManager.Migration
To find out which roles we are able to migration from the 2008R2 Server we can run the following command.
Get-SmigServerFeature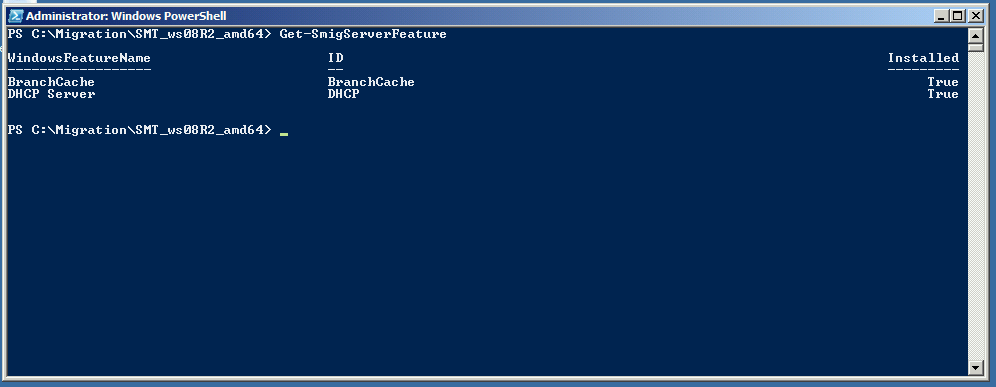
As you can see from the graphic above the only role which can be moved using the Server Migration toolkit is the DHCP Service. to start the migration we must first stop the DHCP Service.
Stop-Service DHCPServer -Force 
Now the DHCP Service has been stopped we can export the DHCP Database from the 2008R2 Server and prep for transfer to the new server.
Export-SmigServerSetting -FeatureID DHCP -Path C:\MigrationWhen you export the role you will be prompted to enter a password to encrypt the exported data.
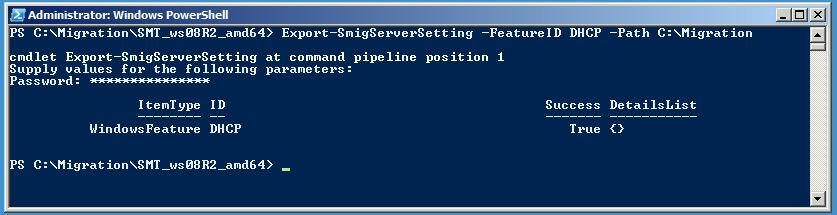
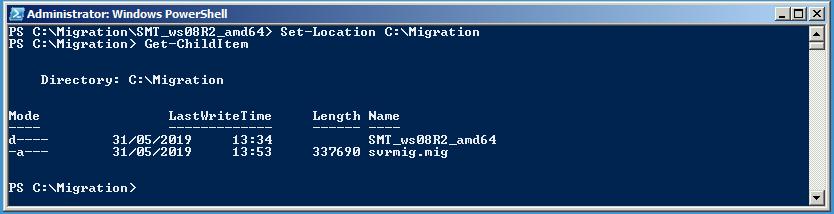
The exported data is contained under ‘svrmig.mig’ file which was generated under C:\Migration.
Step Four : Import SVRMIG Data
On the destination server, open an administrative Powershell Session.
As we have already installed the migration role onto this server we will only need to import the Powershell Module.
Add-PSSnapin Microsoft.Windows.ServerManager.Migration 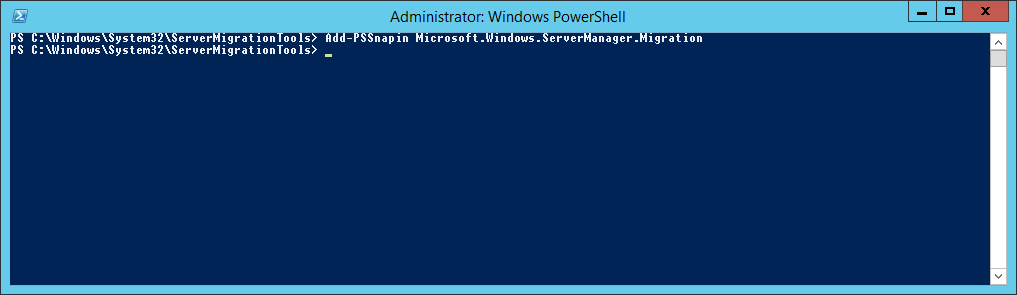
Useful Microsoft Documents for 2012R2 Server Migration
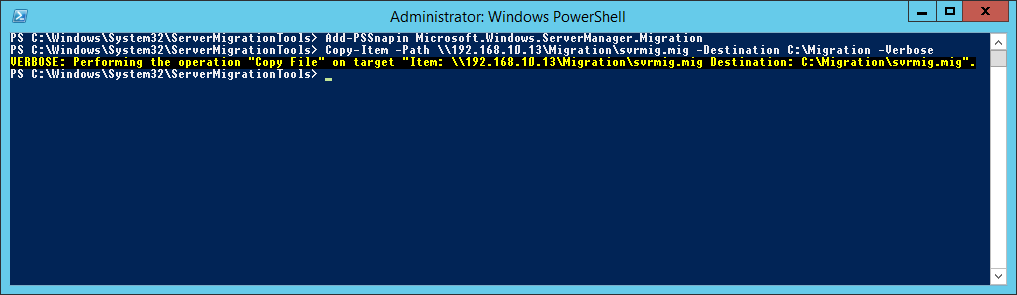
Next we will need to transfer the svrmig.mig file from the 2008R2 Server.

Before we start the migration import we need to stop the DHCP Server Service!
Stop-Service DHCPServer -ForceNext we can now run the Import-SmigServerSettings Cmdlet.
Import-SmigServerSetting -FeatureID DHCP -Path C:\Migration -Force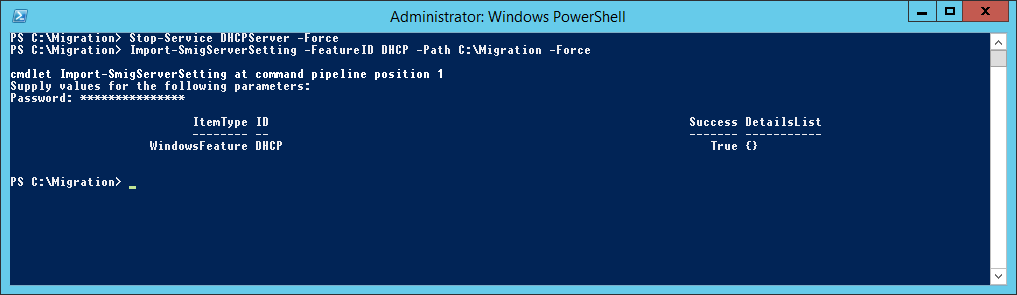
Now we can restart the DHCP Service.
Start-Service DHCPServer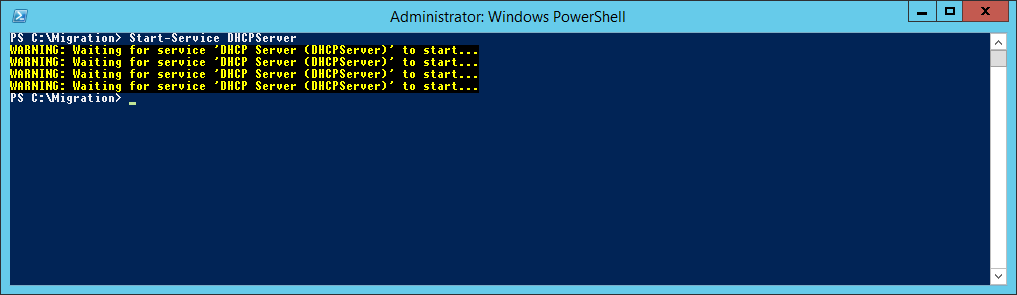
Open the DHCP Management Snap-in.
dhcpmgmt.msc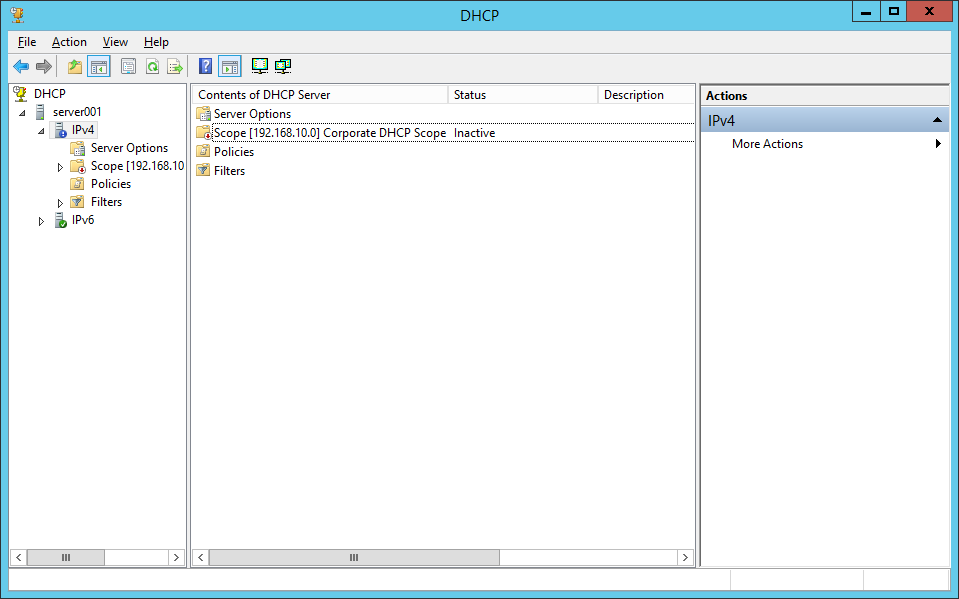
Some Useful Microsoft Tech-Net Links for Server Migration.


